

How to Customize the Rewards Widget
The floating rewards widget keeps your loyalty program one click away on every page. This guide sets it up with your brand colors and wording.
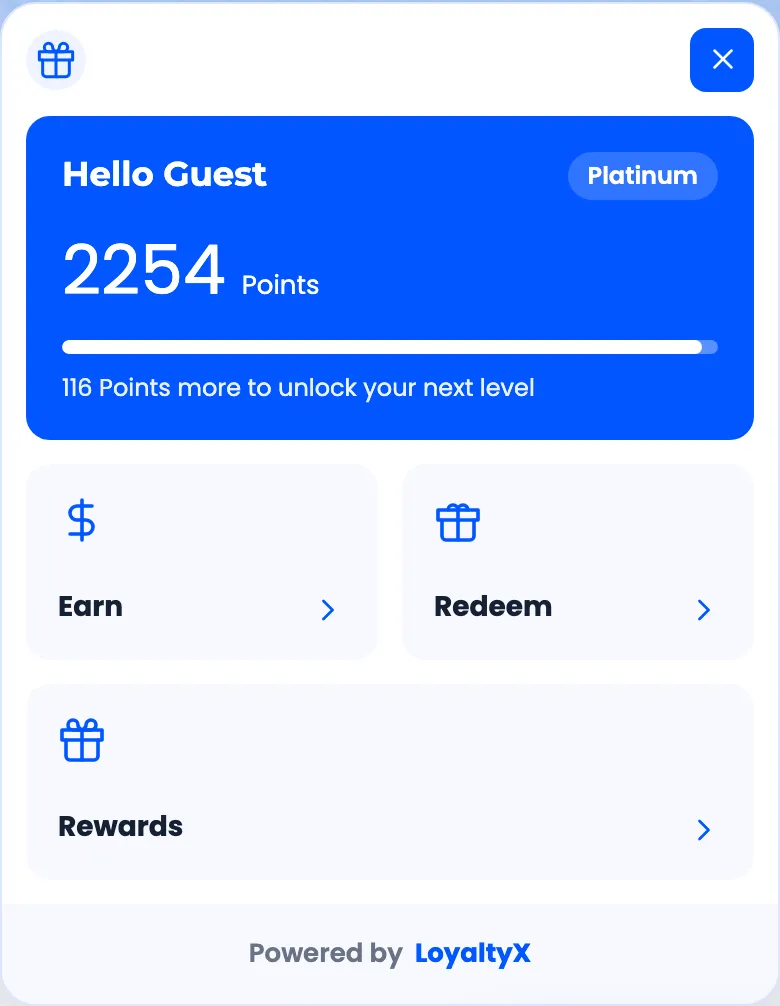
By the end, a launcher button will sit in a screen corner, opening a panel that shows balances, ways to earn and rewards.
Before you start
Section titled “Before you start”Have your brand colors and a small logo ready. It helps to set up earning and redemption first, so the panel has real content to show.
Step 1: Turn on the widget
Section titled “Step 1: Turn on the widget”Go to DevDiggers Plugins → LoyaltyX → Configuration → Rewards Widget. Under Launcher, turn on Enable Floating Rewards Widget.
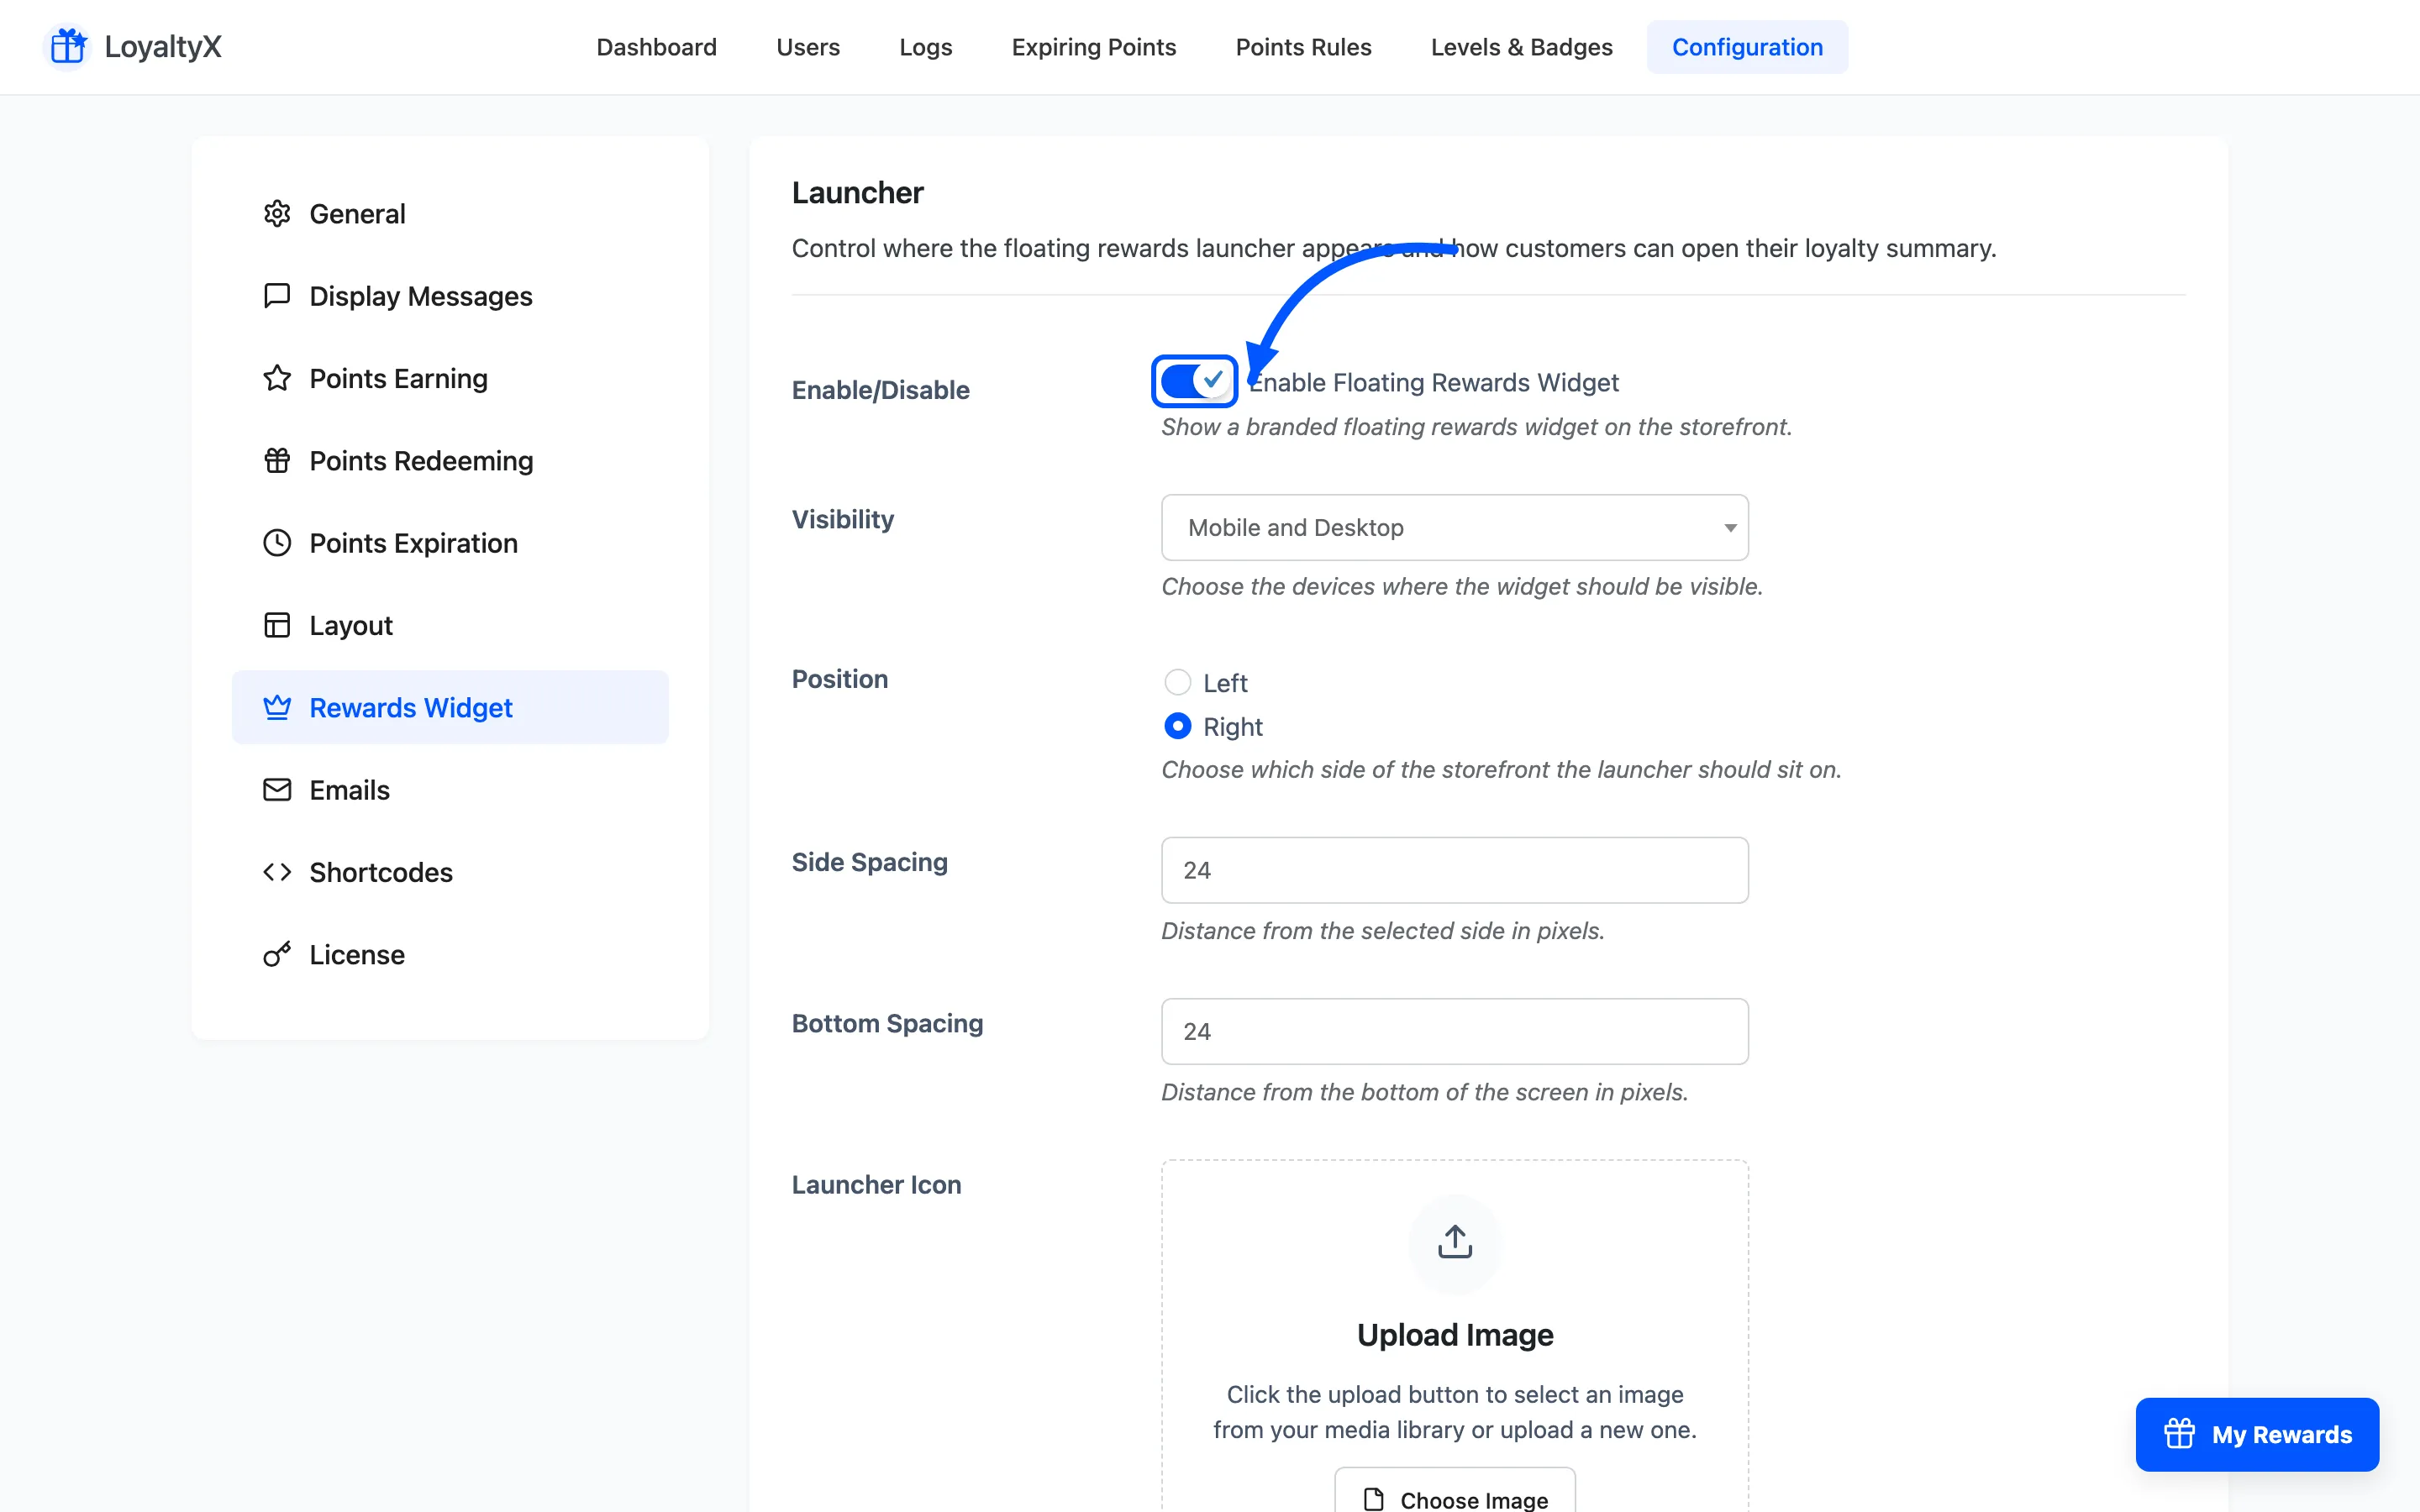
Use Visibility to pick the devices it shows on: Mobile and Desktop, Mobile Only, Desktop Only, or Do not show. Do not show is the quickest way to take the widget off the storefront while you work on it, without losing your settings.
Step 2: Position the launcher
Section titled “Step 2: Position the launcher”Set where the button sits and how it looks:
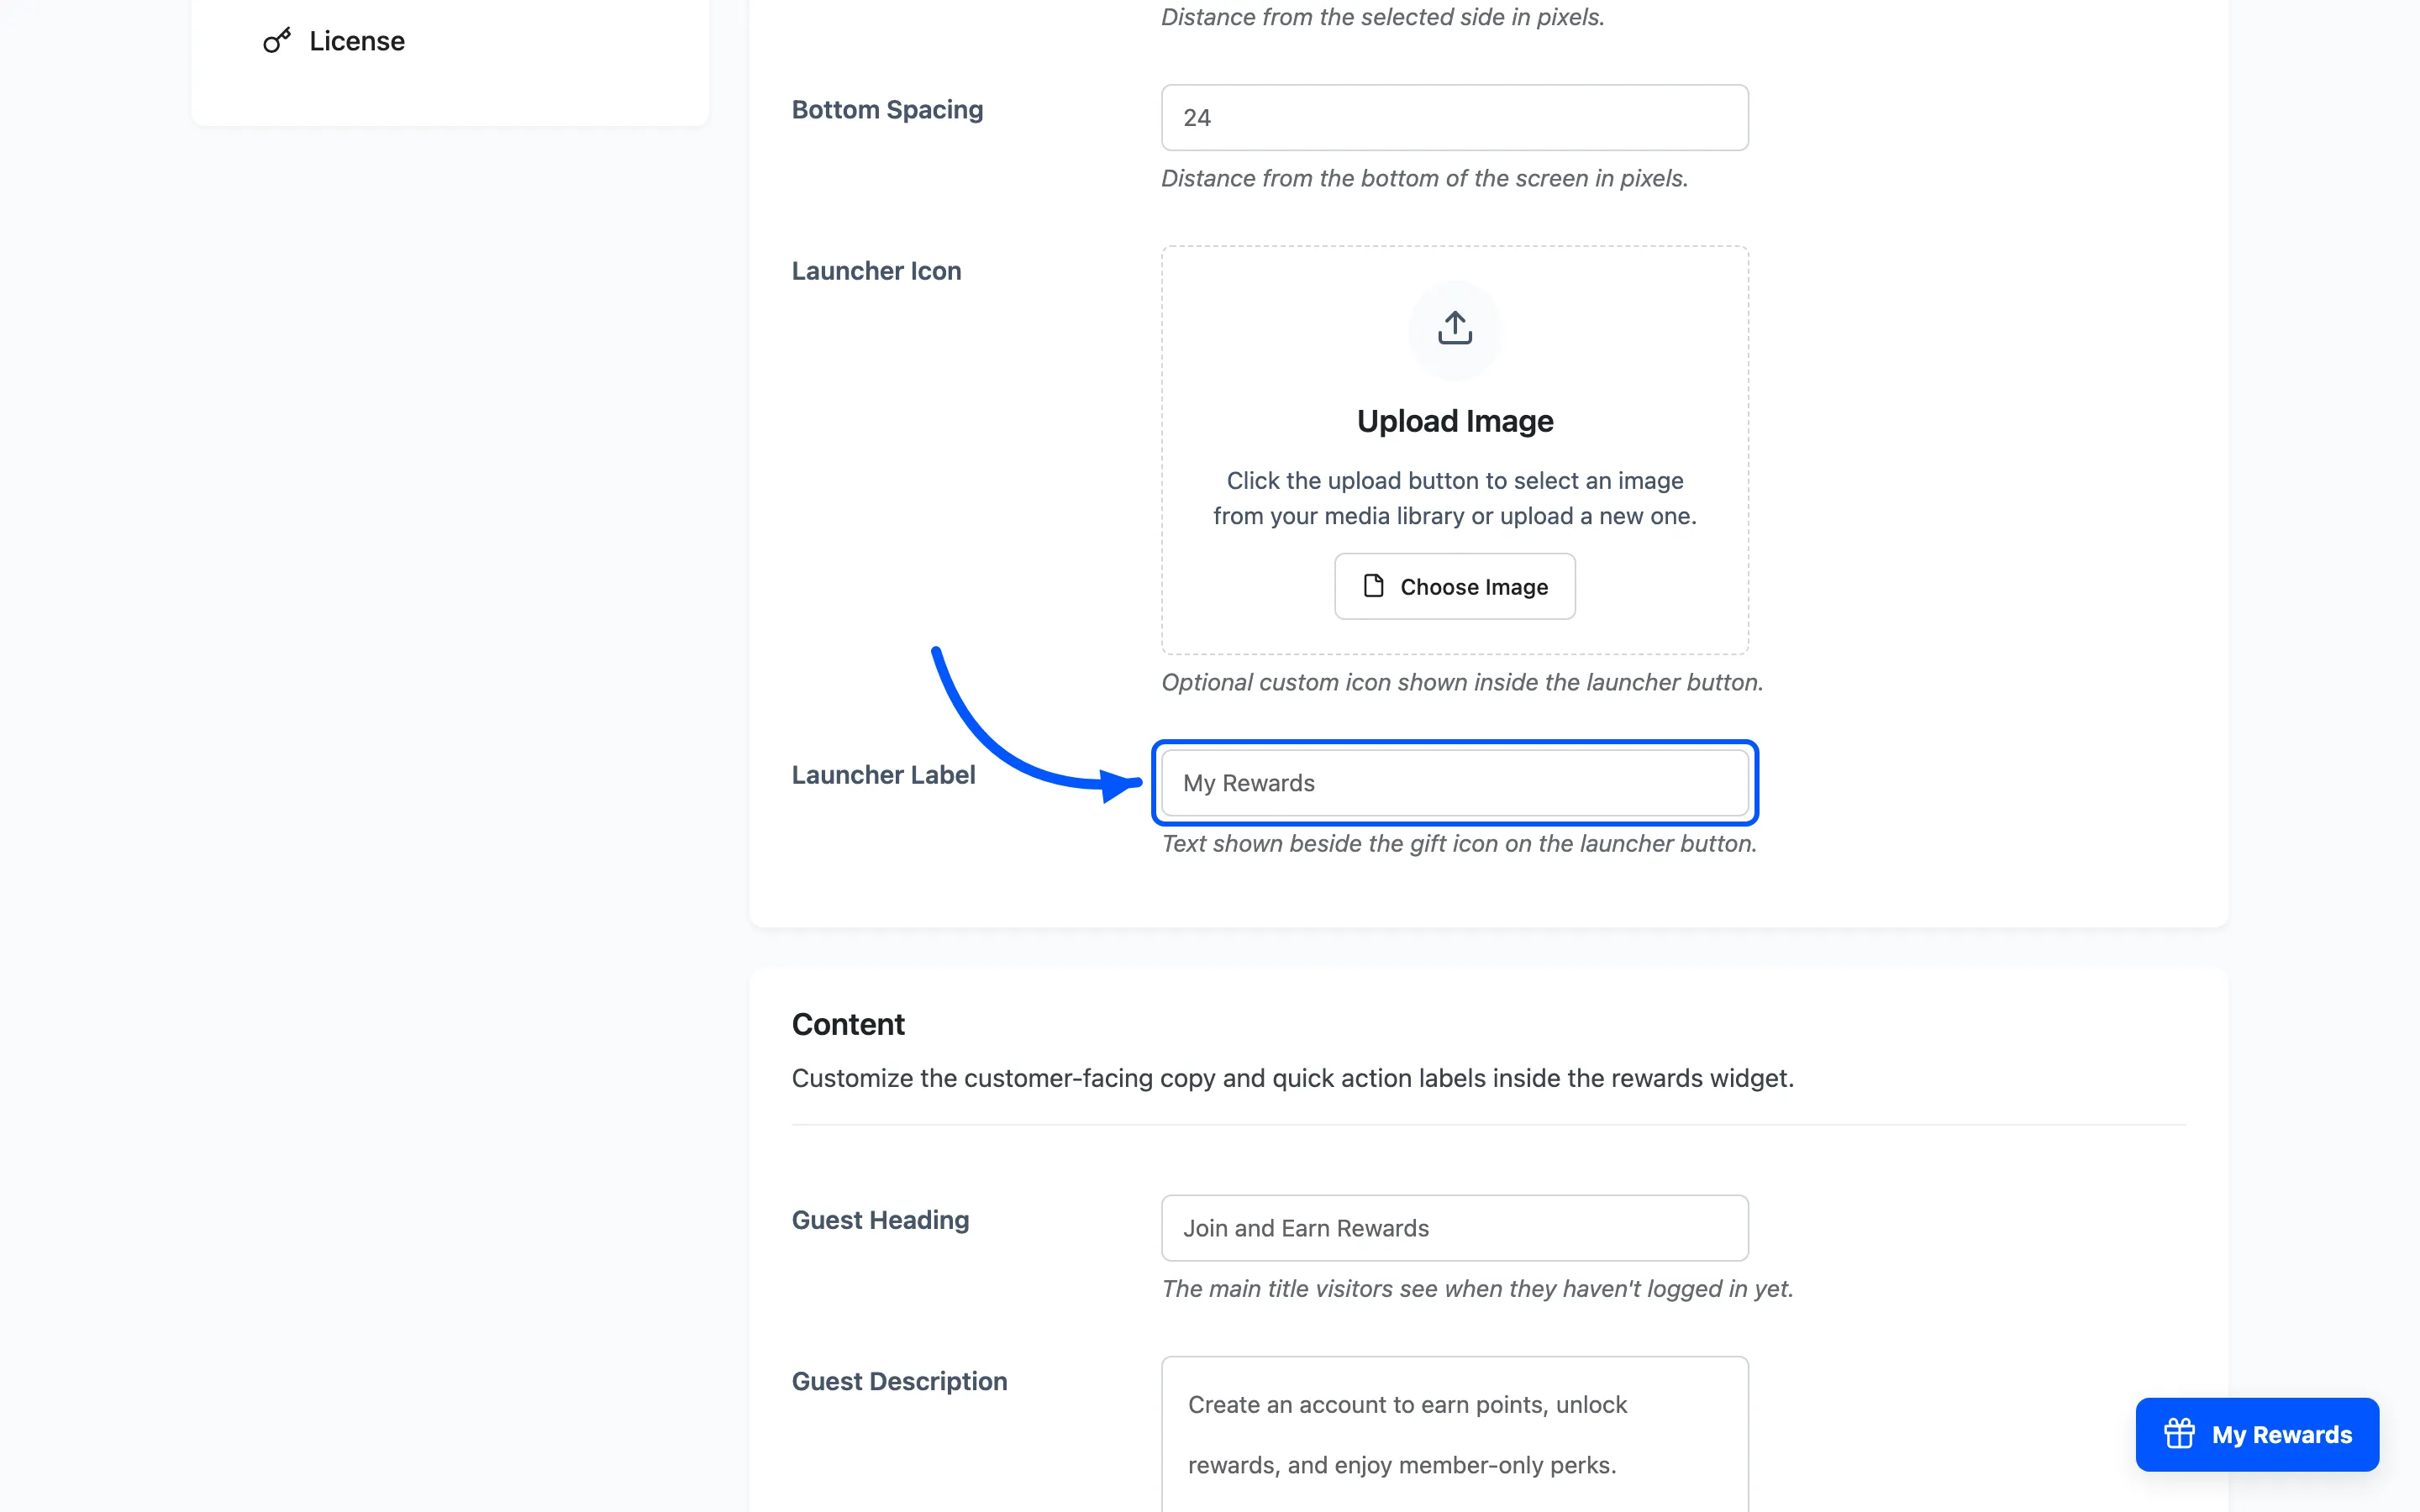
- Position places the launcher in a screen corner. Bottom right is the common choice and stays clear of most themes.
- Side Spacing and Bottom Spacing nudge it away from the edges, so it does not clash with a cookie bar or a back-to-top button.
- Launcher Icon uploads a custom image for the button. Leave it empty and LoyaltyX uses its own
gift icon, which suits most stores. Launcher Label is the text beside it, such as
Rewards.
Step 3: Write the panel content
Section titled “Step 3: Write the panel content”Under Content, set the words inside the panel:
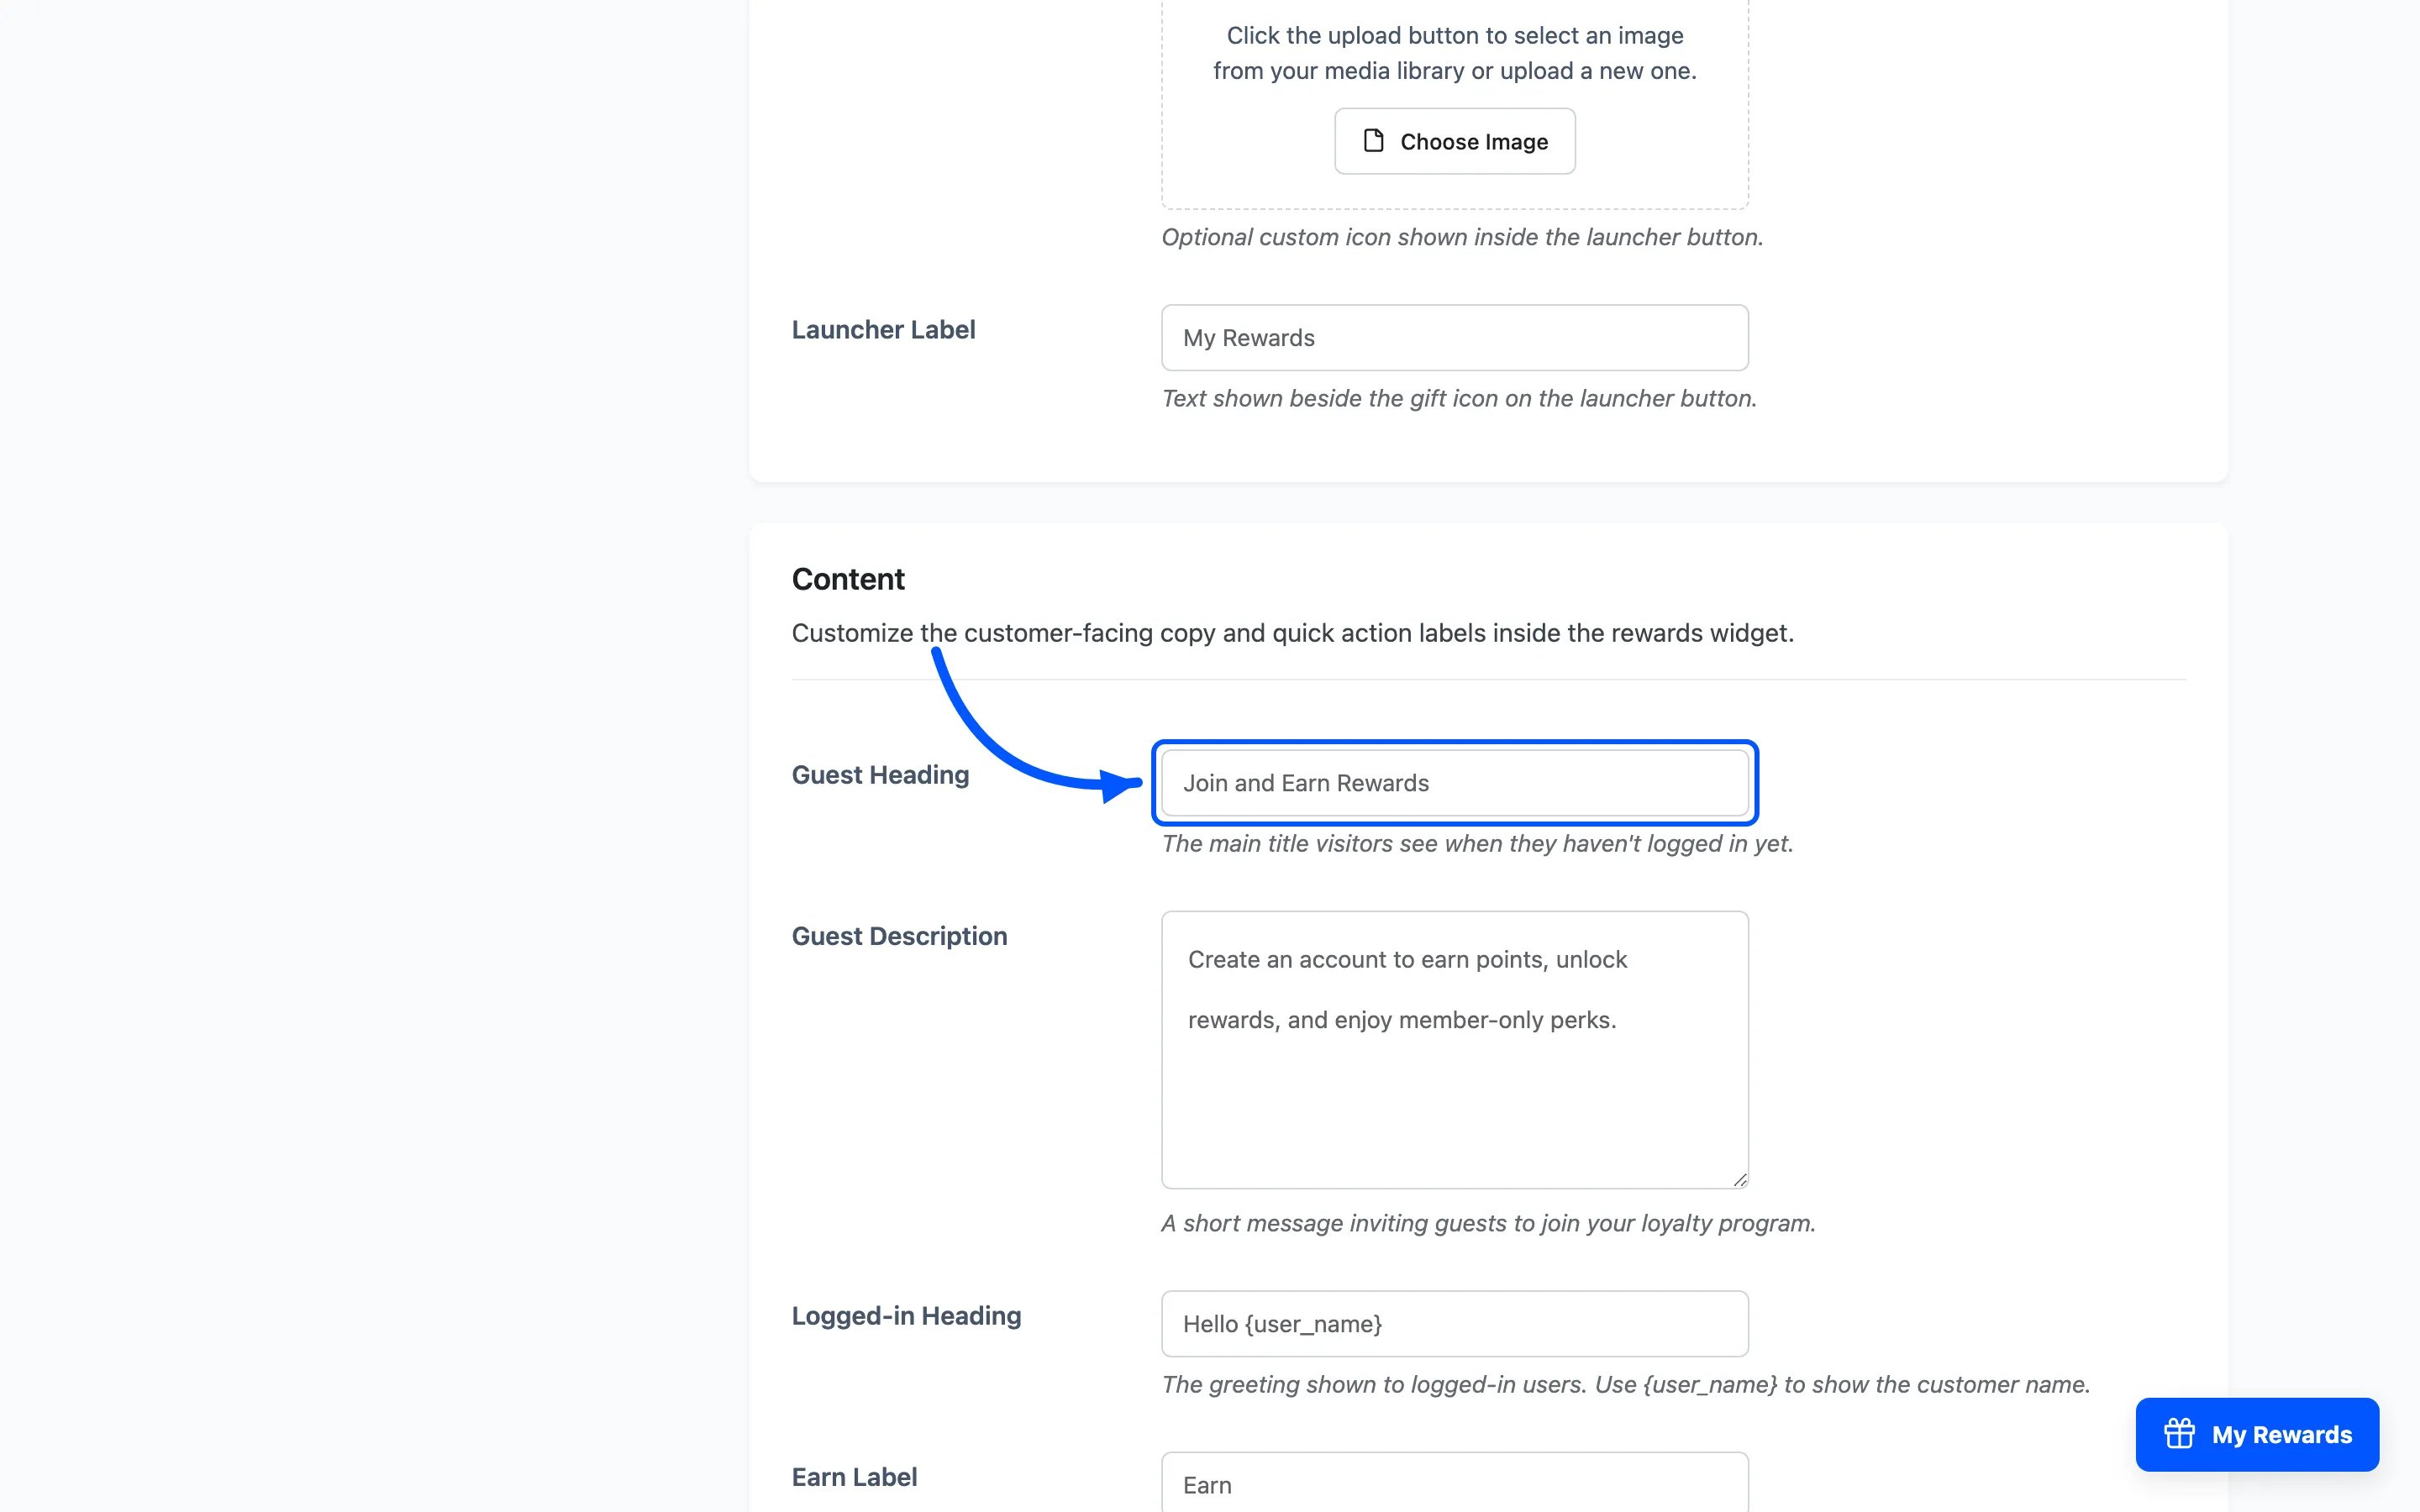
- Guest Heading and Guest Description speak to visitors who have not joined. Use them to explain the reward for signing up.
- Logged-in Heading greets a signed-in customer. Put
{user_name}in it and LoyaltyX drops their name in, so the panel opens withHi Fredrather than a generic line. - Earn Label, Redeem Label and Rewards Label name the three sections of the panel.
Keep the copy short. The panel is a quick prompt, not a landing page.
Step 4: Match your brand colors
Section titled “Step 4: Match your brand colors”Under Design, set the palette so the widget looks built-in:
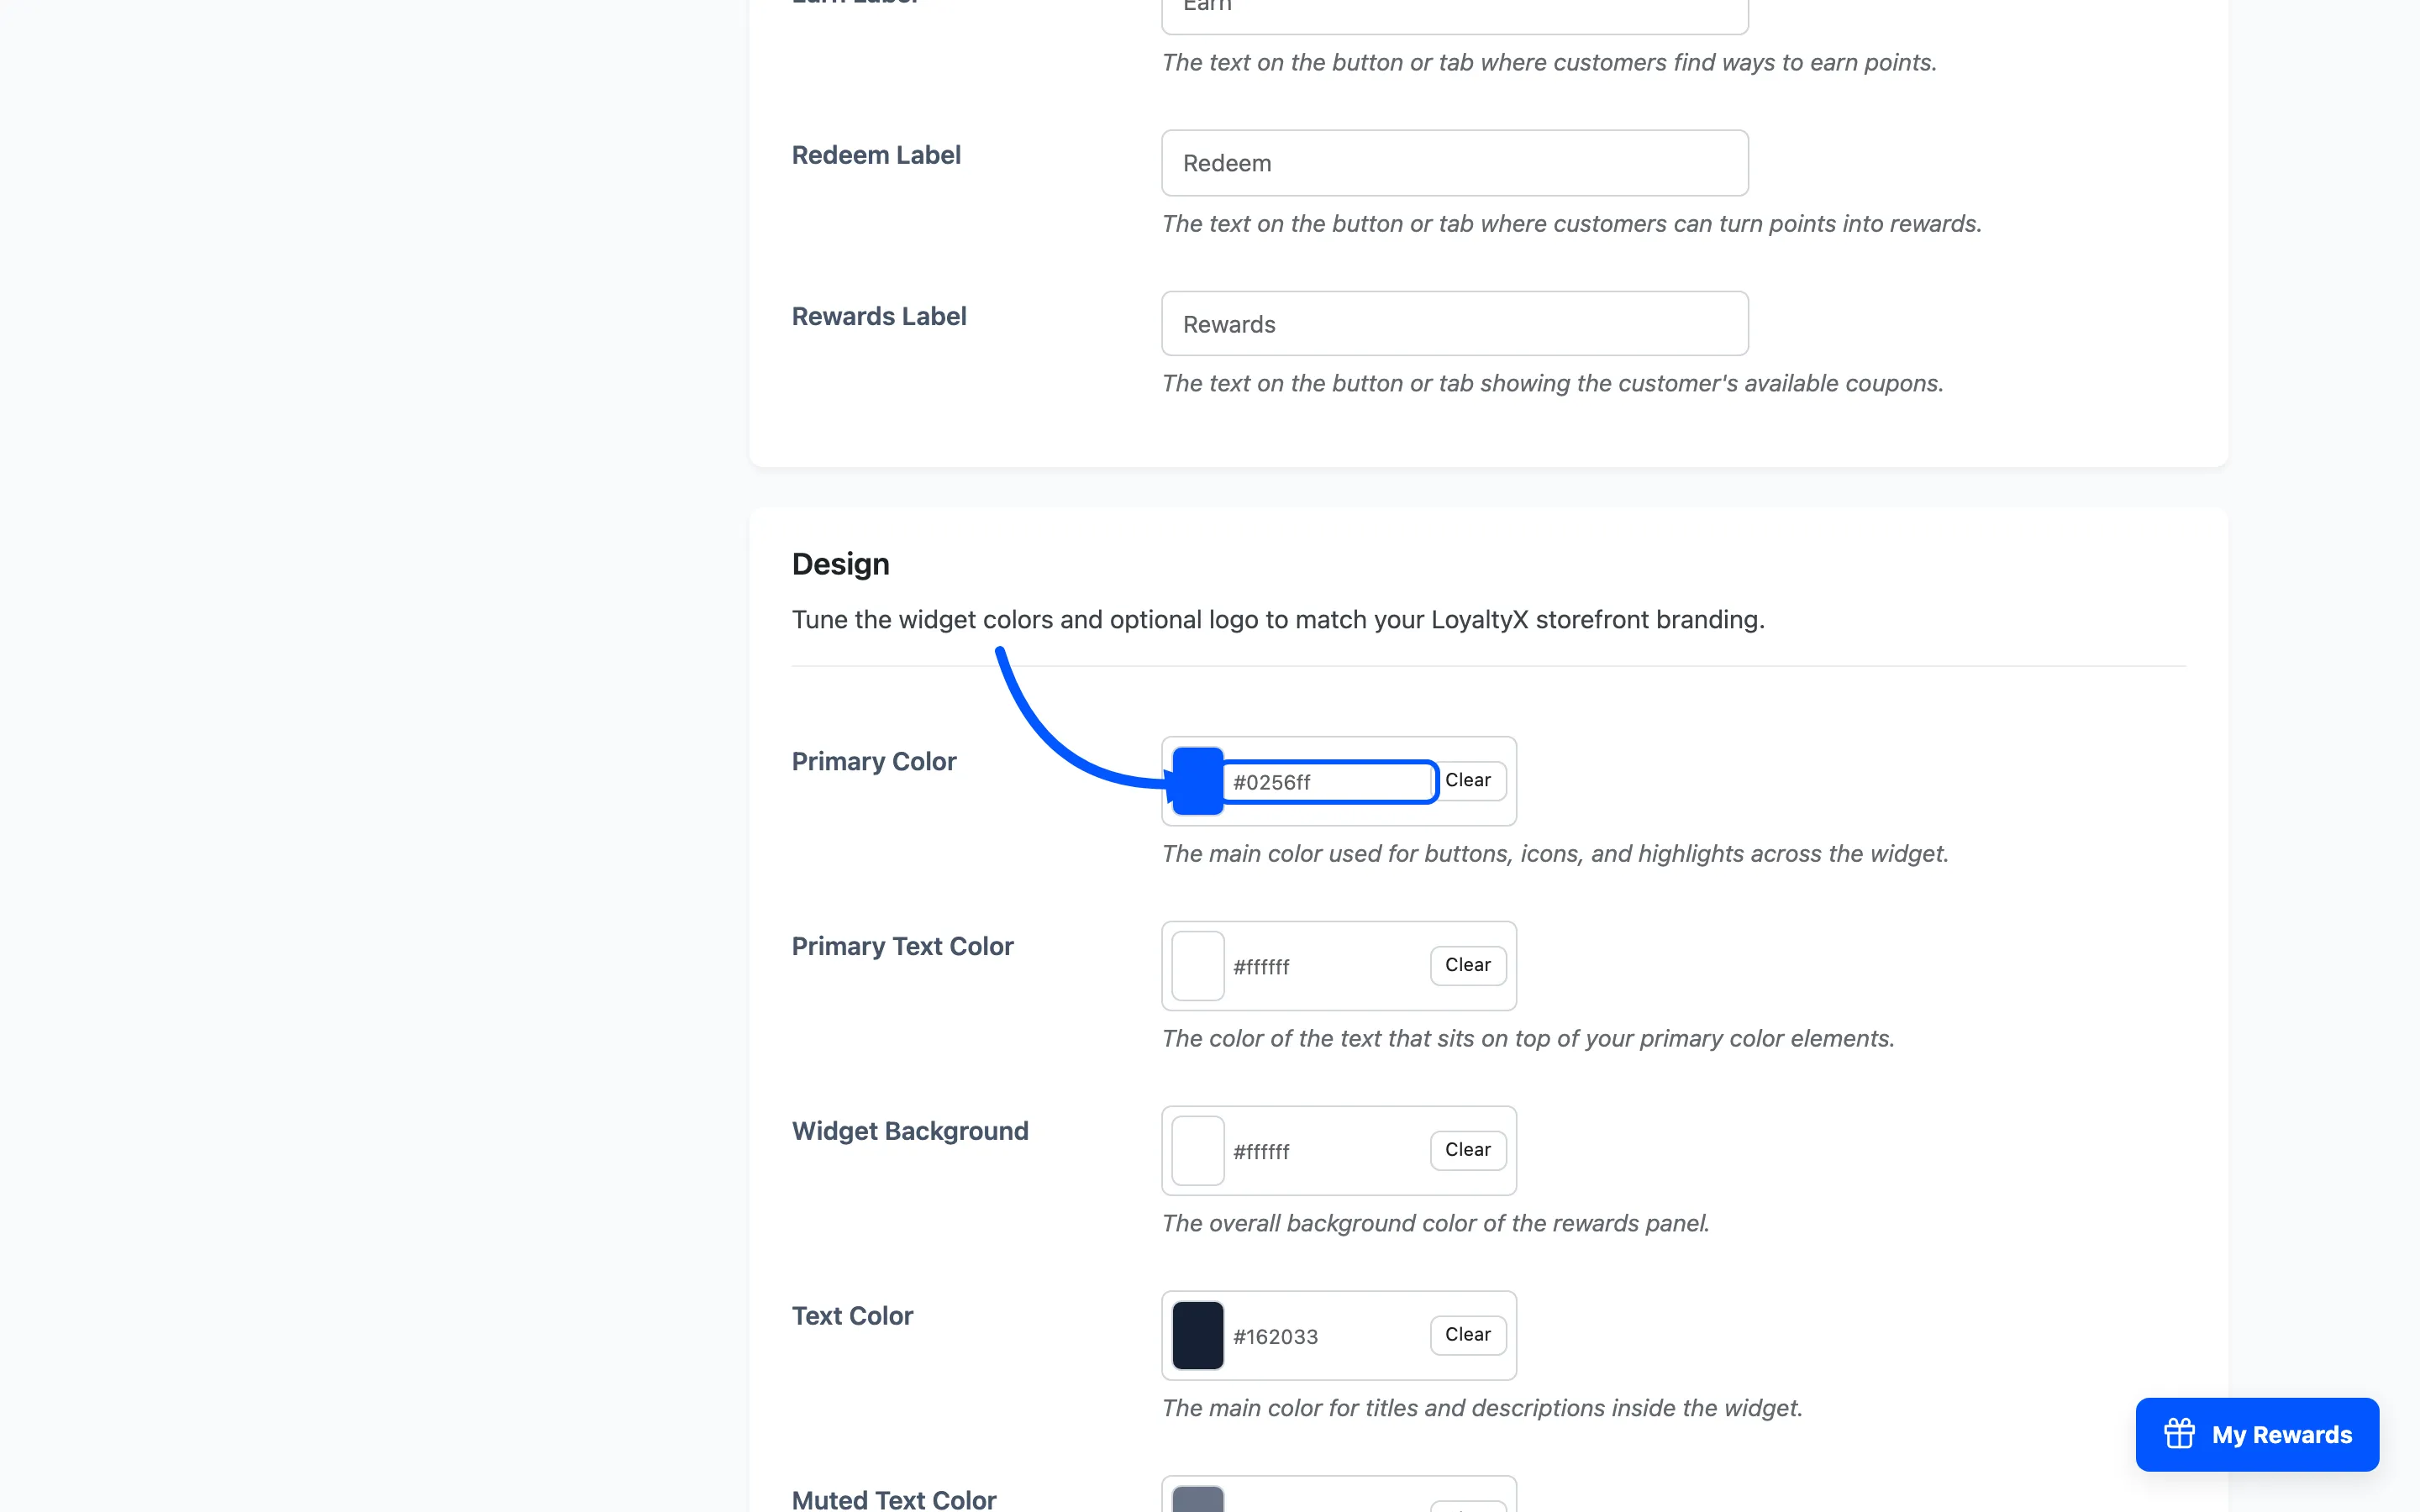
- Primary Color and Primary Text Color style the main buttons.
- Widget Background, Text Color and Muted Text Color style the panel.
- Action Card Background and Border Color style the earn and redeem cards.
- Add a Logo and decide whether to keep Show Powered by LoyaltyX on.
Click Save Changes.
Step 5: Preview on the front end
Section titled “Step 5: Preview on the front end”Open any store page in a normal browser tab and click the launcher. Check the panel as a guest first, then sign in as a test customer and open it again. Confirm the guest prompt and the logged-in balance both read well and match your colors.
Test on a phone too. The panel should open cleanly on a small screen without covering the whole page.
Where to go next
Section titled “Where to go next”- Rewards Widget for a reference on every field.
- Display Messages for the in-page points prompts that pair with the widget.