

How to Use Passkey Autofill
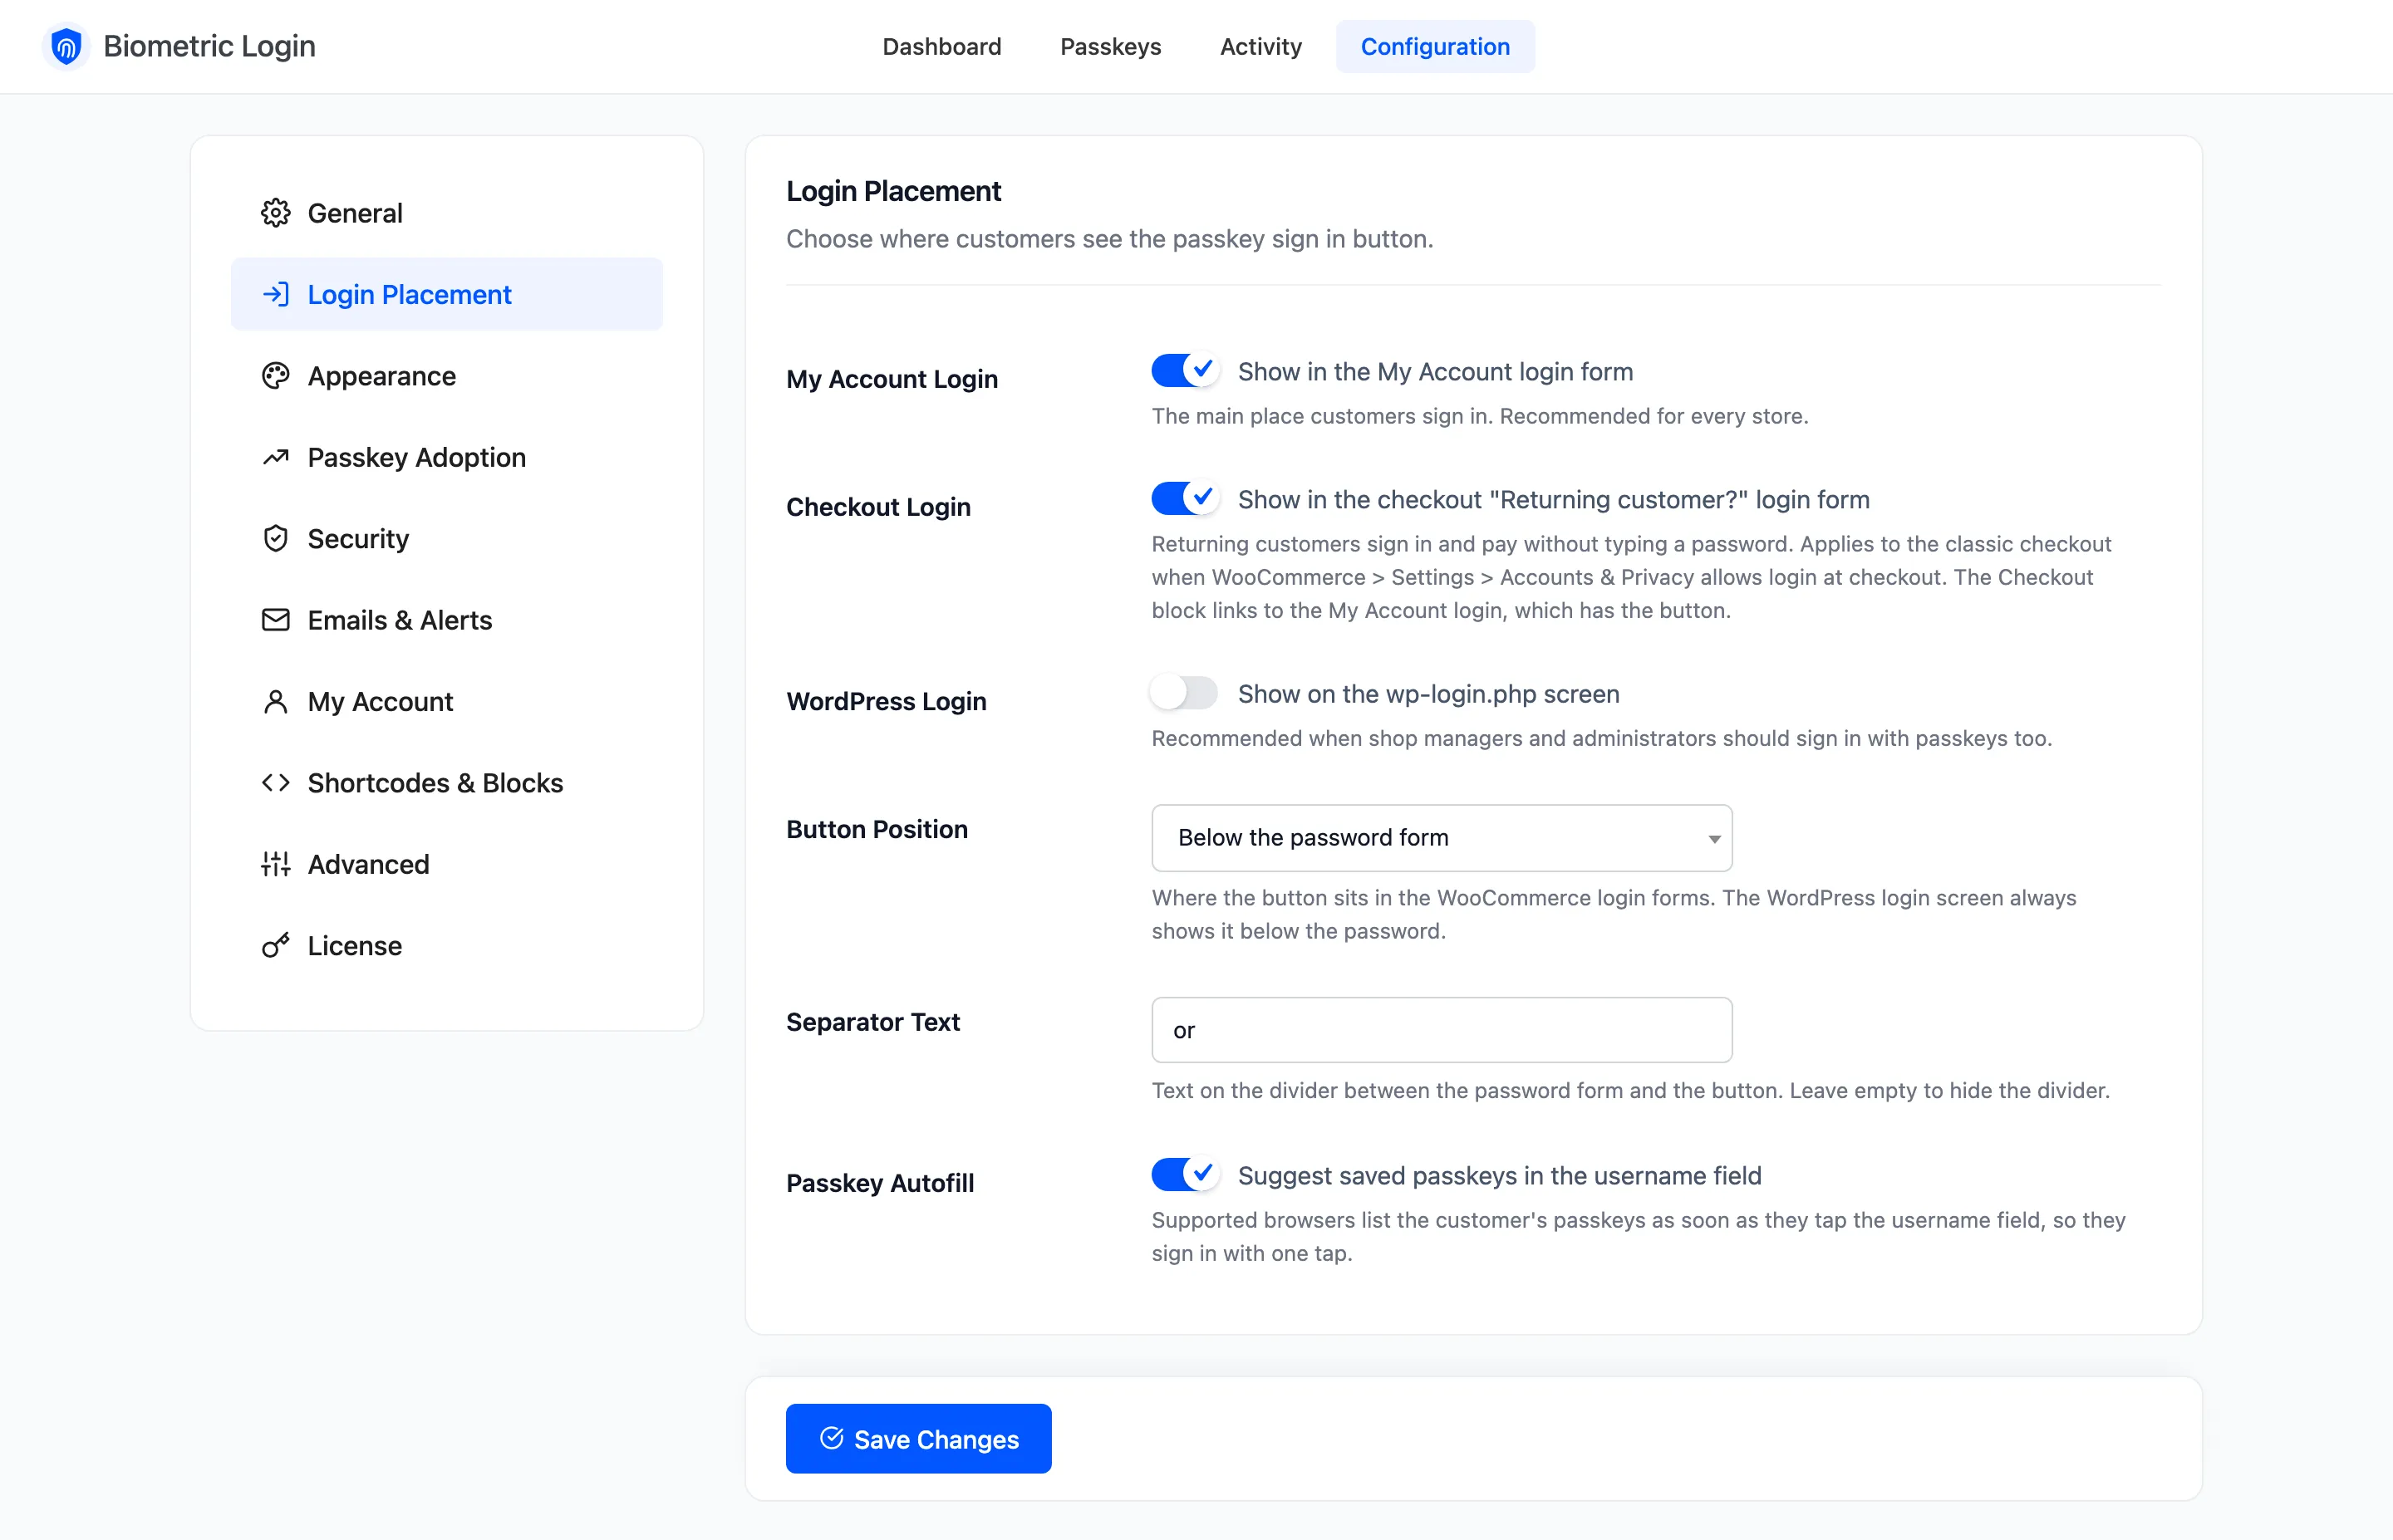
Passkey autofill puts the customer’s passkeys where they already look: the username field’s suggestions. It is on by default.
Step 1: Turn Passkey Autofill on
Section titled “Step 1: Turn Passkey Autofill on”Open Configuration → Login Placement and check Passkey Autofill is ticked.
Step 2: Tap the username field
Section titled “Step 2: Tap the username field”On a browser that supports it, the customer taps Username or email address on the My Account login form, or on the WordPress login screen. Their saved passkeys for your store appear in the field’s suggestions, next to any saved passwords.
The list is drawn by the browser itself, outside the page, so it looks different in Safari, Chrome and Edge.
Step 3: Pick the passkey
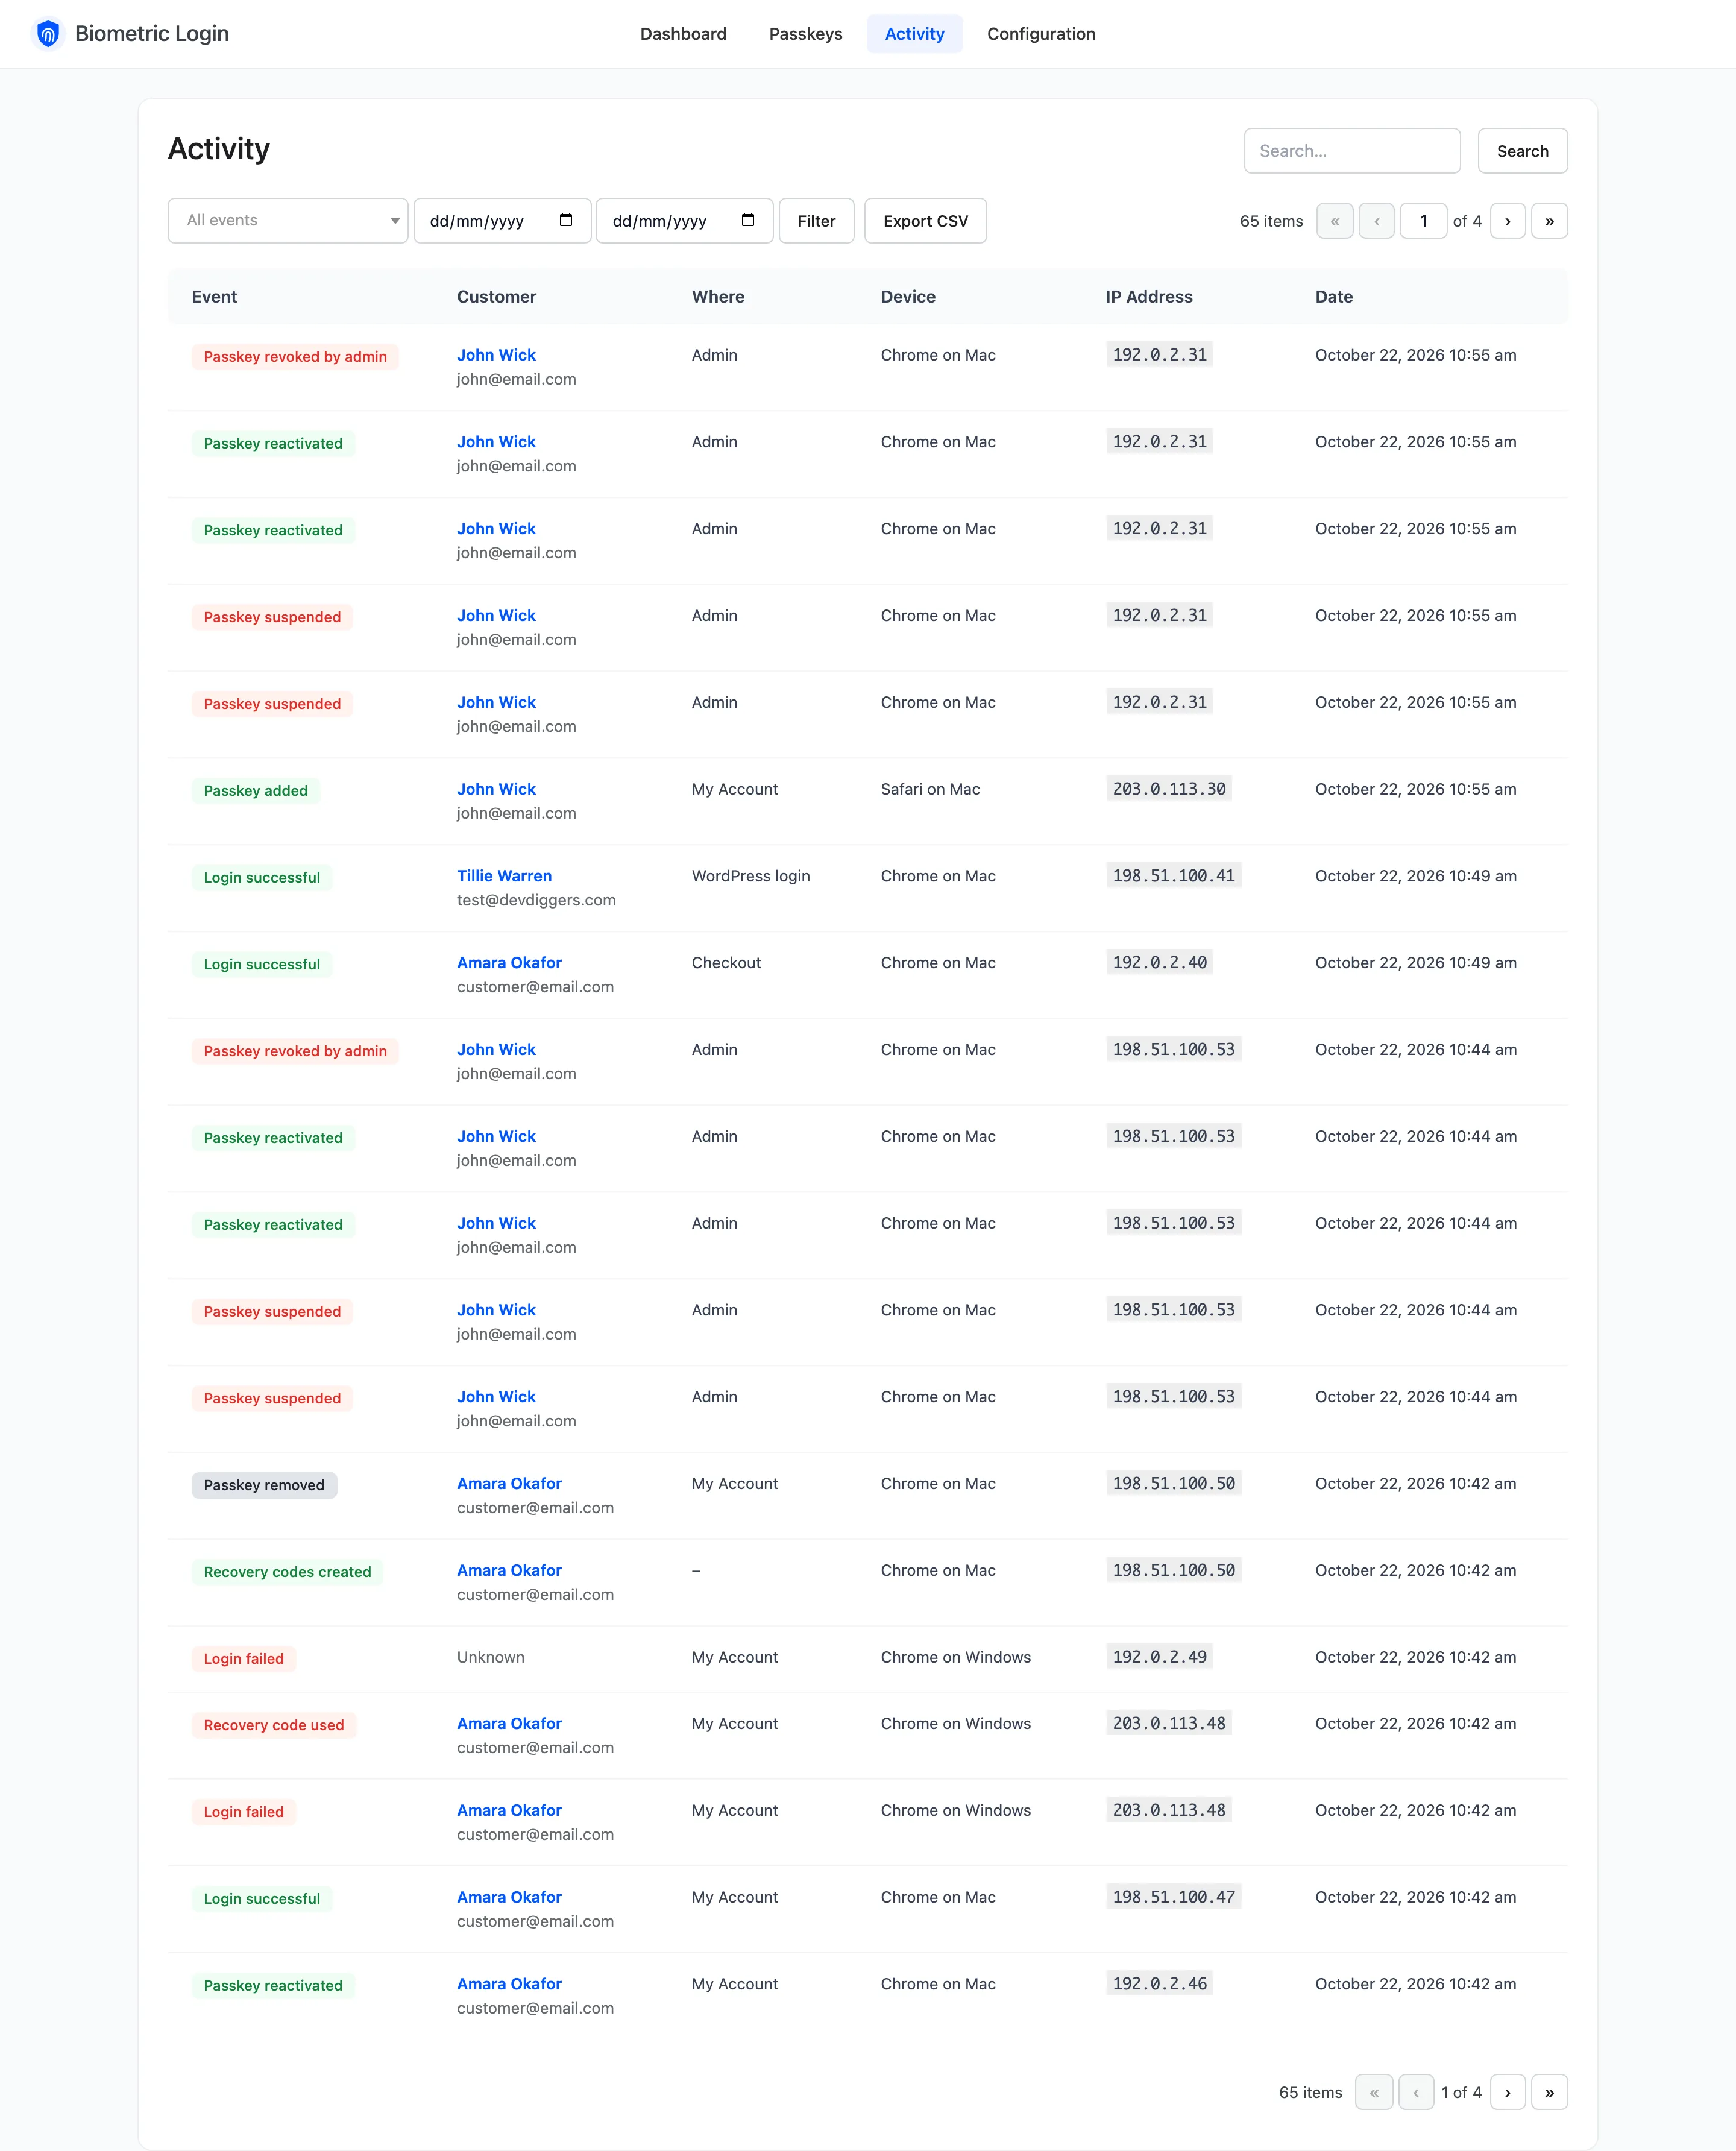
Section titled “Step 3: Pick the passkey”Choosing a passkey and confirming with the device’s check signs them in straight away. The Activity log records it with Where set to Passkey autofill.
Good to know
Section titled “Good to know”- Browsers without autofill support simply show the normal suggestions. The passkey button still works.
- Pressing Sign in with a passkey while autofill is waiting cancels the autofill request and opens the button’s prompt instead.
- Autofill runs only for signed out visitors, and only on the login forms with a username field.