

How to Add a Passkey from My Account
This is what a customer does to start signing in with a passkey. Try it yourself first, on your own account, so you know what customers see.
Step 1: Open the Passkeys page
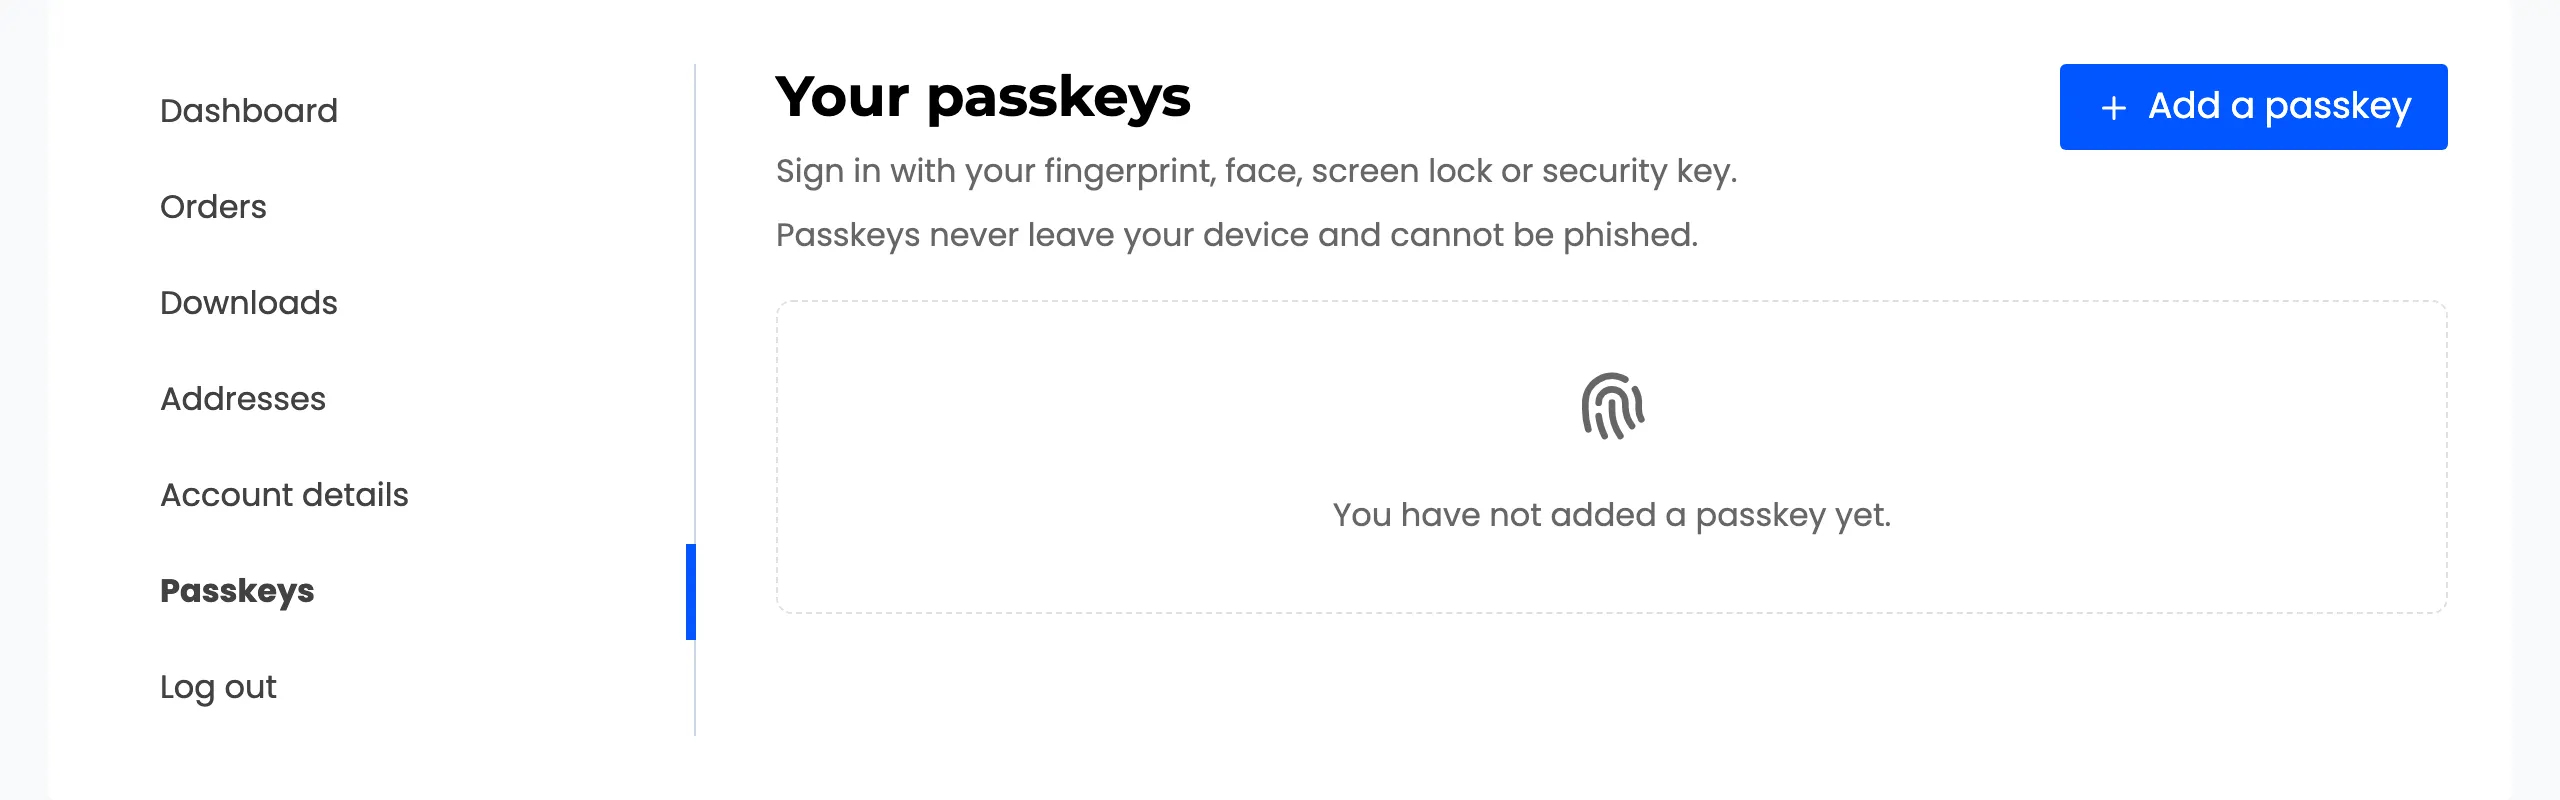
Section titled “Step 1: Open the Passkeys page”Signed in, open My Account → Passkeys. A new account shows “You have not added a passkey yet.”
Step 2: Press Add a passkey
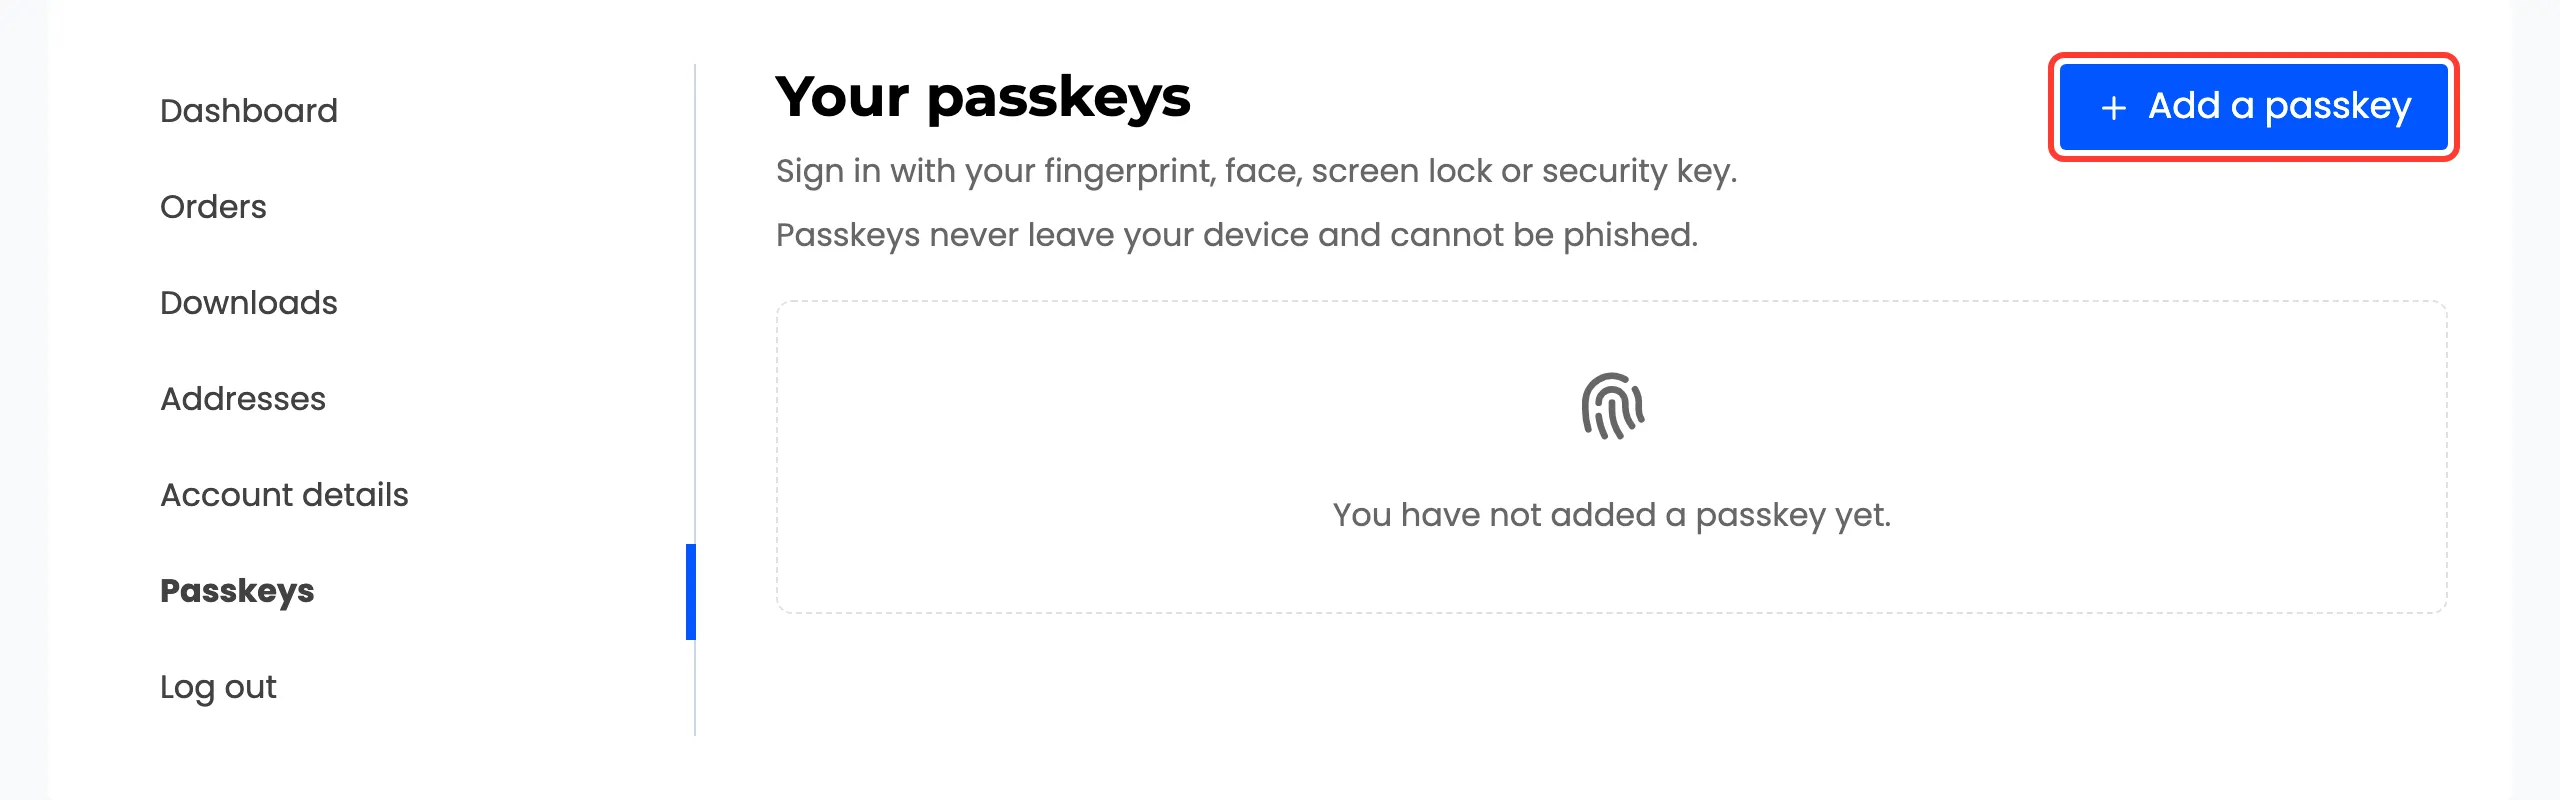
Section titled “Step 2: Press Add a passkey”Press Add a passkey at the top right. The browser asks for the device’s own check: Touch ID on a Mac, Face ID on an iPhone, Windows Hello, a fingerprint on Android, or a tap on a security key.
Nothing about the fingerprint or face reaches the store. The device signs a one-time challenge and the store checks that signature.
Step 3: Save the recovery codes
Section titled “Step 3: Save the recovery codes”The first passkey brings ten recovery codes, shown once. Copy puts them on the clipboard; Download
saves recovery-codes.txt. Done unlocks after I have saved these codes is ticked.
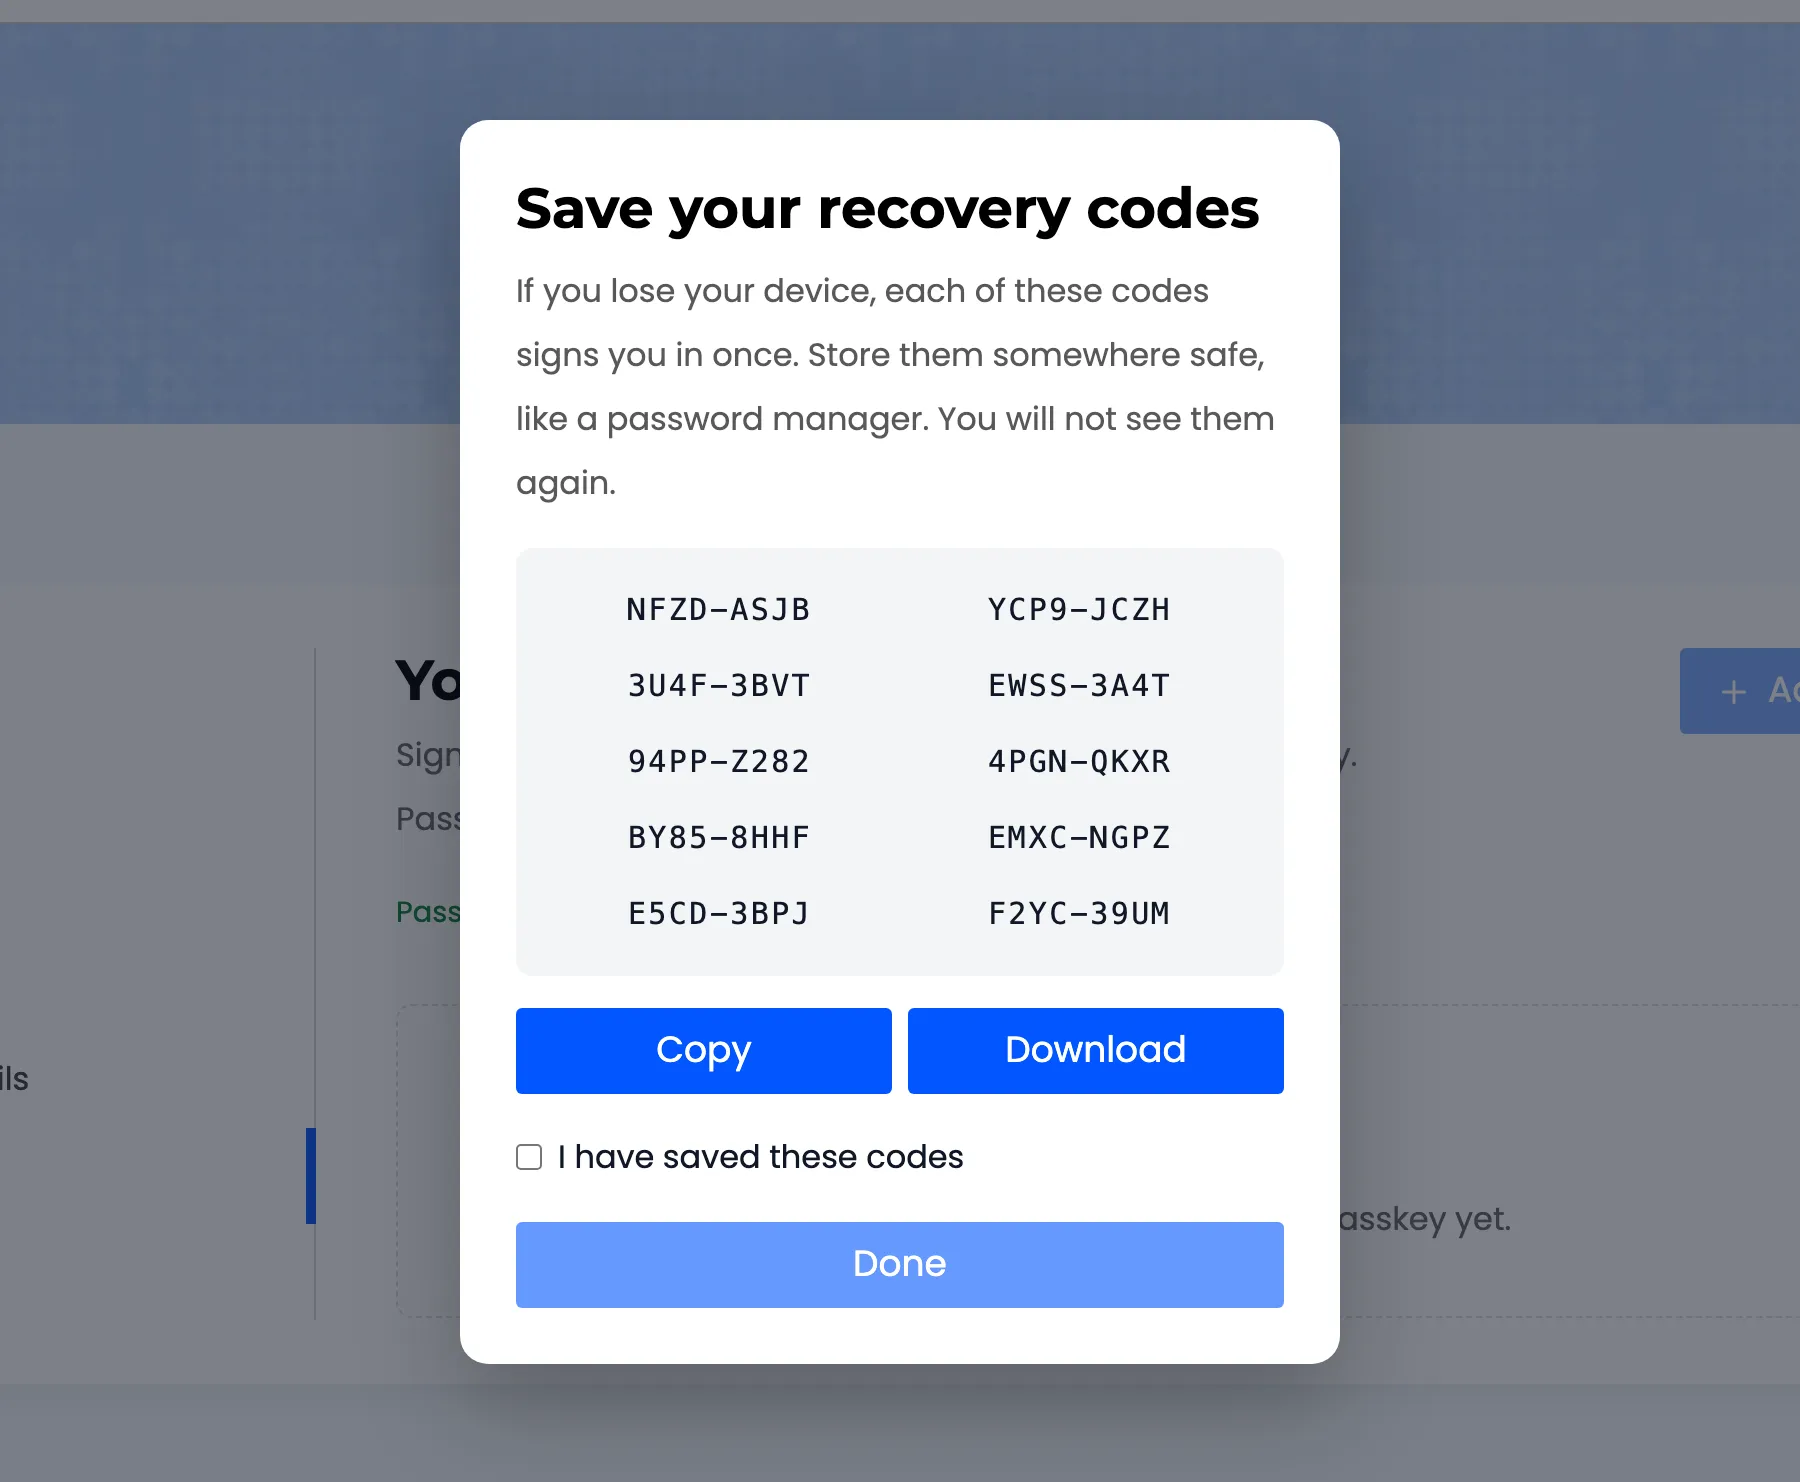
The popup does not close on Escape or a click outside it, because the codes cannot be shown again.
Step 4: Check the list
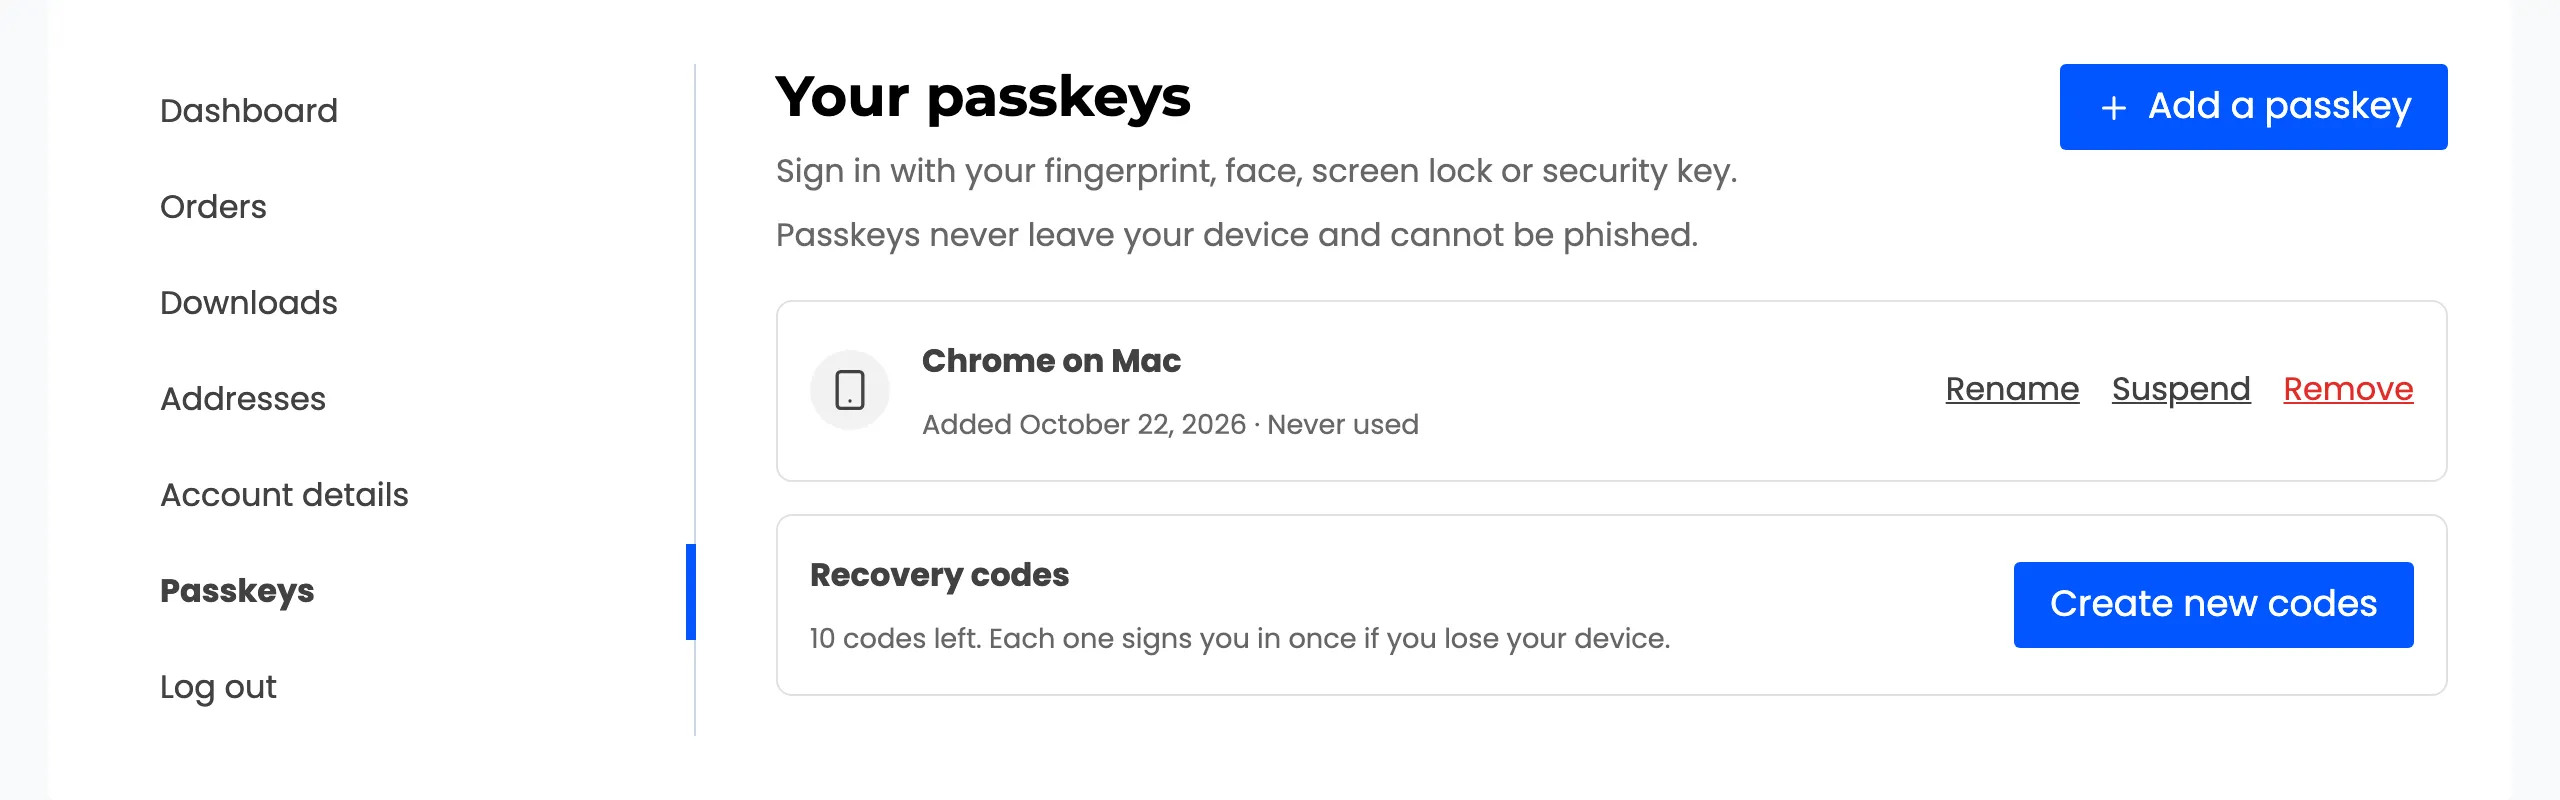
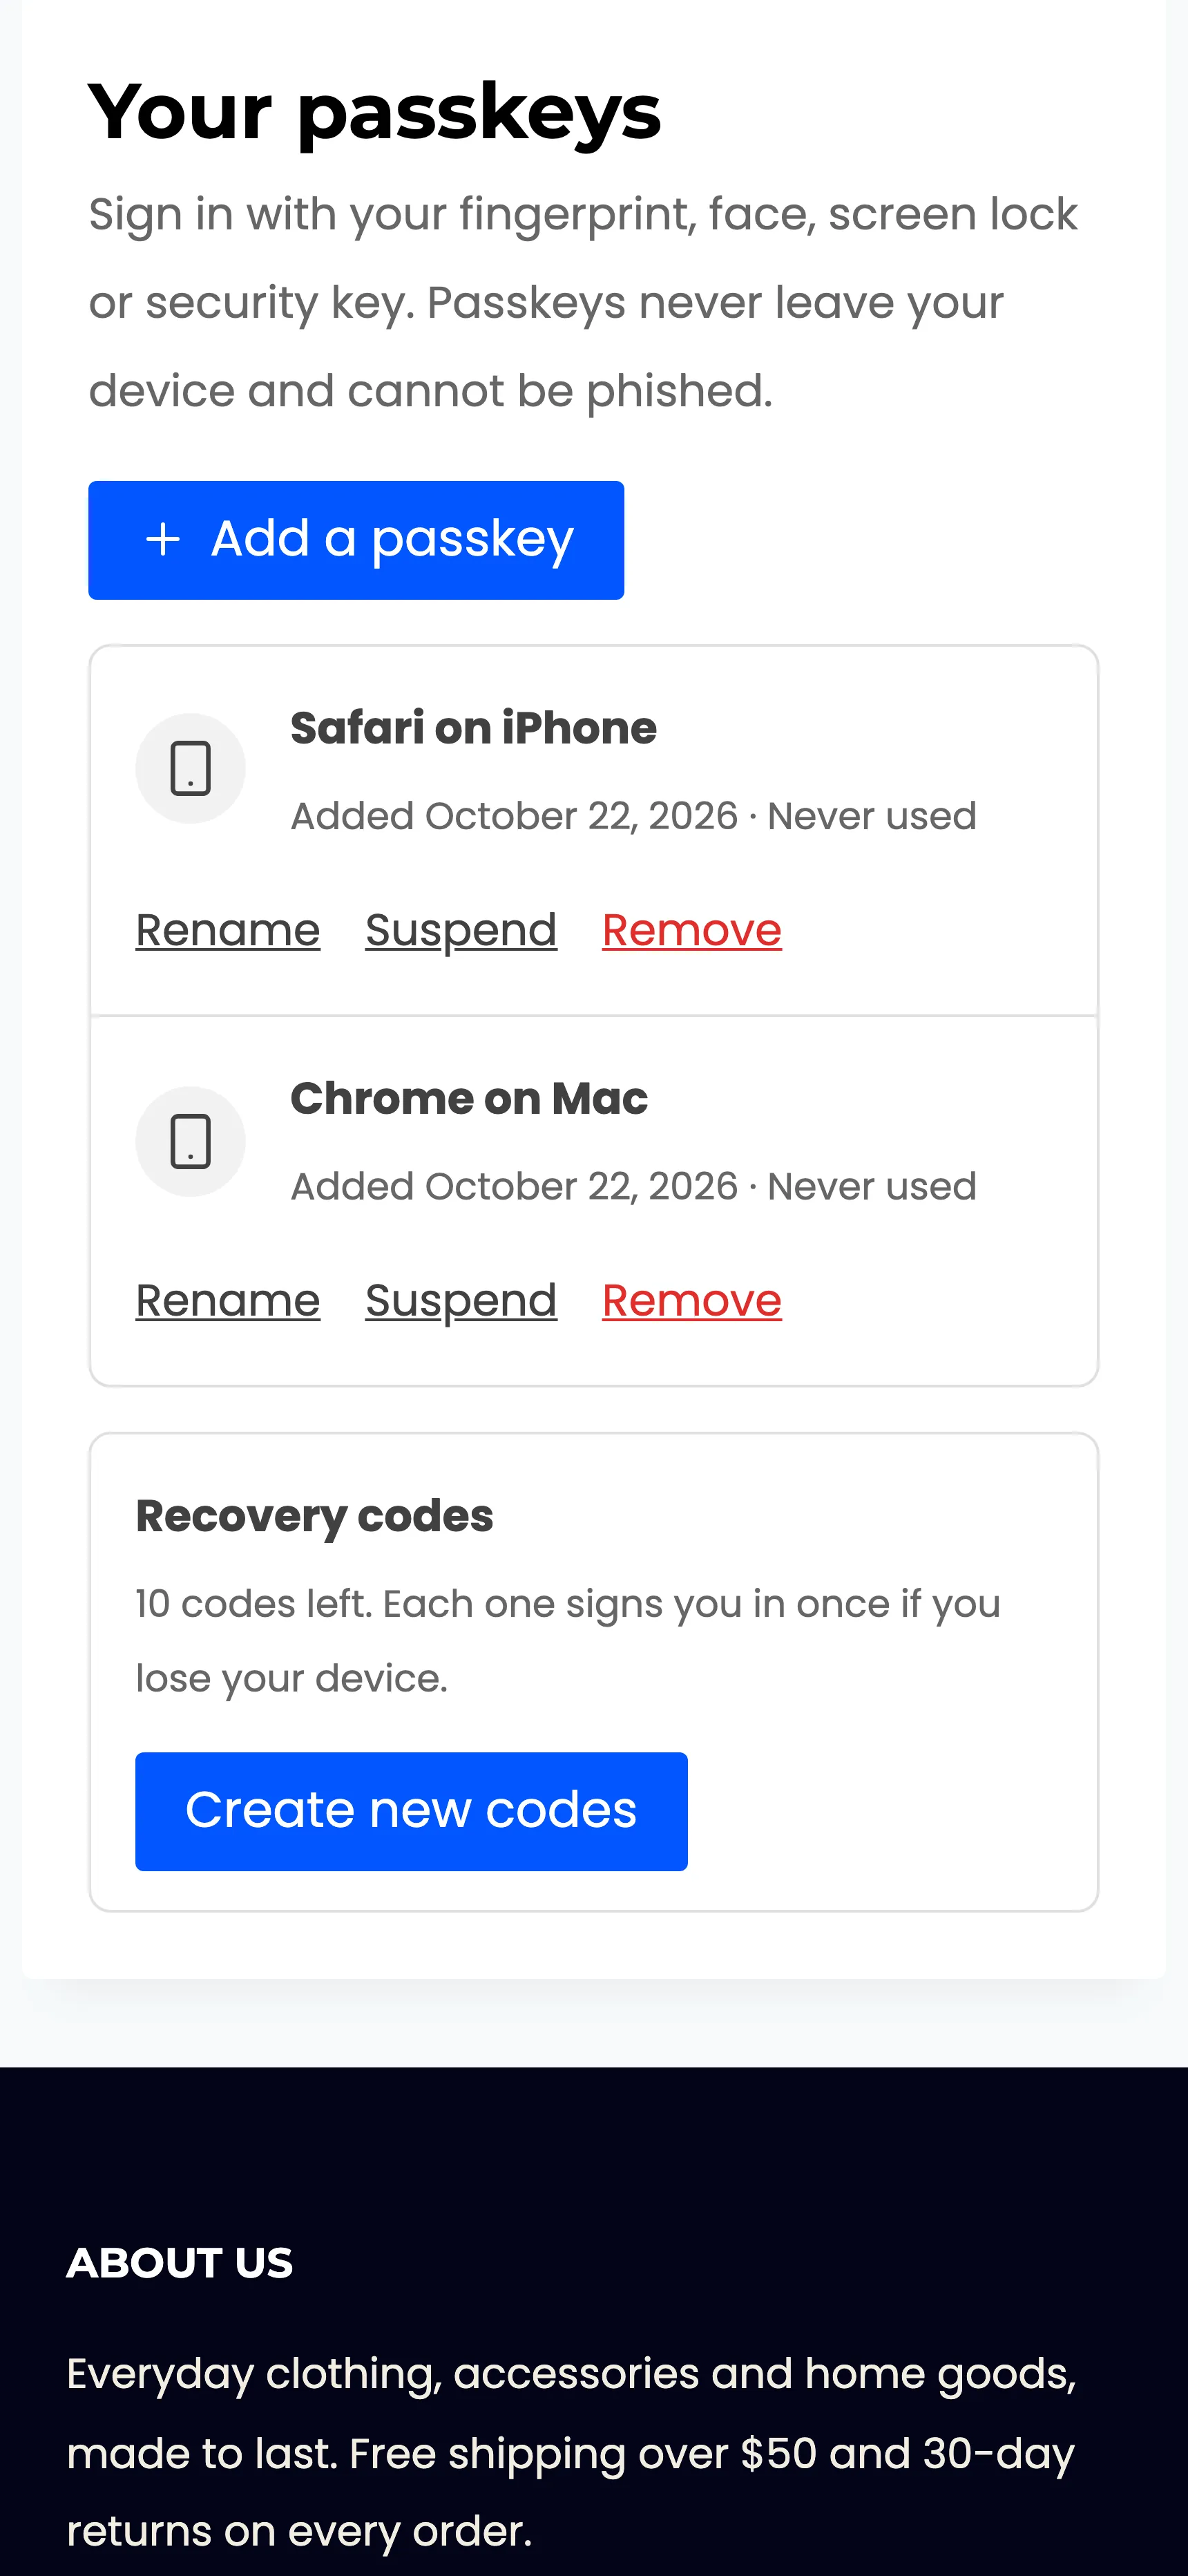
Section titled “Step 4: Check the list”The page reloads with the passkey listed, named after the browser and device, such as Chrome on Mac. Below it, Recovery codes says ten codes are left.
An email confirms it: “A new passkey was added to your account.”
Step 5: Add a second device
Section titled “Step 5: Add a second device”A passkey lives on one device, or in that device’s account, such as an Apple or Google account. A second passkey on a phone or a security key means a lost laptop never locks the customer out.
Up to five passkeys fit on an account by default. See Passkeys Per User under Security.
Good to know
Section titled “Good to know”- The same passkey cannot be added twice. Each device adds its own.
- Staff add theirs under Users → Profile, in the Passkeys section.
- Customers can also start from an invitation card, which has its own Add a passkey button.