

How to Invite Customers to Add a Passkey
Passkeys only help customers who add one. The plugin asks them at the four moments they are most likely to say yes.
Step 1: Choose the moments
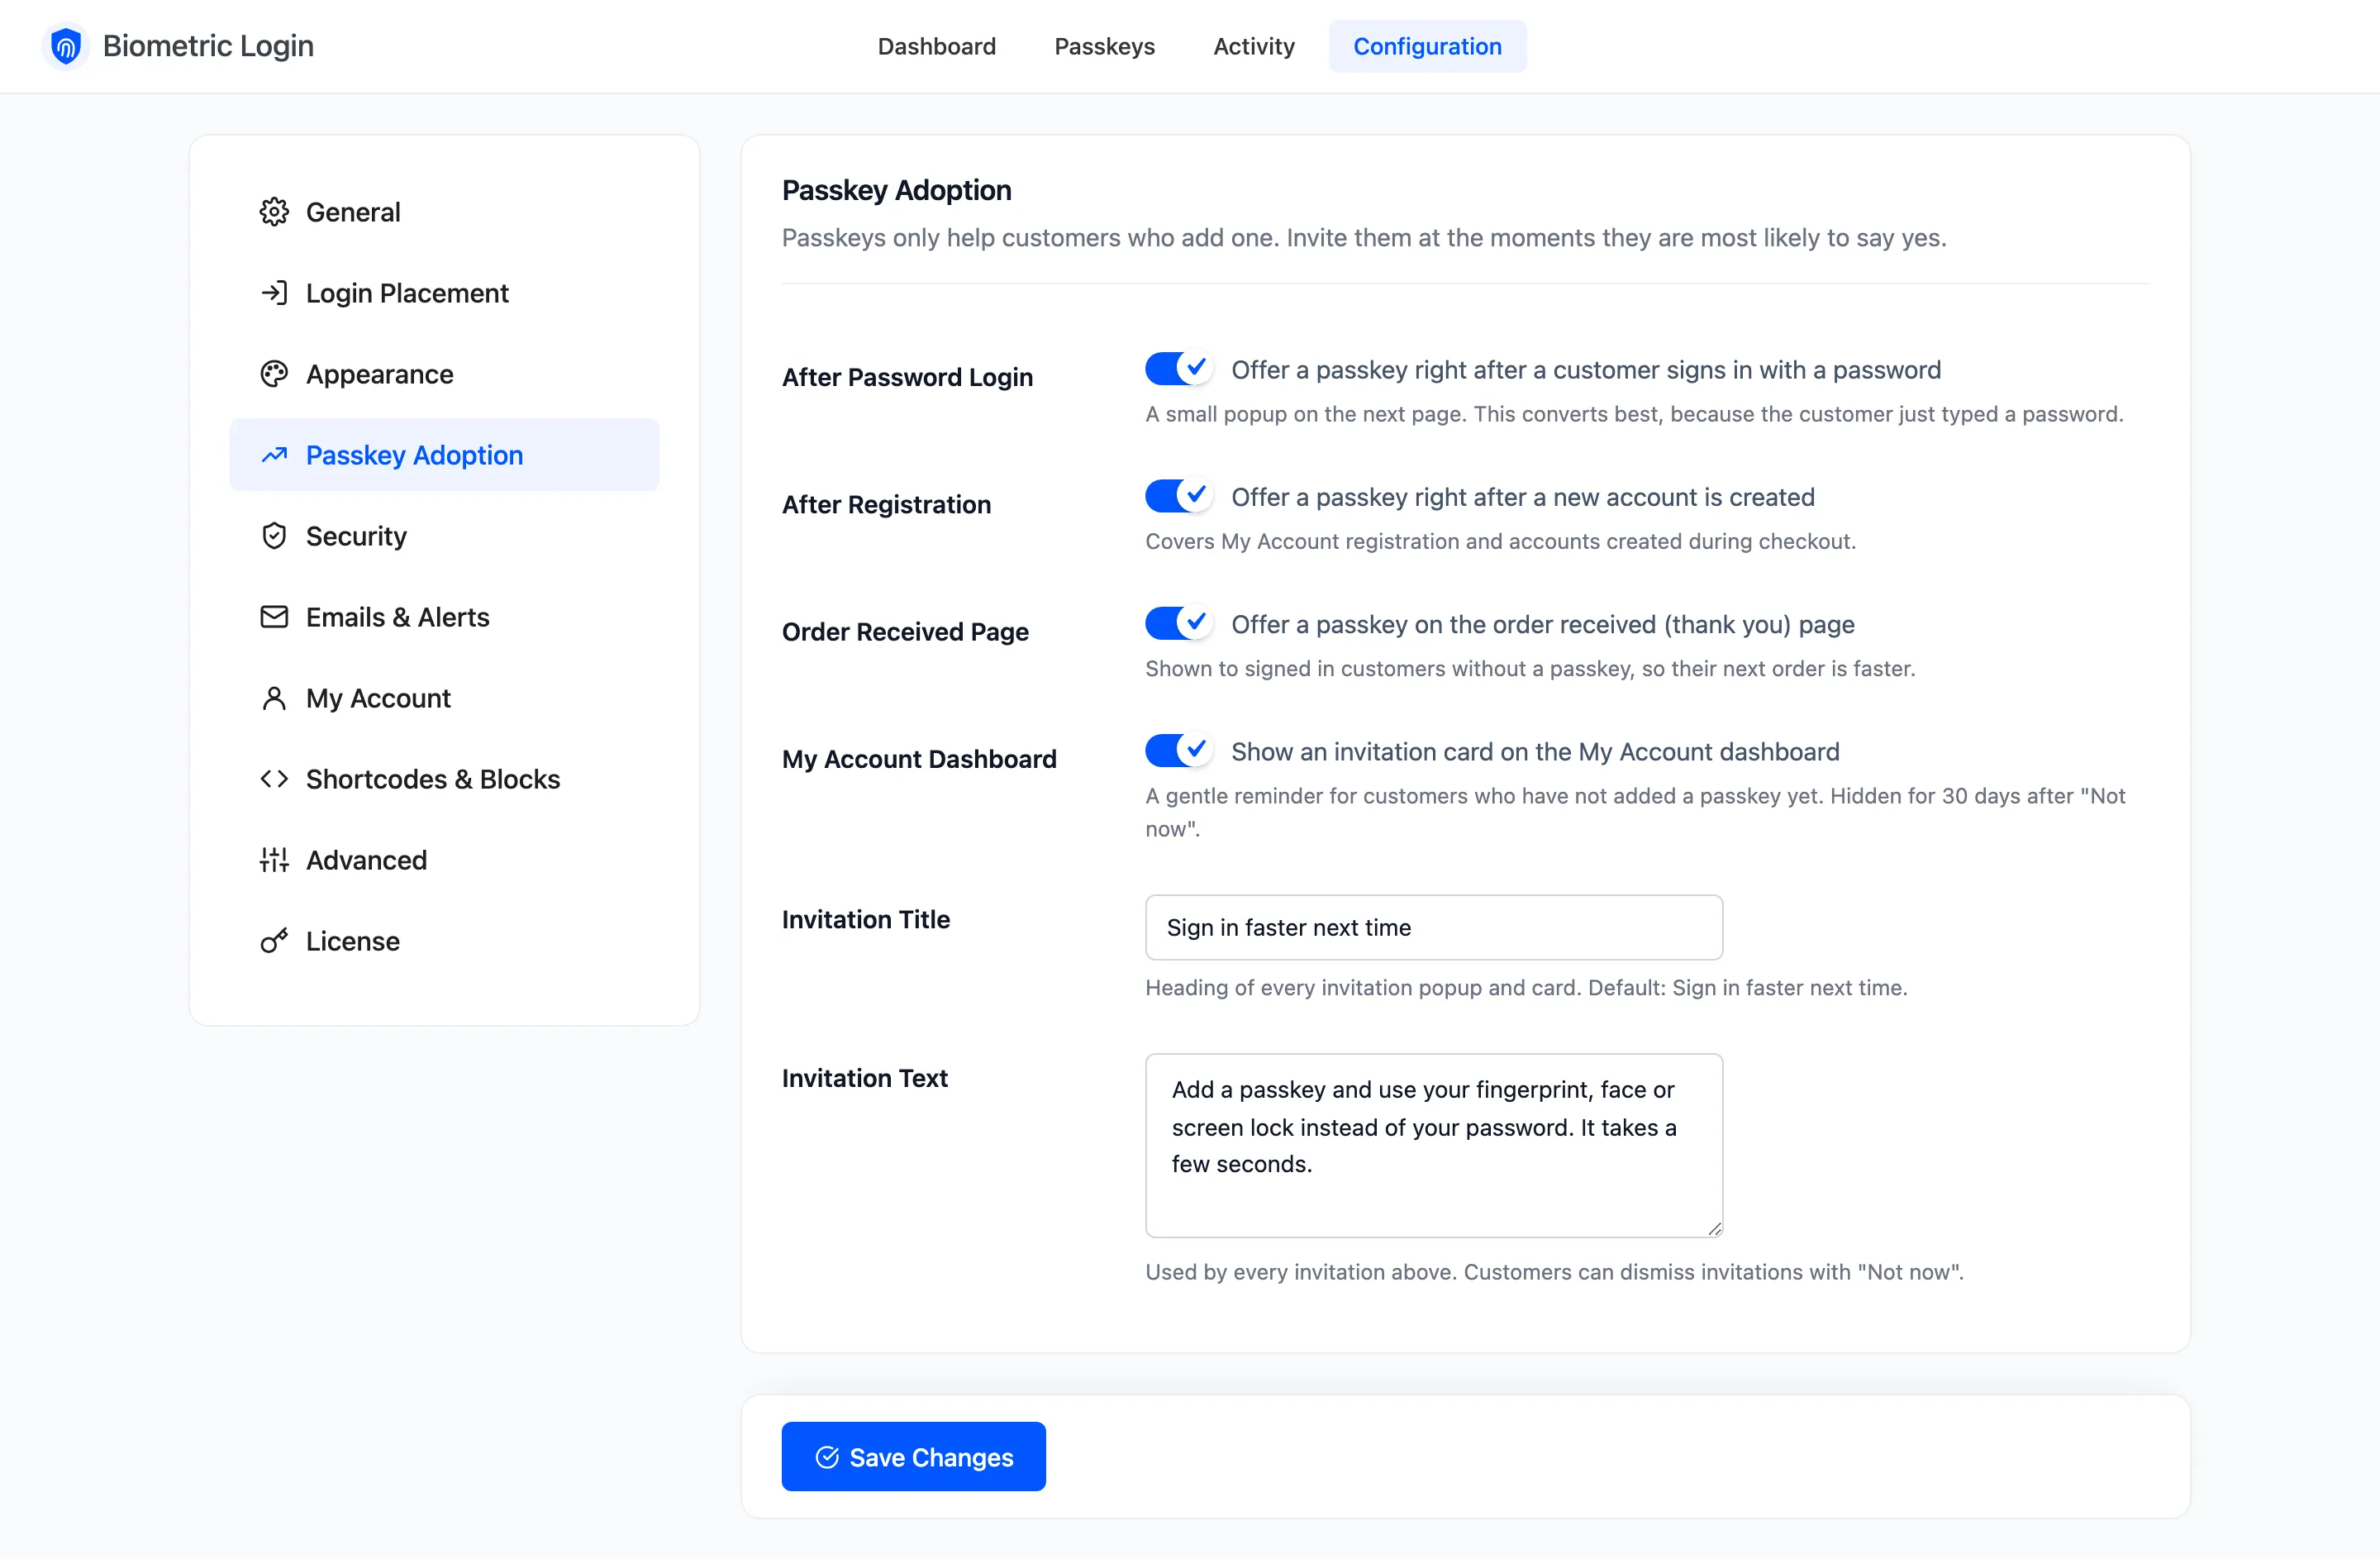
Section titled “Step 1: Choose the moments”Open Configuration → Passkey Adoption. All four are ticked by default.
Step 2: Write the invitation
Section titled “Step 2: Write the invitation”Invitation Title and Invitation Text are shared by all four. The defaults are “Sign in faster next time” and “Add a passkey and use your fingerprint, face or screen lock instead of your password. It takes a few seconds.”
Step 3: Check each one
Section titled “Step 3: Check each one”After a password sign in
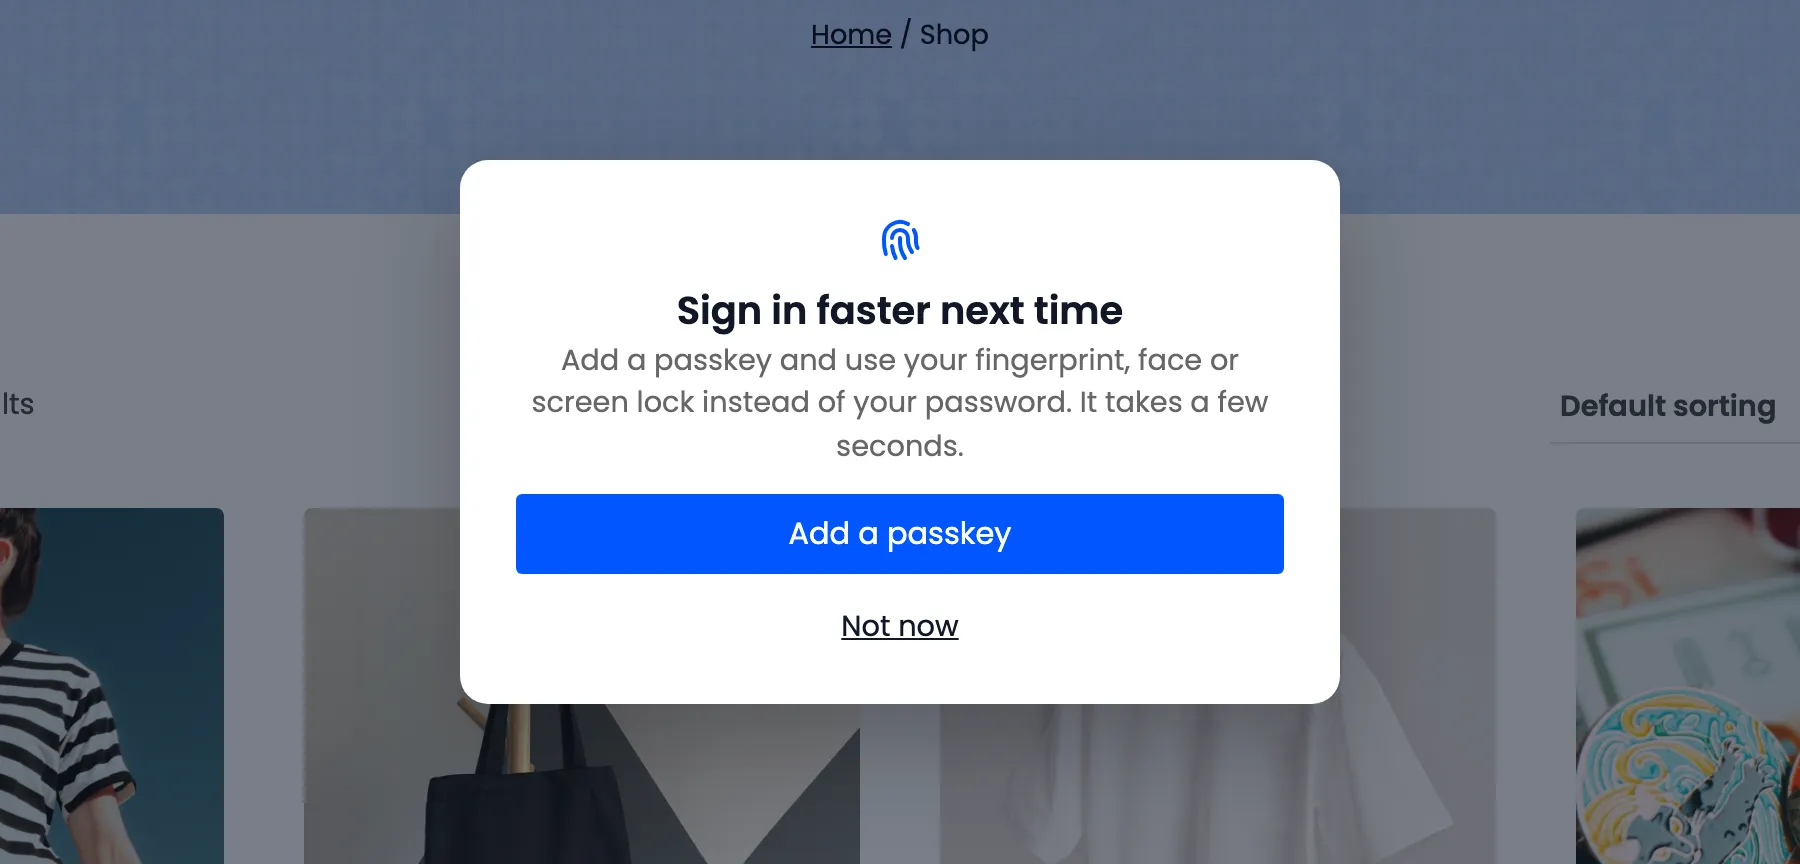
Section titled “After a password sign in”On the next page after a customer signs in with a password, a popup asks once. It does not appear after a passkey sign in.
After registration
Section titled “After registration”The same popup follows a new account, from My Account or from the checkout.
On the order received page
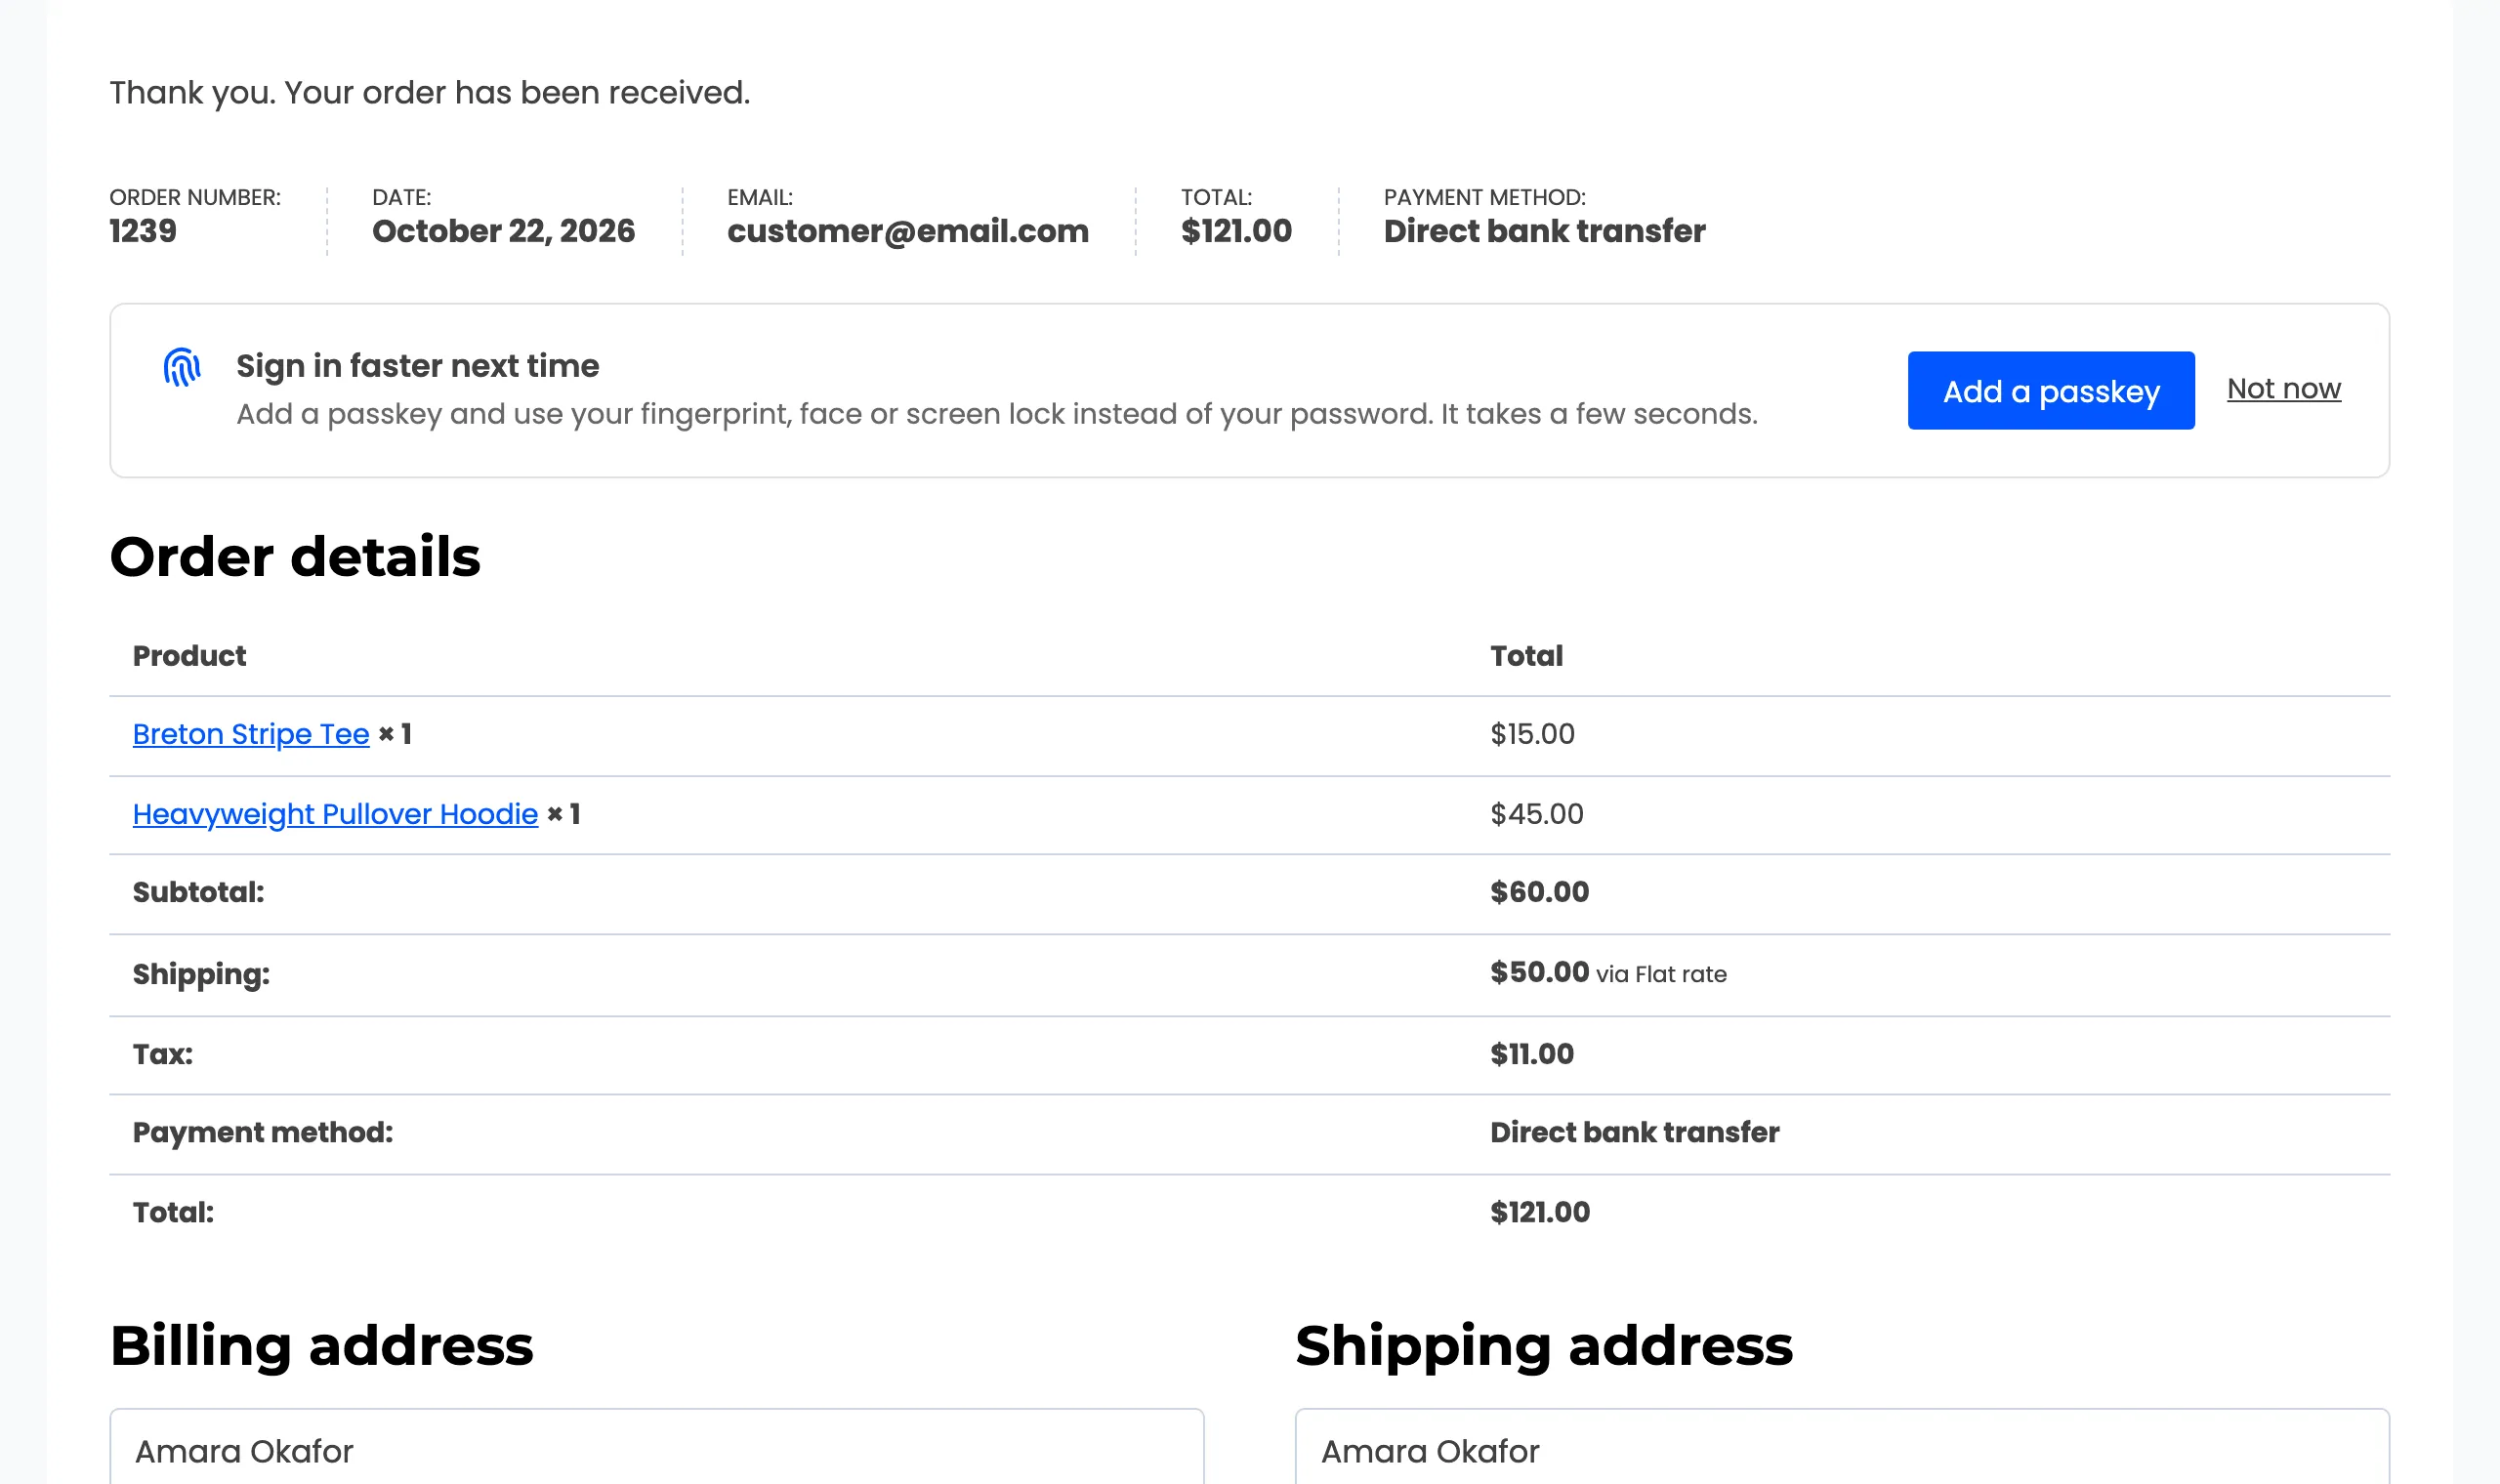
Section titled “On the order received page”A card sits under the order summary on the thank you page.
On the My Account dashboard
Section titled “On the My Account dashboard”A card sits at the top of the dashboard until the customer adds a passkey.
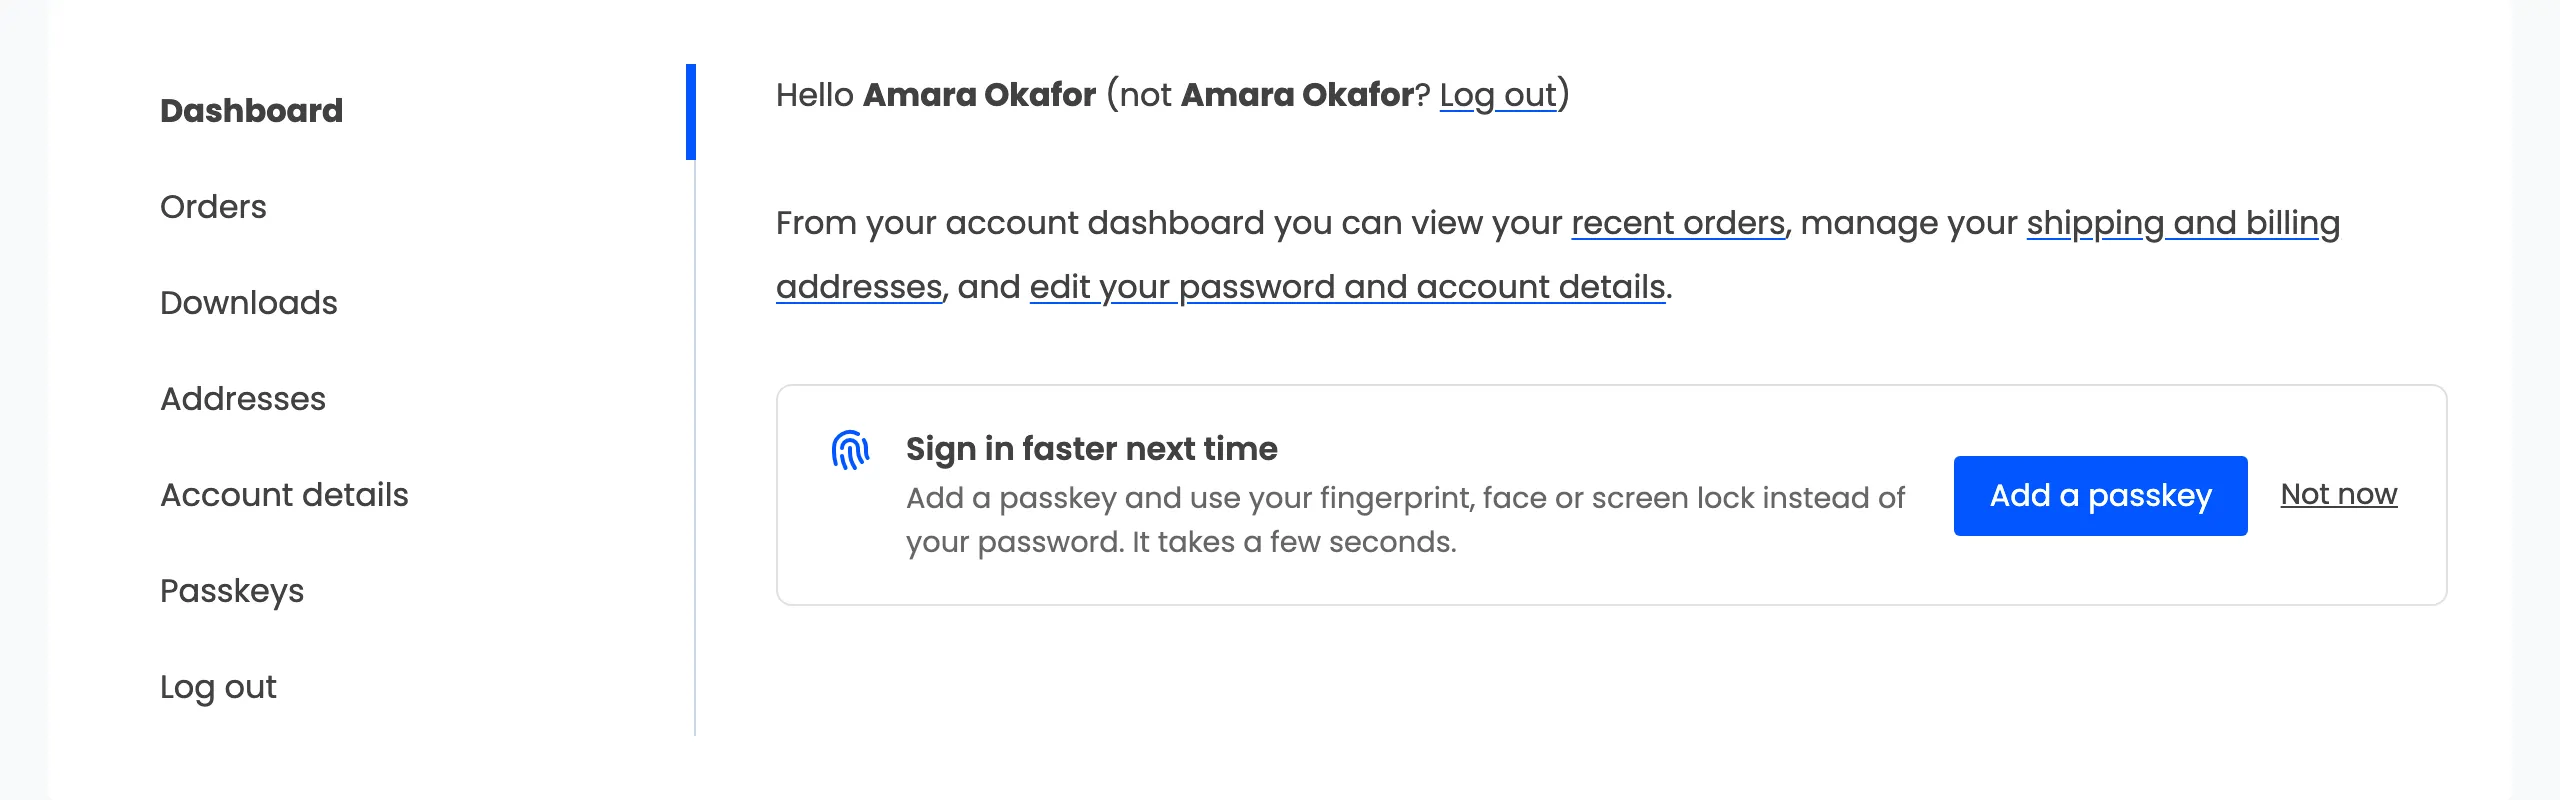
Every invitation has the Add a passkey button, which saves the passkey right there, and Not now.
Step 4: Watch adoption
Section titled “Step 4: Watch adoption”Not now hides all four for that customer for 30 days. Adding a passkey ends them.
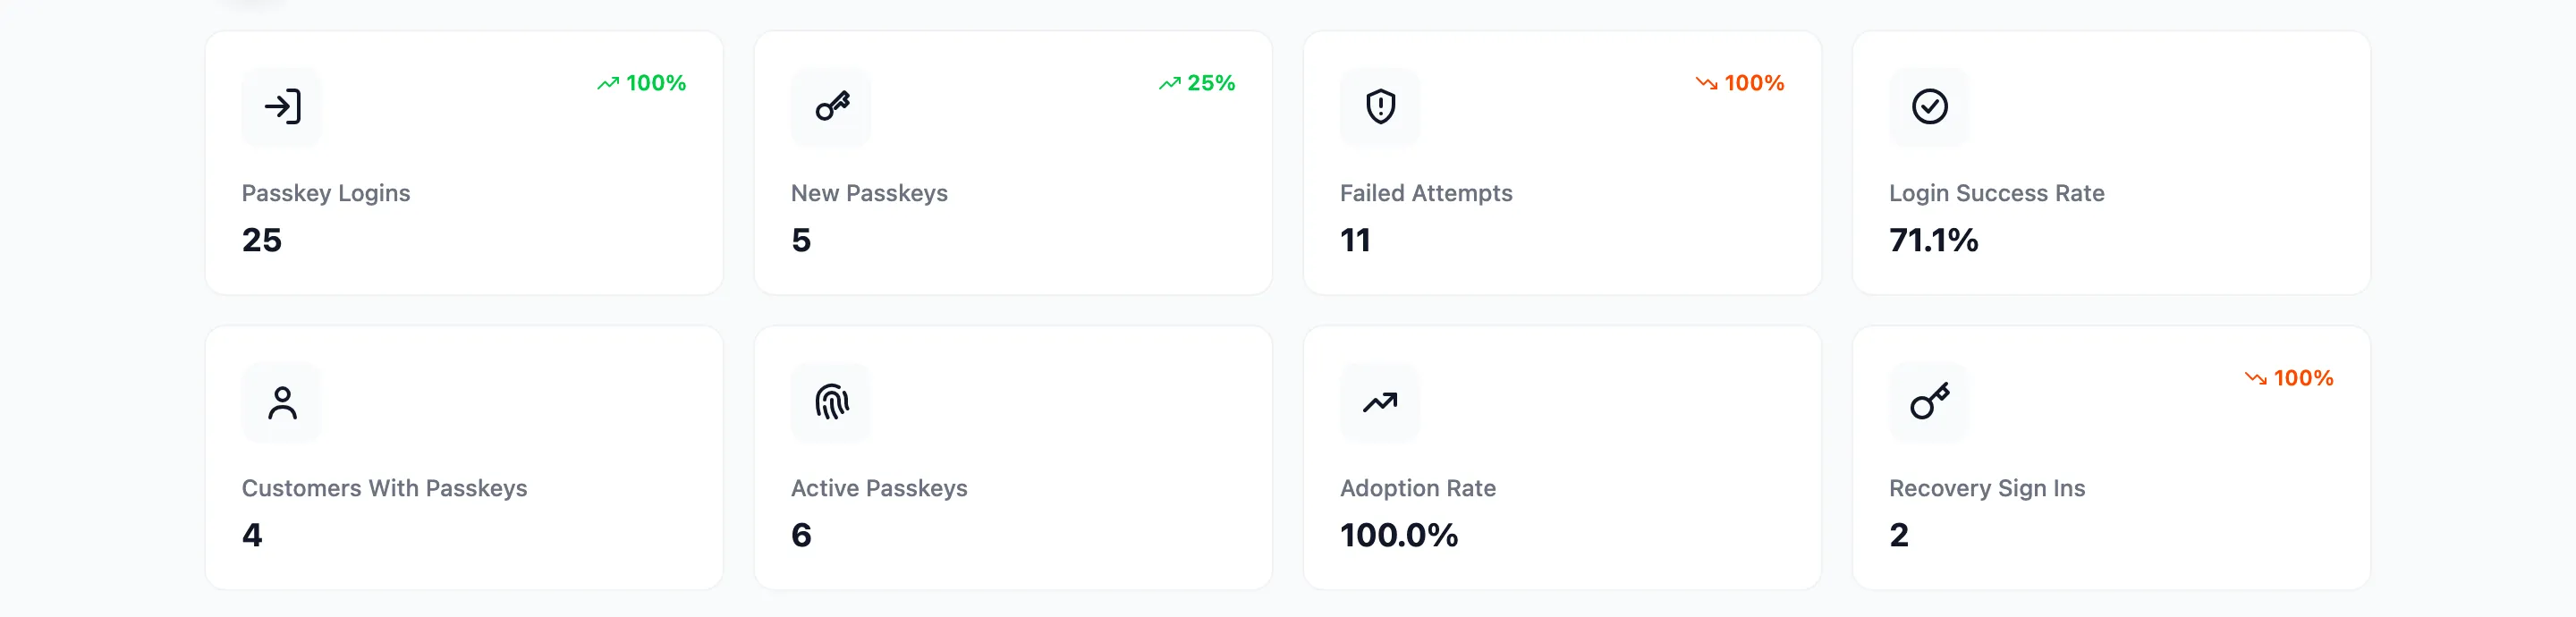
The dashboard’s Customers With Passkeys and Adoption Rate show how it is going. See The Dashboard.
Who is not invited
Section titled “Who is not invited”- Customers who already have a passkey.
- Customers whose role is not under Security → Allowed Roles, when that list is set.
- Signed out visitors.