

How to Add Passkey Sign In to the Checkout
A returning customer who has to remember a password at checkout is a customer who might leave. This puts the passkey button right in the checkout.
Step 1: Allow login at checkout
Section titled “Step 1: Allow login at checkout”The button lives in WooCommerce’s own “Returning customer?” form, which only exists when WooCommerce allows it. Open WooCommerce → Settings → Accounts & Privacy and tick Allow customers to log into an existing account during checkout.
Step 2: Tick Checkout Login
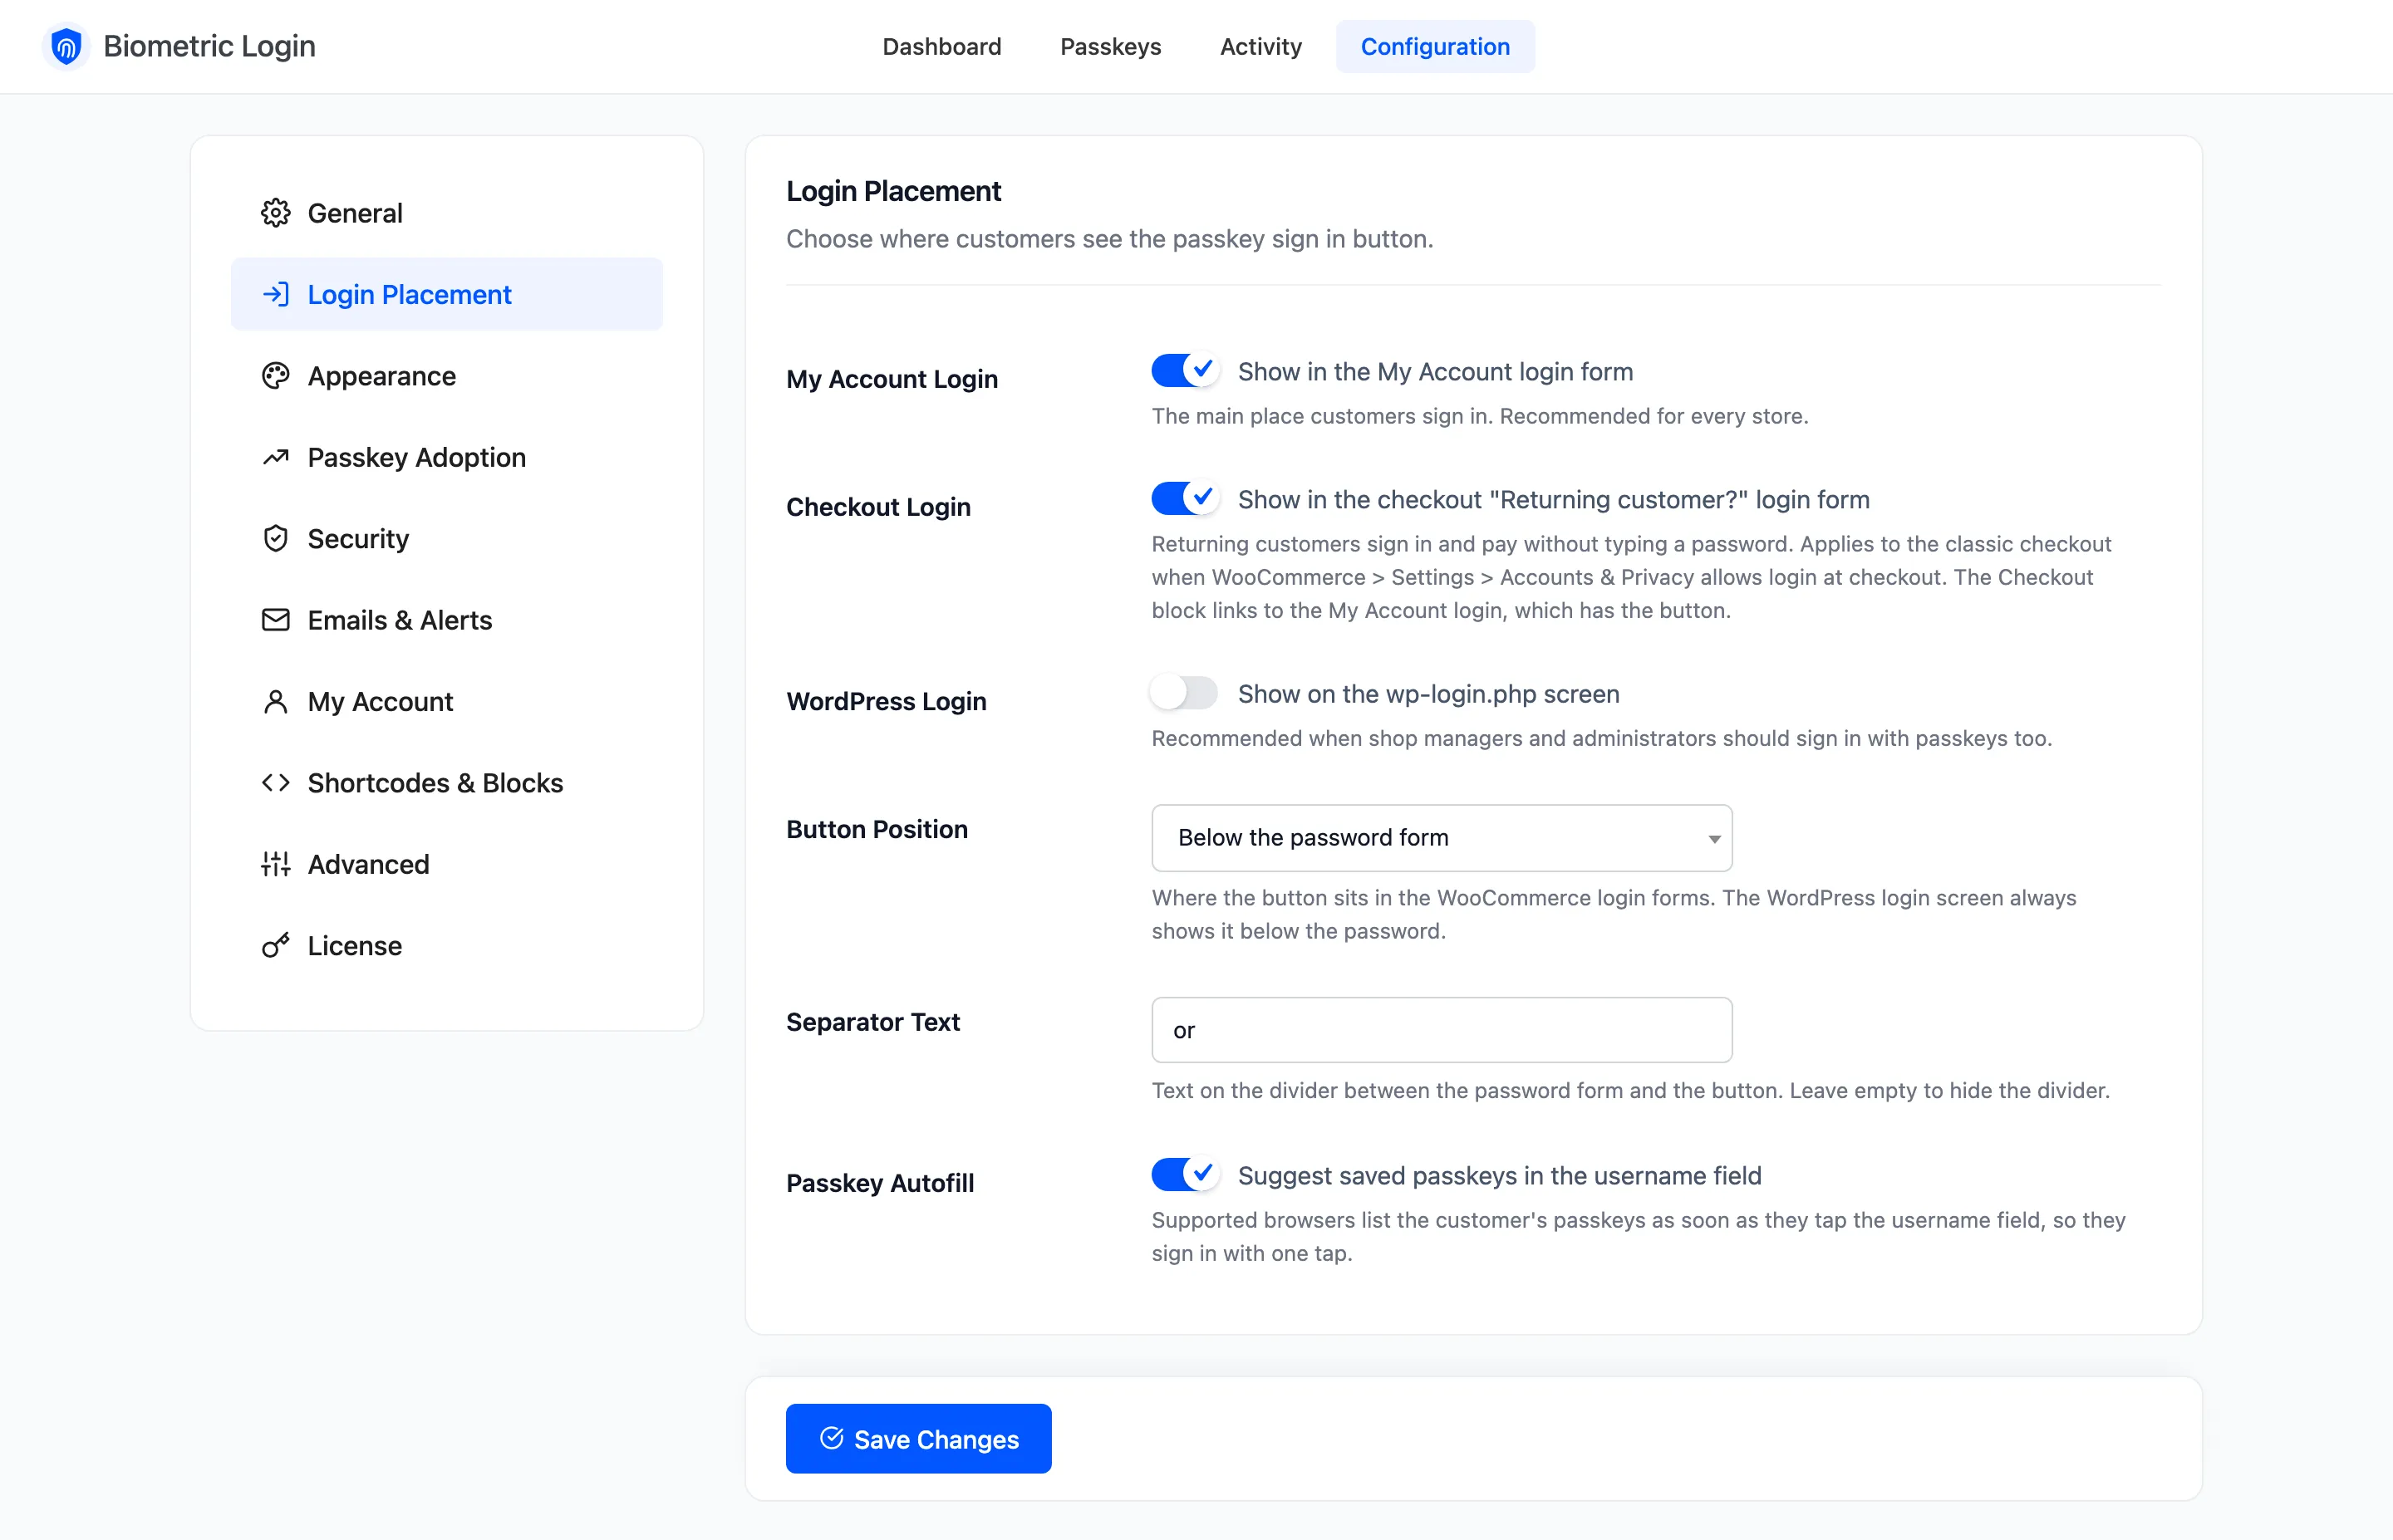
Section titled “Step 2: Tick Checkout Login”Open Configuration → Login Placement. Checkout Login is ticked by default. Leave it on and save.
Step 3: Open the login form at checkout
Section titled “Step 3: Open the login form at checkout”Signed out, with something in the cart, the checkout starts with Returning customer? Click here to login. The form that opens has the passkey button under it.
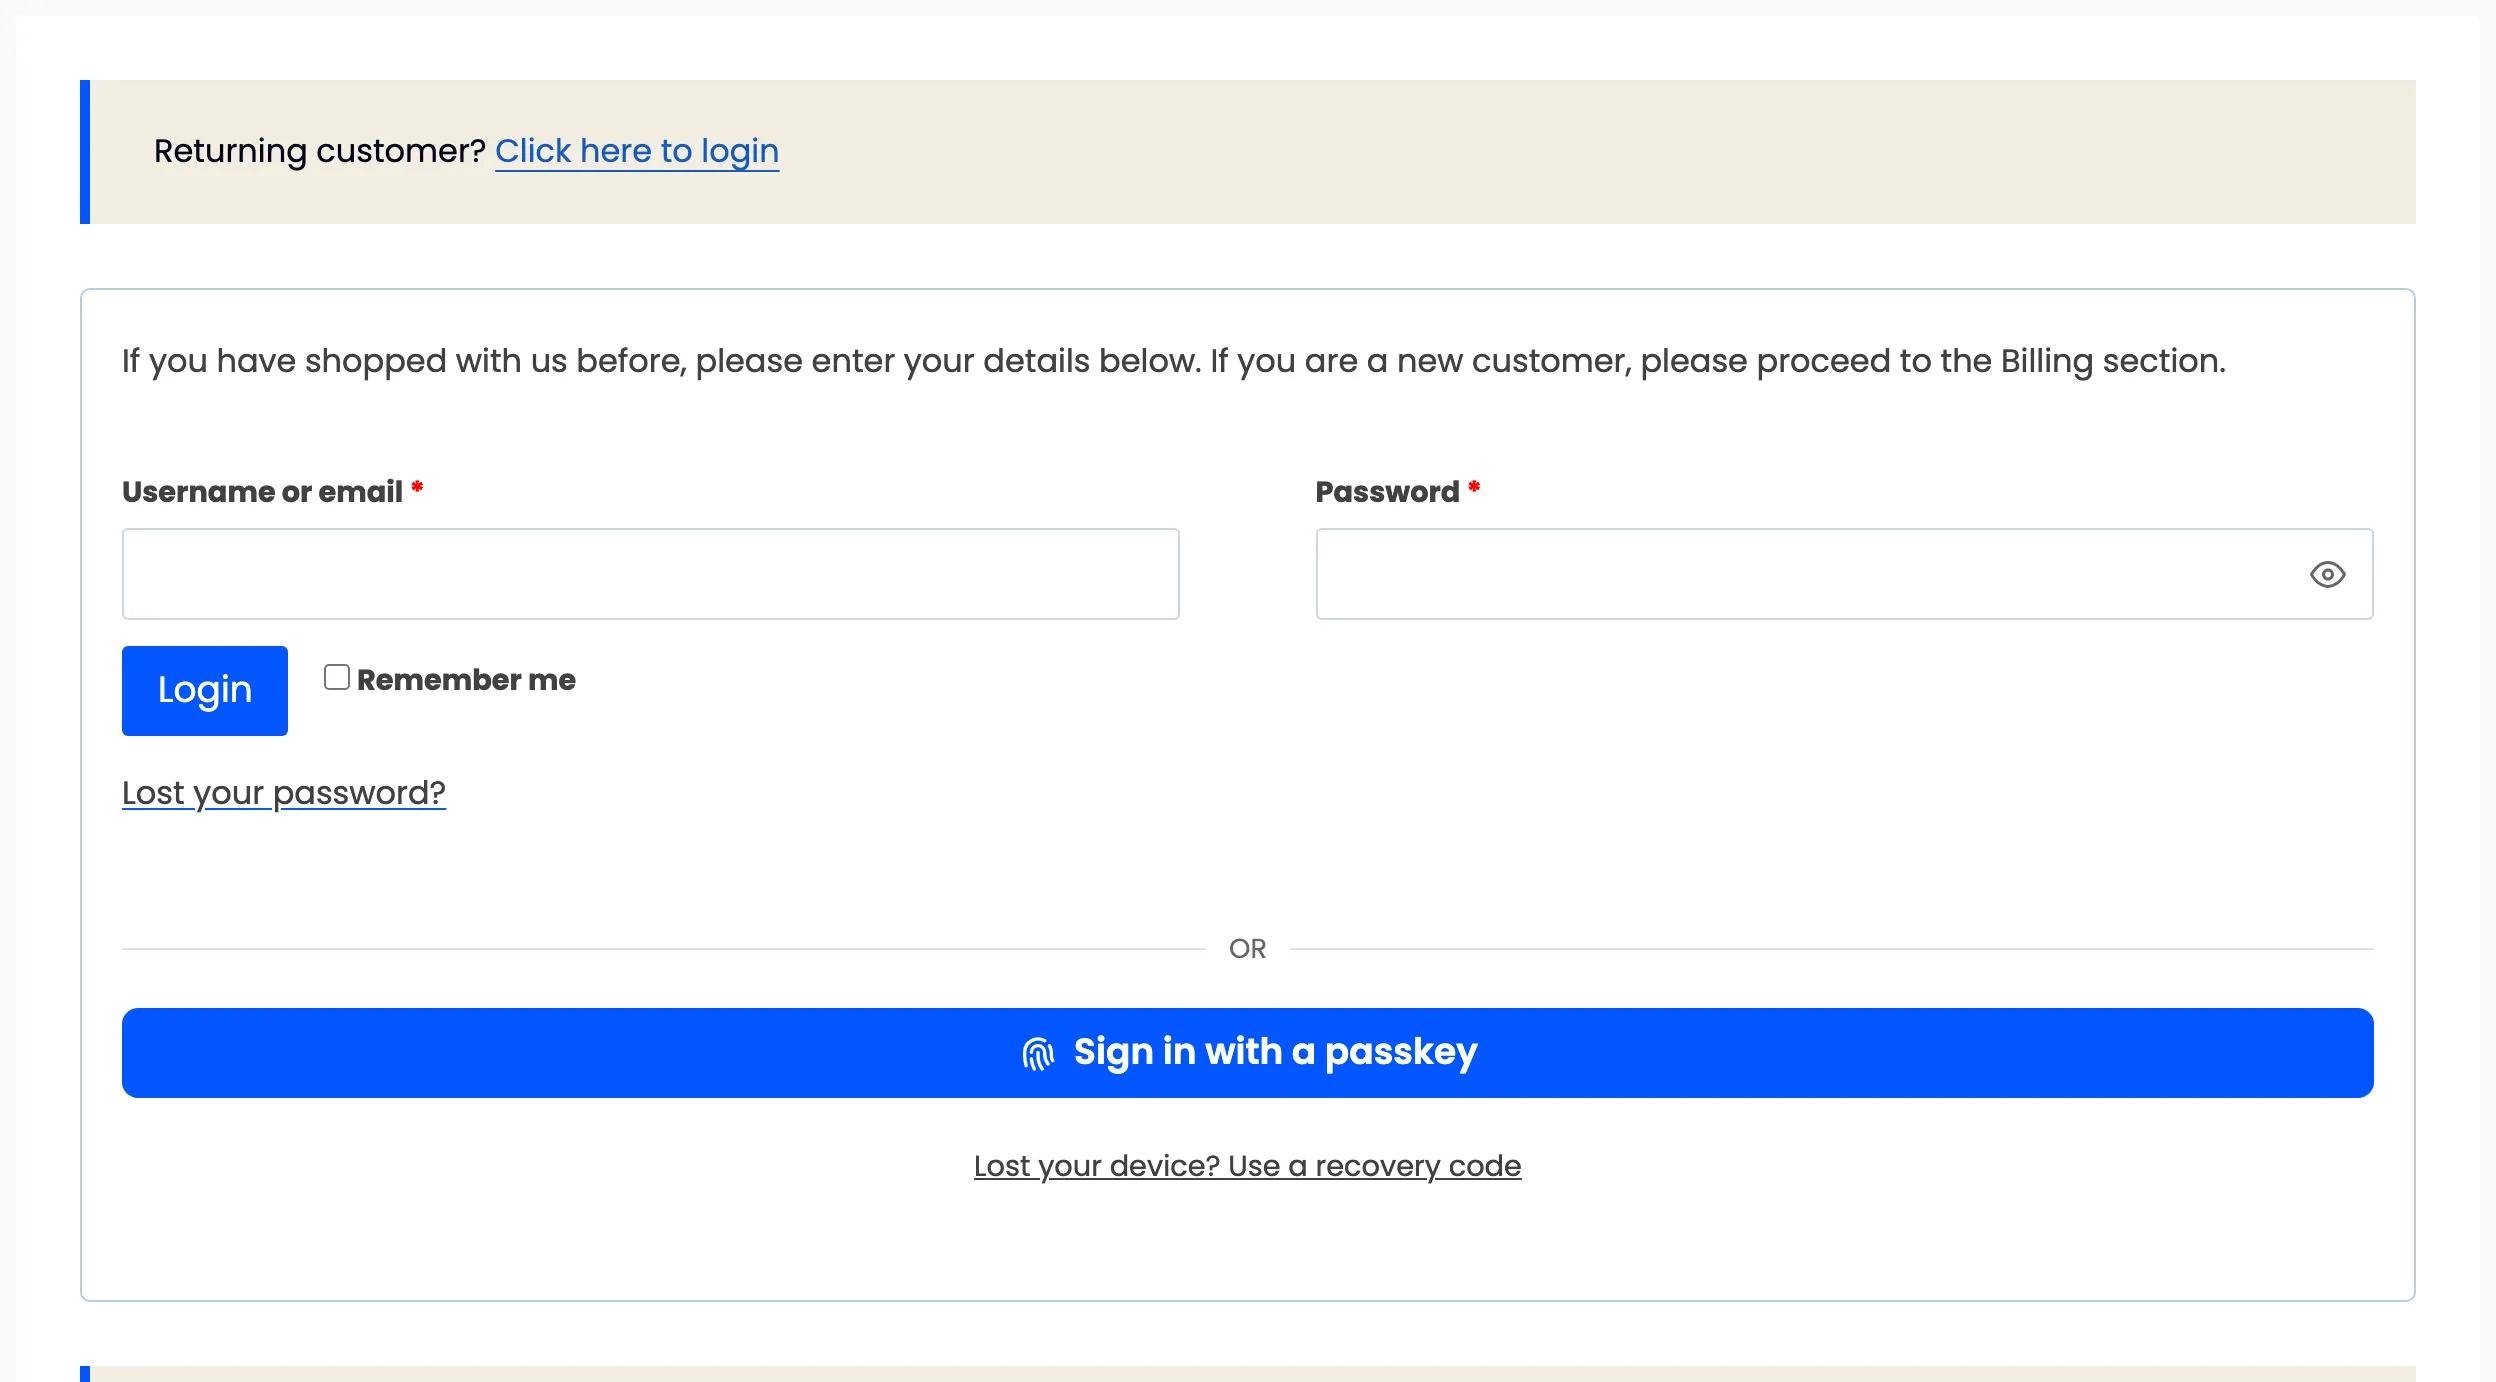
Step 4: Sign in with the passkey
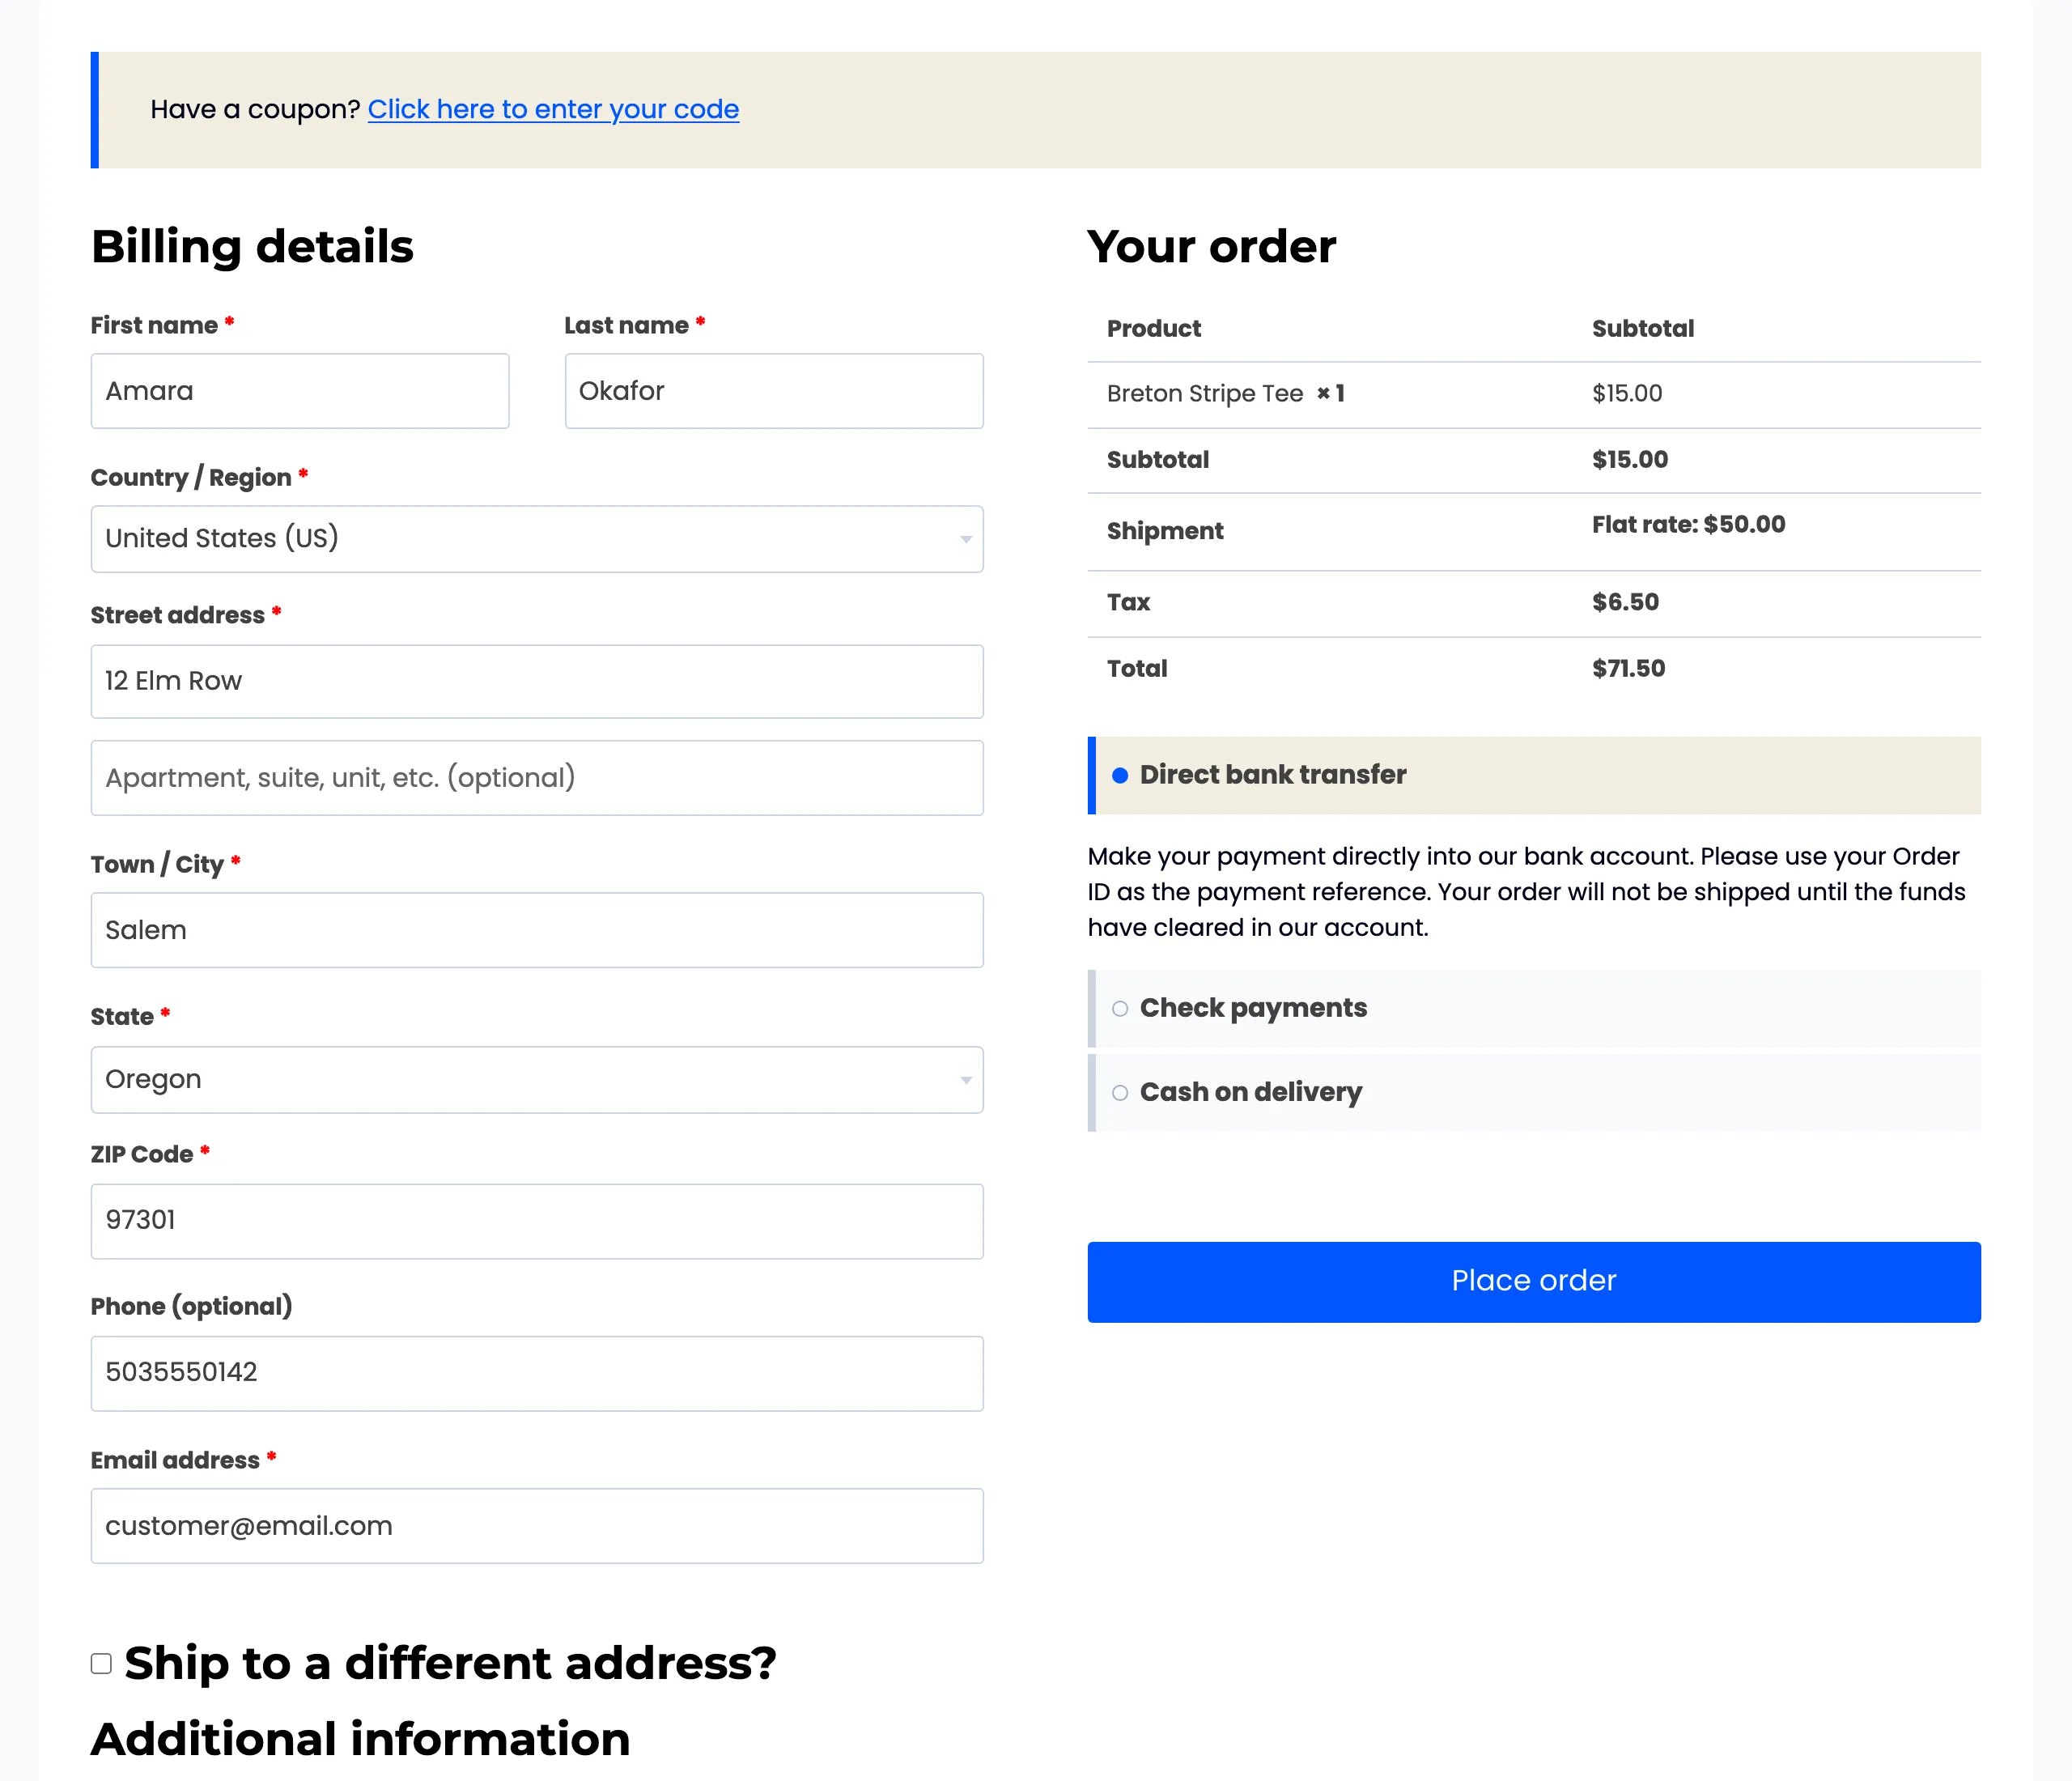
Section titled “Step 4: Sign in with the passkey”Pressing Sign in with a passkey and confirming on the device opens the checkout again, signed in, with the cart as it was and the customer’s saved address filled in.
The sign in is recorded in Activity with Where set to Checkout.
The Checkout block
Section titled “The Checkout block”The WooCommerce Checkout block has no login form. Its sign in link goes to My Account, where the passkey button is, and the customer comes back to the checkout from there.