

How to Limit Passkeys to Certain Roles
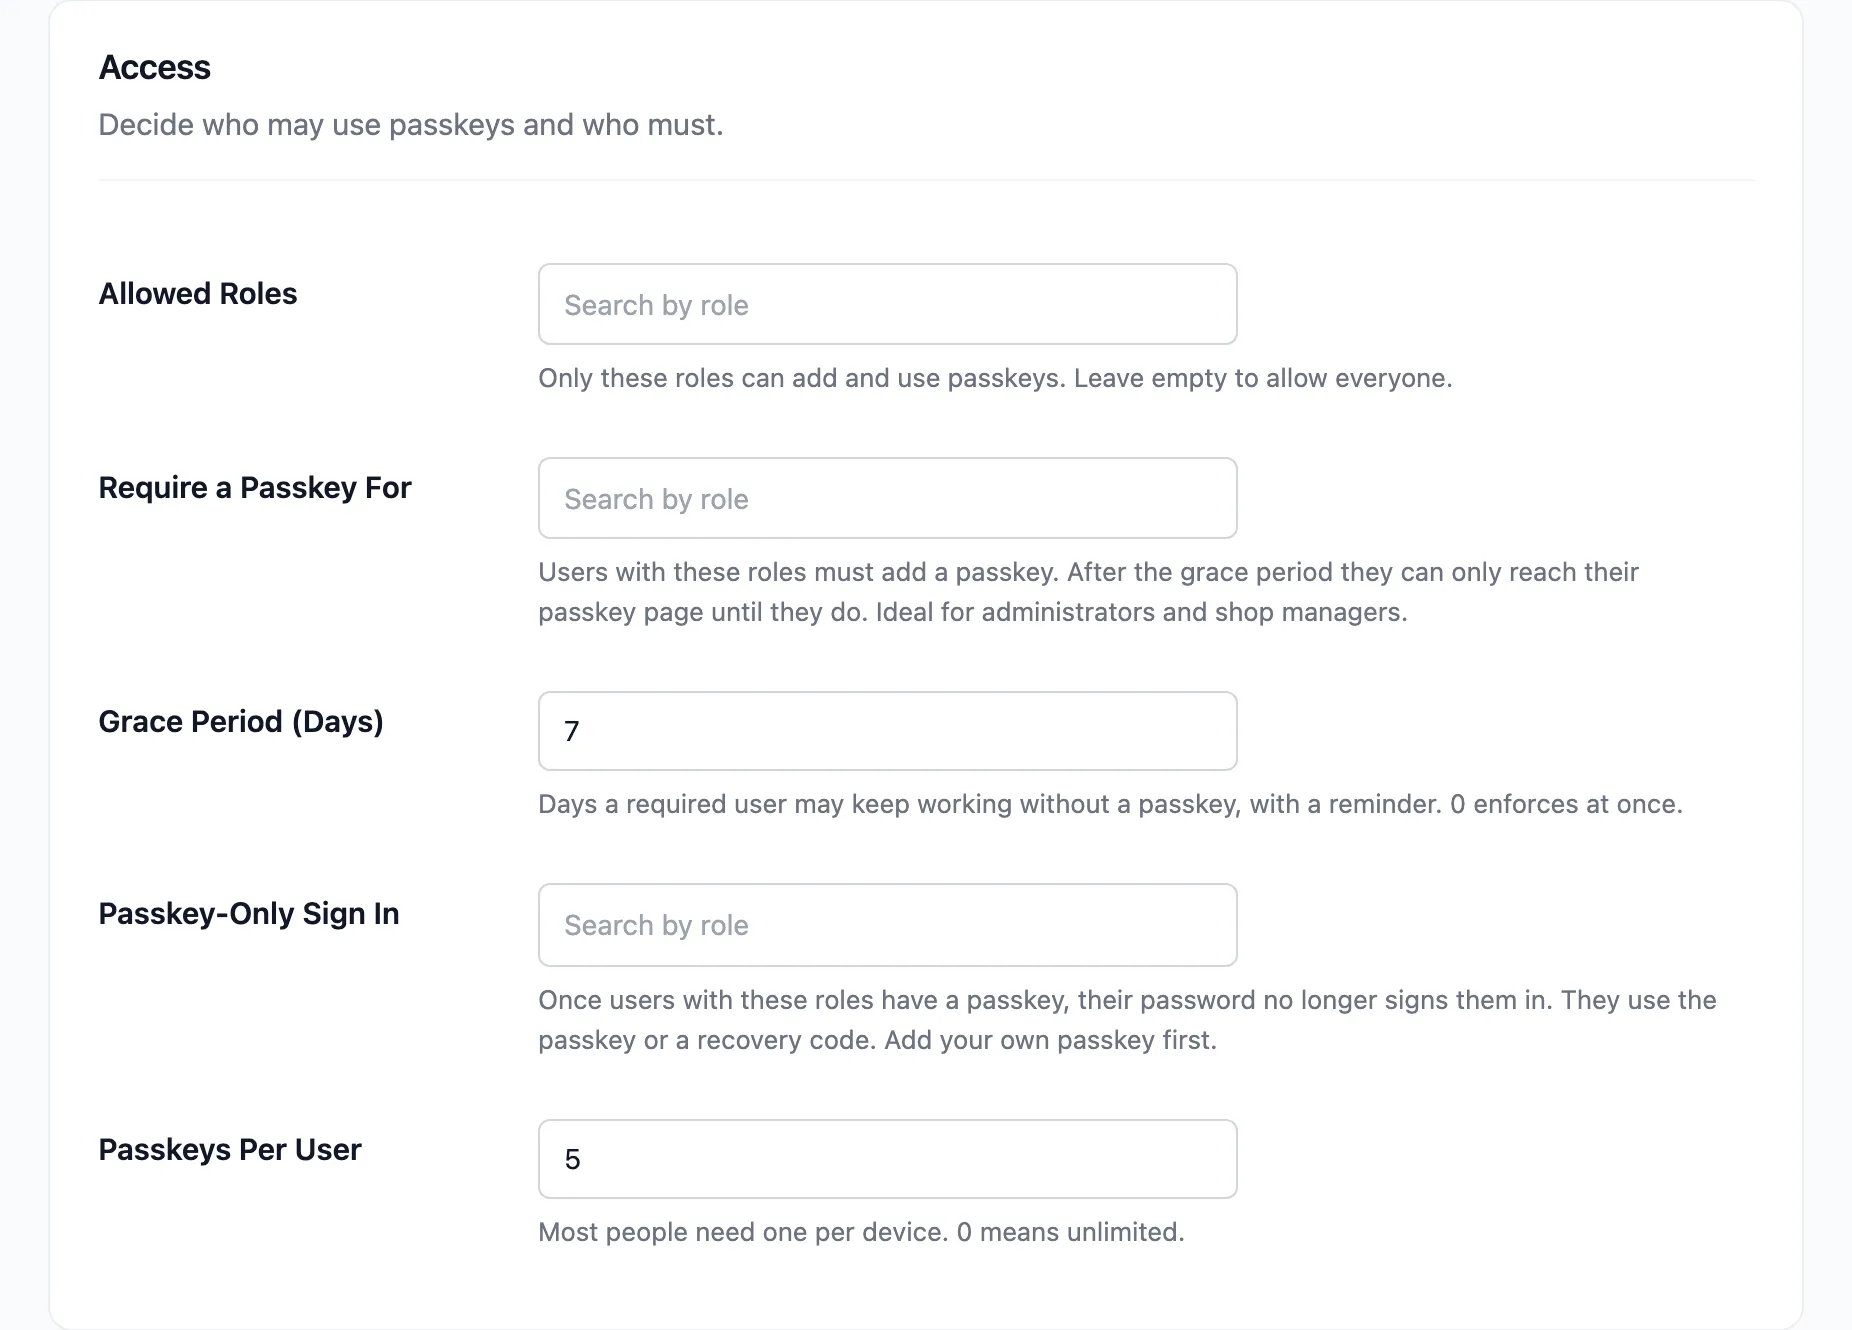
Allowed Roles decides who may add and use passkeys. Empty, the default, lets everyone.
Step 1: Pick the roles
Section titled “Step 1: Pick the roles”Open Configuration → Security and add roles to Allowed Roles, such as Administrator, Shop manager and Editor. Click Save Changes.
Step 2: Check a customer outside them
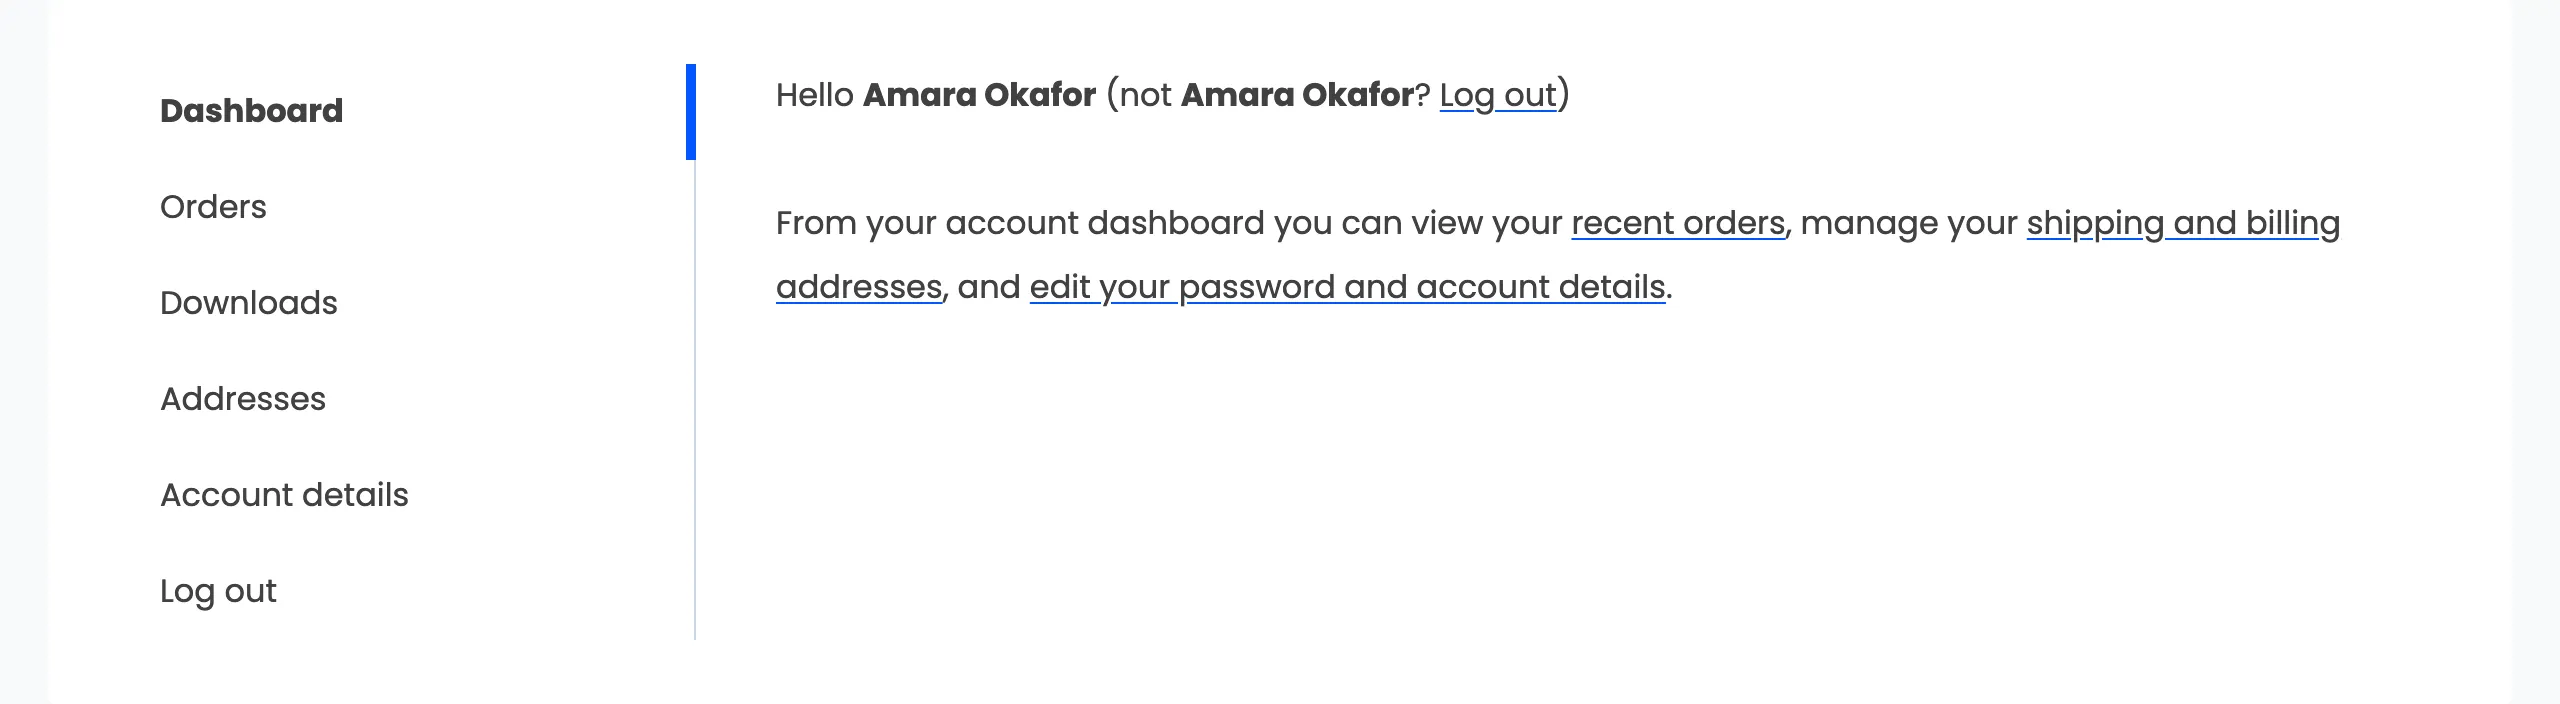
Section titled “Step 2: Check a customer outside them”A customer’s My Account menu loses Passkeys, and no invitation shows. The passkey button stays on the login form, because the store cannot know who is signing in until the passkey answers.
Step 3: Check their saved passkeys
Section titled “Step 3: Check their saved passkeys”On the demo, Amara’s passkeys were saved while customers were allowed. With customers left out, her Mac’s passkey is refused: “Passkey login is not available for your account.” She signs in with her password.
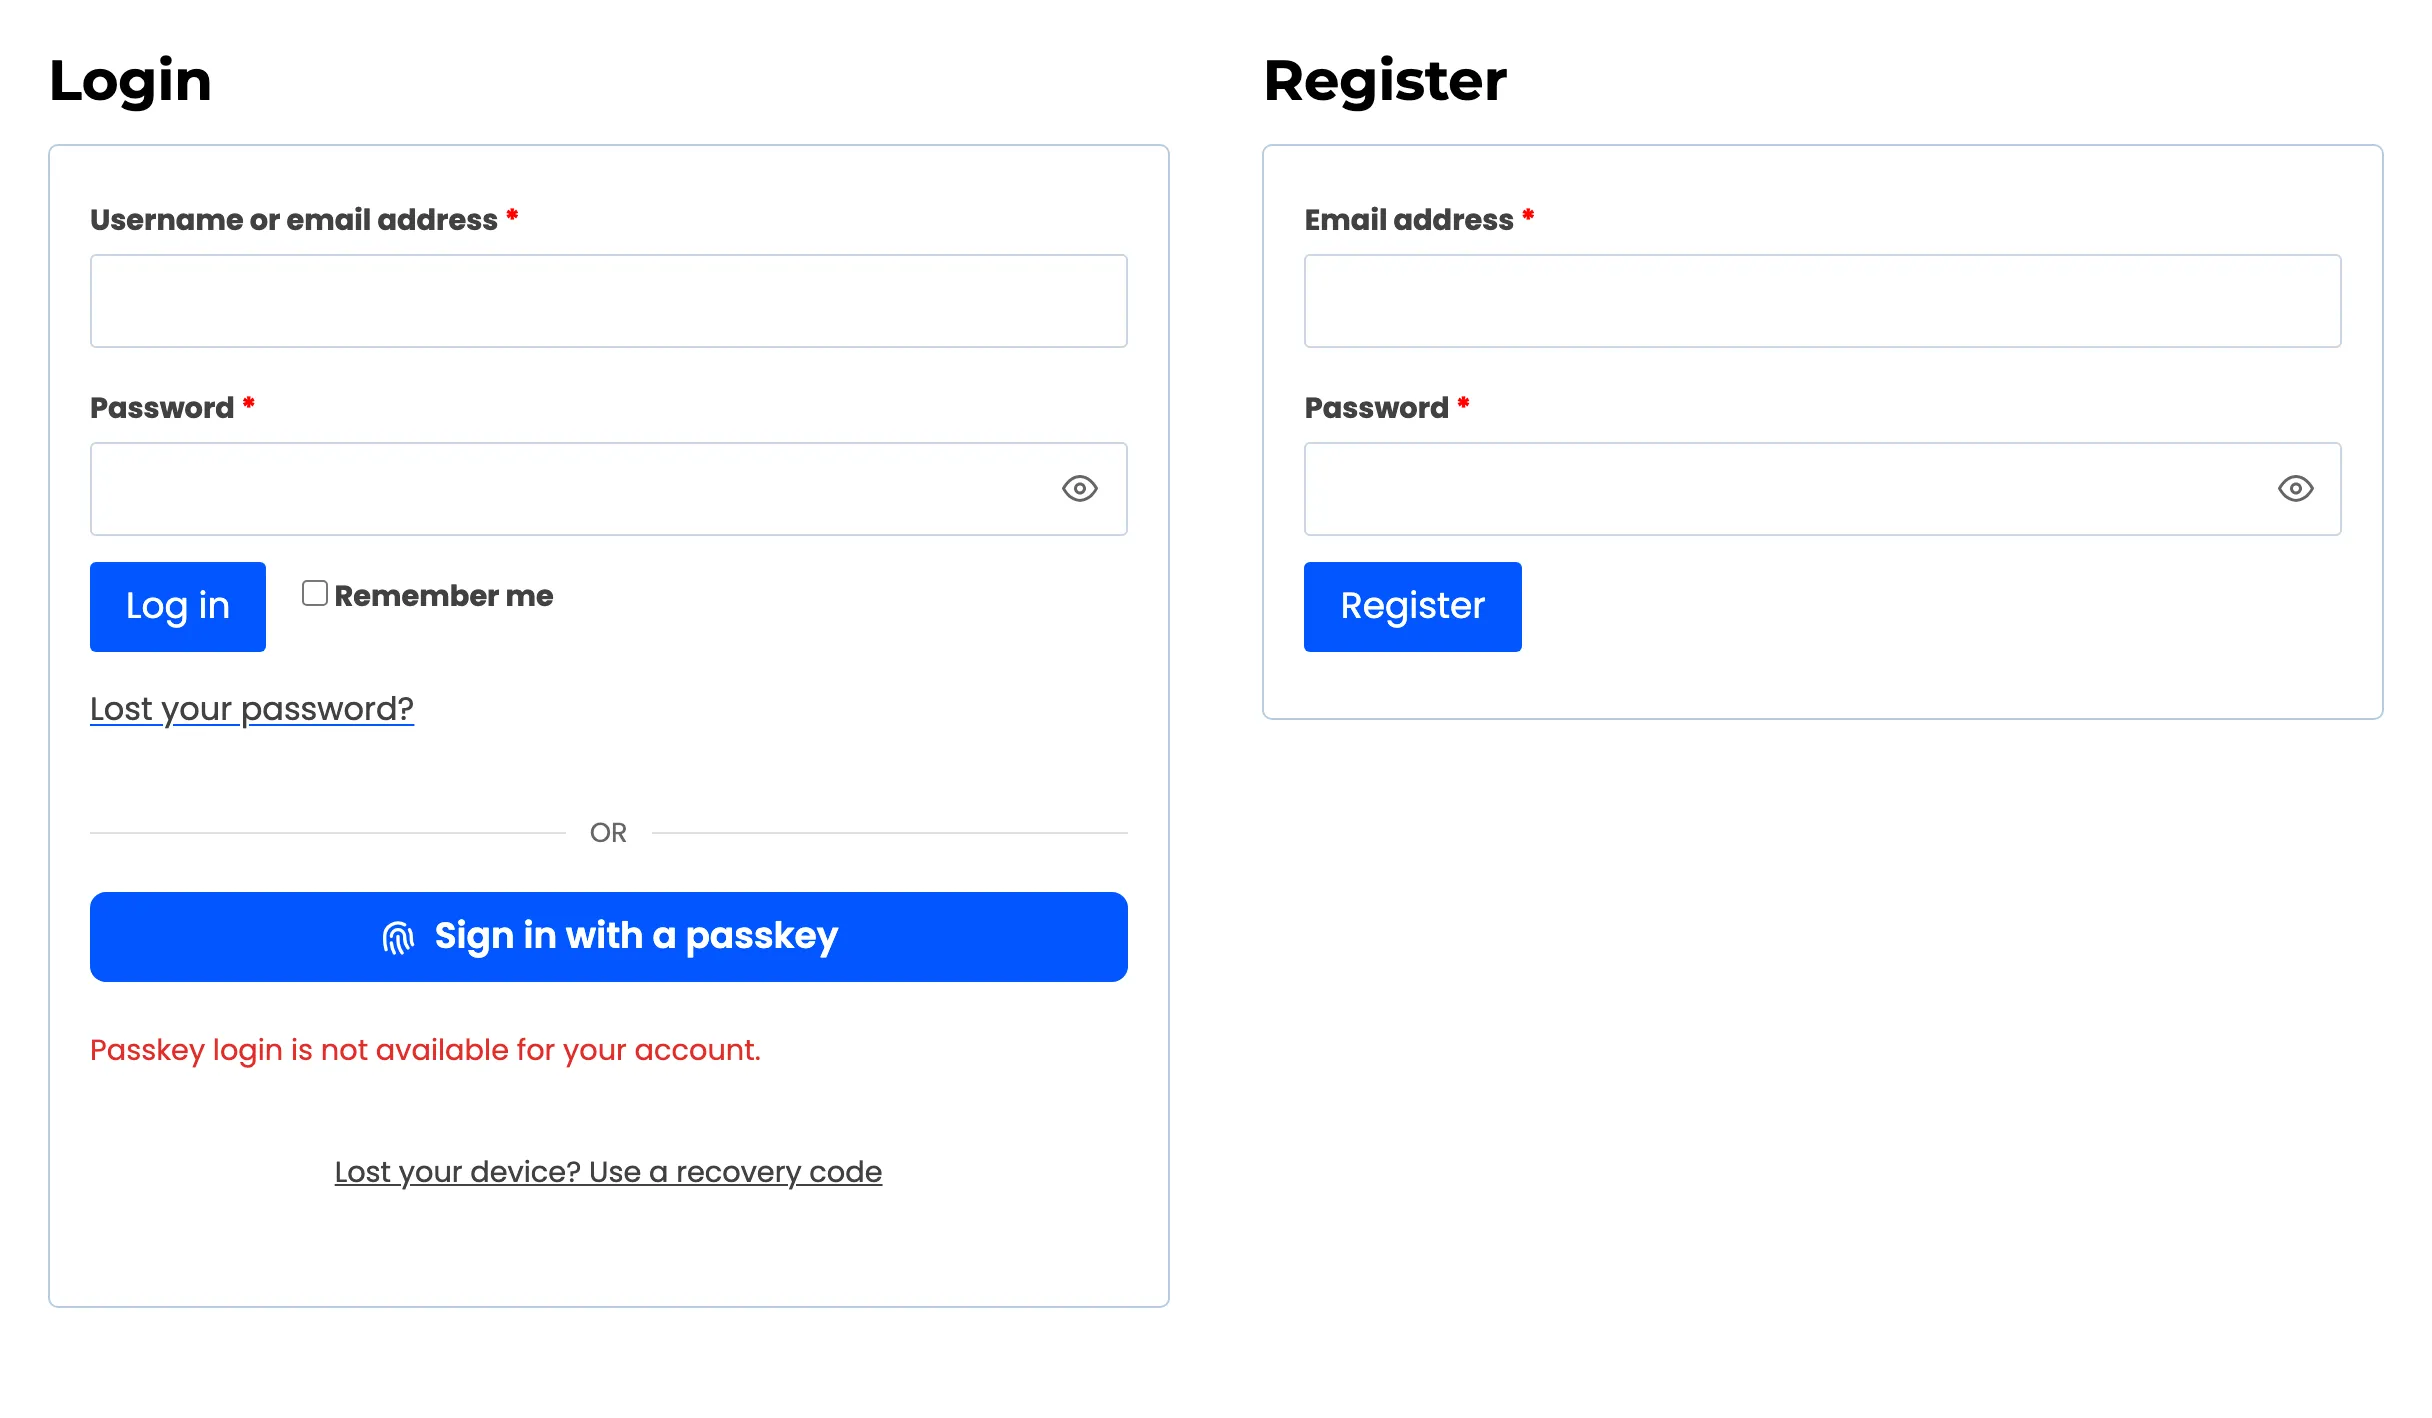
Her passkeys are kept. Adding Customer back to the list makes them work again.
Good to know
Section titled “Good to know”- A customer outside the roles who opens
/my-account/passkeys/directly sees “Passkeys are not available for your account.” - To make a role use passkeys, not just allow them, see How to Require Passkeys for Staff.