

How to Place a Passkey Button Anywhere
A landing page for a campaign, a members’ page or a custom login page can carry passkey sign in too. On the demo, a page called Passkey sign in holds both blocks.
Step 1: Add the Passkey Login Button block
Section titled “Step 1: Add the Passkey Login Button block”In the block editor, search for passkey. Add Passkey Login Button. In the block settings, set Text, such as “Sign in with Face ID or fingerprint”, and Redirect To, the address to land on.
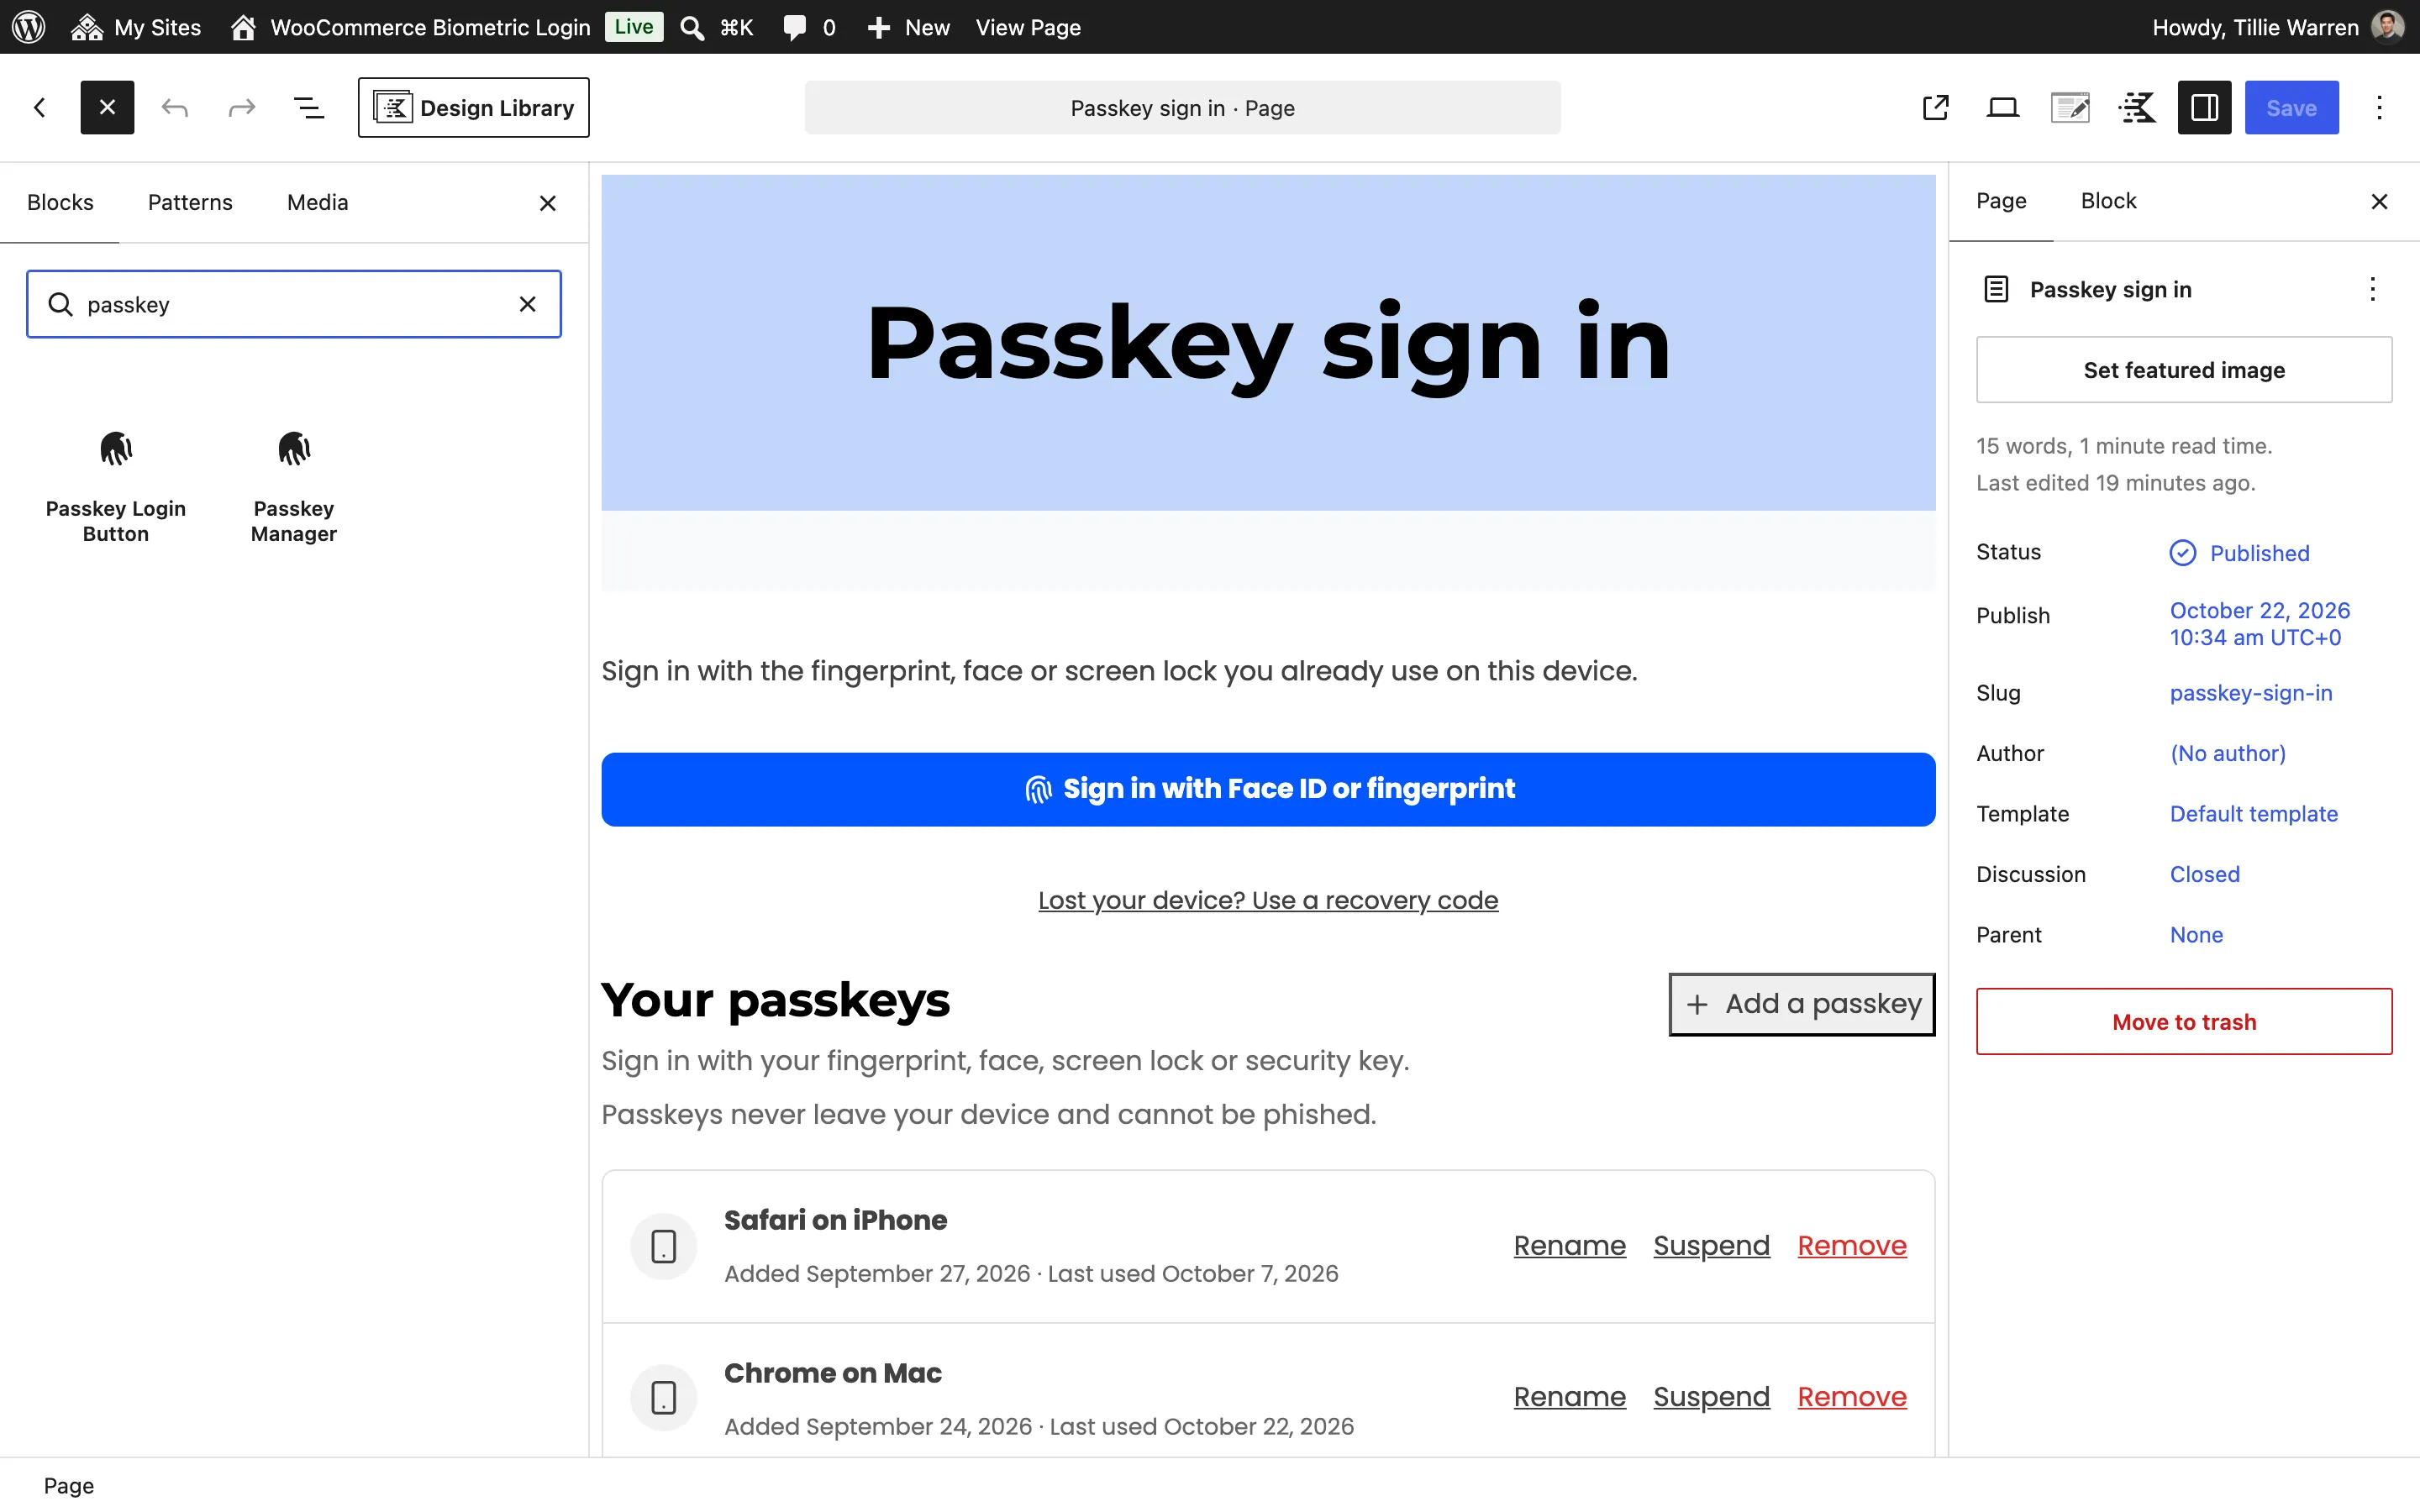
Leave Text empty to use the Login Button Text from Configuration → General. Leave Redirect To empty to stay on the same page.
Step 2: Add the Passkey Manager block
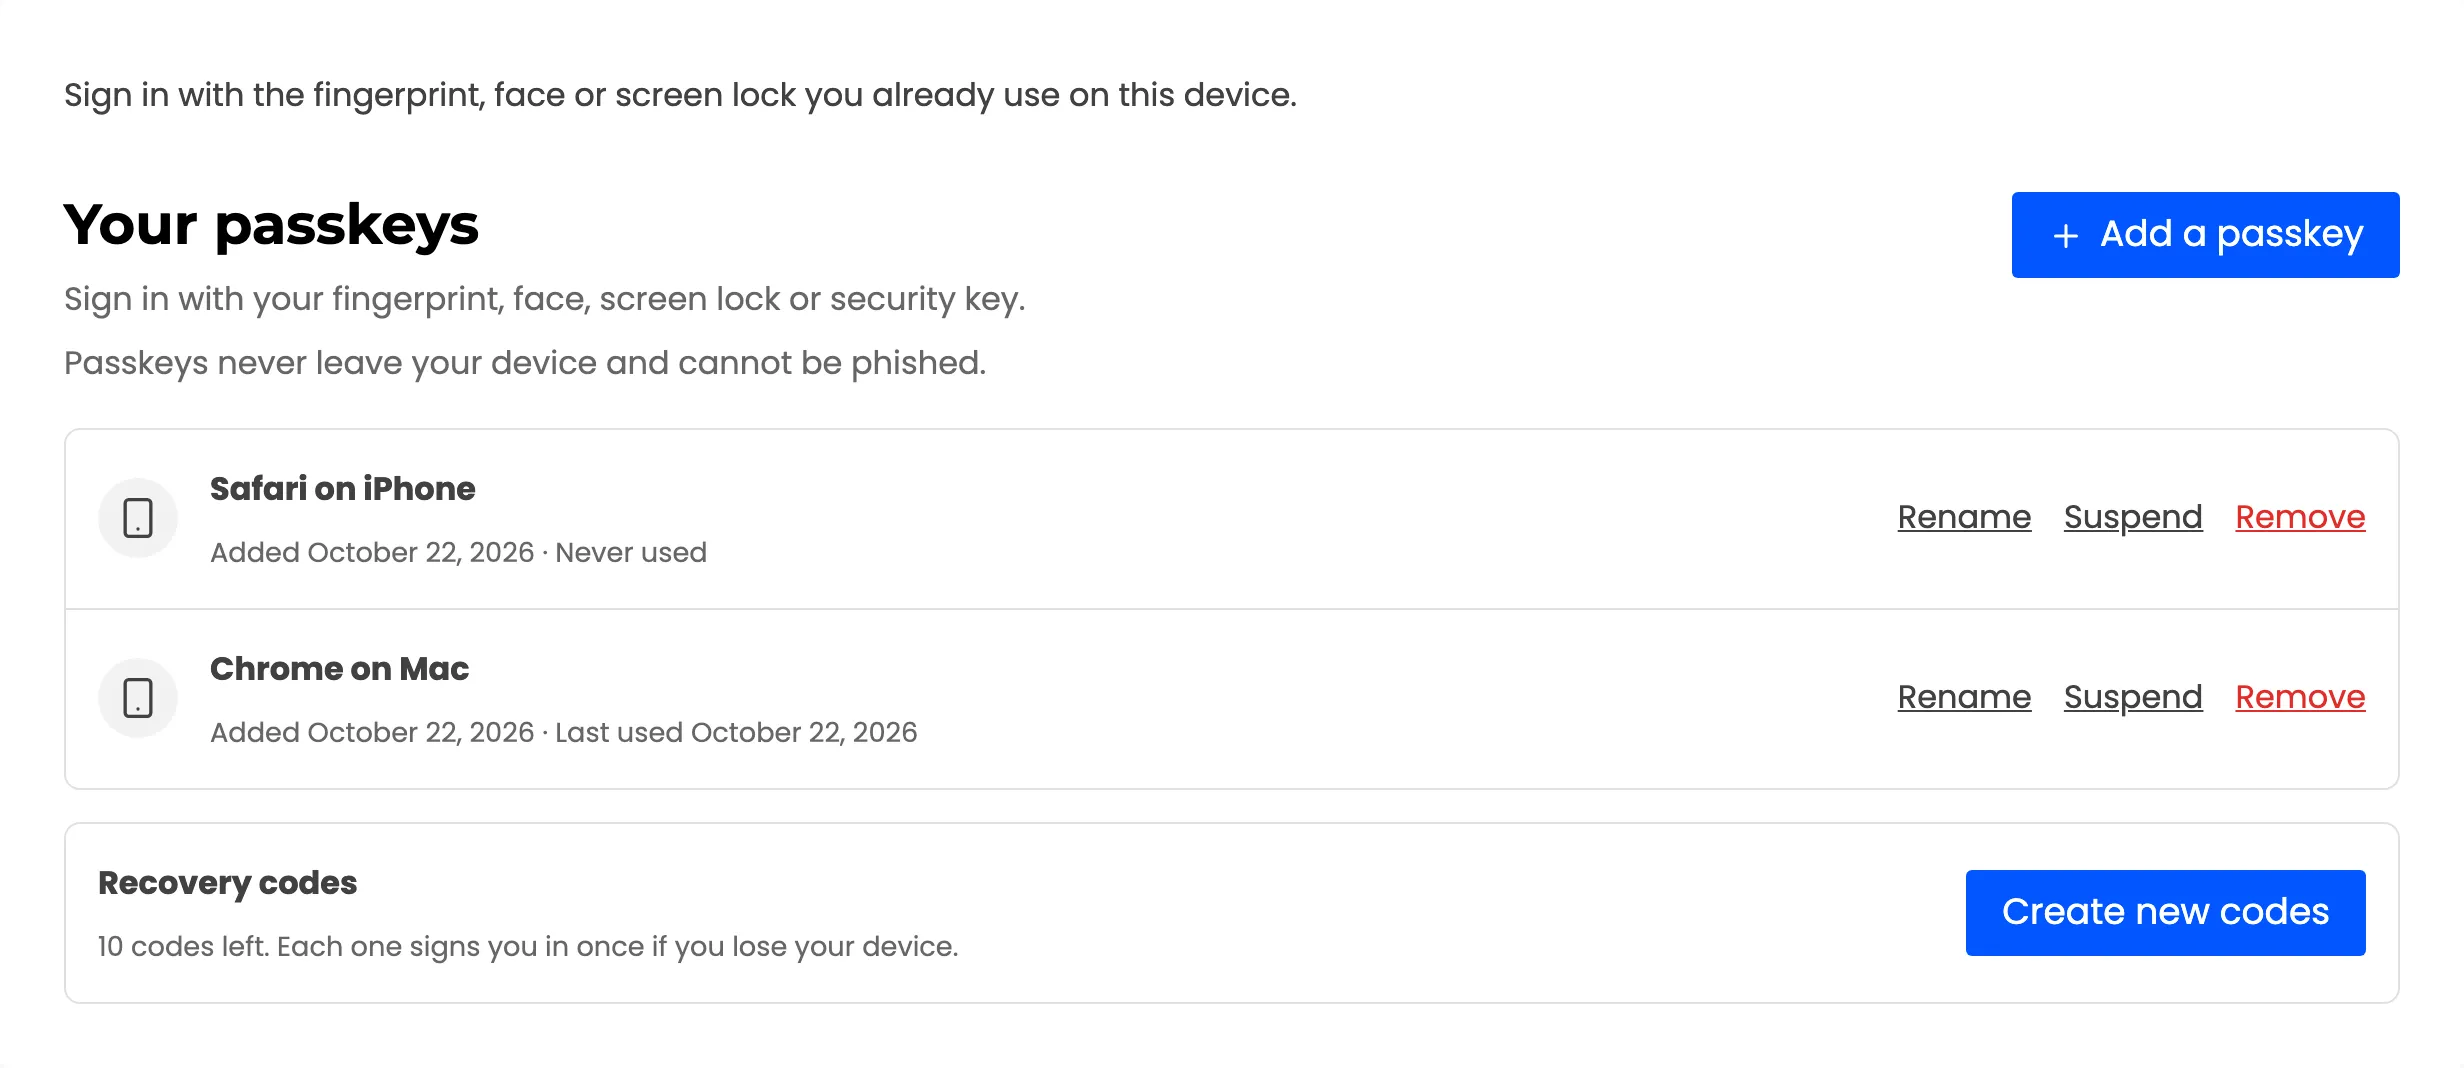
Section titled “Step 2: Add the Passkey Manager block”Add Passkey Manager below it. It shows nothing to signed out visitors, and the full passkey list to signed in ones.
Step 3: Publish and check signed out
Section titled “Step 3: Publish and check signed out”Signed out, the page shows the button with your text, without the OR divider the login forms have.
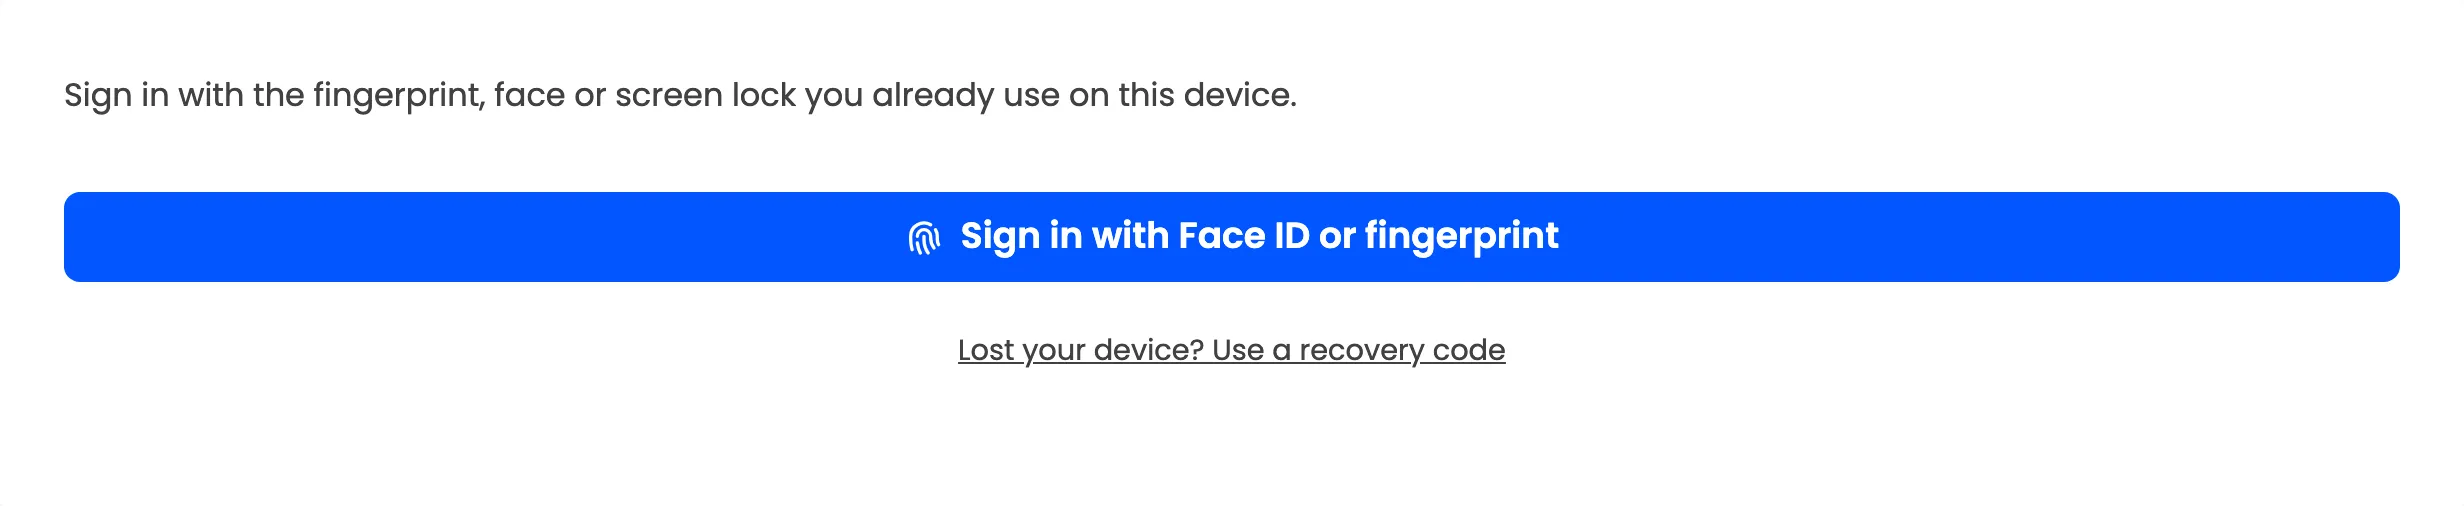
On the demo, John pressed it with his Android phone and landed on the shop, as Redirect To said. The Activity log records it with Where set to Shortcode.
Step 4: Check signed in
Section titled “Step 4: Check signed in”Signed in, the button hides itself and the manager lists the visitor’s passkeys and recovery codes.
With shortcodes or Elementor
Section titled “With shortcodes or Elementor”The same two controls come as shortcodes, for classic pages and page builders:
[ddwcbl_biometric_login_button_shortcode text="Sign in with Face ID or fingerprint" redirect_to="https://example.com/shop/"][ddwcbl_add_biometric_details_shortcode]Elementor has widgets with the block names. The shortcode names can be changed under Shortcodes & Blocks.