

Setup Wizard
The setup wizard opens once, after the first activation. It covers the settings most stores change, about a minute’s work. Every choice can be changed later under Configuration. Run it again any time from Setup Wizard on the Plugins screen.
Step 1: Welcome
Section titled “Step 1: Welcome”
Step 2: License
Section titled “Step 2: License”Enter your purchase code and email. Continue works only once the license is active.
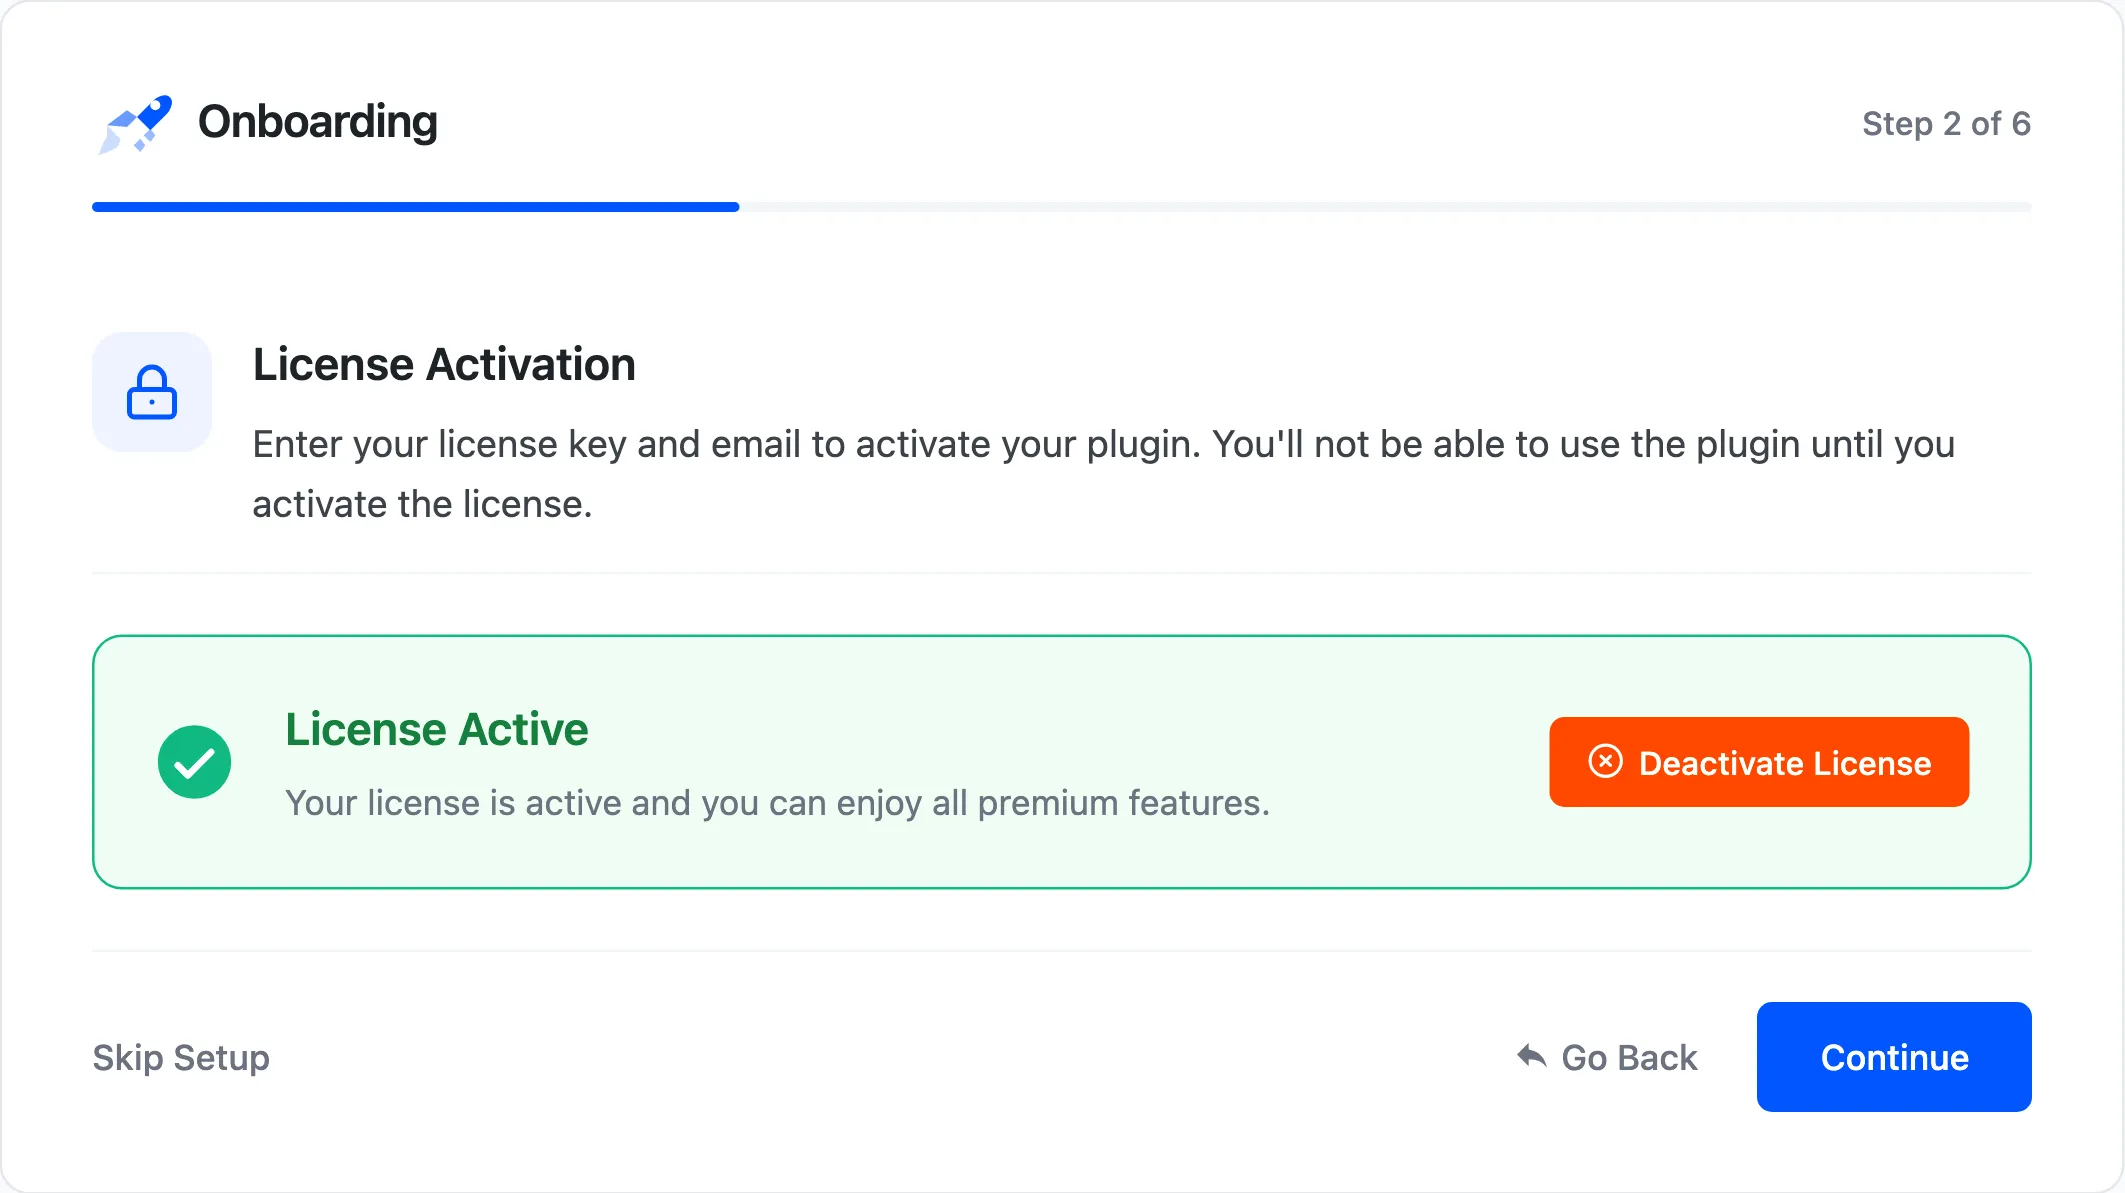
Step 3: Login
Section titled “Step 3: Login”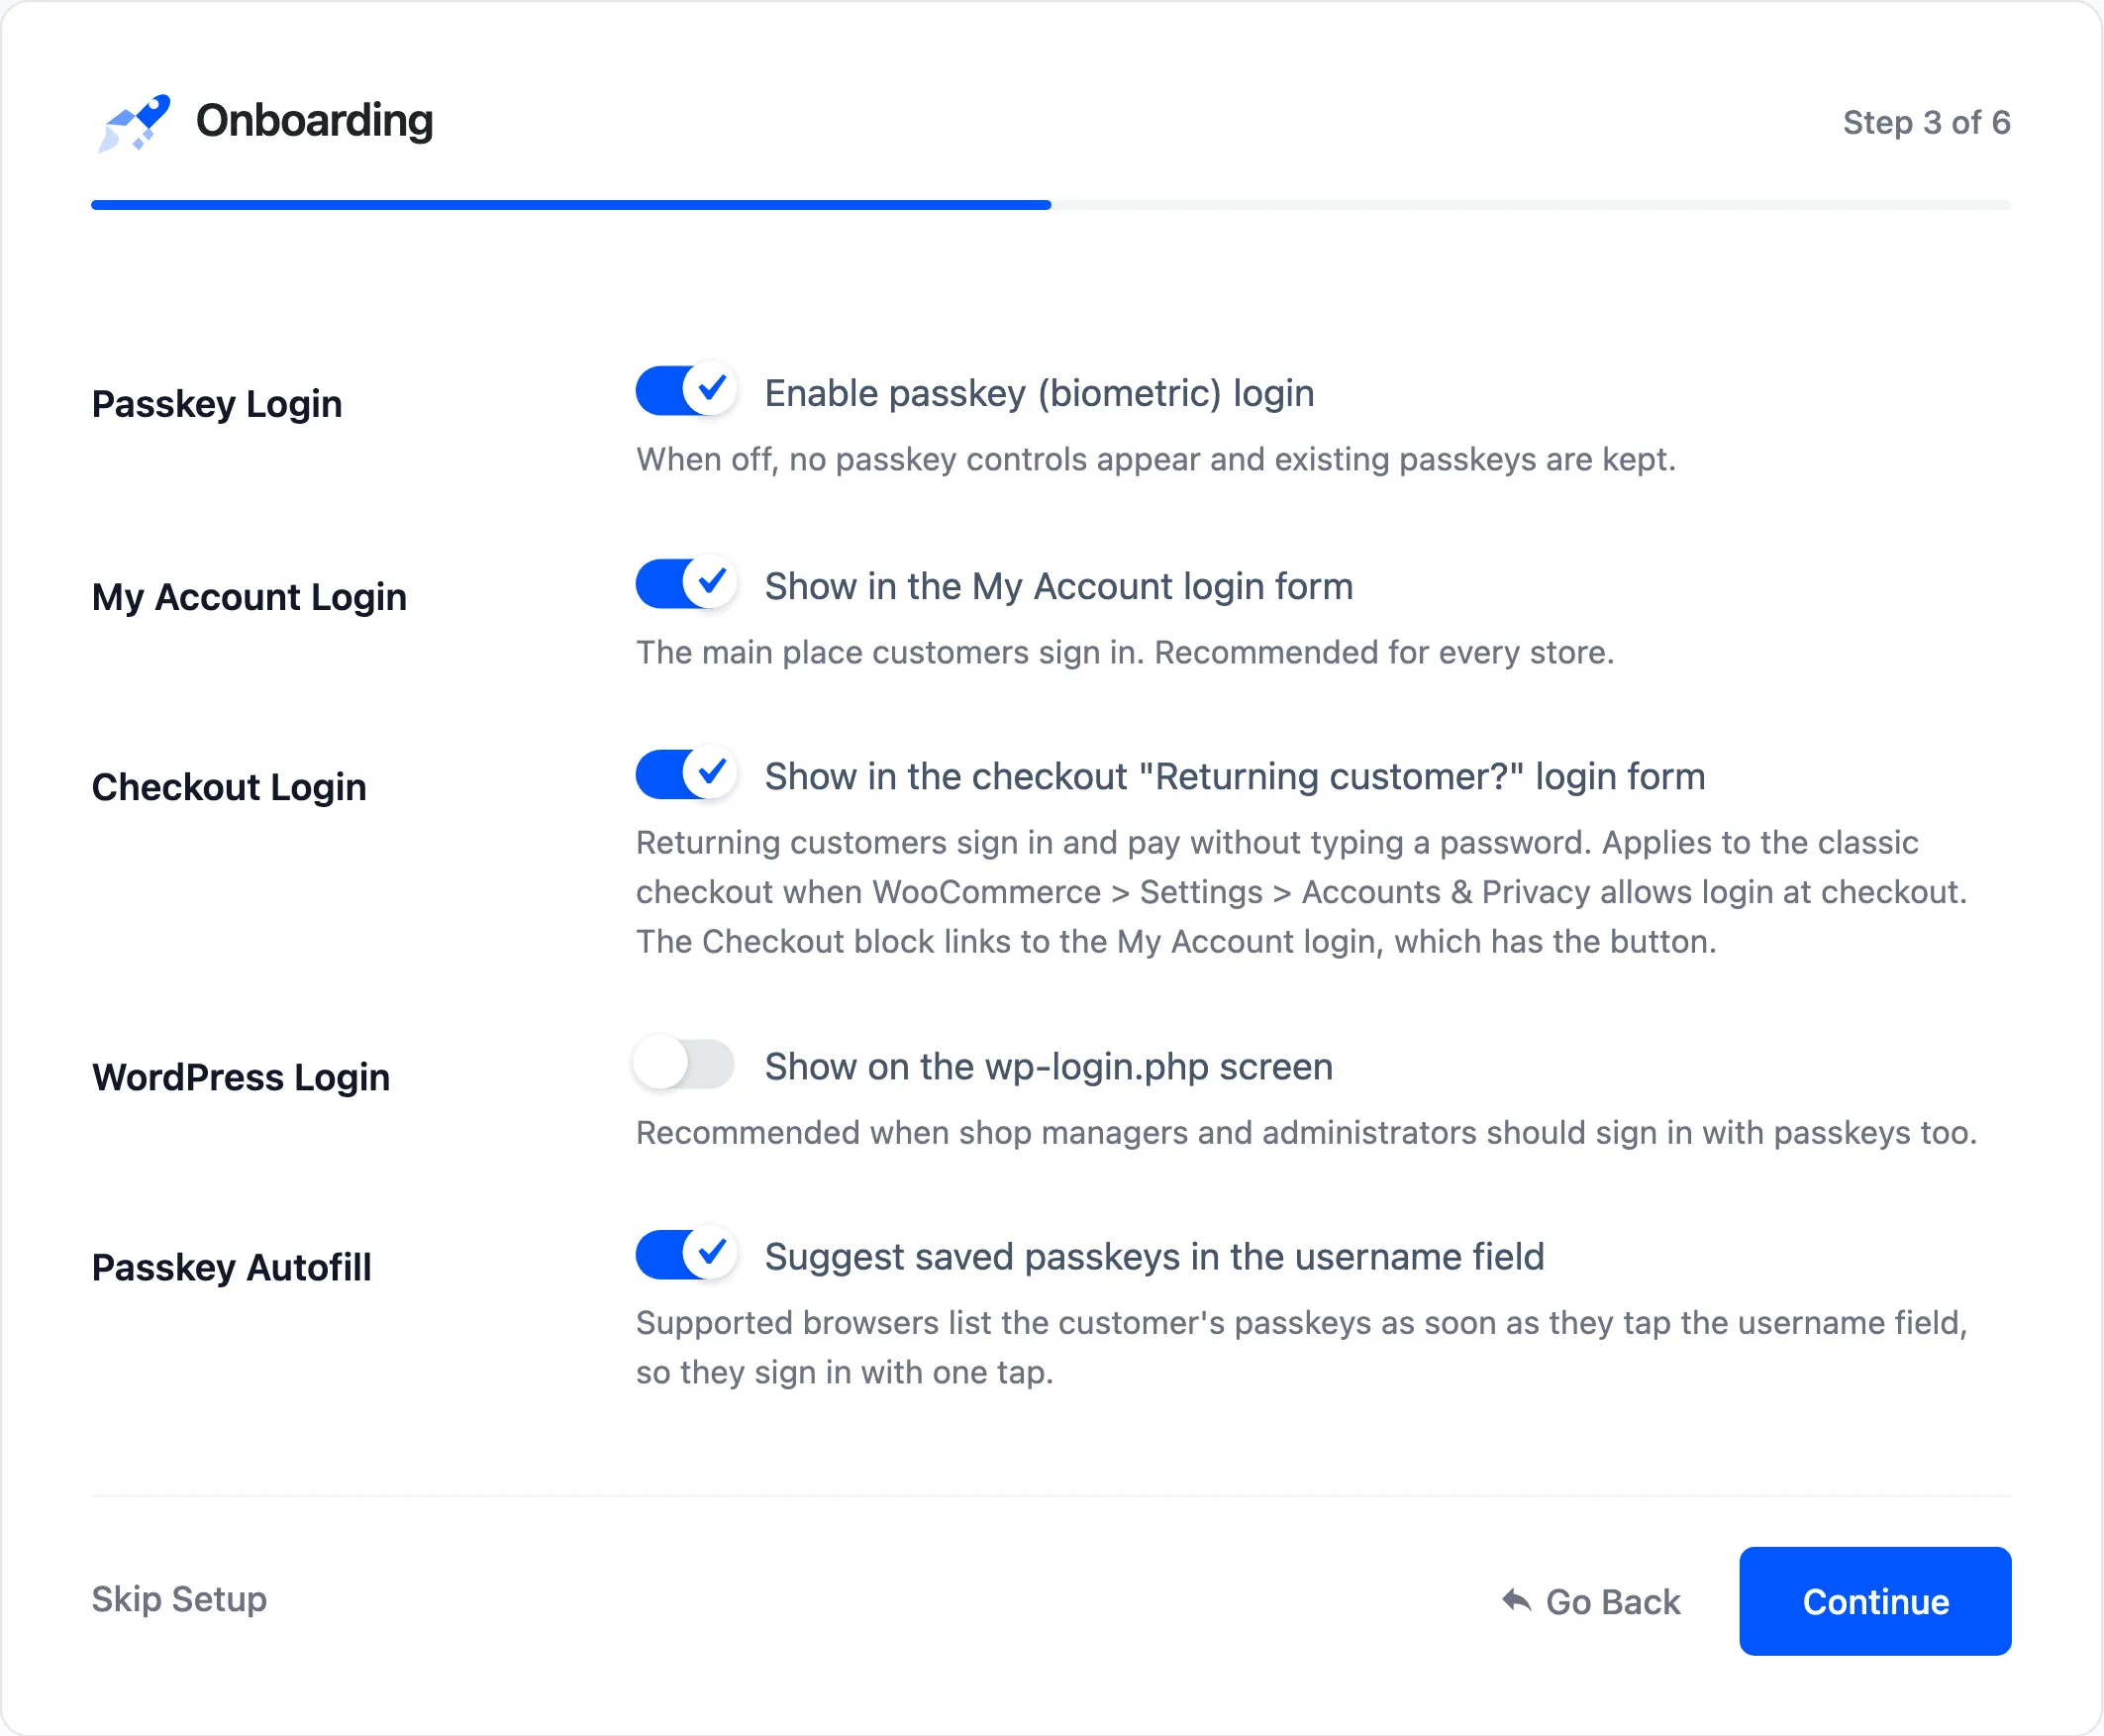
- Passkey Login: Leave it on.
- My Account Login, Checkout Login and WordPress Login: The forms that show the button. The first two are on by default.
- Passkey Autofill: On by default.
Step 4: Appearance
Section titled “Step 4: Appearance”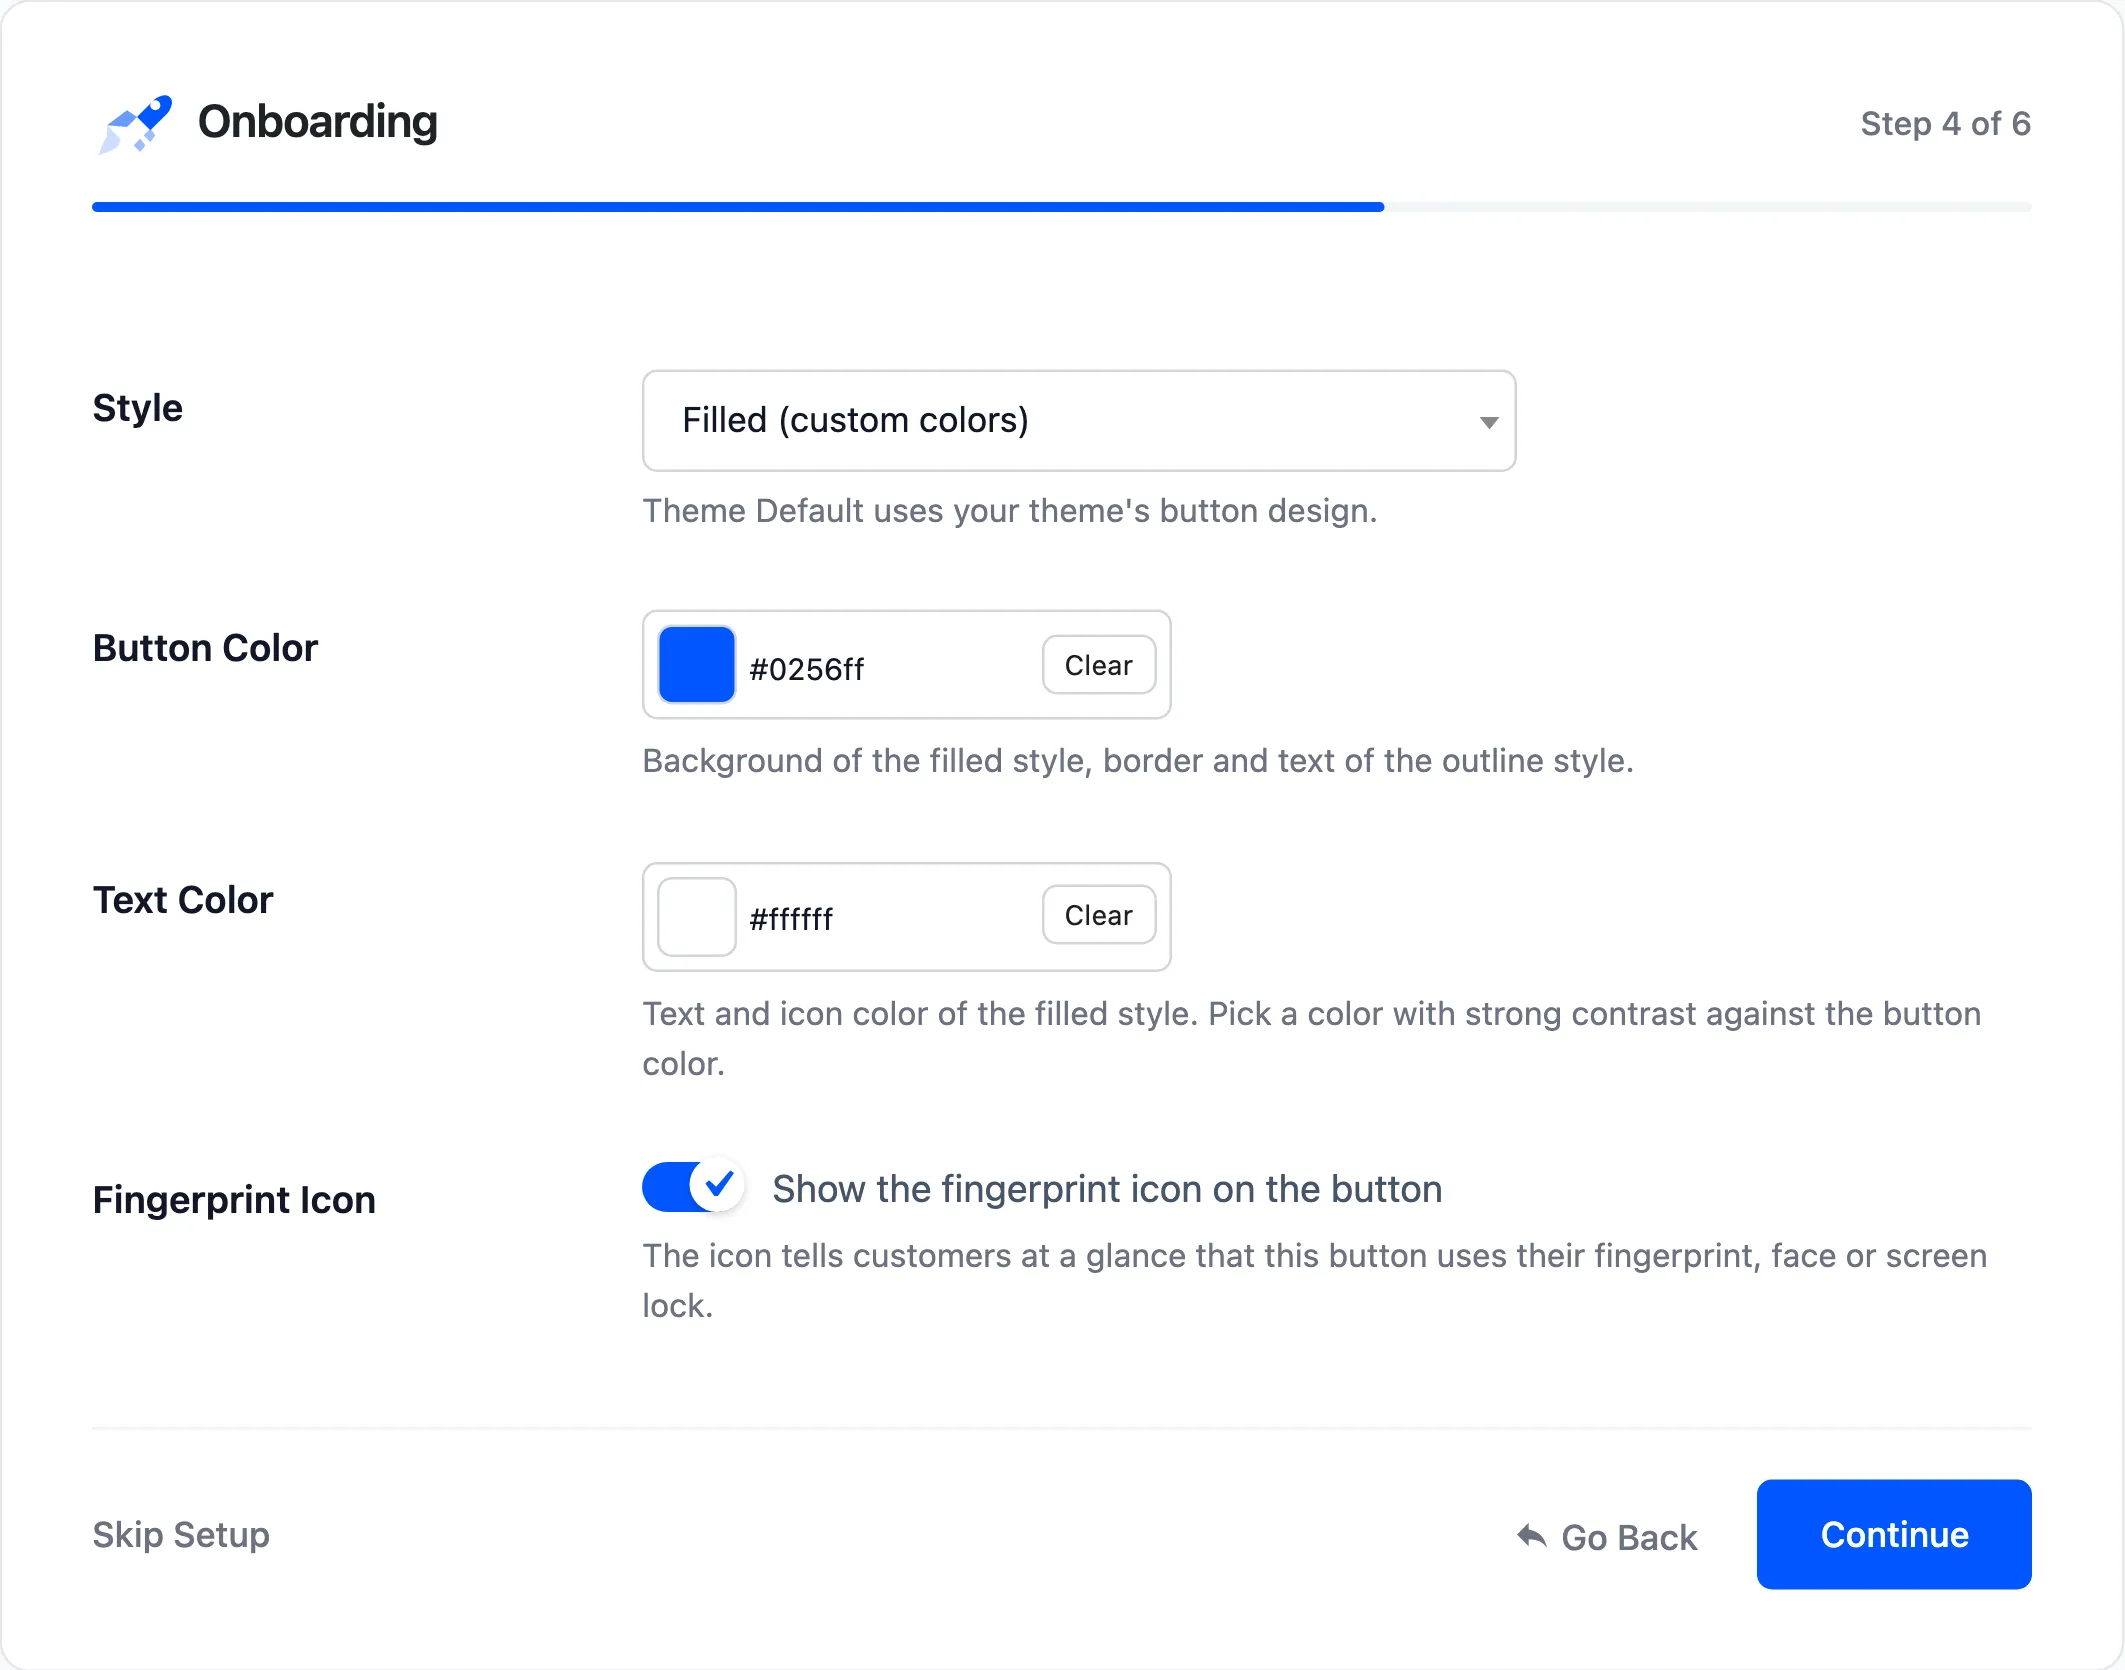
Style, Button Color, Text Color and Fingerprint Icon, as on the Appearance tab.
Step 5: Adoption & Security
Section titled “Step 5: Adoption & Security”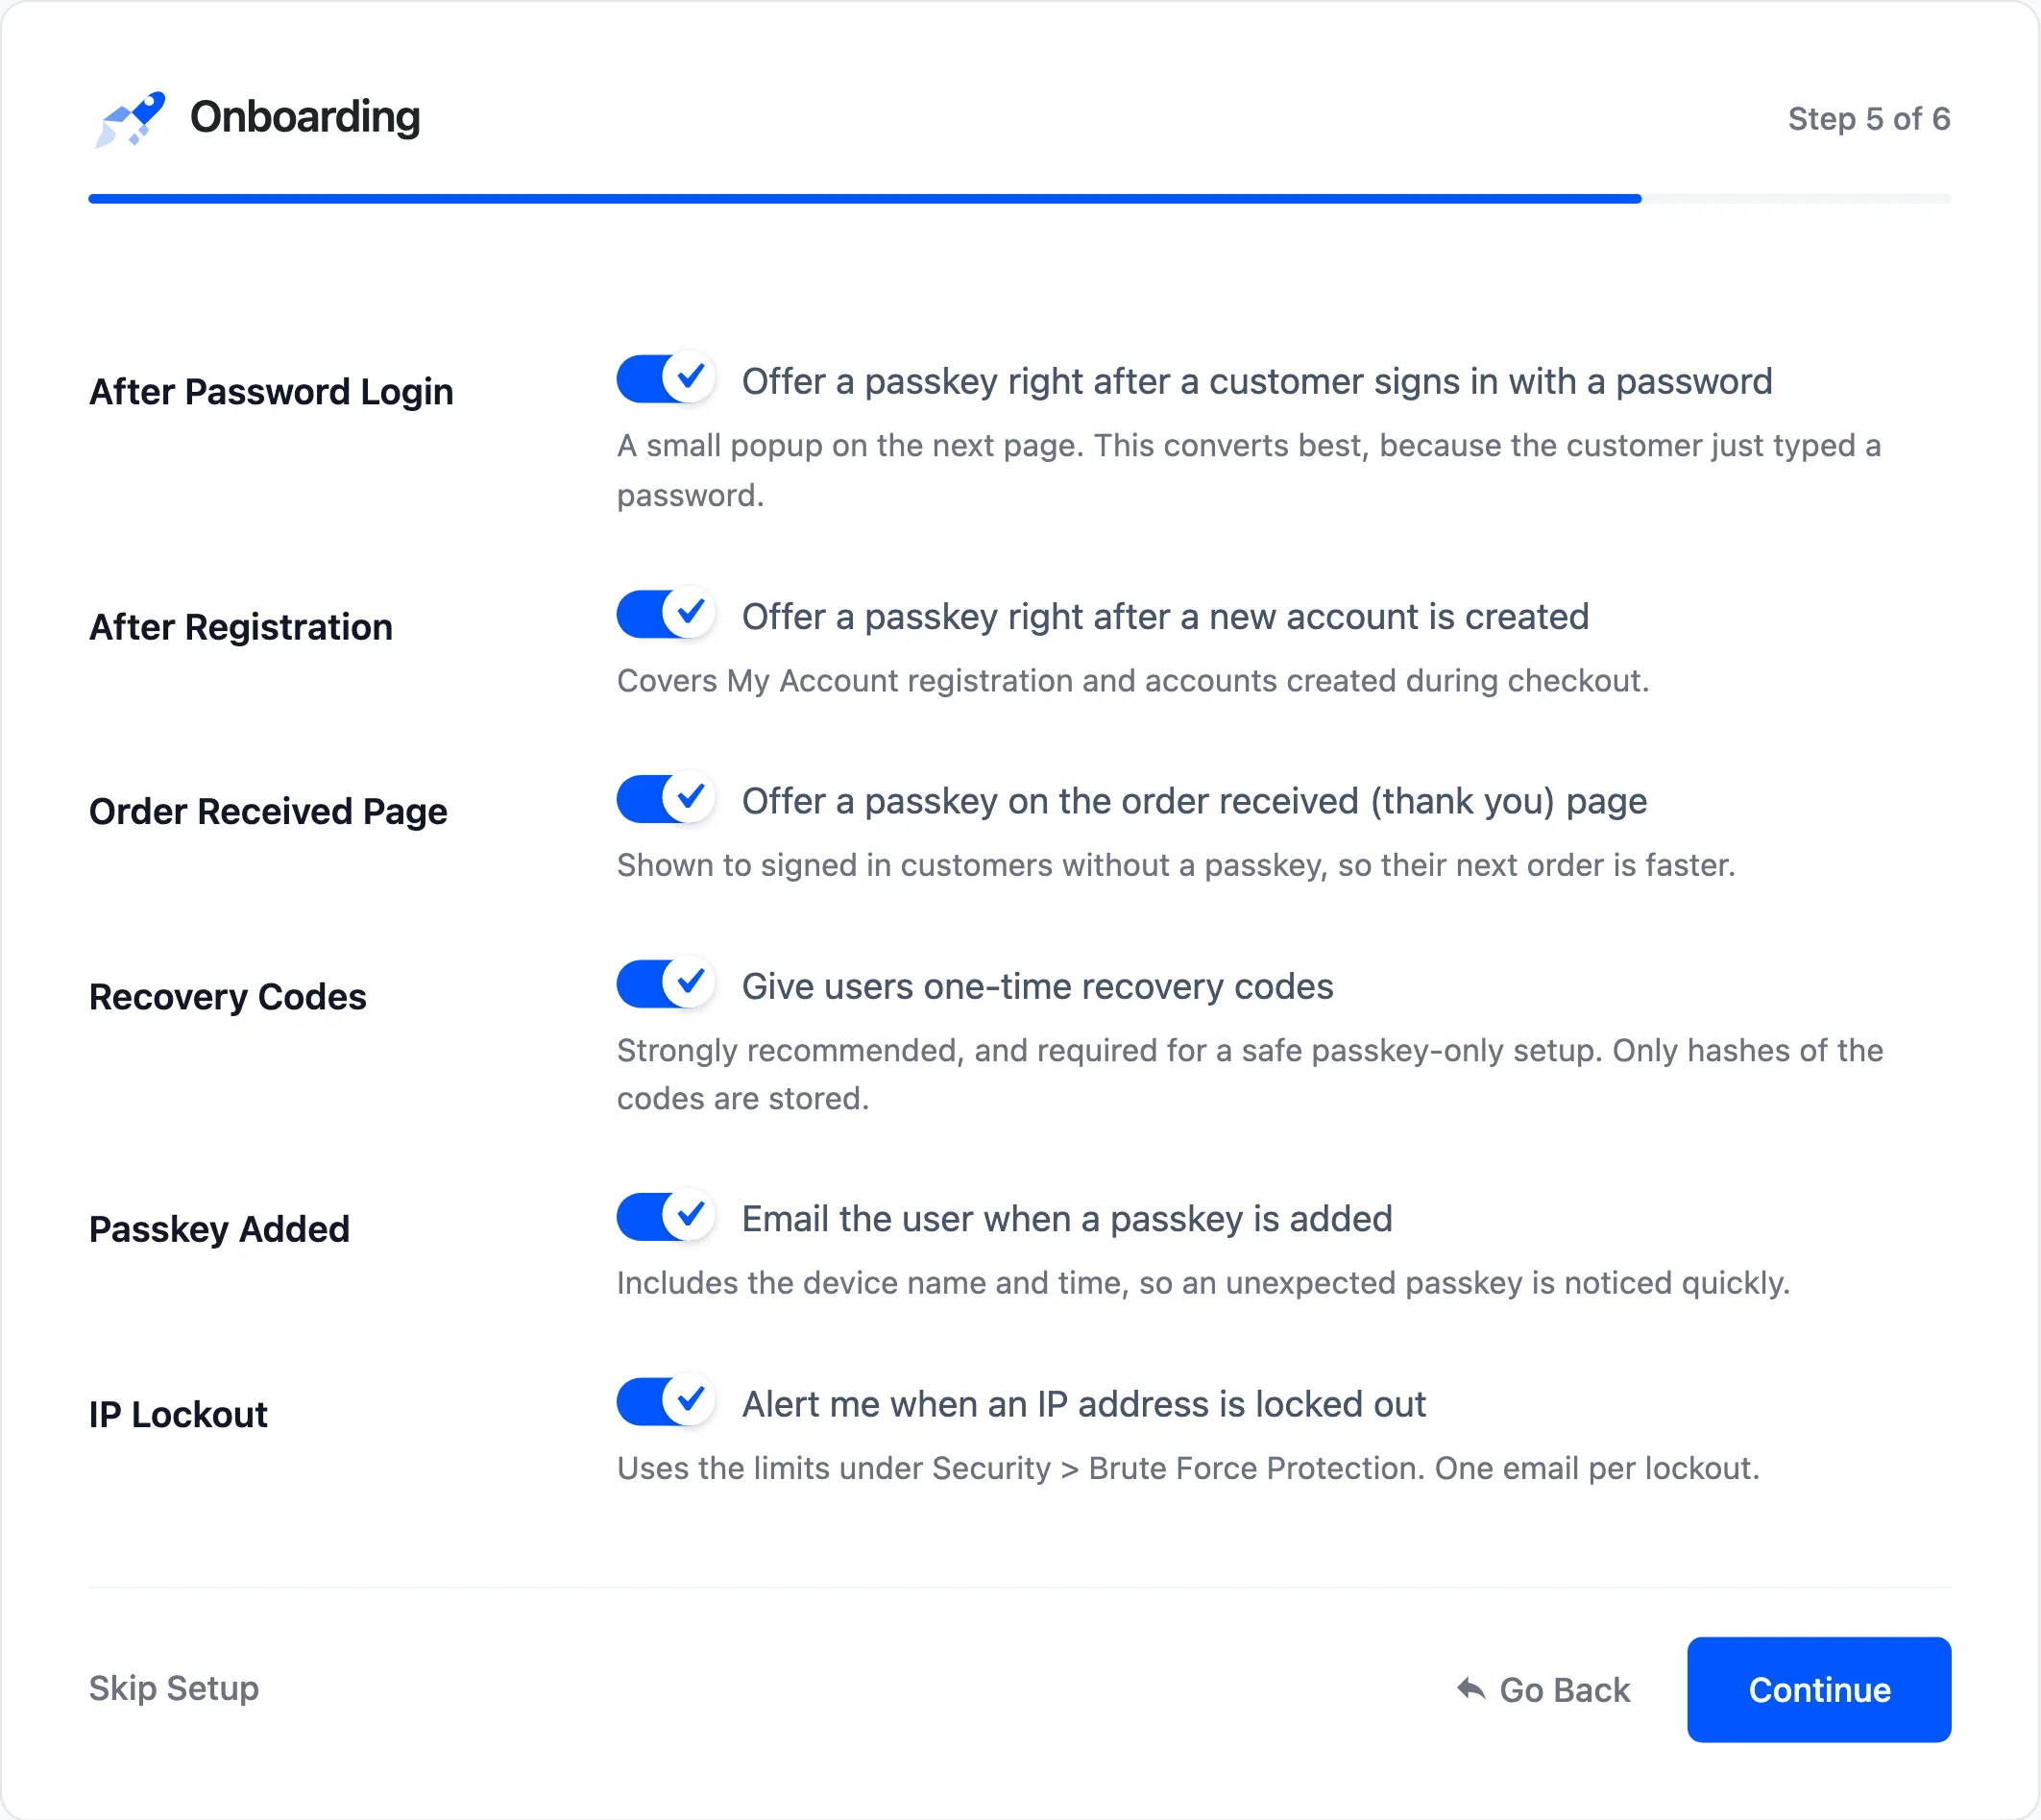
- After Password Login, After Registration and Order Received Page: Three of the four invitations.
- Recovery Codes: On by default. Leave it on.
- Passkey Added: The customer’s email when a passkey is added.
- IP Lockout: Your alert when an address is locked out.
Step 6: Ready
Section titled “Step 6: Ready”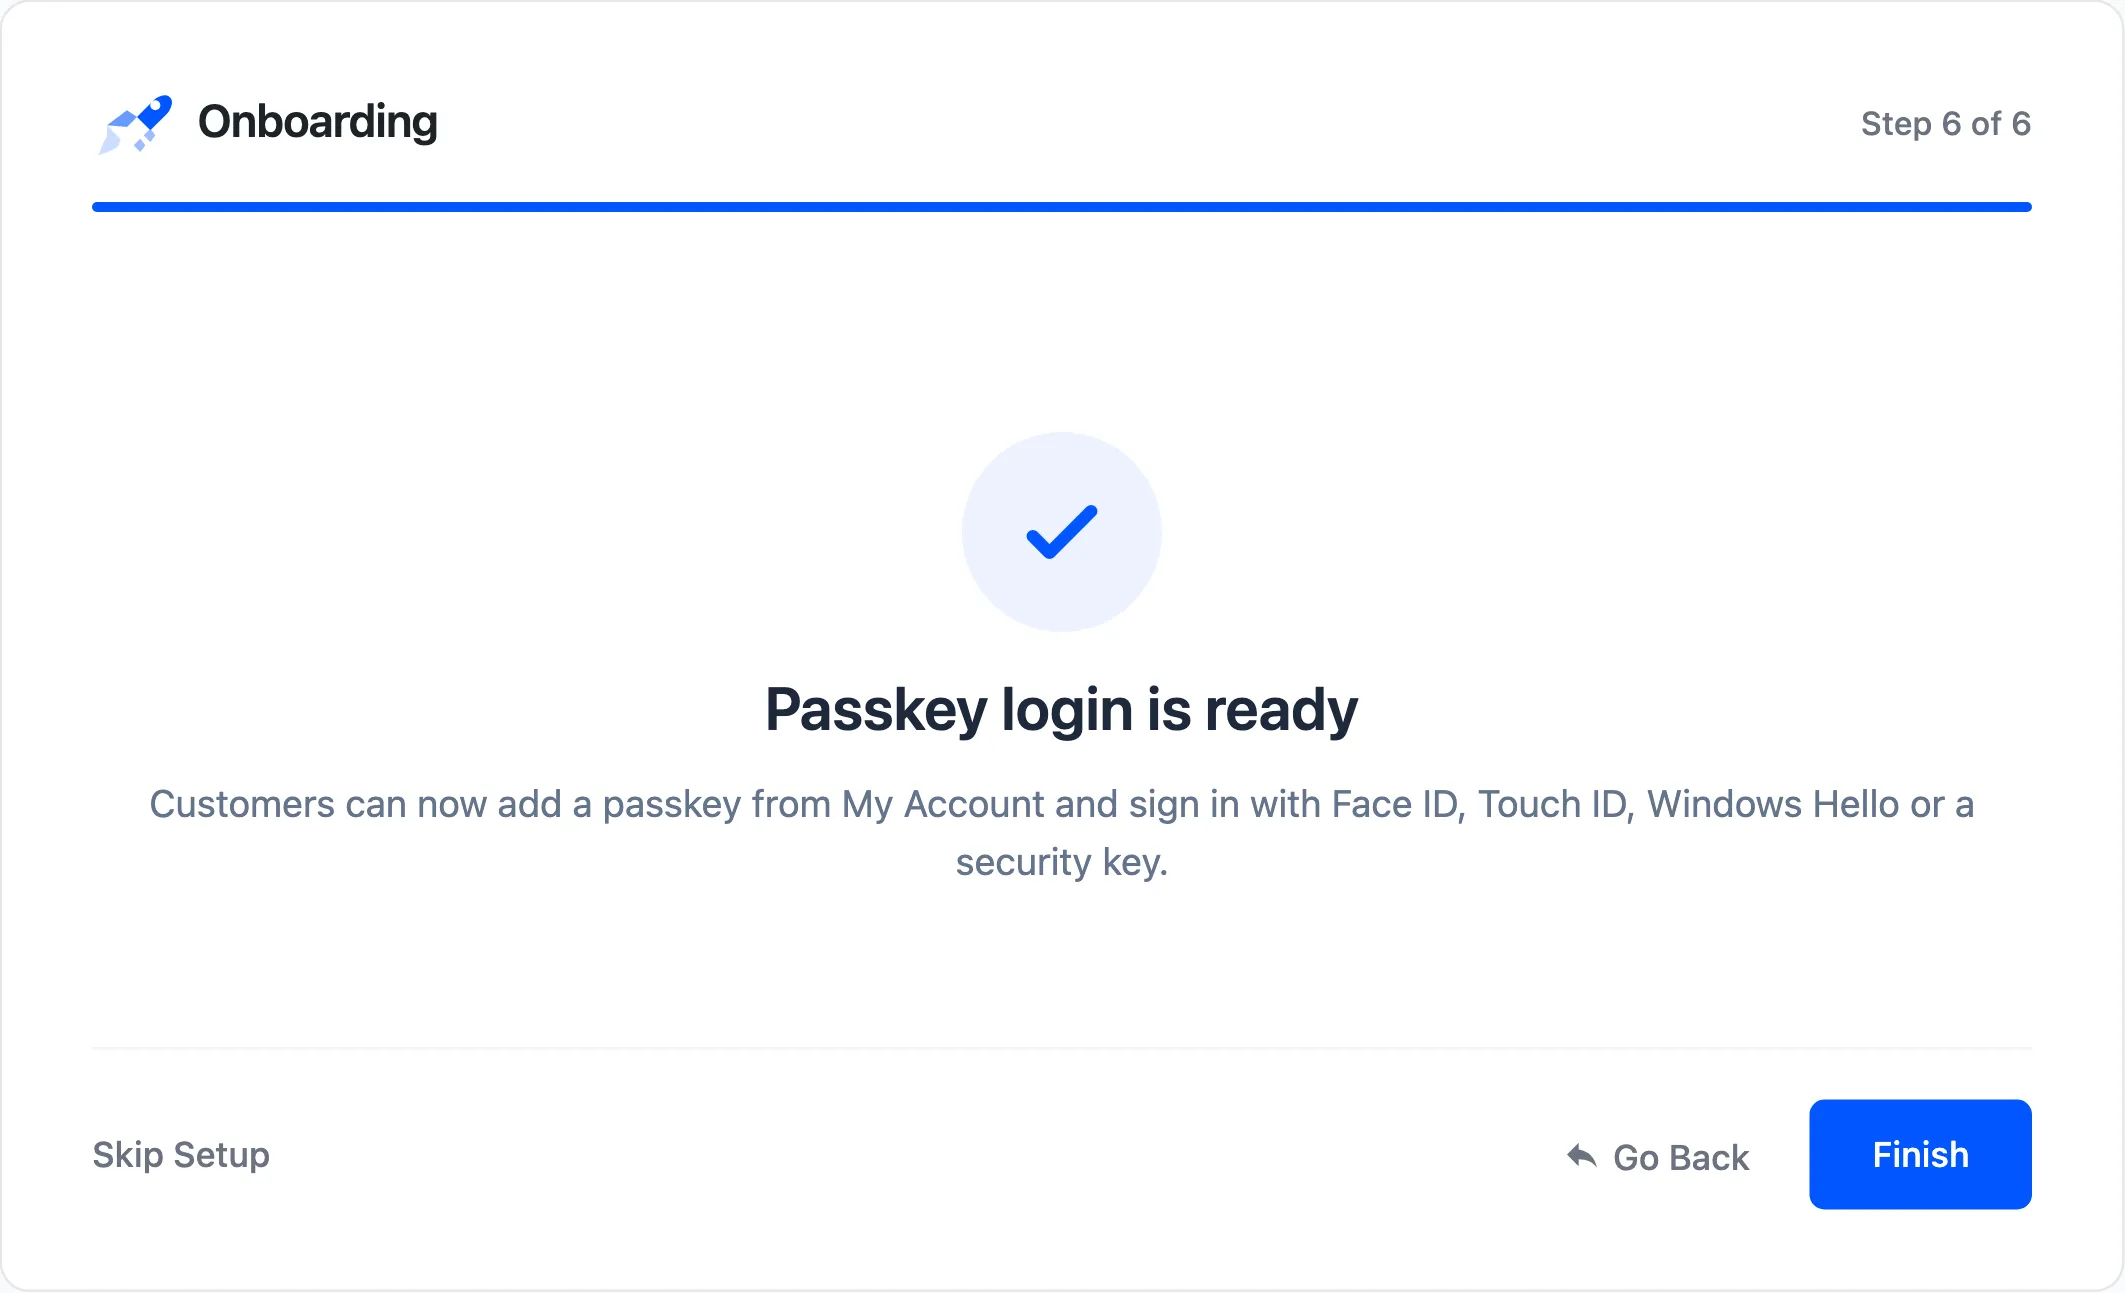
The wizard saves each step as you press Continue, and only the fields on that step. An unticked box is saved as off.
What to do next
Section titled “What to do next”- Add your own passkey under Users → Profile.
- Sign out and try it on the My Account login form.
- Look at the settings the wizard does not cover: Security for staff and lockouts, My Account for the page address.