

Users and Profiles
Biometric Login adds to two WordPress screens: the Users list and each user’s profile.
The Users screen
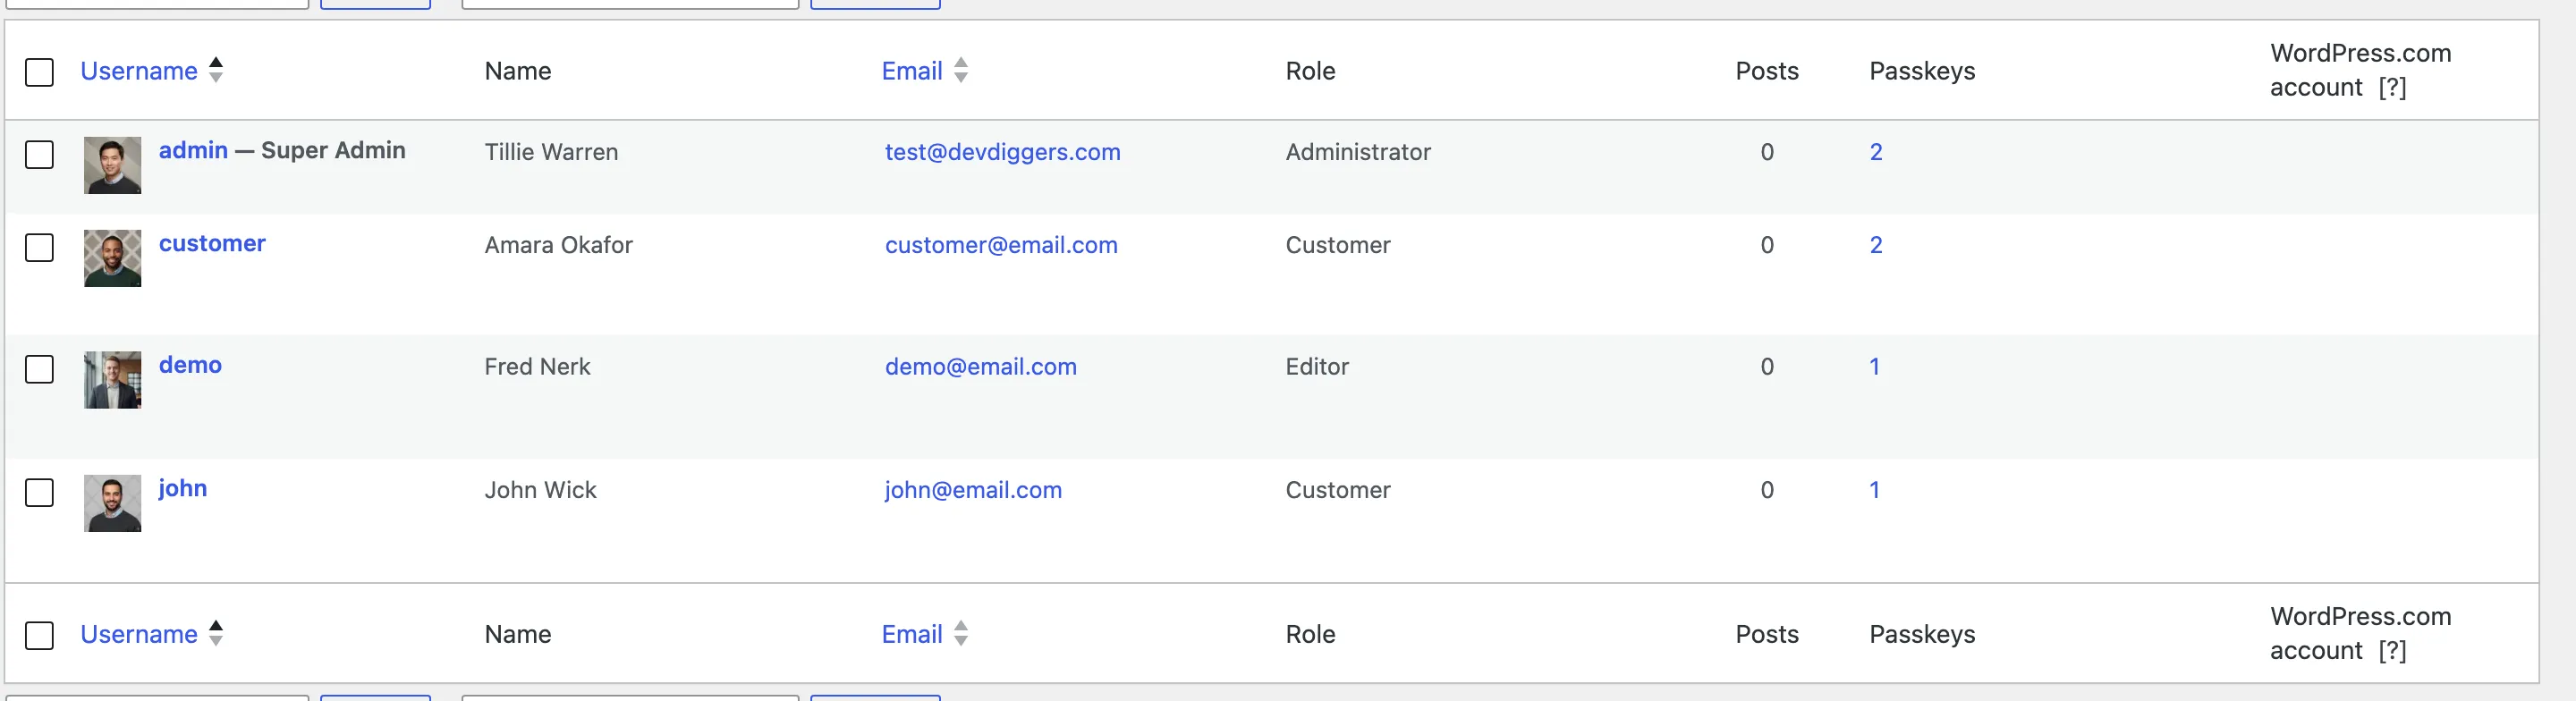
Section titled “The Users screen”Users → All Users gets a Passkeys column with each user’s count. The number opens the Passkeys screen for that user. A dash means none.
Your own profile
Section titled “Your own profile”Staff add and manage their own passkeys under Users → Profile, in the Passkeys section. It works like the customer’s Passkeys page: Add a passkey, rename, suspend, remove and recovery codes.
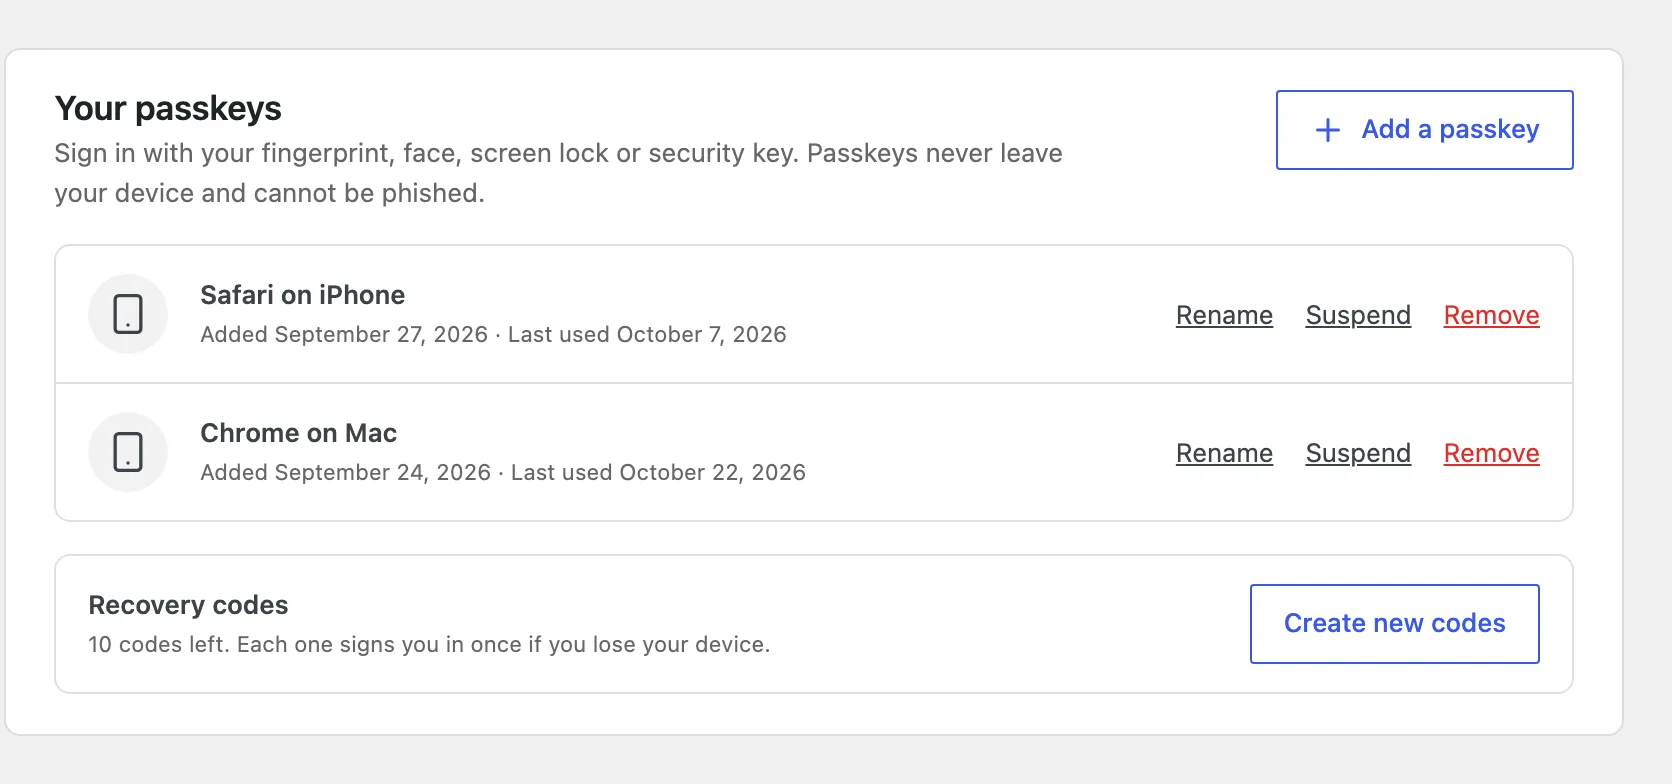
This is also where staff are sent when their role must have a passkey. See How to Require Passkeys for Staff.
A customer’s profile
Section titled “A customer’s profile”Open a customer under Users and scroll to Passkeys. You can suspend, reactivate or remove each of their passkeys, and Delete codes removes their recovery codes. You cannot add a passkey for someone else; it has to be made on their own device.
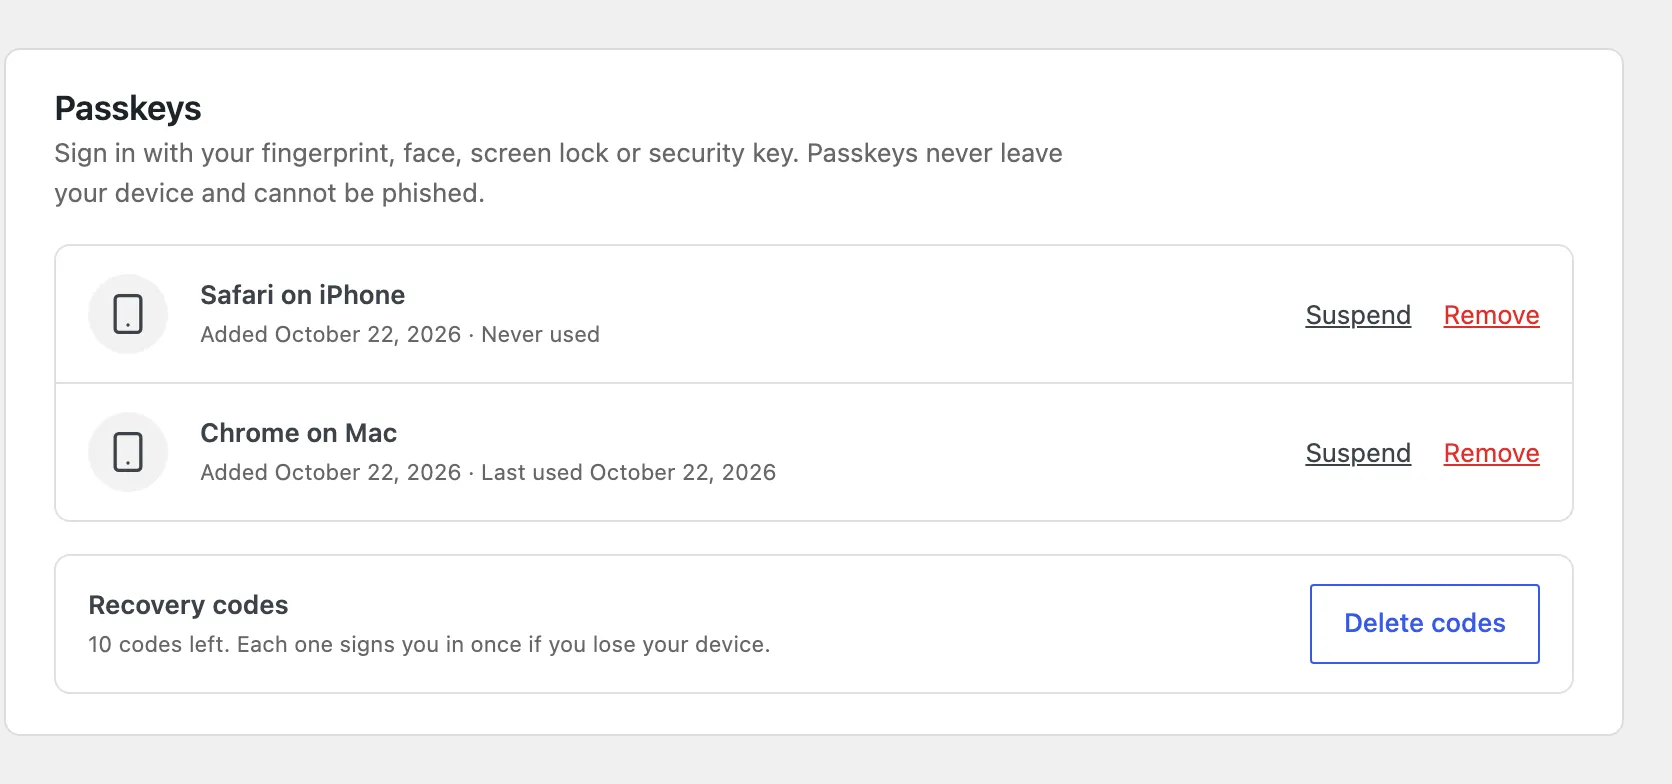
The section shows only for users whose role may use passkeys.
Privacy requests
Section titled “Privacy requests”Tools → Export Personal Data includes each passkey’s name and dates, and the user’s sign in activity. Passkey keys are left out: they are a secret, not personal data. Tools → Erase Personal Data deletes their passkeys and recovery codes, and keeps their activity without name, IP address or browser.
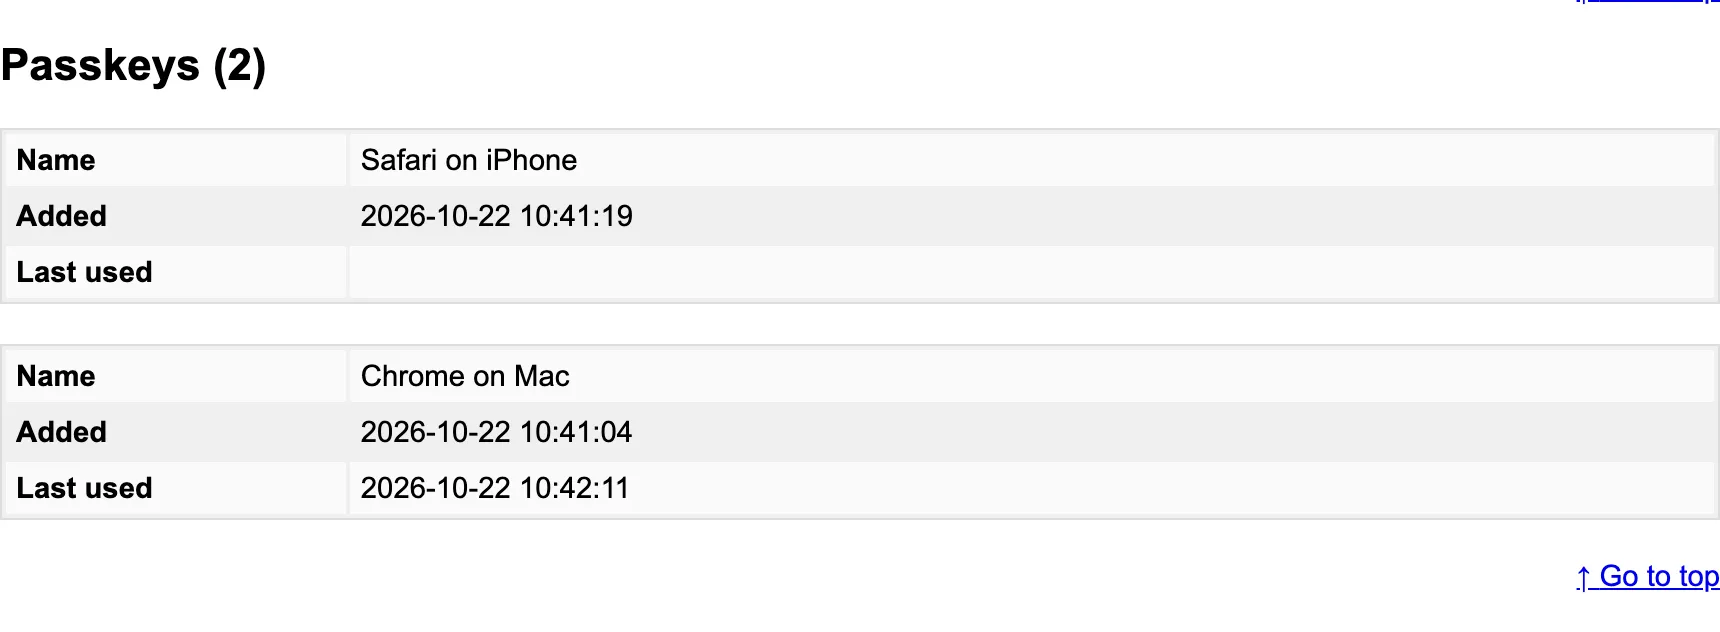
Deleting a user does the same automatically.