

How to Set Up Security Emails and Lockout Alerts
Security emails tell users about changes to their account, so they can act if it was not them.
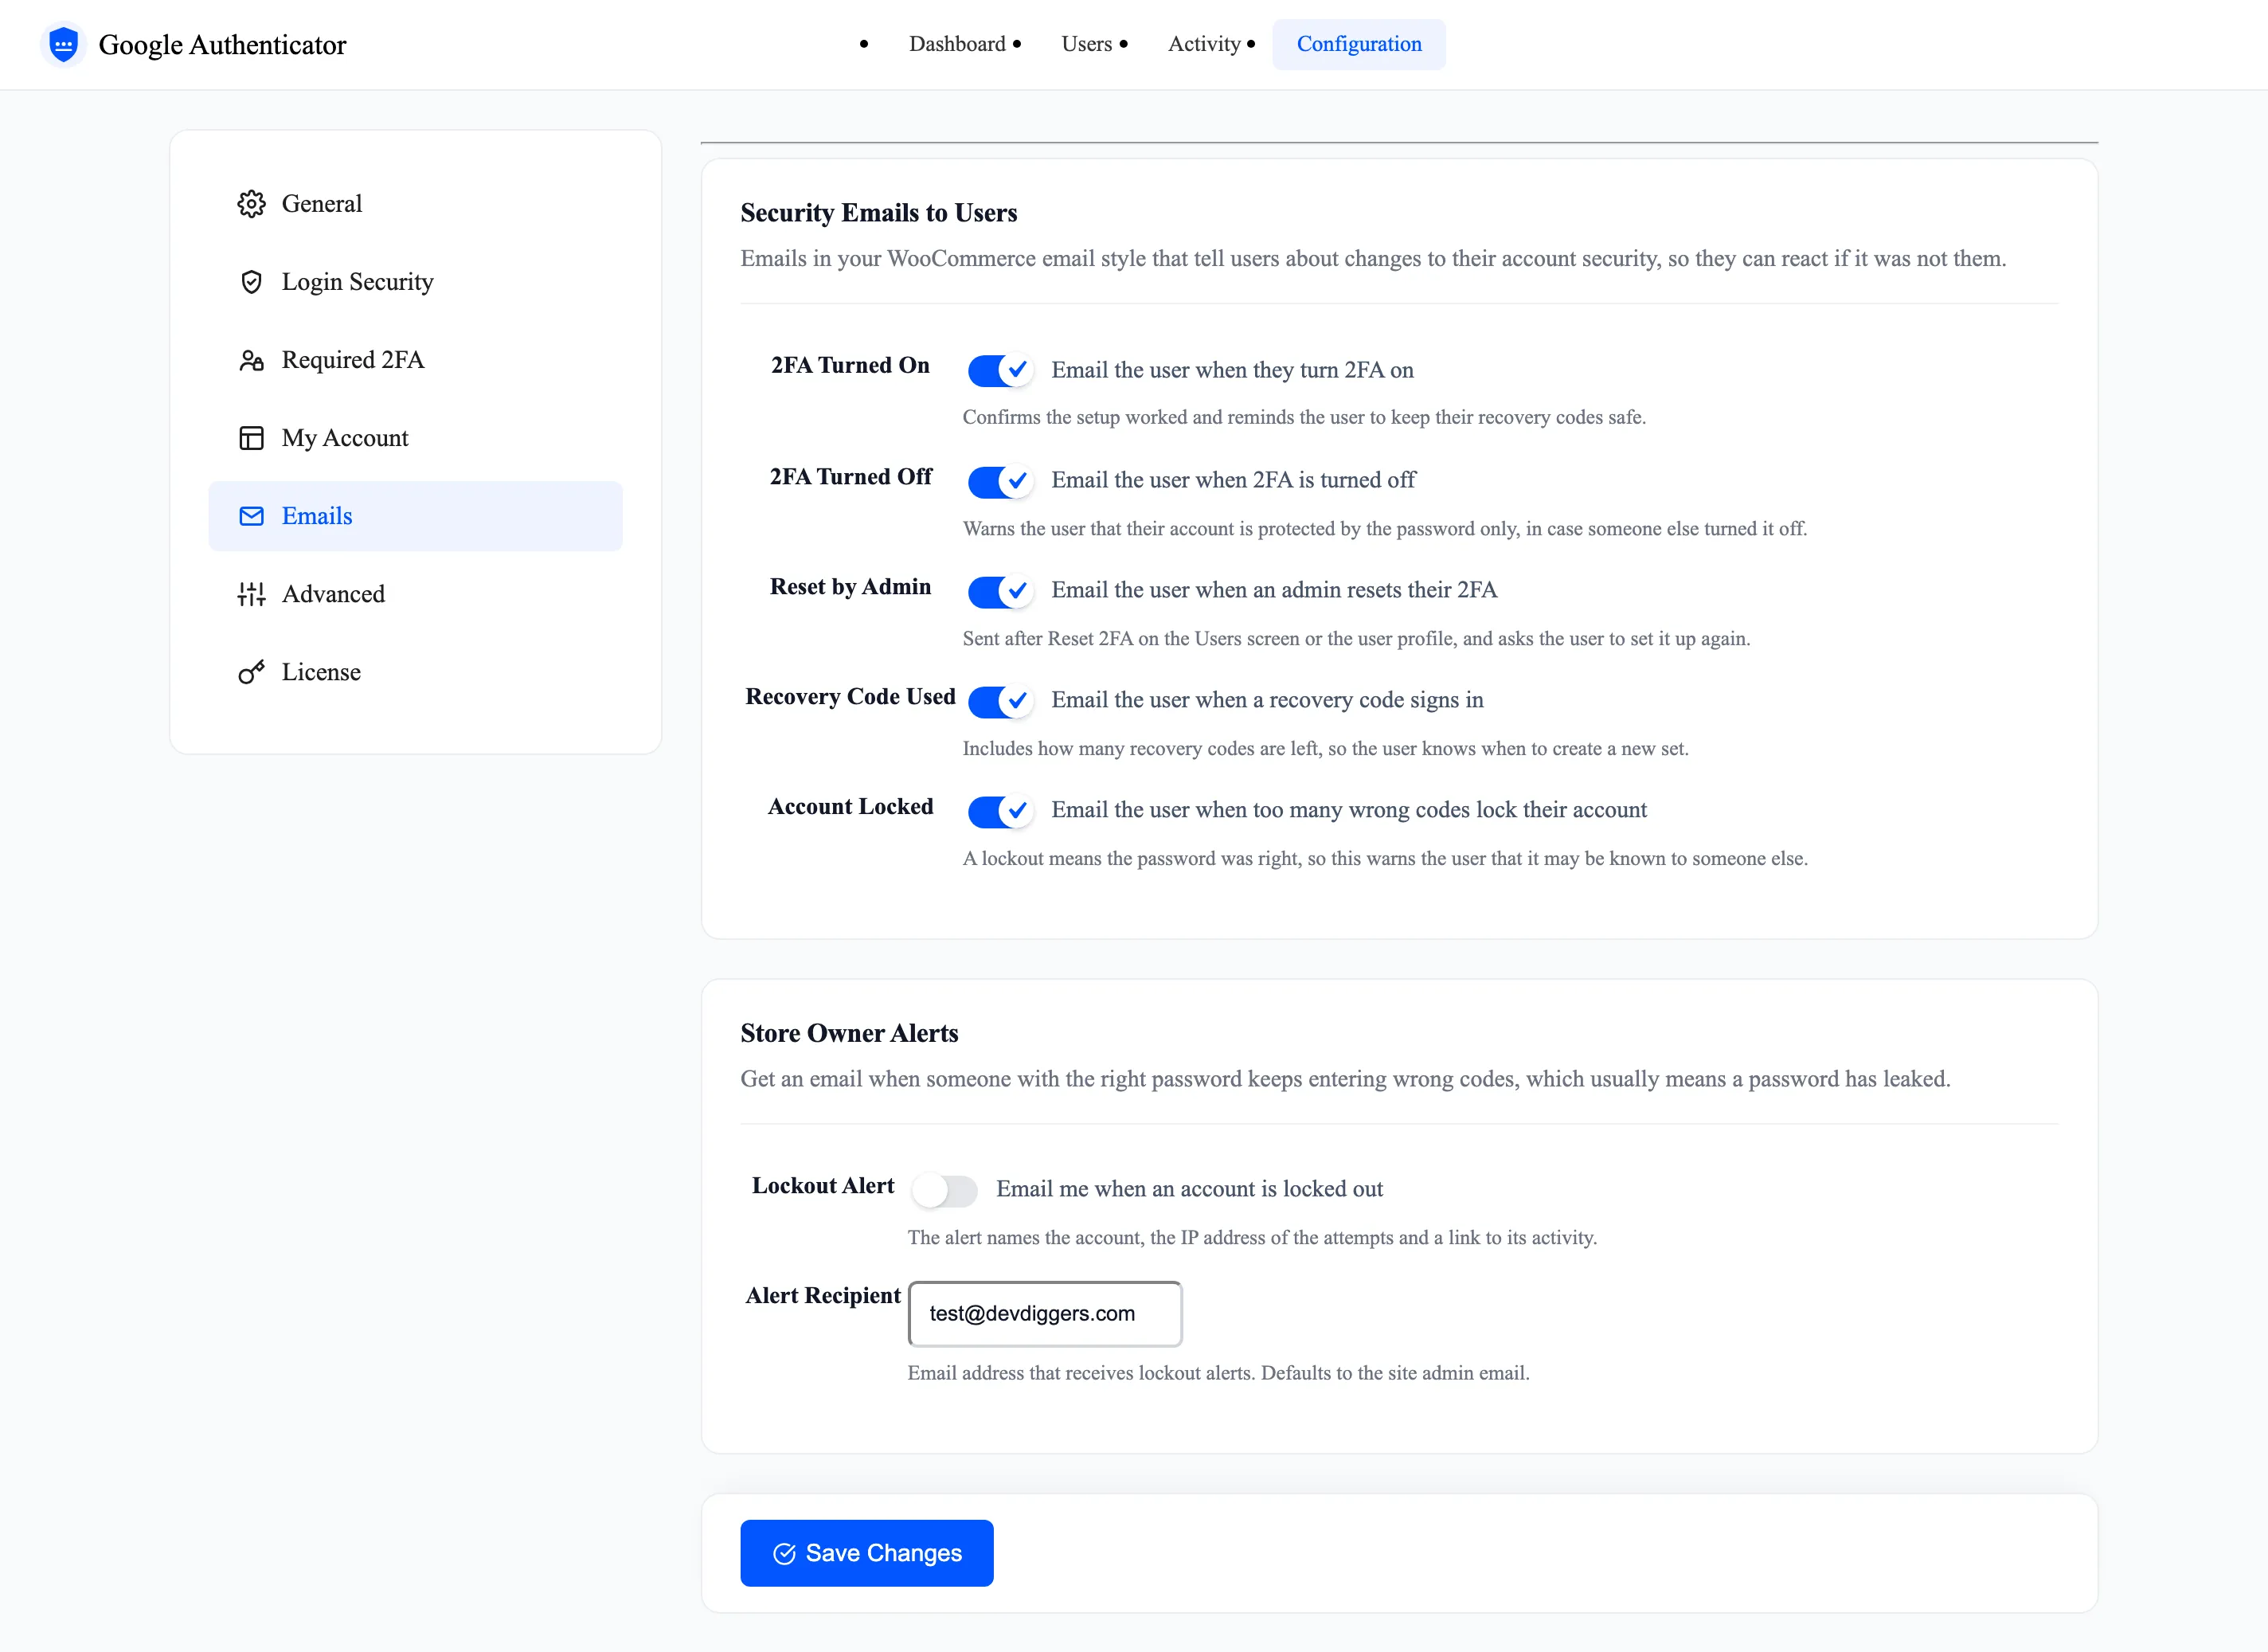
Step 1: Open the Emails tab
Section titled “Step 1: Open the Emails tab”Configuration → Emails.
Step 2: Choose the user emails
Section titled “Step 2: Choose the user emails”All five are on by default. On the demo, each was sent by a real action and caught before delivery:
-
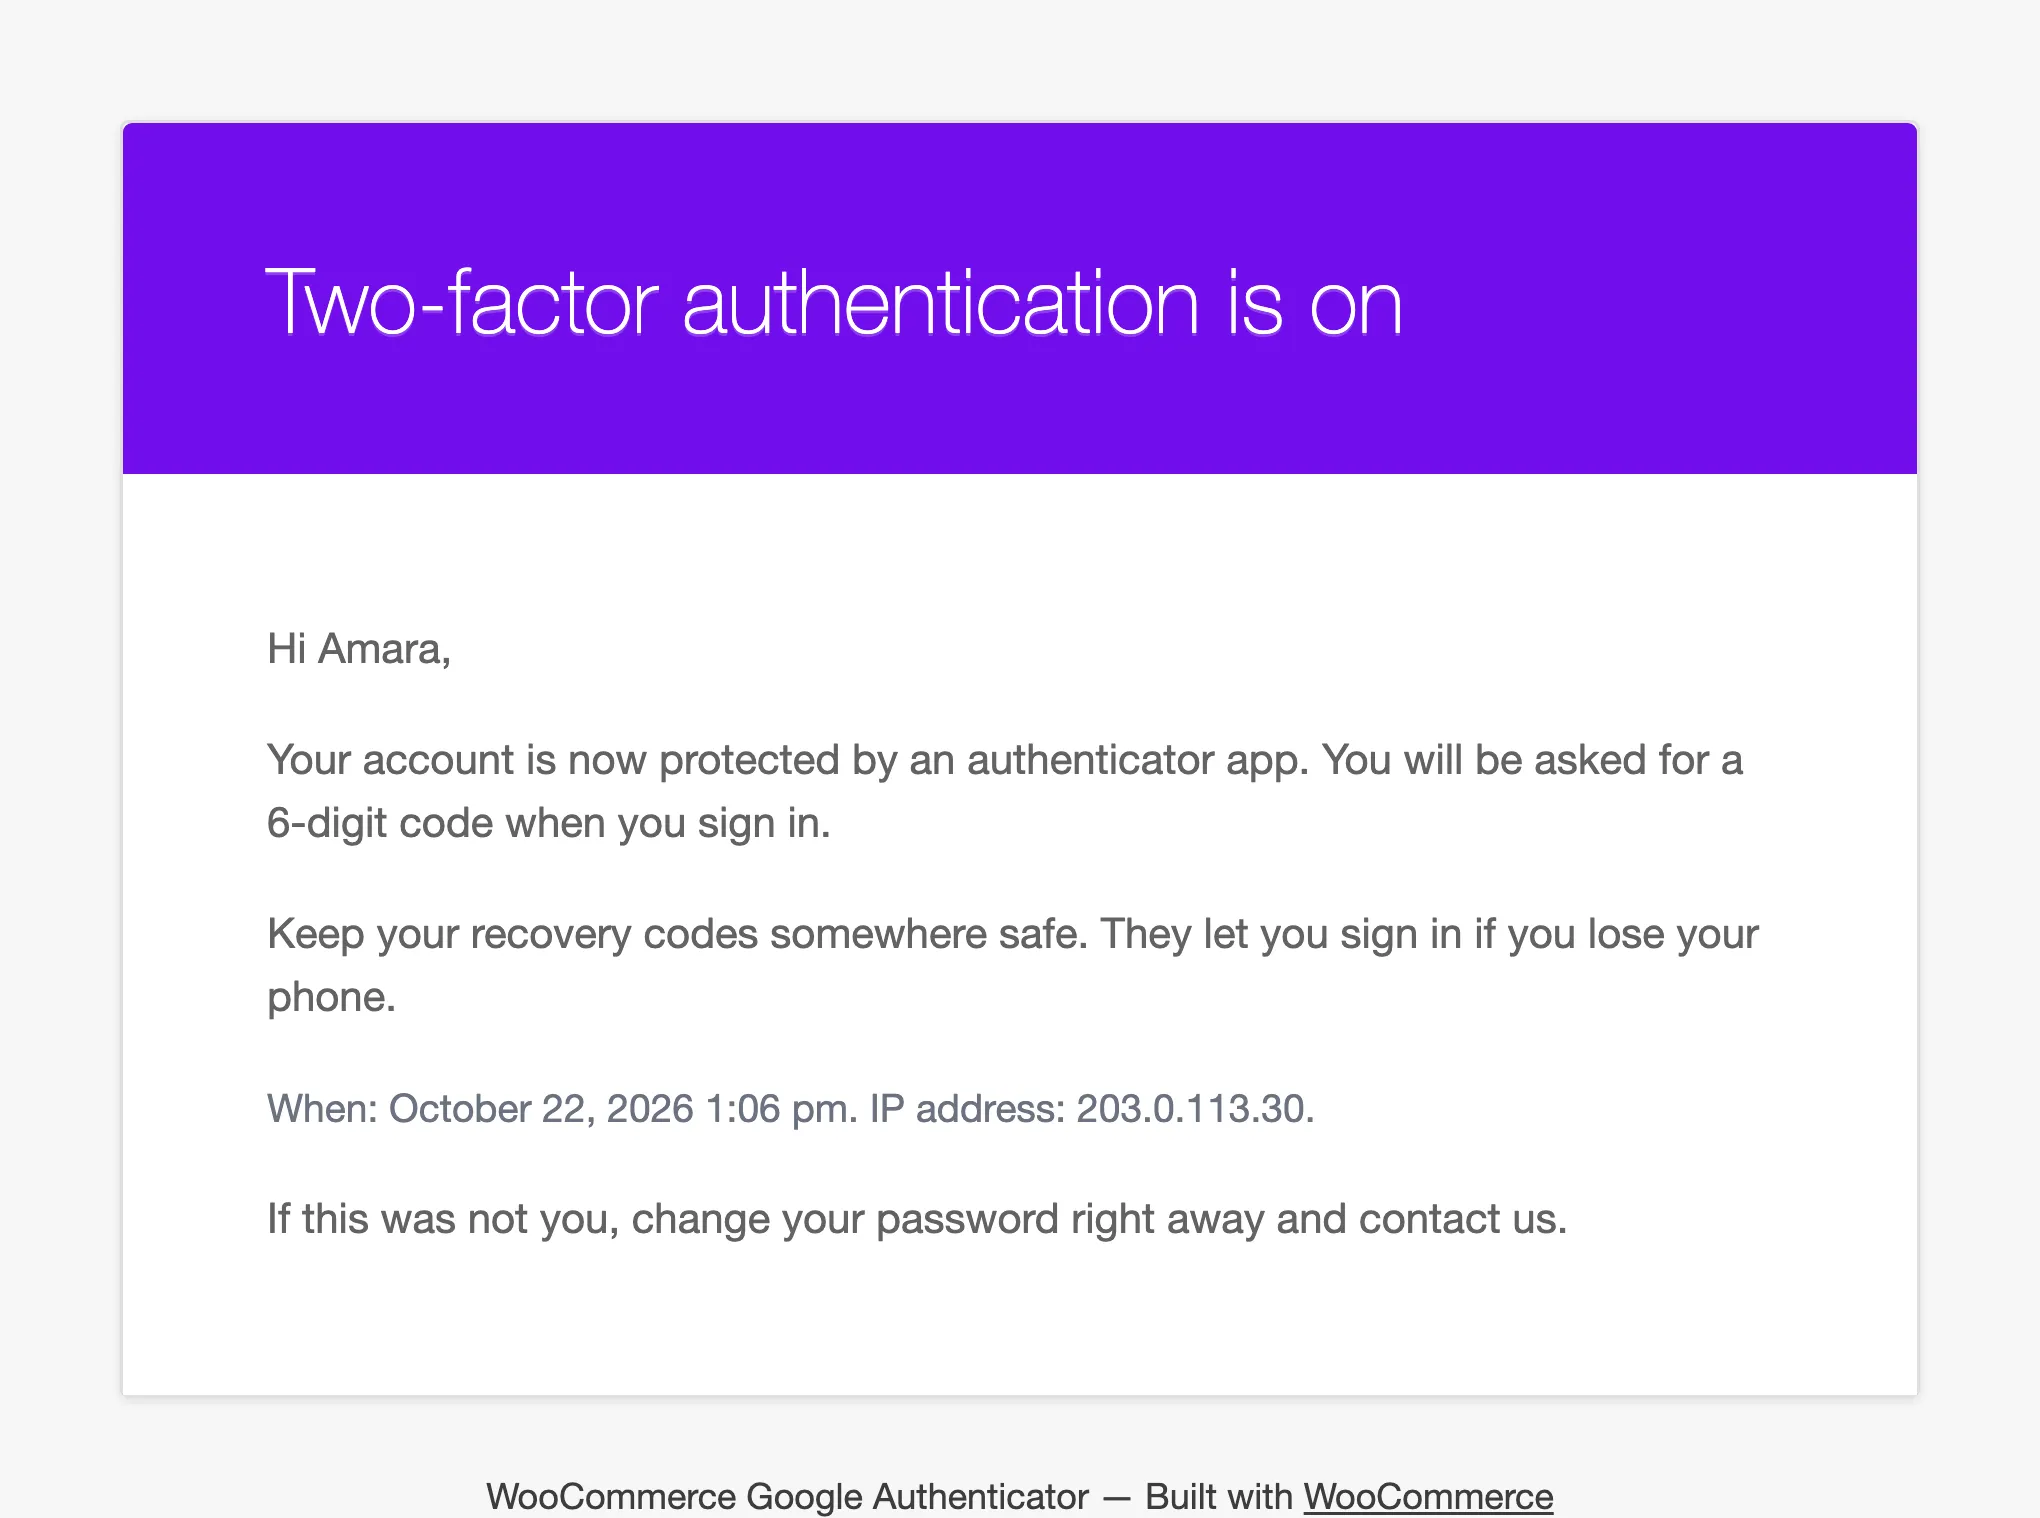
2FA Turned On, after setup.
-
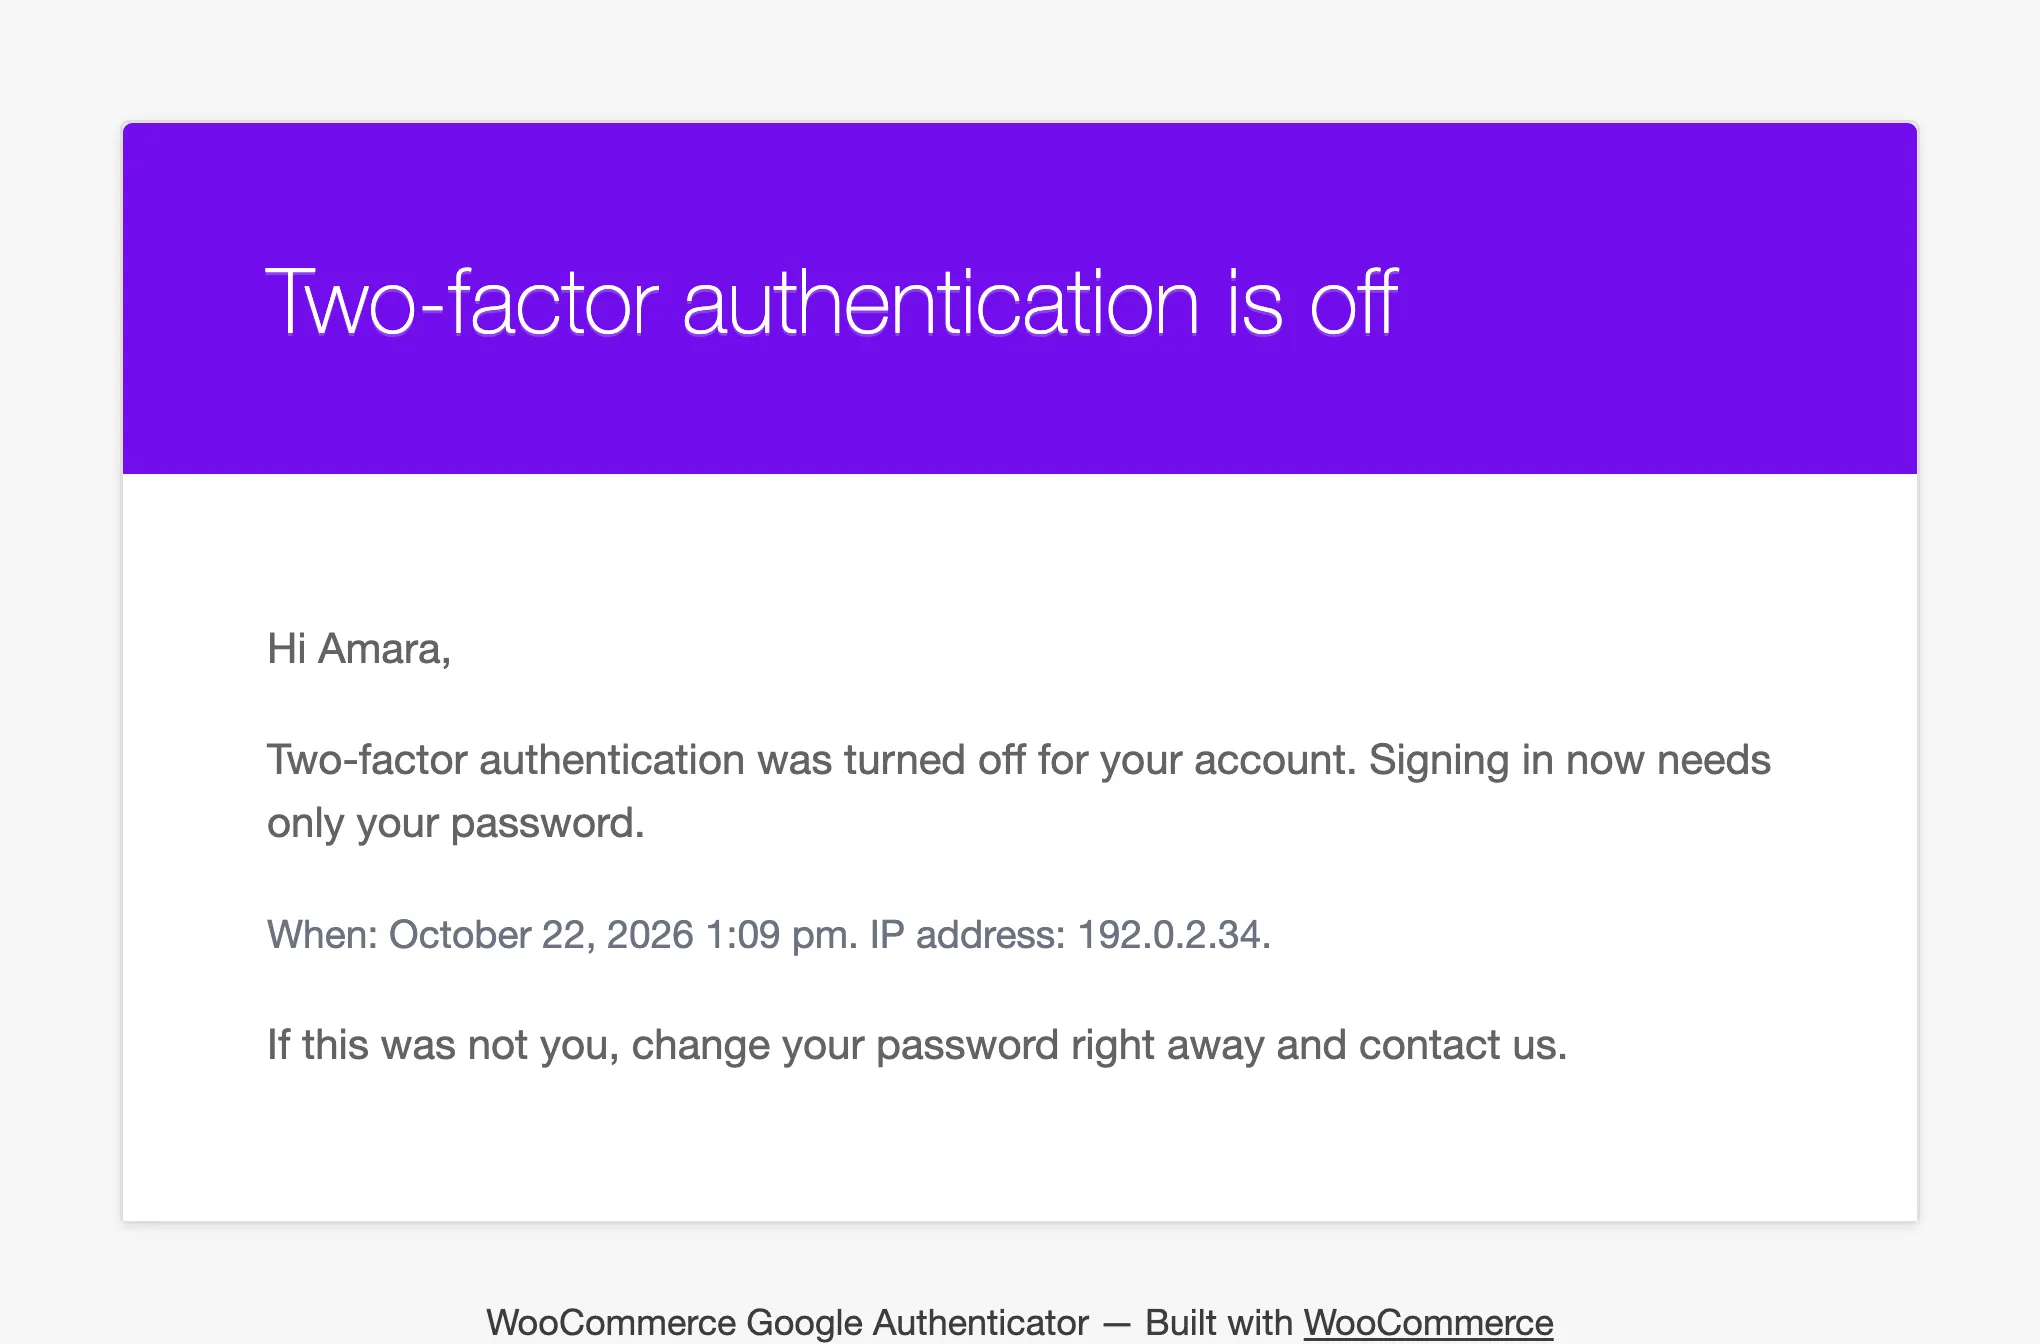
2FA Turned Off, after the customer turned it off.
-
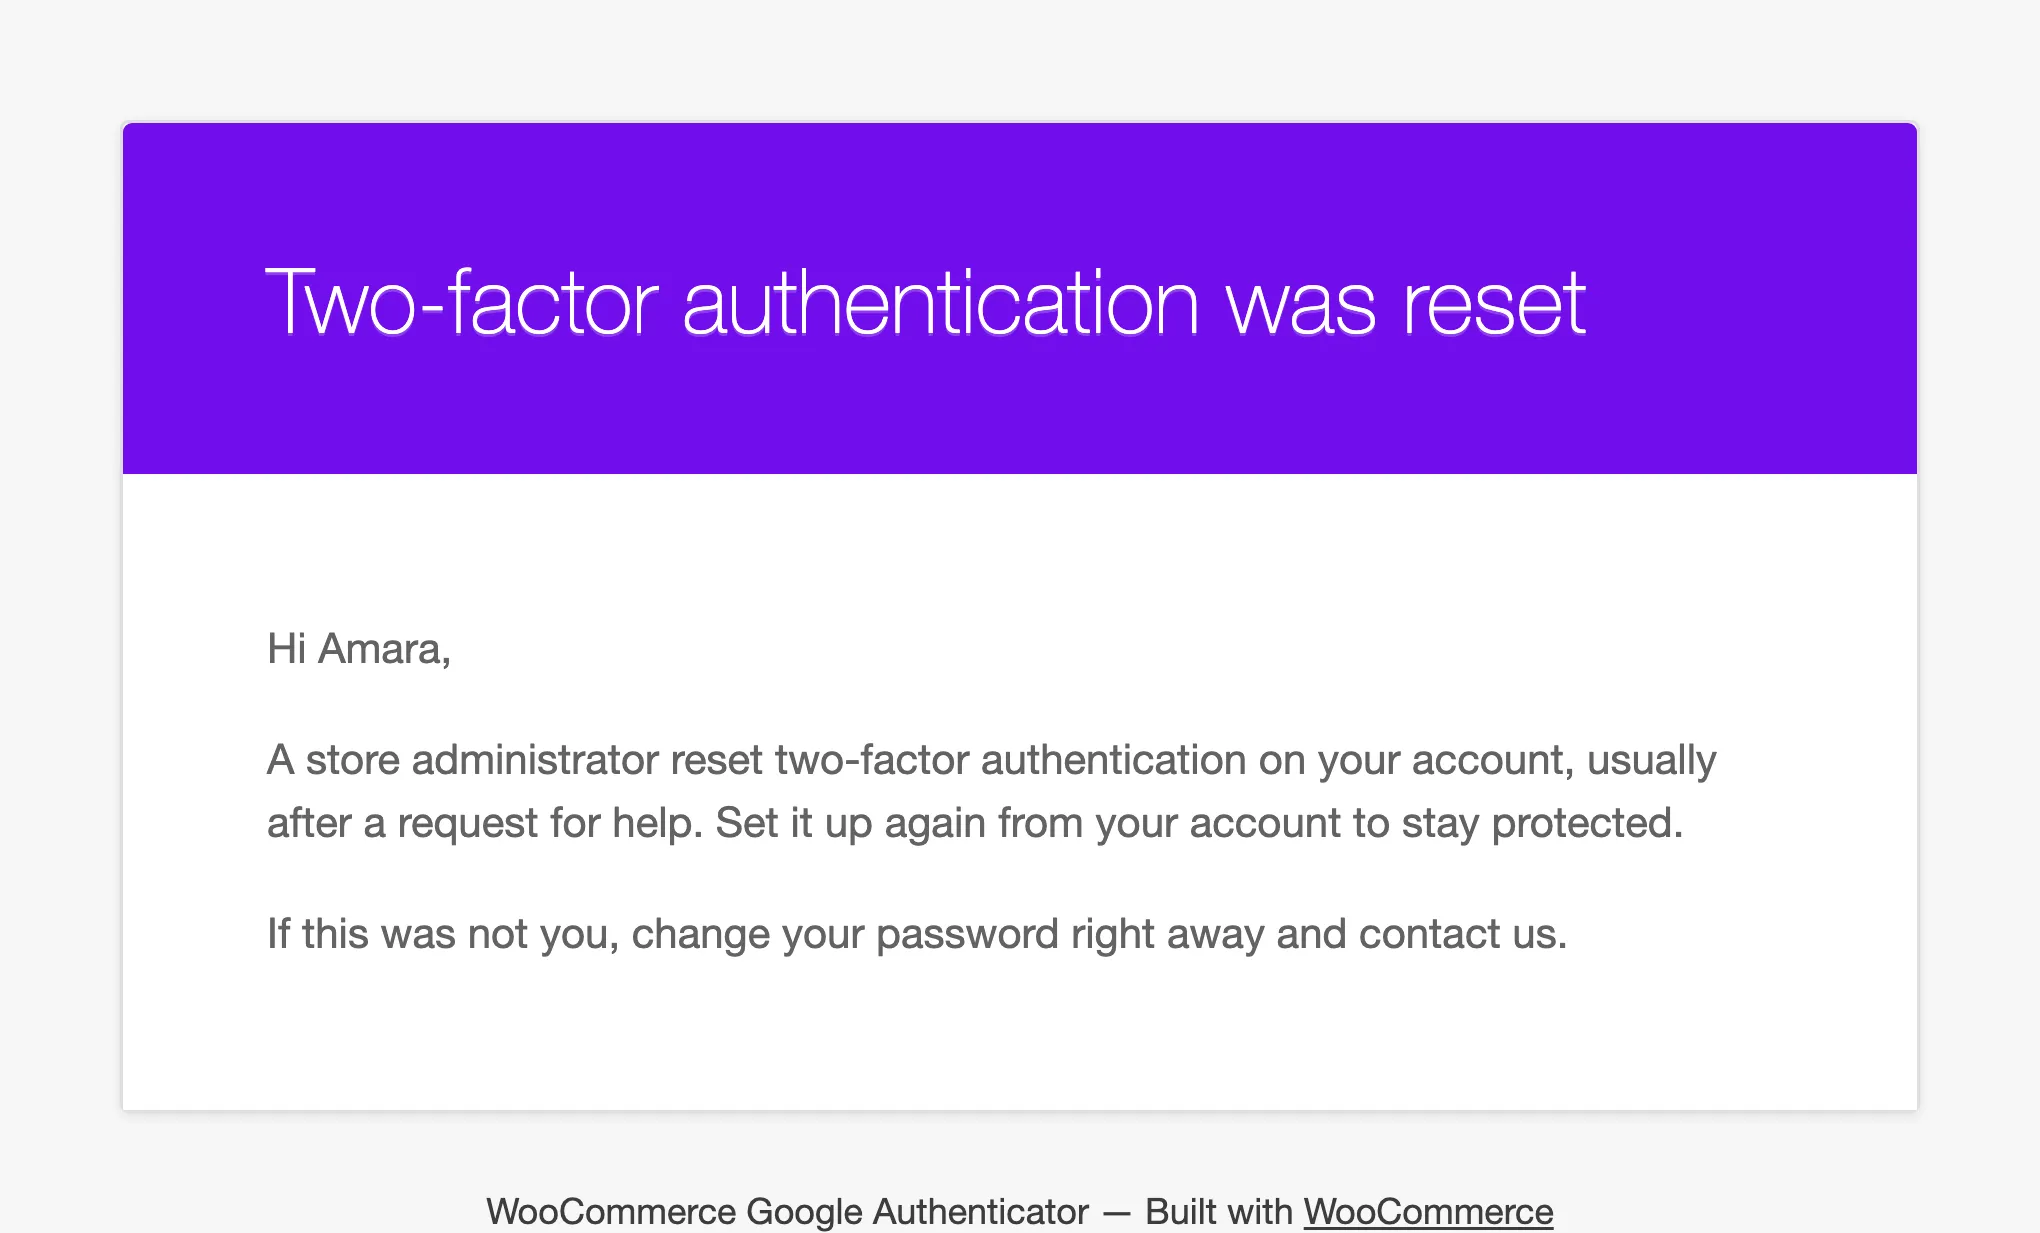
Reset by Admin, after Reset 2FA.
-
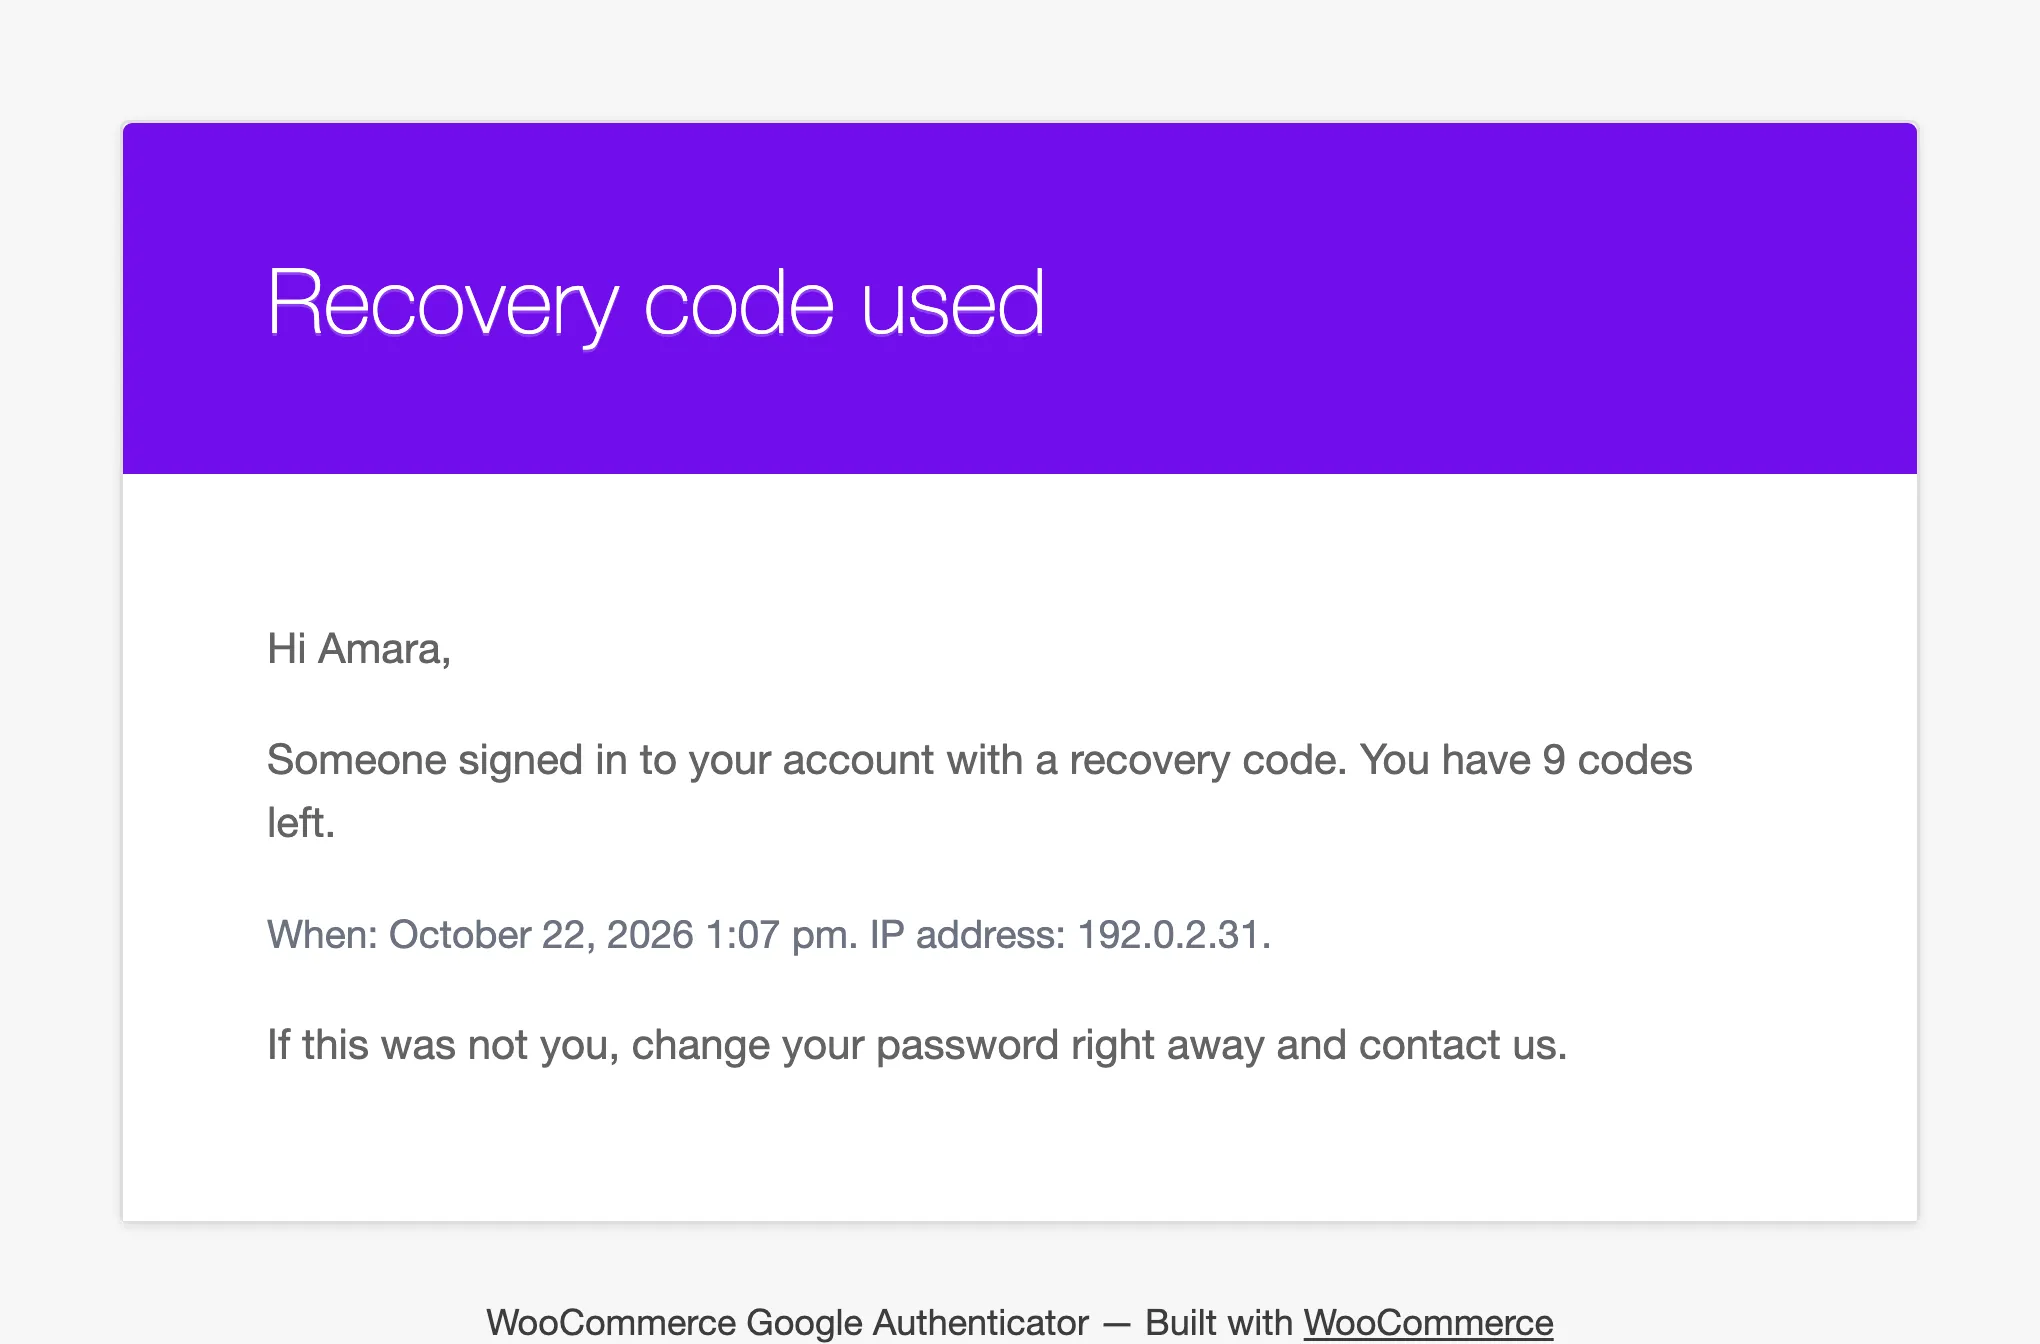
Recovery Code Used, with the codes left.
-
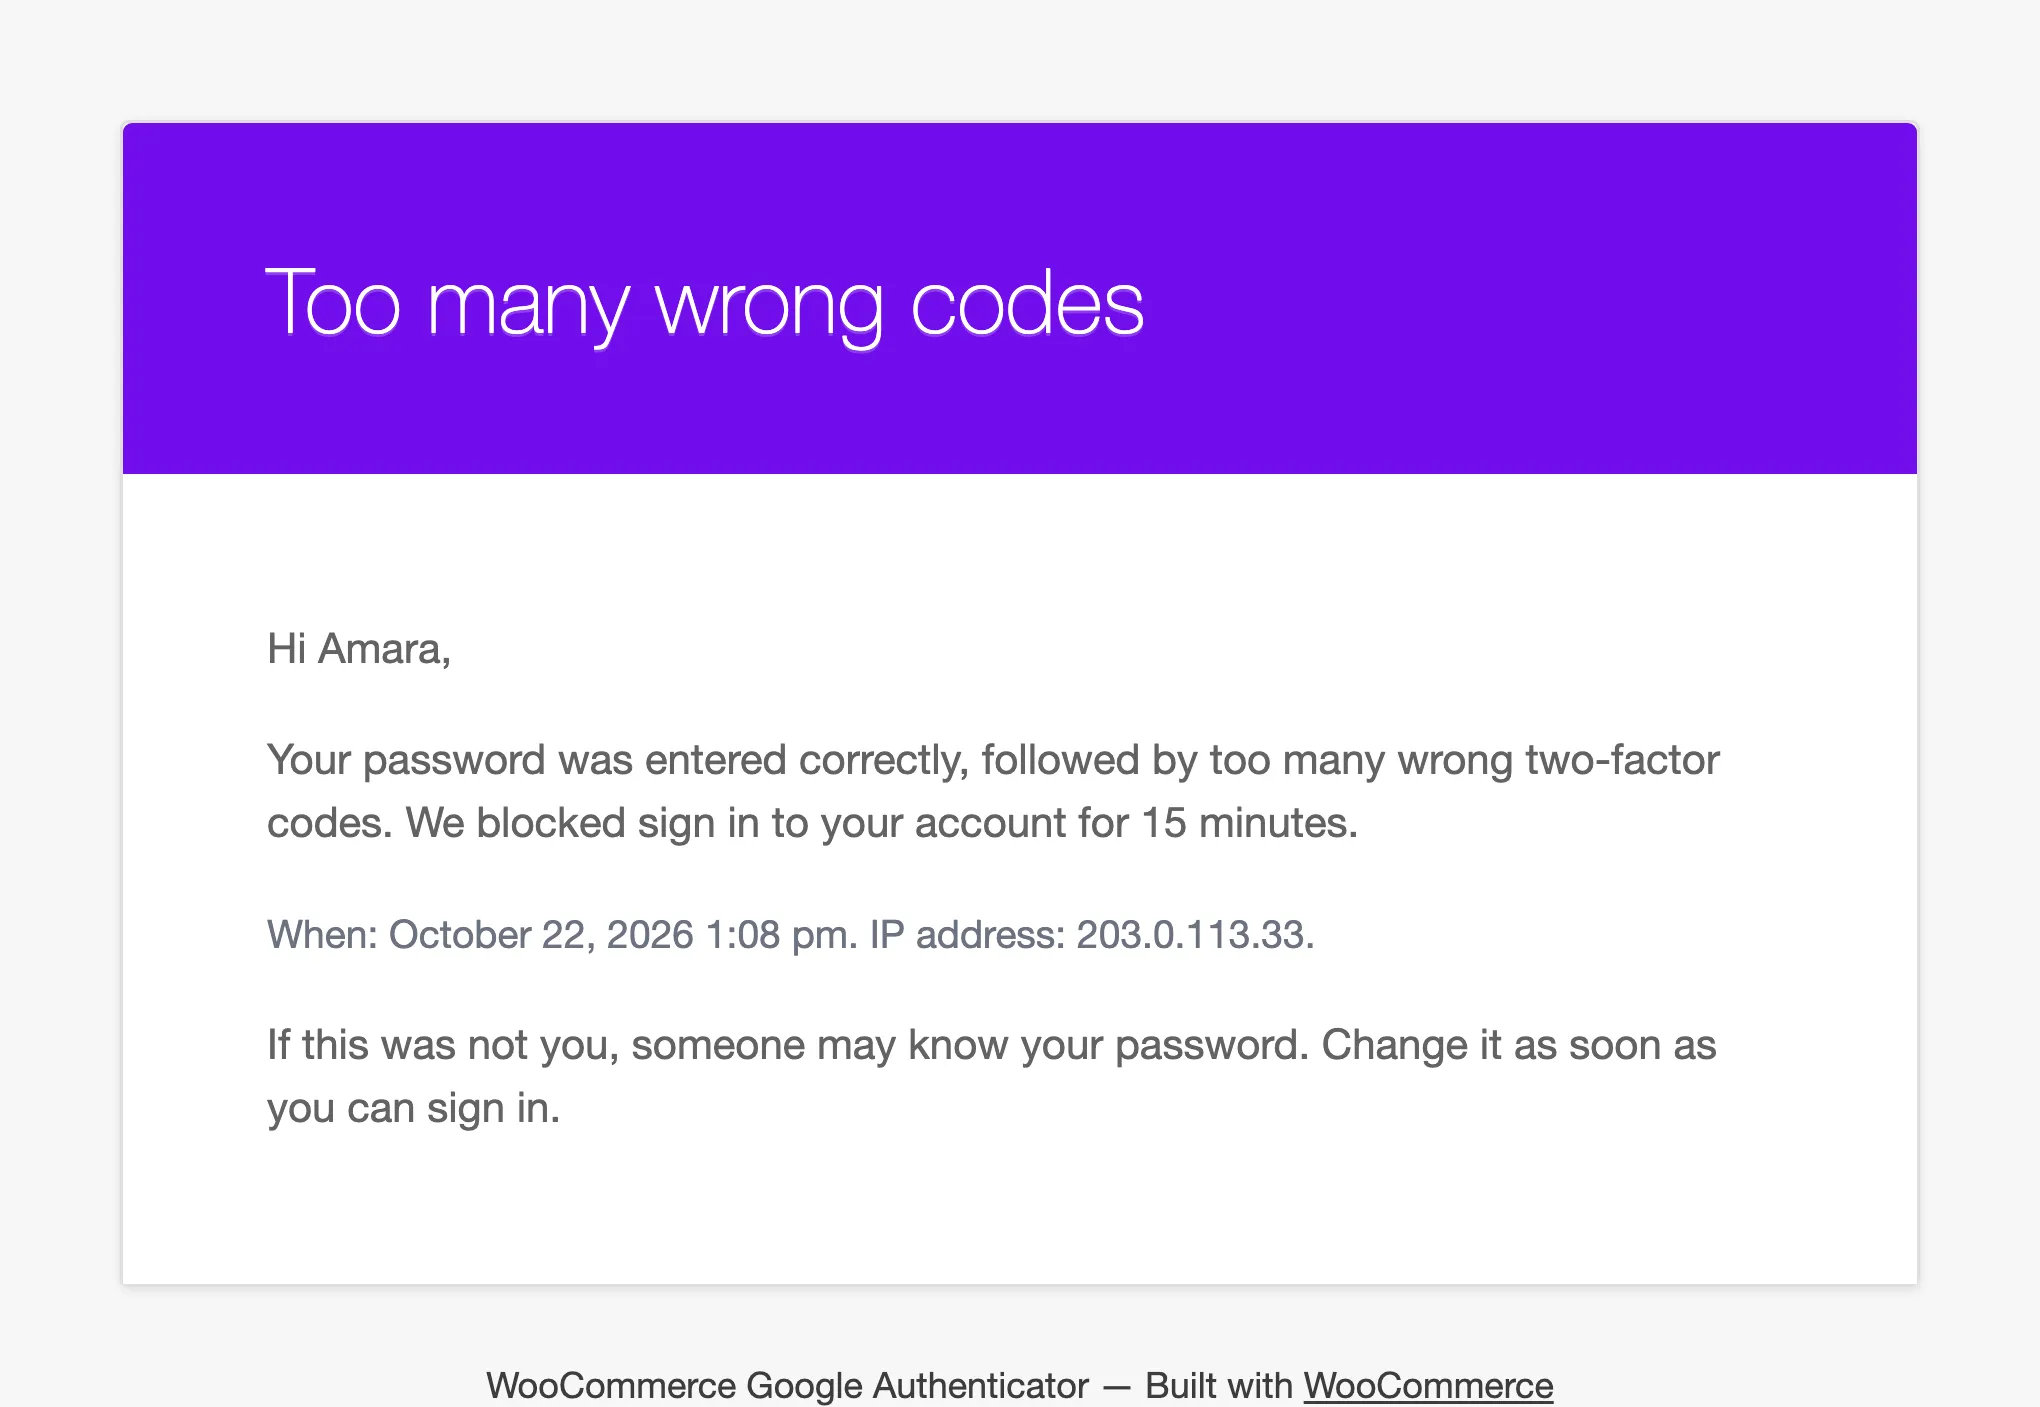
Account Locked, after too many wrong codes.
Step 3: Turn on the lockout alert
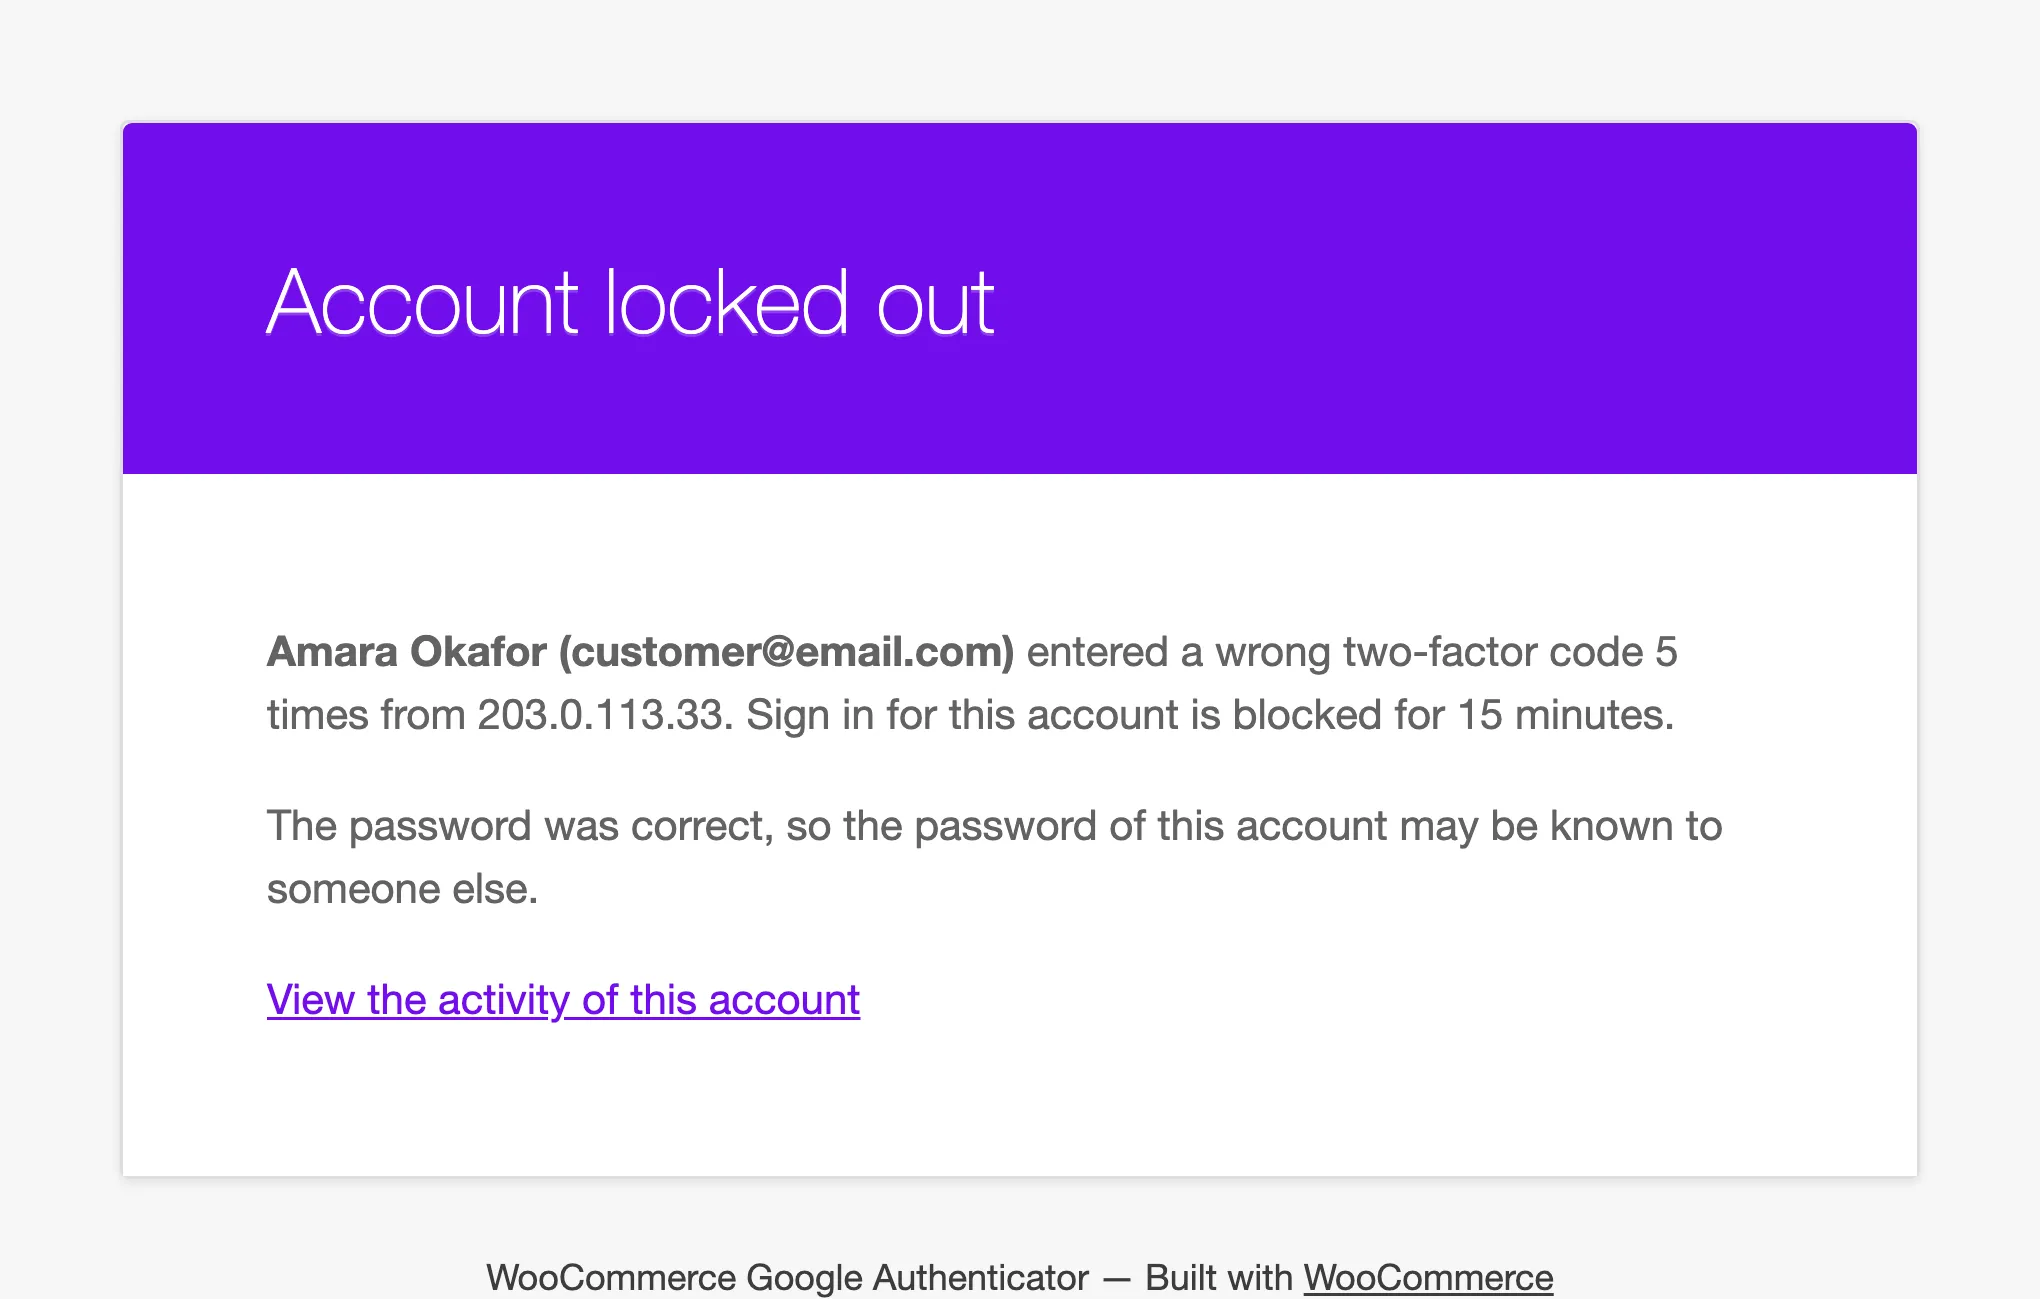
Section titled “Step 3: Turn on the lockout alert”Lockout Alert is off by default. Alert Recipient defaults to the site admin email.
Step 4: Save
Section titled “Step 4: Save”Press Save Changes.
Good to know
Section titled “Good to know”- Every email uses your WooCommerce email template, header colour and footer included.
- The email code, when you allow email codes, always goes out. It is not on this tab.
- Each email shows the date, time and IP address of the change.