

Google Authenticator Setup Wizard
The setup wizard opens the first time you activate the plugin. It walks through the license and the settings most stores change, then sends you to the dashboard. Every step saves the same options as the Configuration tabs, so you can change any of them later.
Open it again at any time from the Setup Wizard link on the Plugins screen.
Welcome
Section titled “Welcome”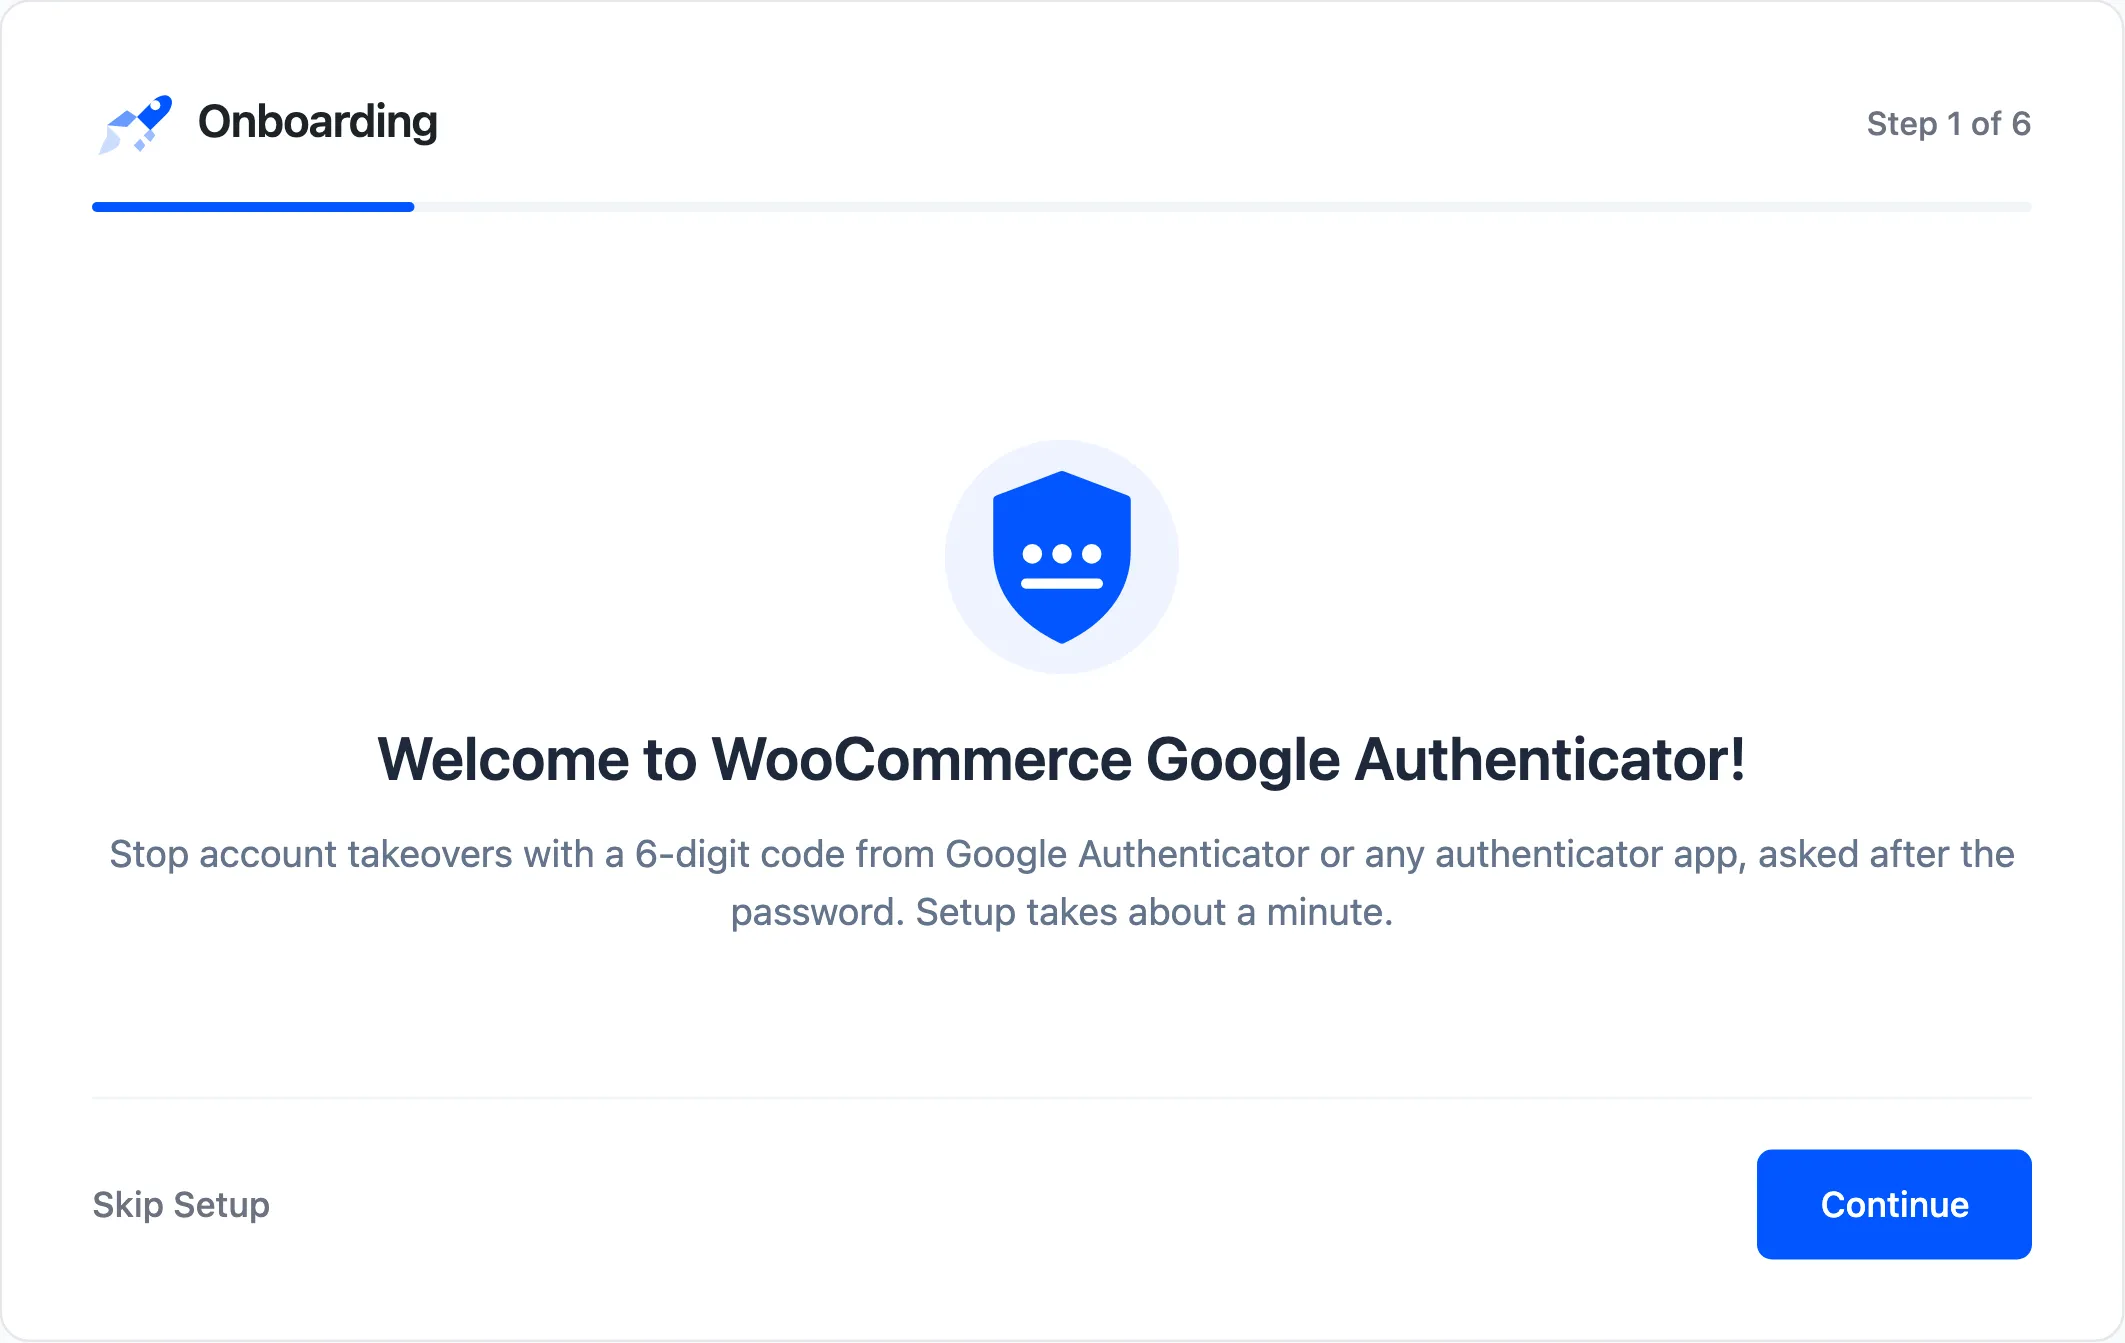
A short summary of what the plugin does. Press Continue.
License
Section titled “License”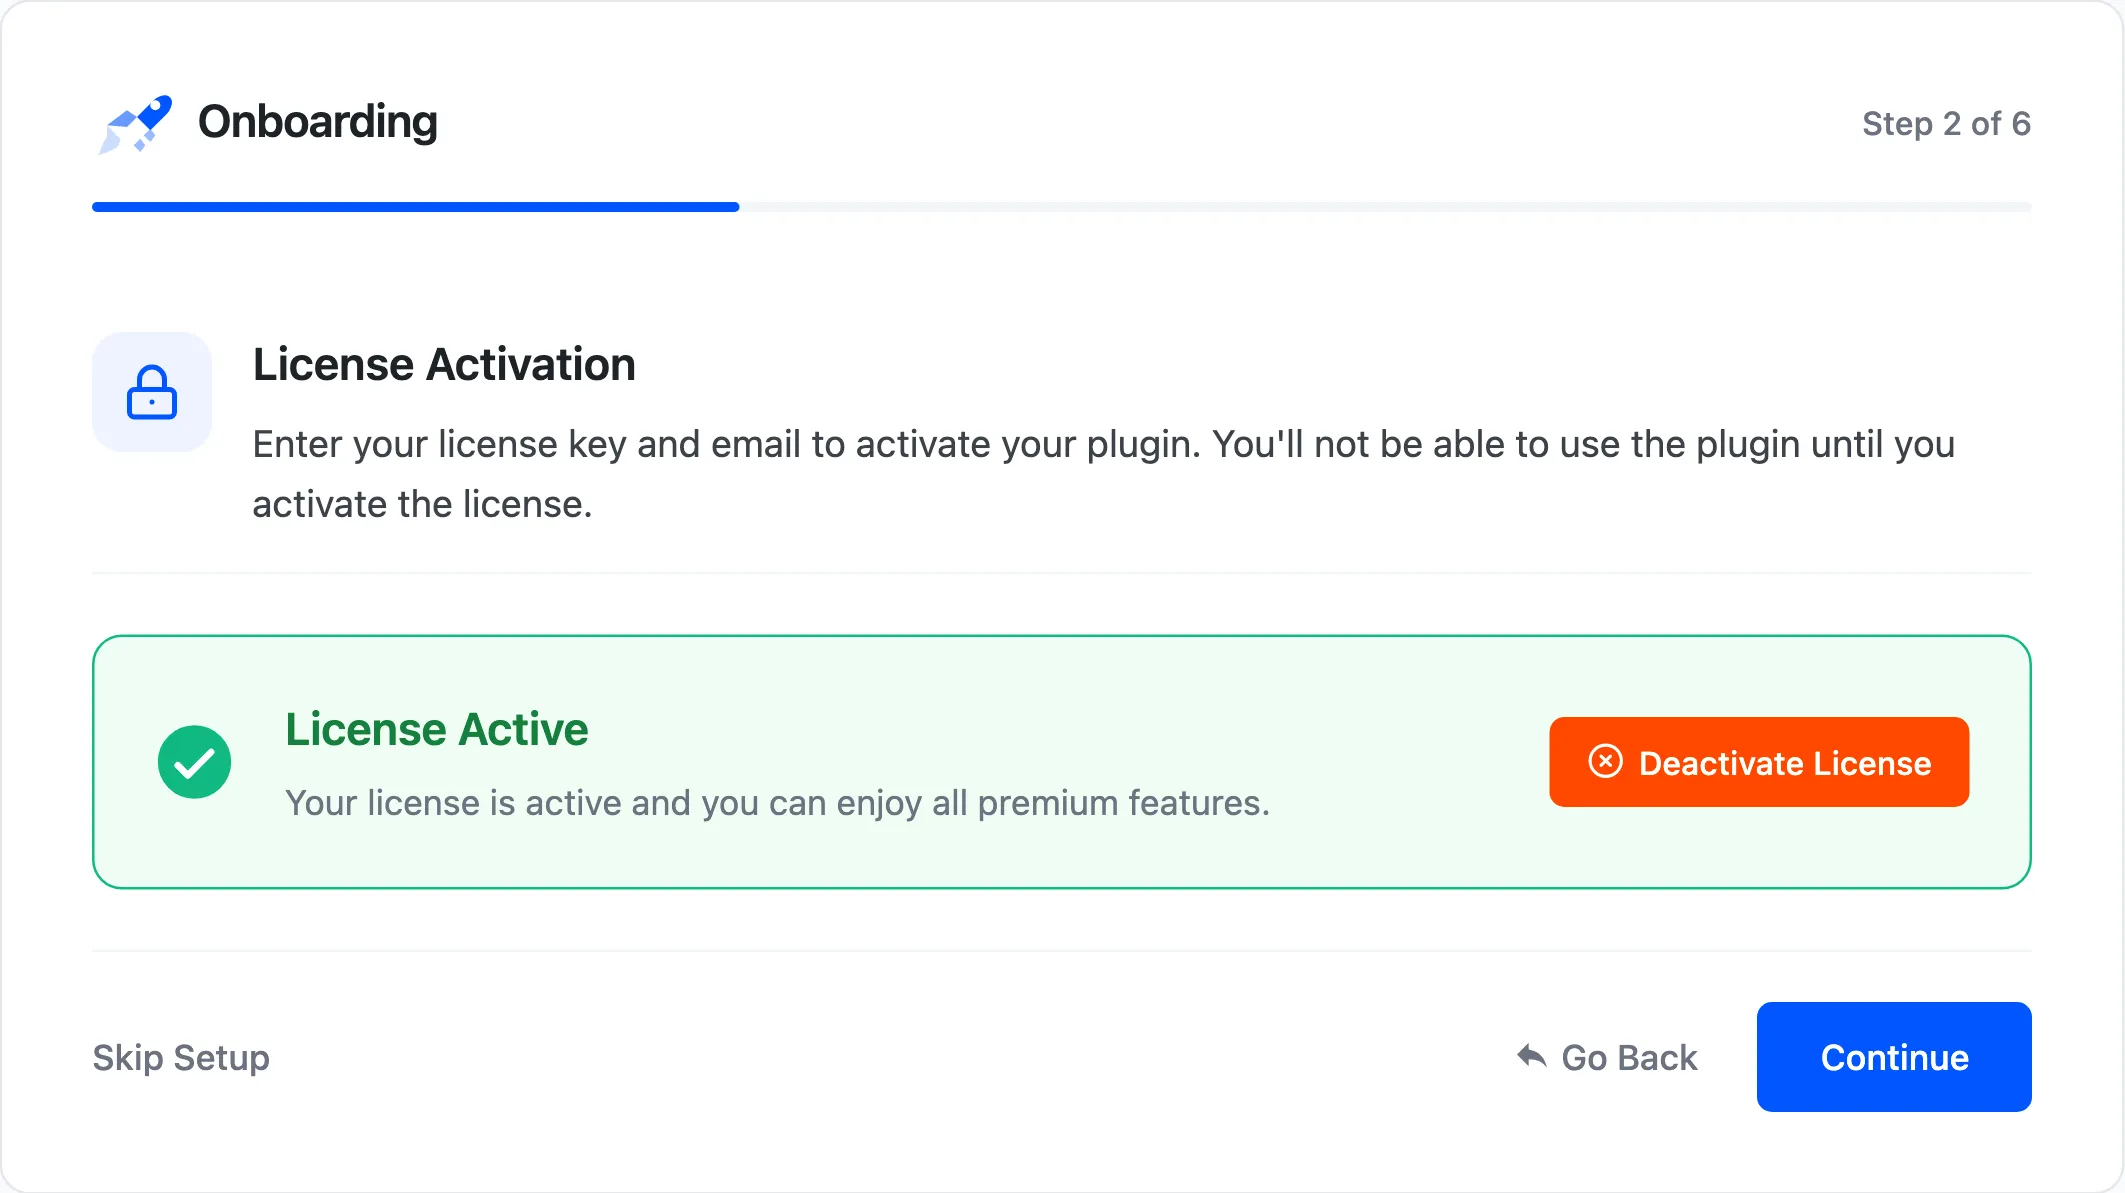
Activate your license here. The wizard does not move on until the license is active.
General
Section titled “General”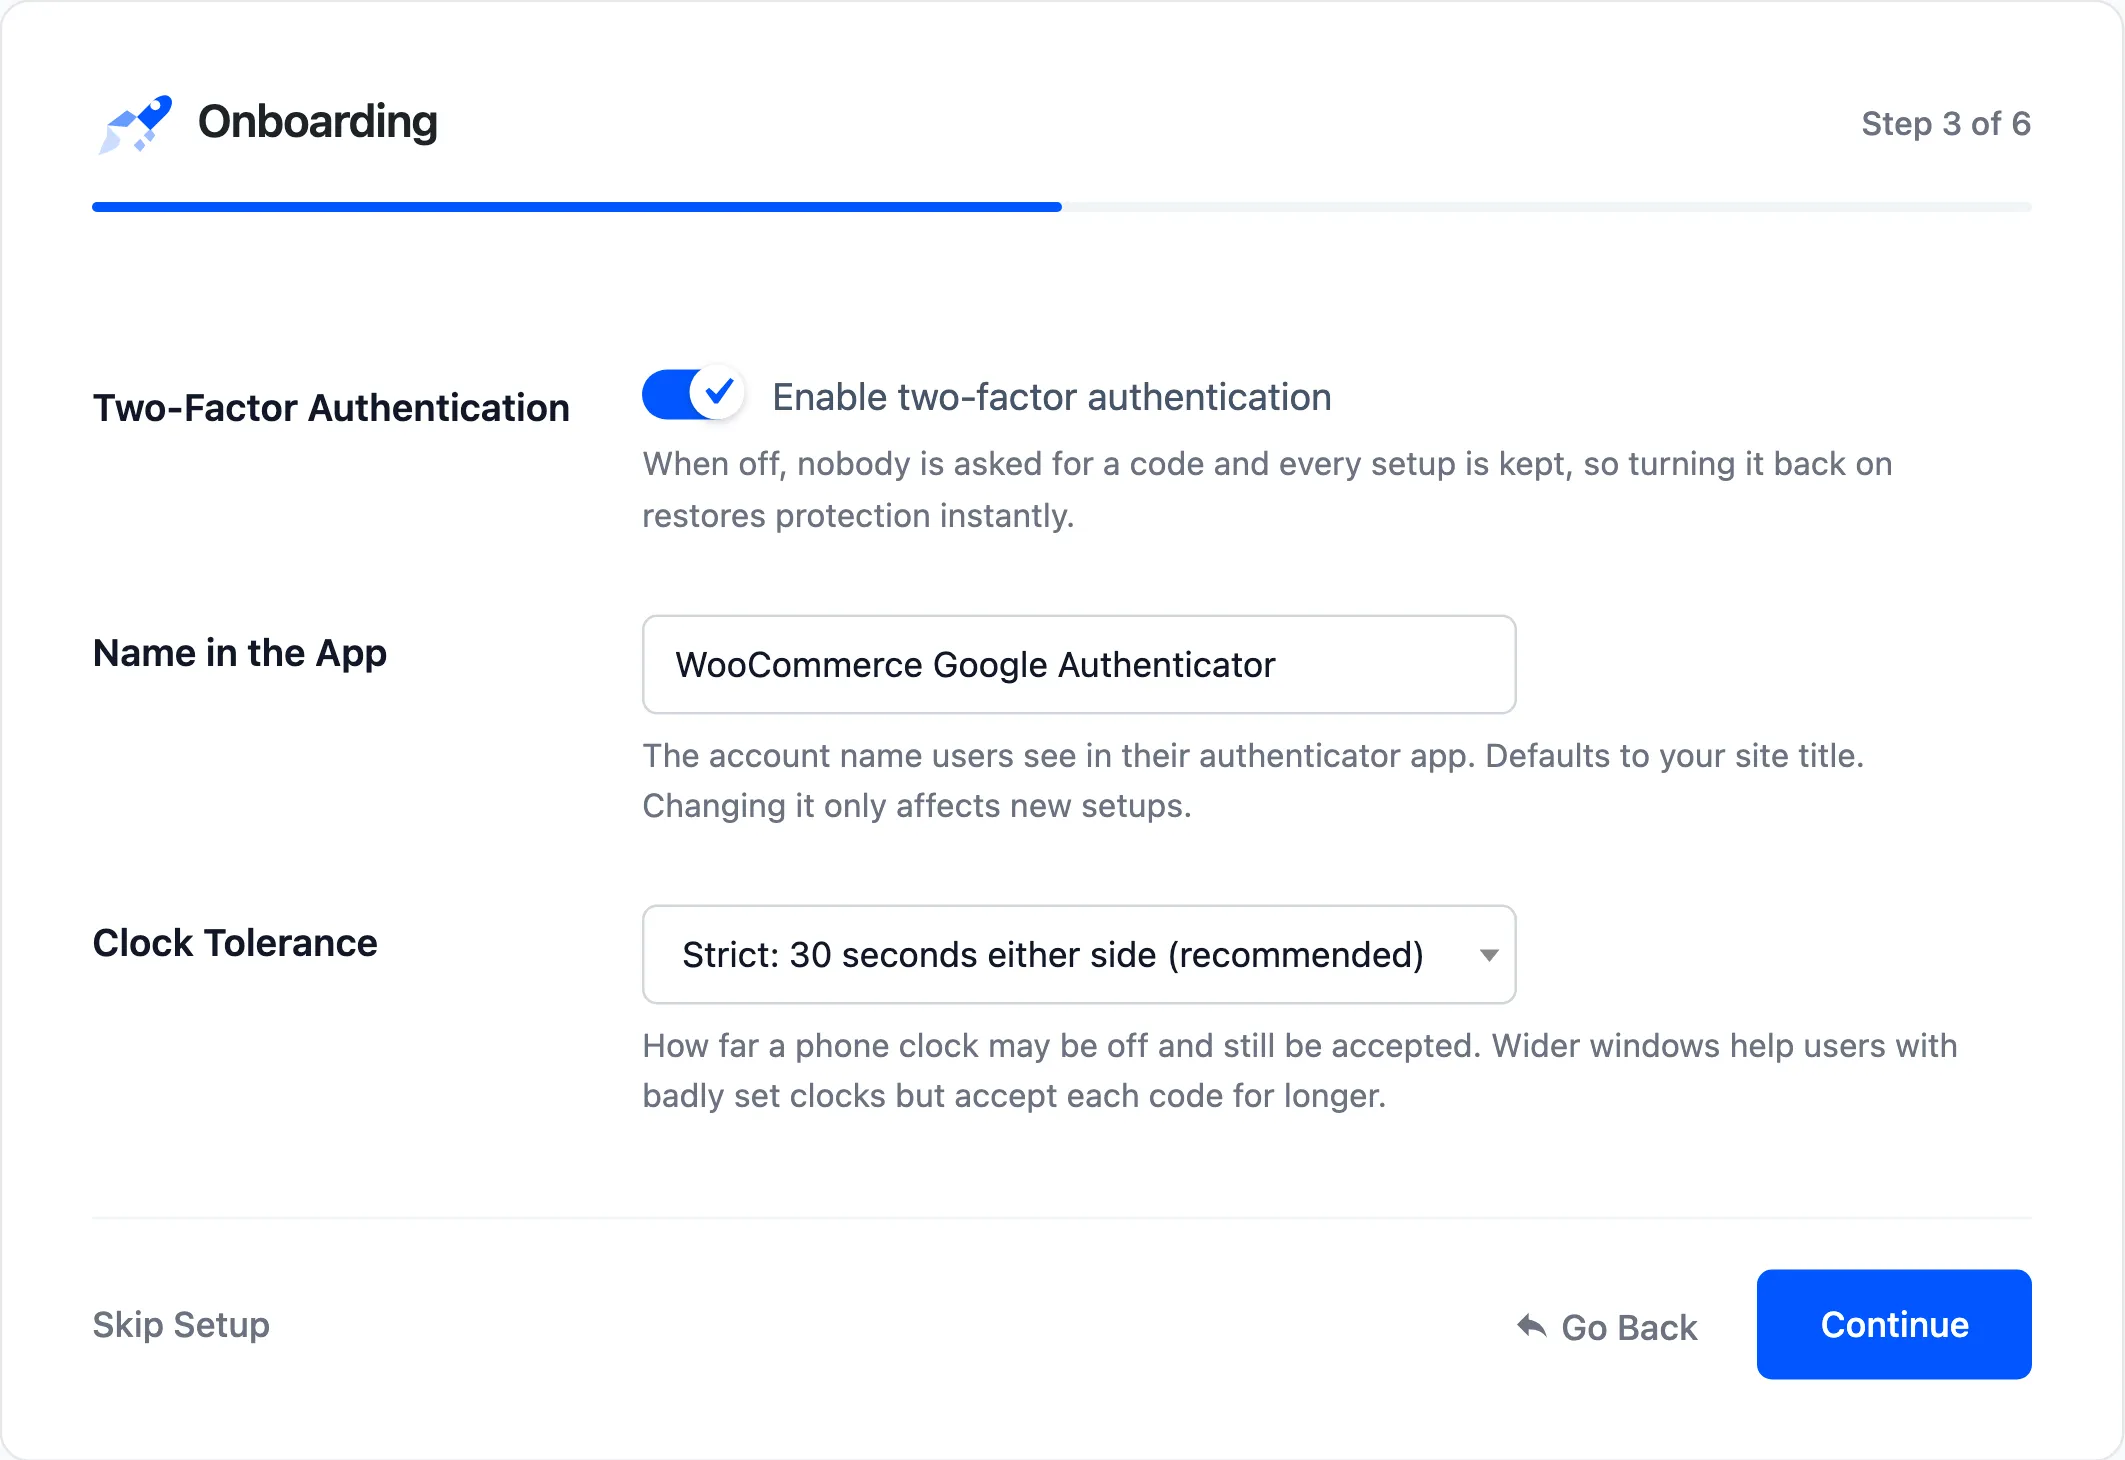
- Two-Factor Authentication: The main switch. On by default.
- Name in the App: The account name customers see in their app. Your site title by default.
- Clock Tolerance: How far a phone’s clock may be off. Keep Strict unless customers complain.
Login Security
Section titled “Login Security”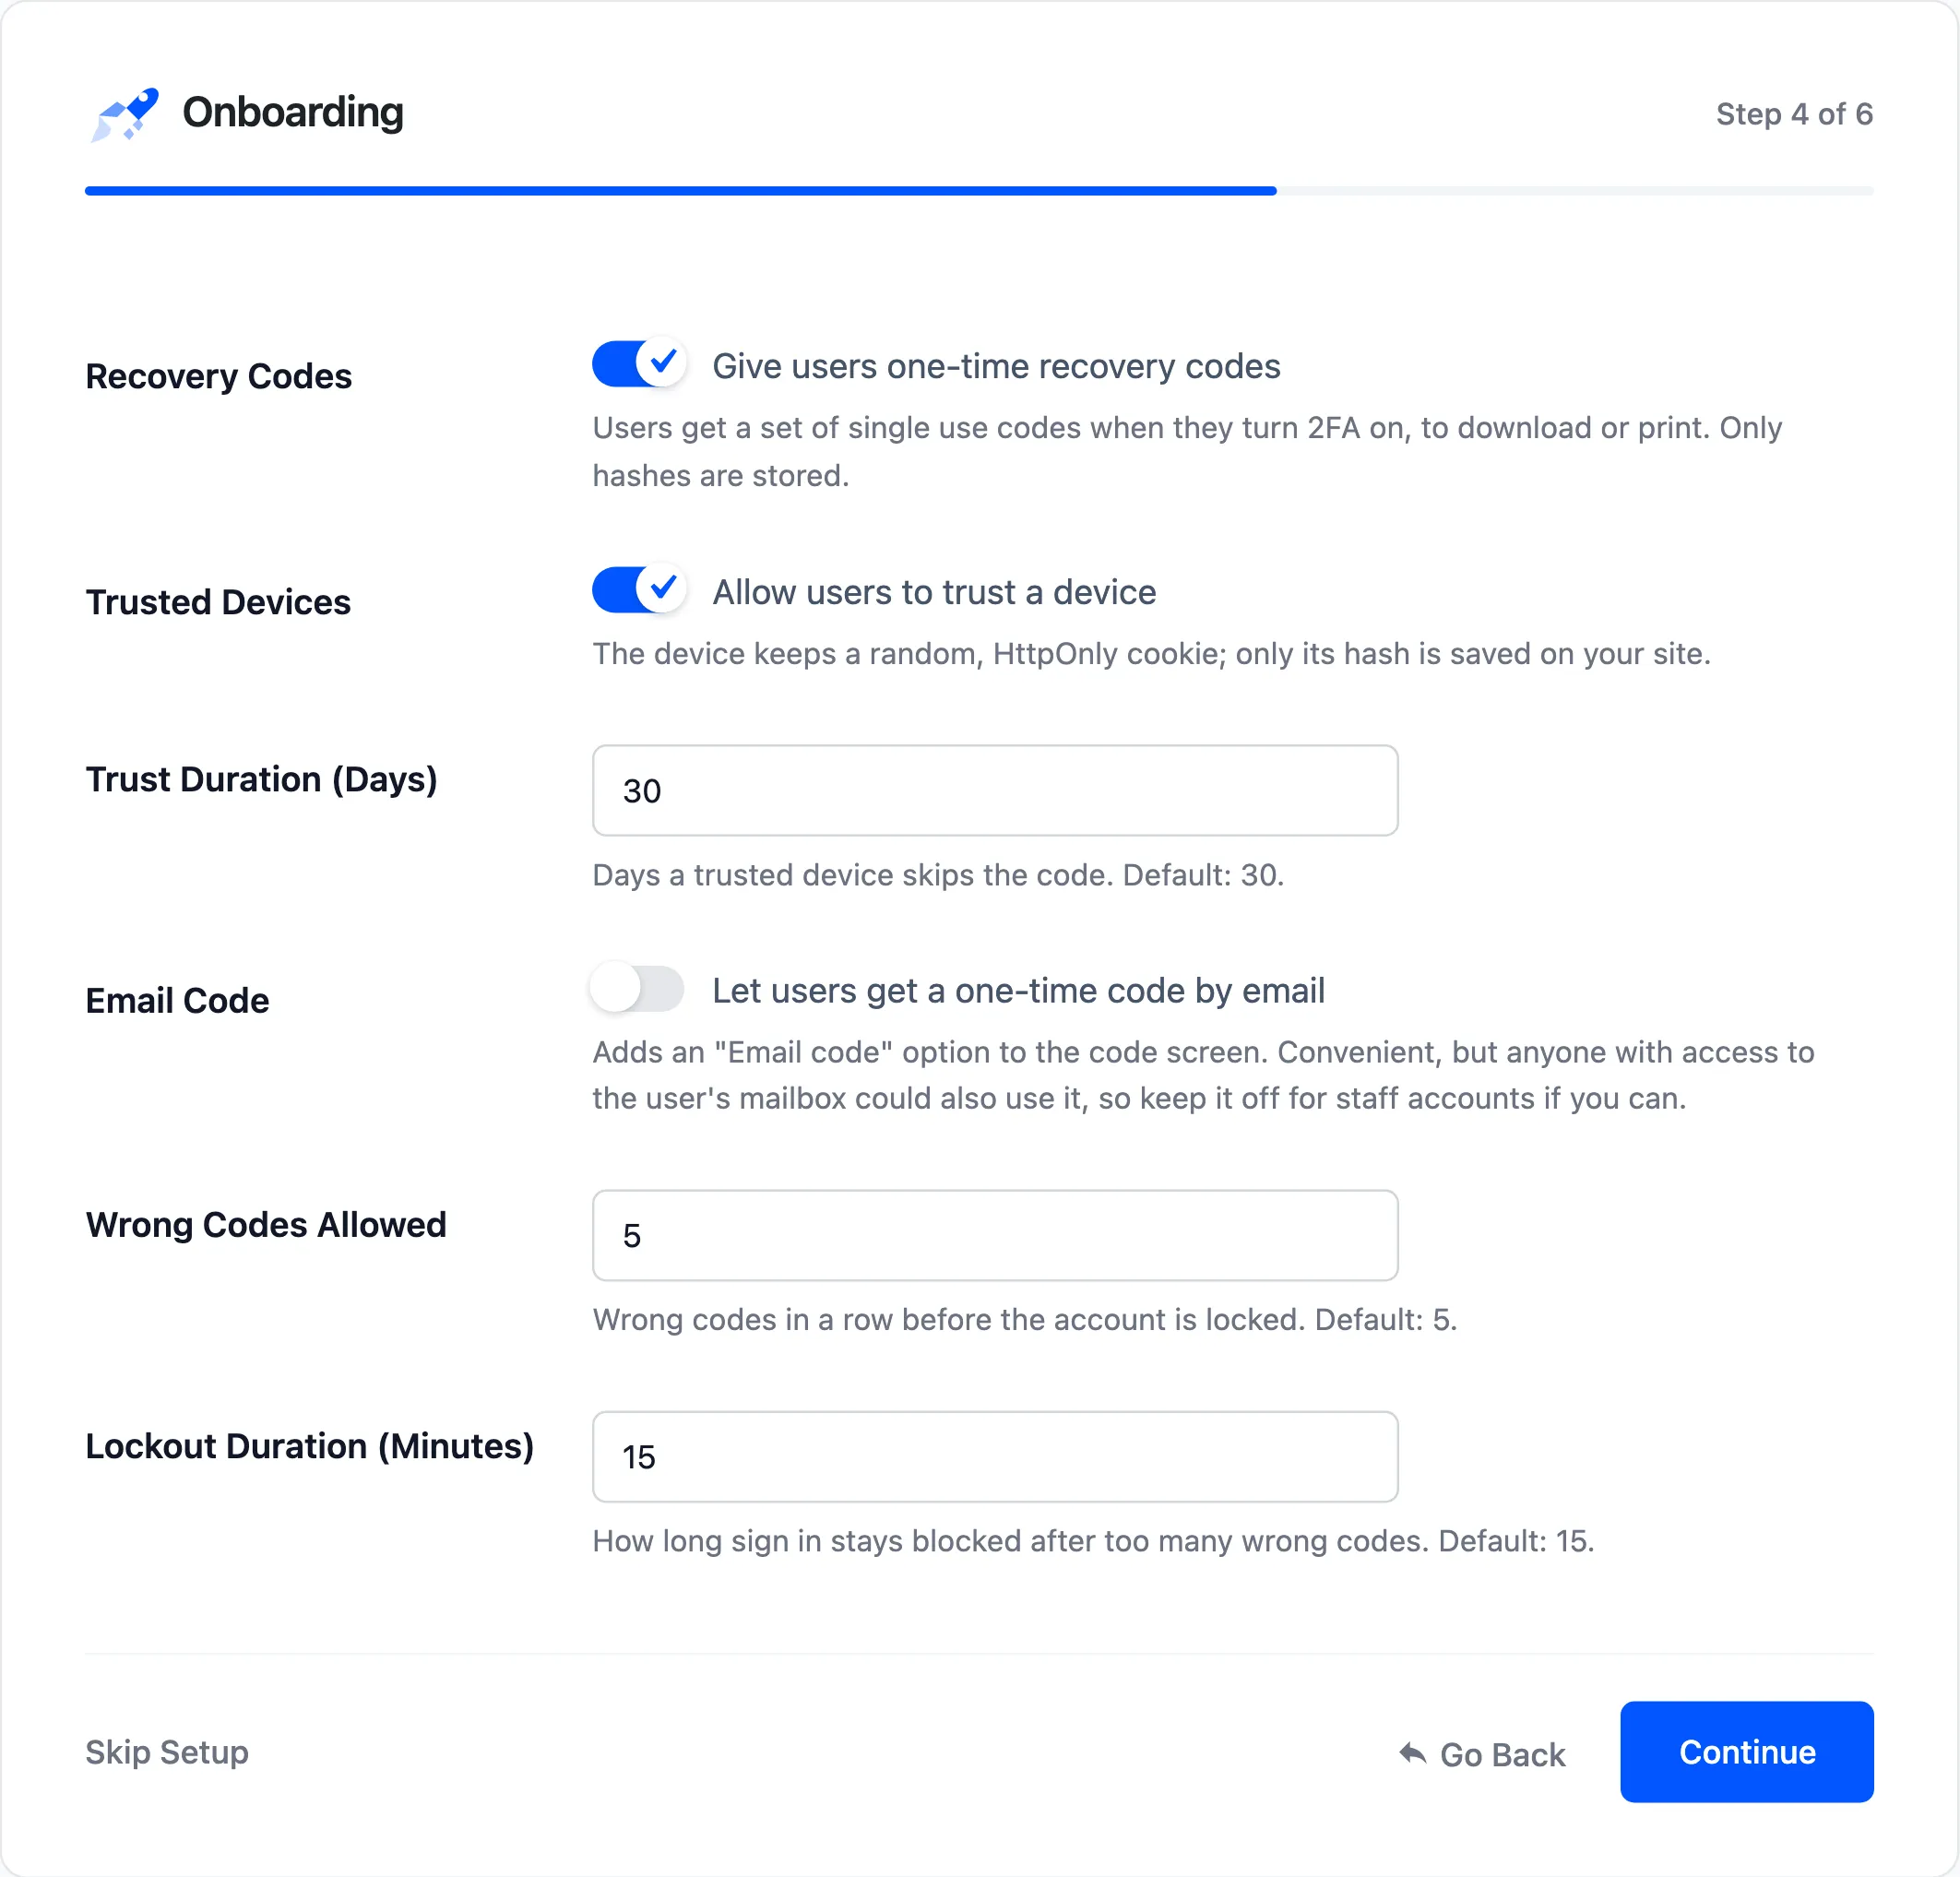
Recovery codes, trusted devices and their duration, email codes, and the lockout: how many wrong codes, and for how long. These are the fields of the Login Security tab.
Required 2FA
Section titled “Required 2FA”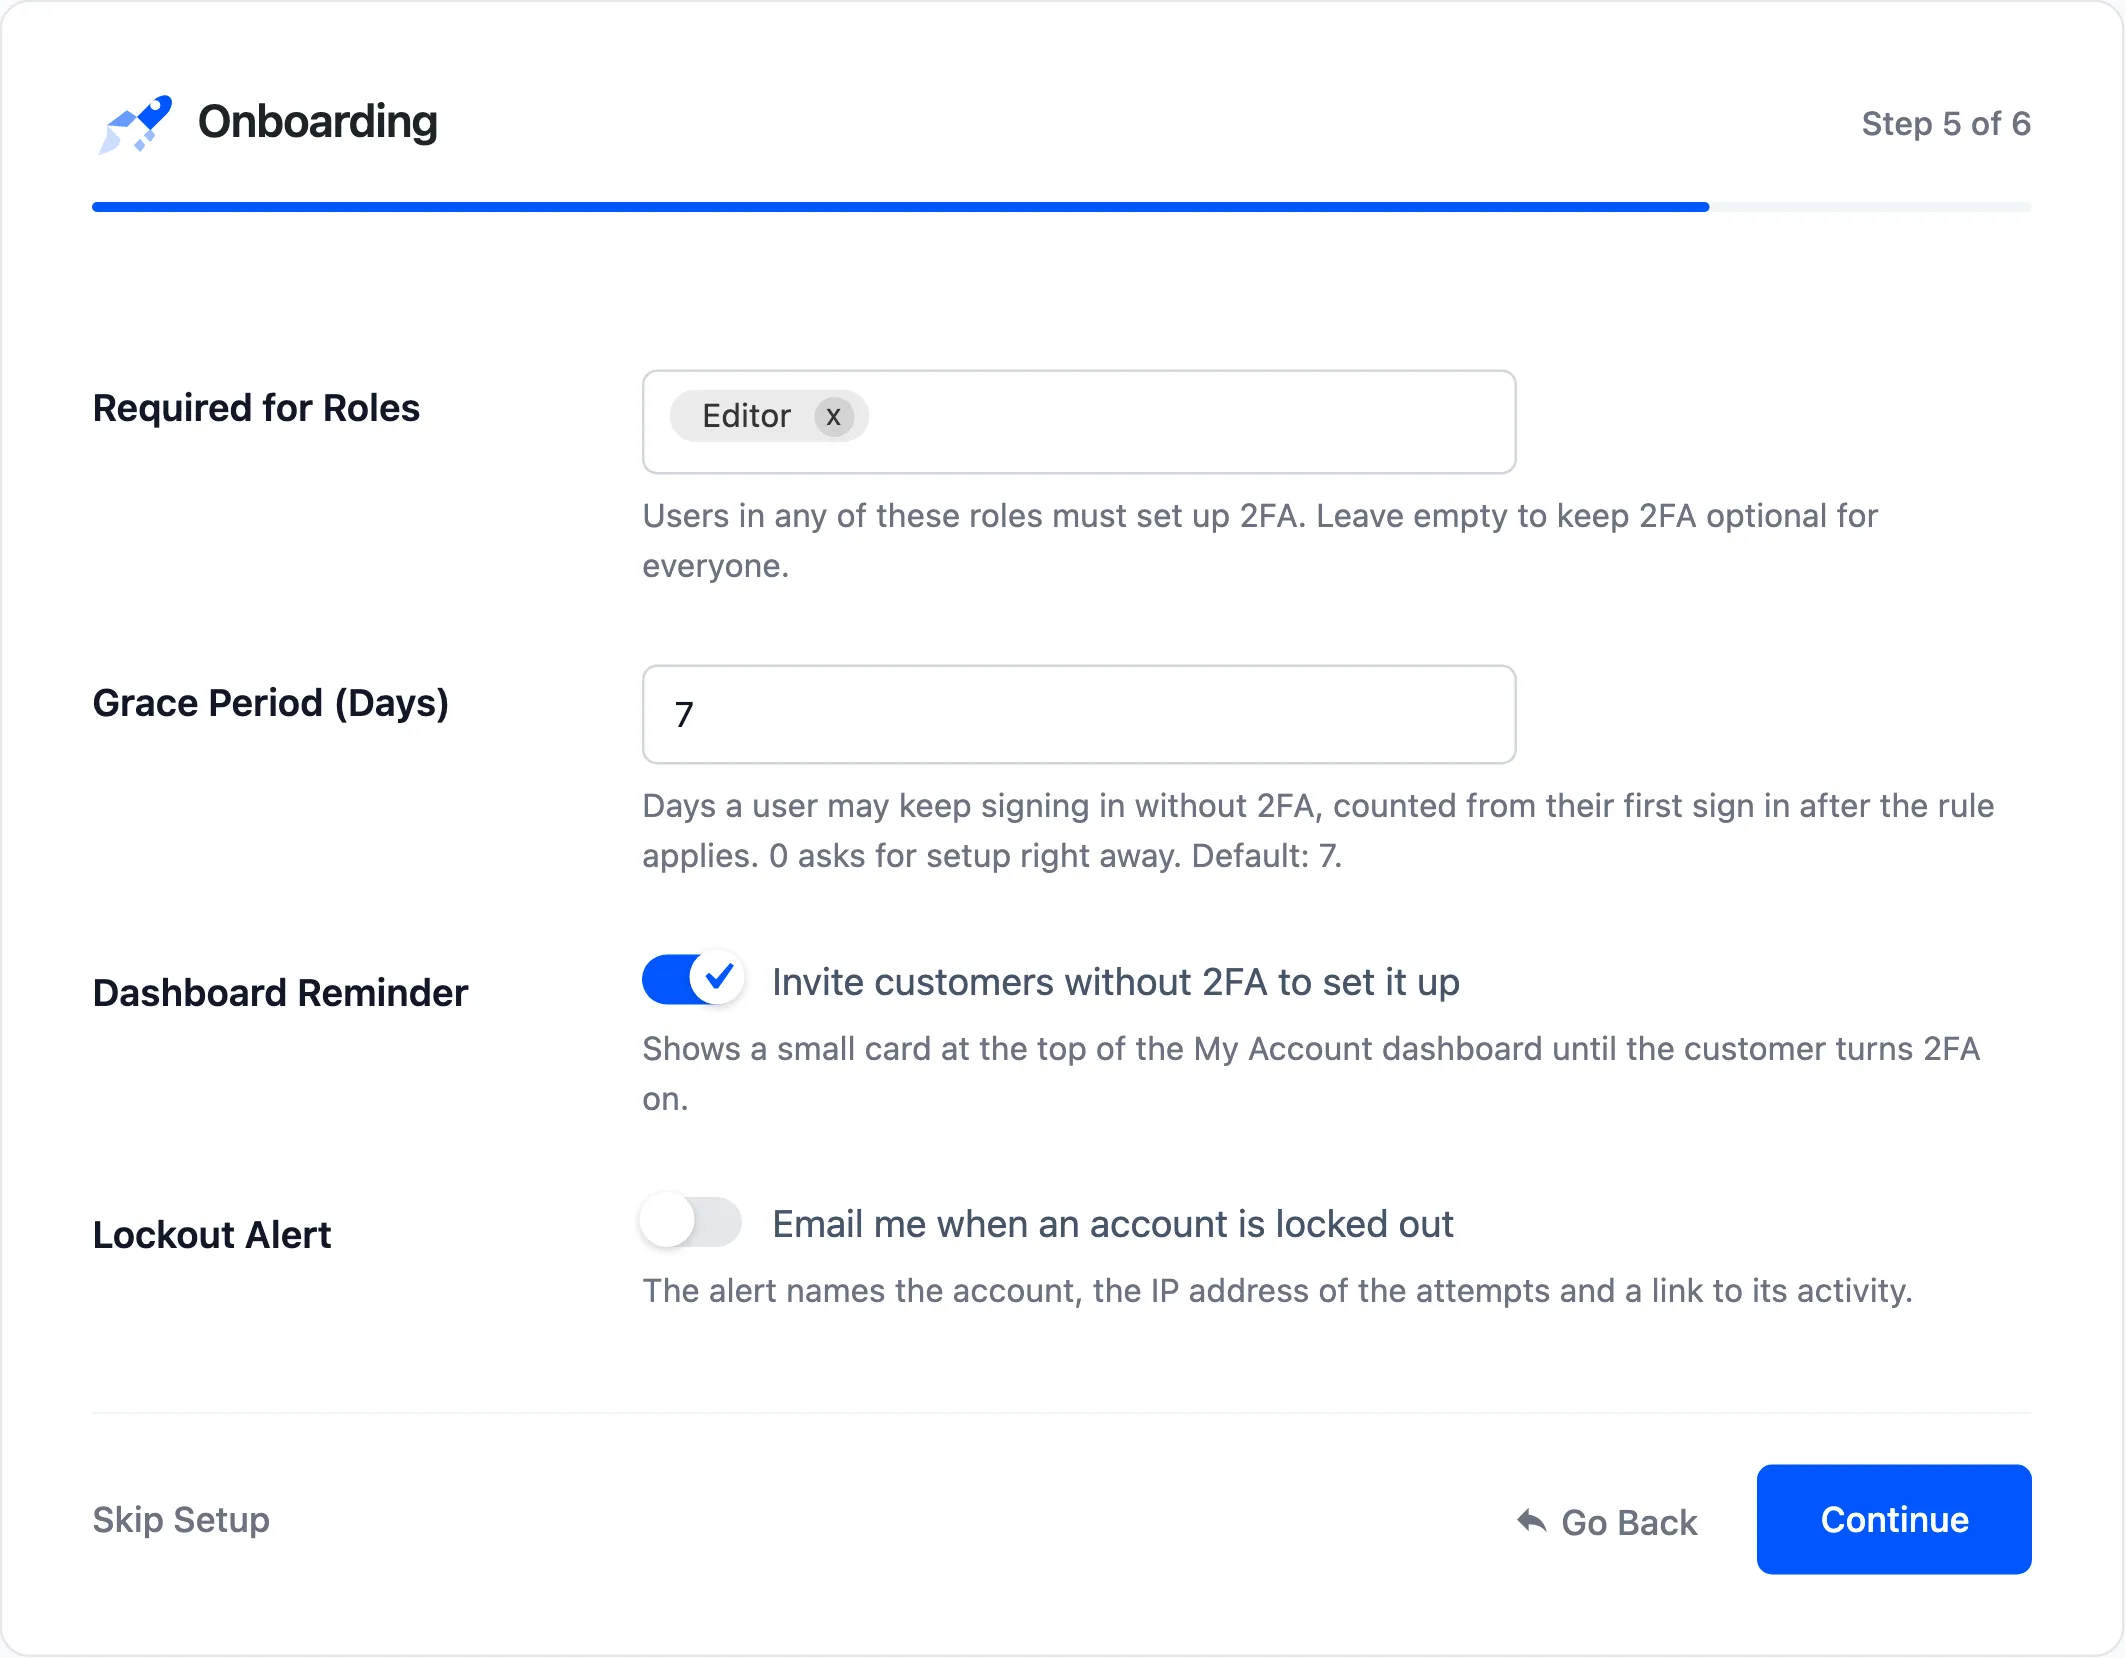
- Required for Roles and Grace Period (Days), as on the Required 2FA tab.
- Dashboard Reminder, the card on the My Account dashboard.
- Lockout Alert, an email to you when an account is locked.
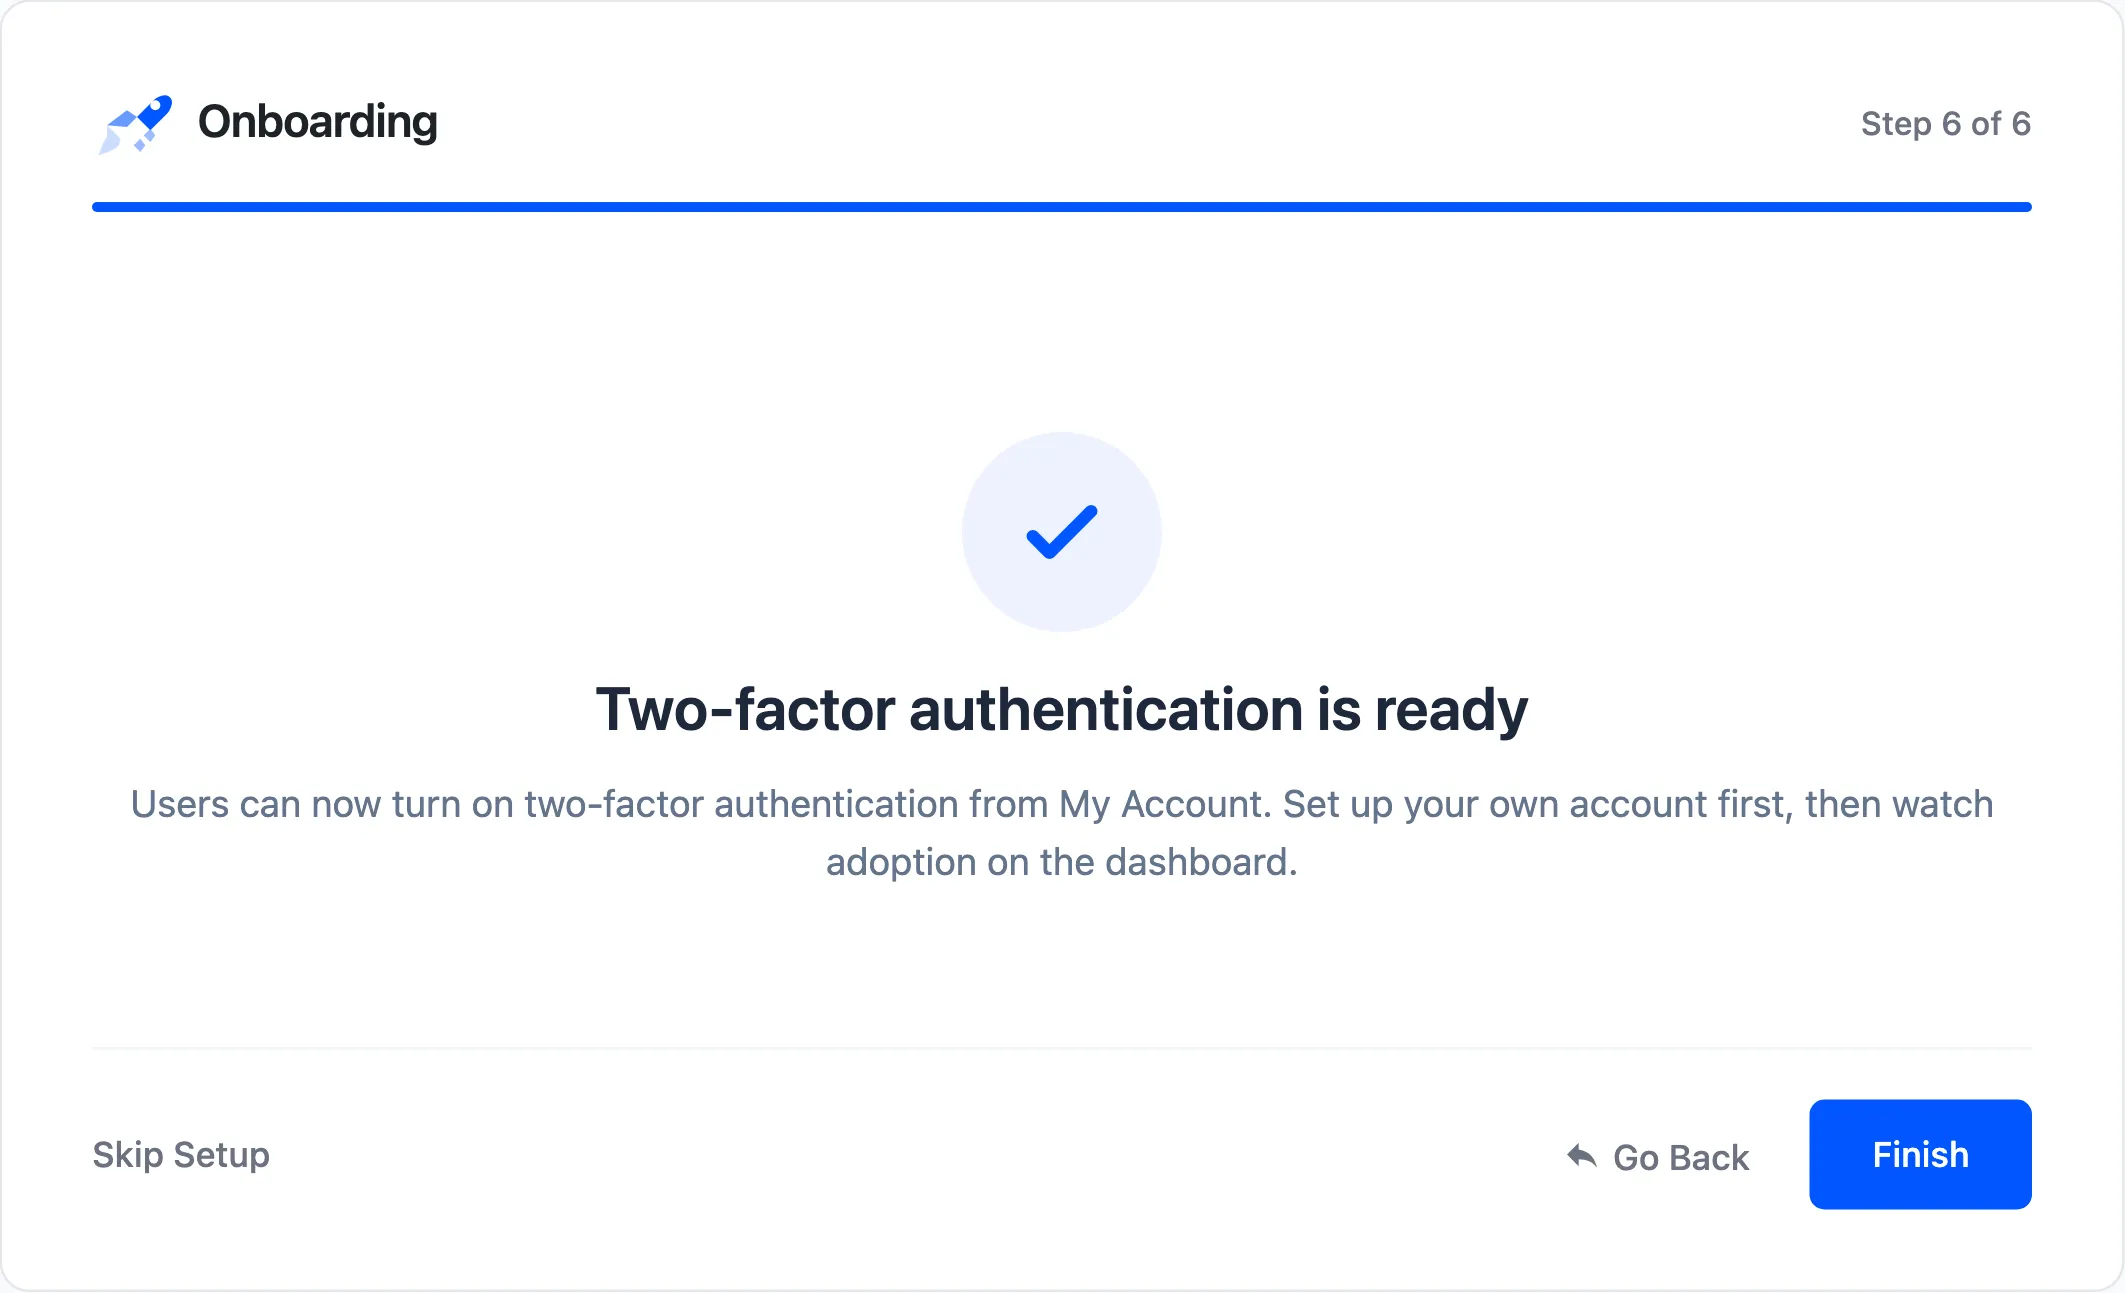
The wizard is done. Set up 2FA on your own account first, then watch adoption on the dashboard.
Good to know
Section titled “Good to know”- An unticked box is saved as off. On the demo, unticking Trusted Devices and pressing Continue turned trusted devices off.
- Stores that ran 1.x never see the wizard on their own. Open it from the Plugins screen if you want it.