

How to Upgrade from Version 1
Version 2.0 rebuilds the plugin, but keeps what you set up in 1.x. Stores upgrading from 1.x skip the setup wizard.
Step 1: Update the plugin
Section titled “Step 1: Update the plugin”Update from the Plugins screen, or upload the 2.0 zip. Updating creates the table that records status changes and the Track Your Order page. Old admin bookmarks lead to the new screens.
Step 2: Check the position
Section titled “Step 2: Check the position”A 1.x store chose where the bar sat with a CSS selector of its own, such as article .woocommerce. Under
General, it shows as Custom position: article .woocommerce, and stays selected.
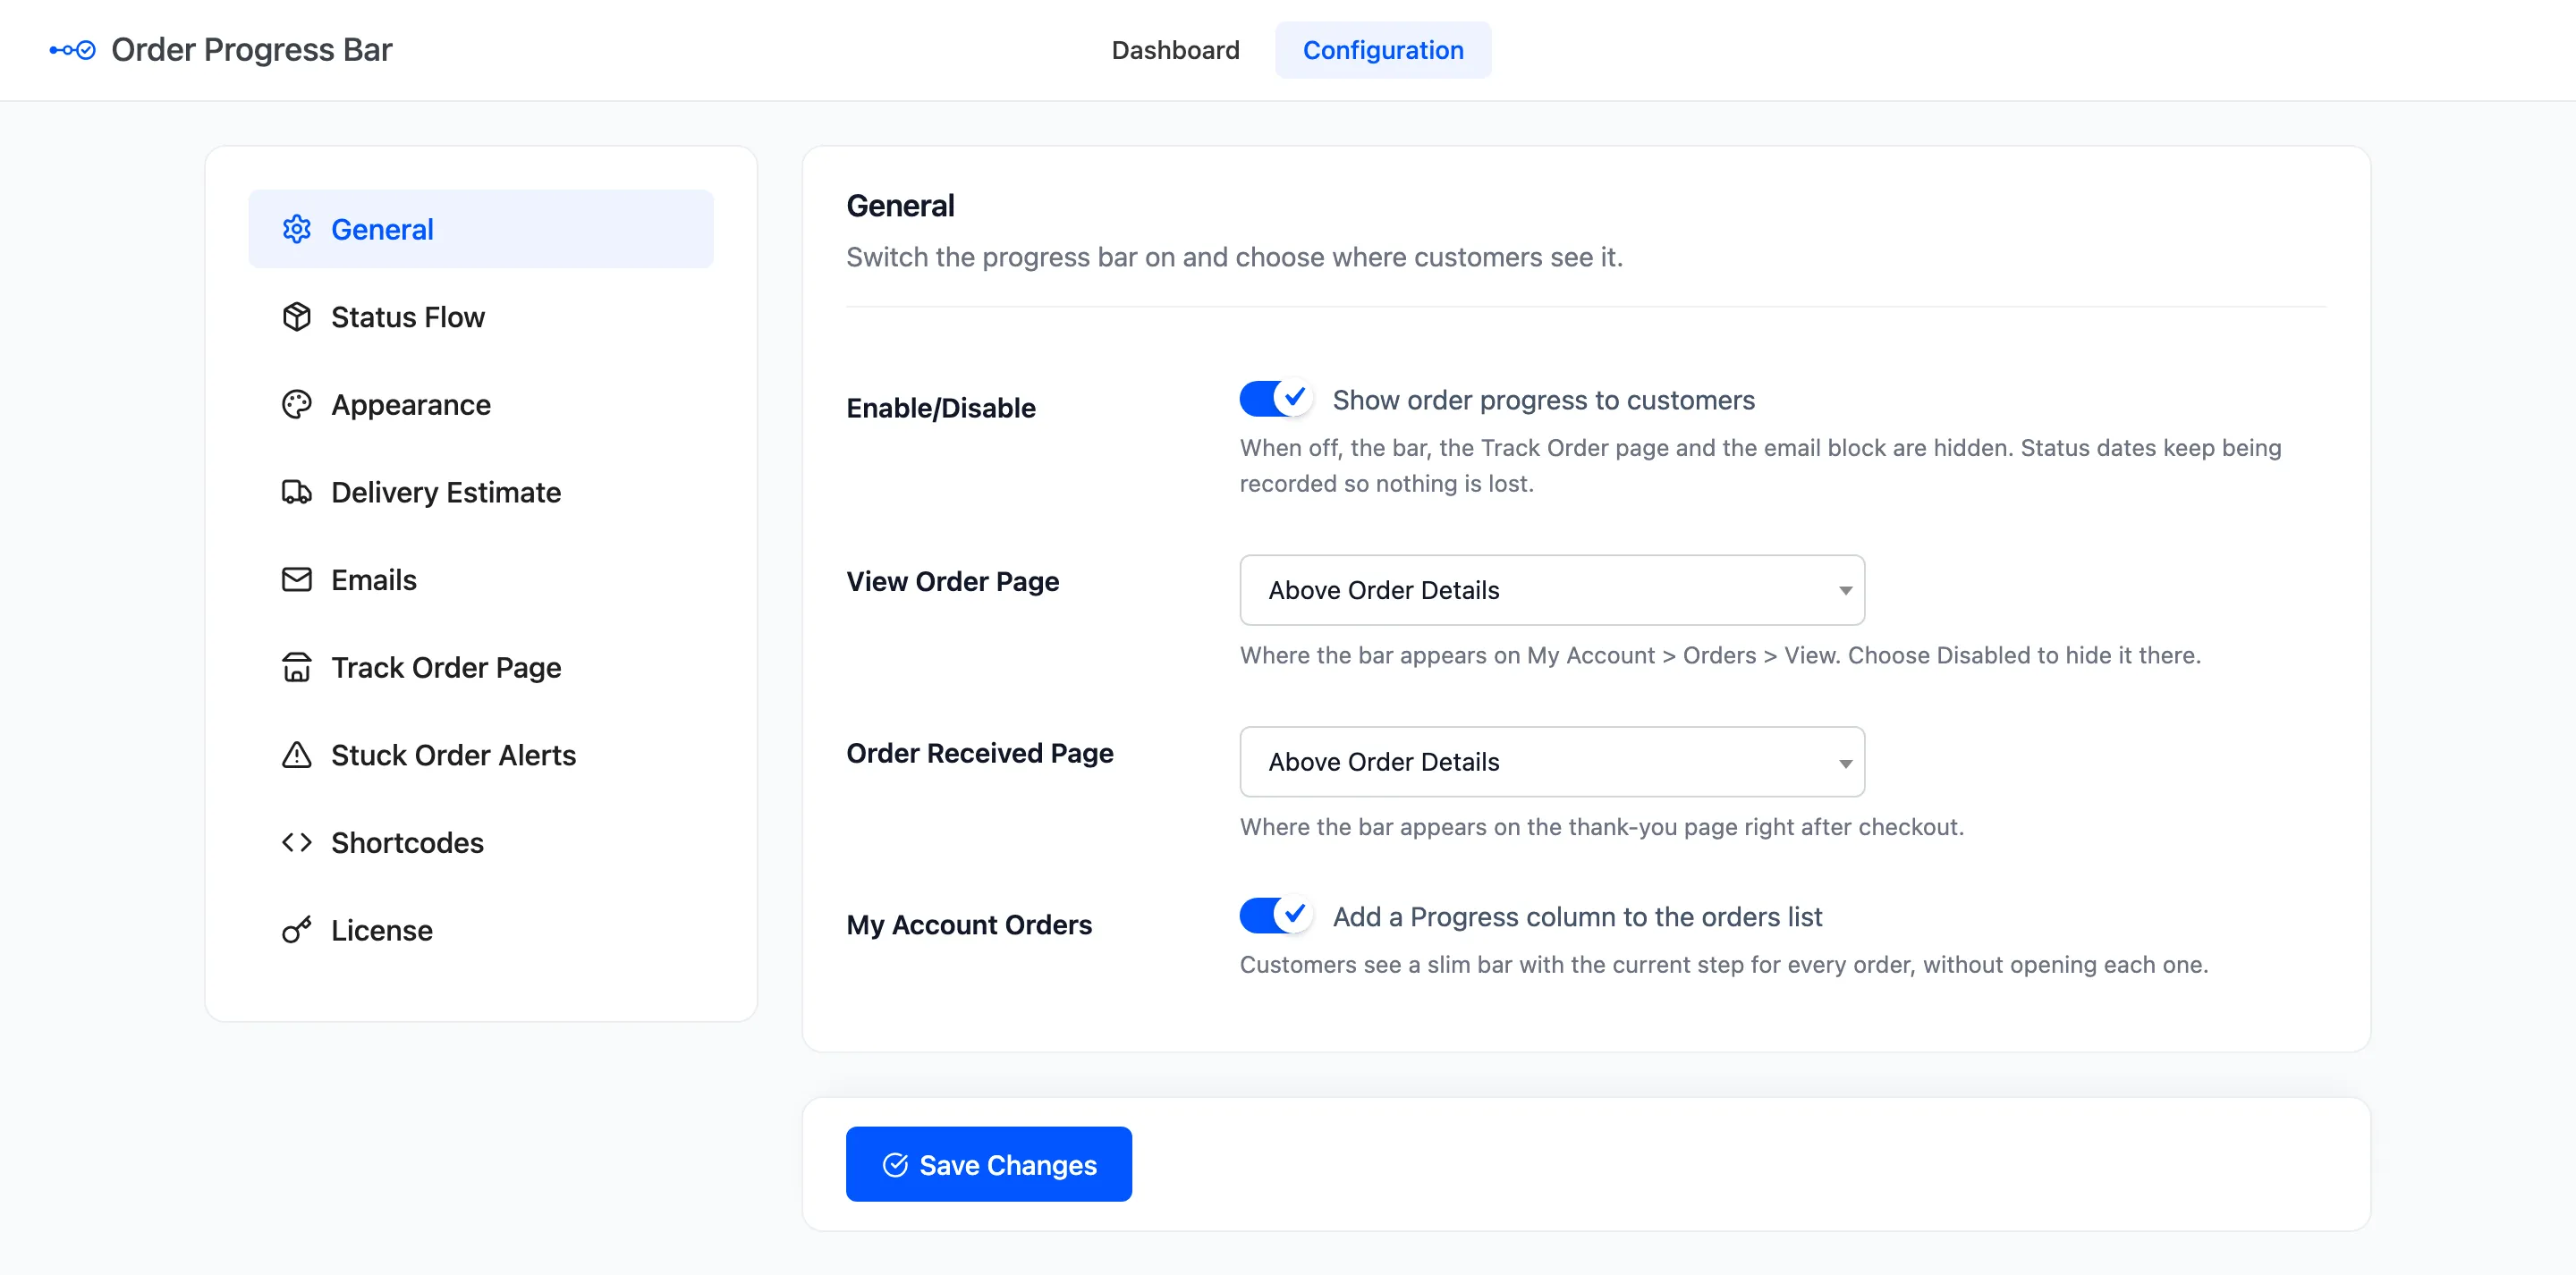
Keep it if the bar still sits right. Otherwise pick one of the new positions, which follow WooCommerce’s own page parts.
Step 3: Check the steps
Section titled “Step 3: Check the steps”Your 1.x statuses are now the steps under Status Flow, in the same order. 2.0 adds a name, icon, message and days to each one, starting from the shipped values. Read them over, and set the days if you want a delivery estimate.
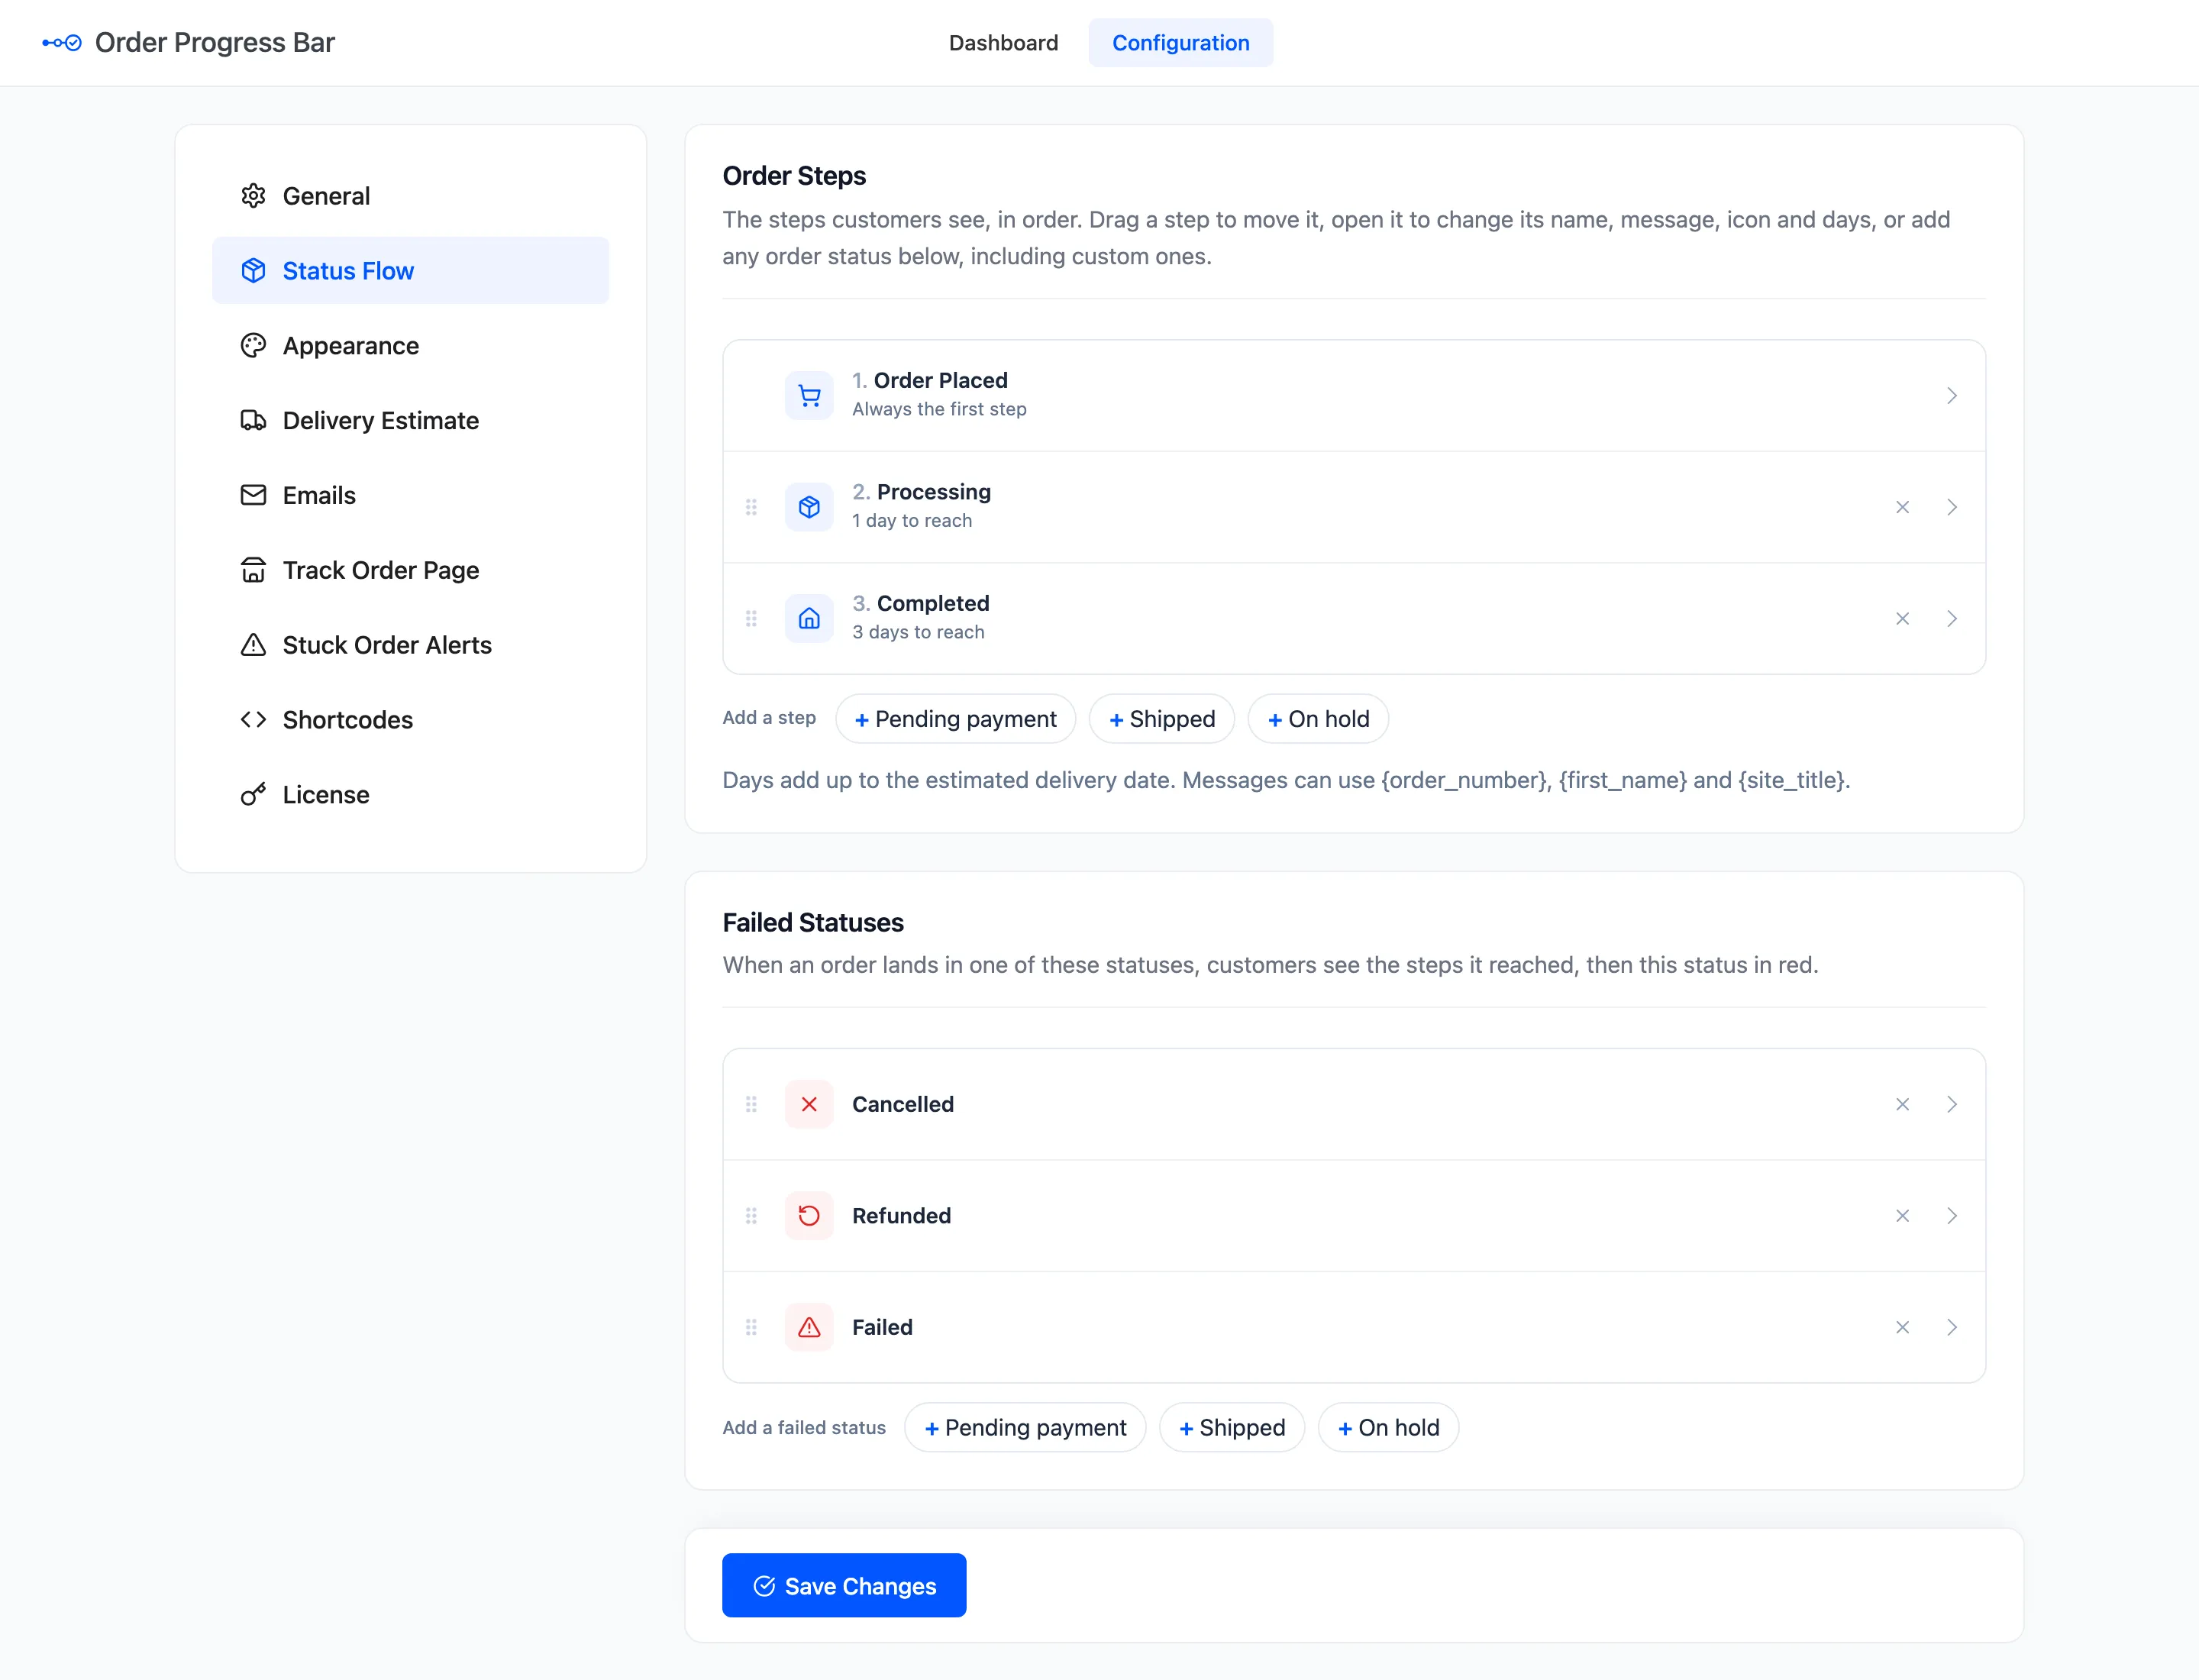
Step 4: Look at the new tabs
Section titled “Step 4: Look at the new tabs”- Delivery Estimate: On by default.
- Emails: The bar is in five customer emails by default.
- Track Order Page: The public lookup page.
- Stuck Order Alerts: The daily email, off by default.
Dates on older orders
Section titled “Dates on older orders”2.0 starts recording status changes the day it is installed. For orders placed before that, the steps use what WooCommerce stored. Processing takes the paid date, Completed the completed date, and the current step the order’s last change. Other earlier steps show as reached, with no date.
The dashboard counts from the update onwards.