

How to Choose a Progress Bar Layout
The layout changes the look, not the content: every layout shows the same steps, dates and message. Here is one demo order, on Processing, in each of the five.
Step 1: Open Appearance
Section titled “Step 1: Open Appearance”Go to Configuration → Appearance. Layout is the first field.
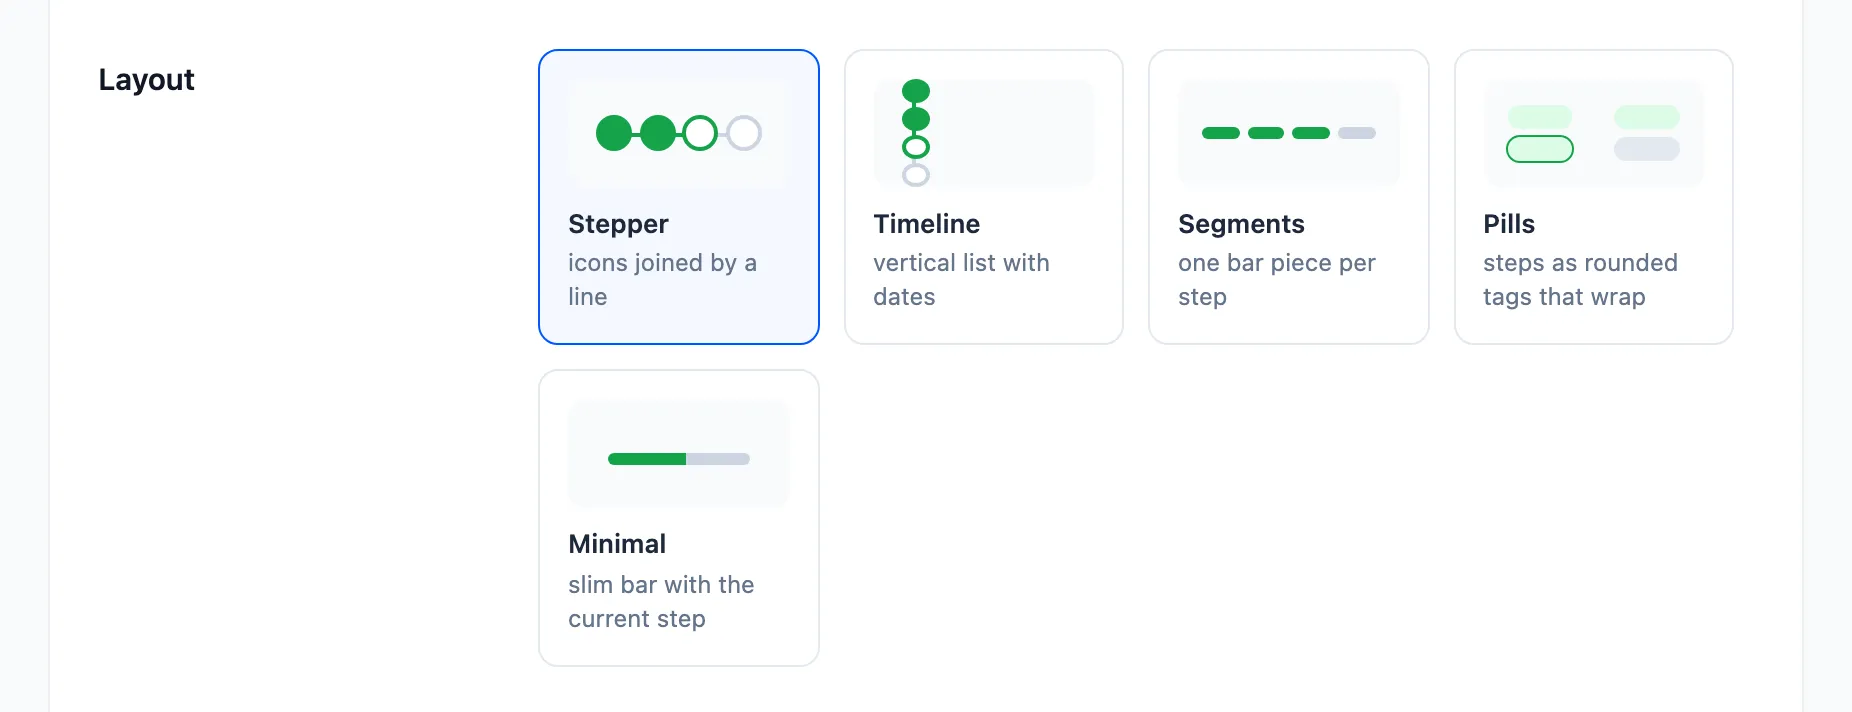
Step 2: Pick a layout
Section titled “Step 2: Pick a layout”Stepper
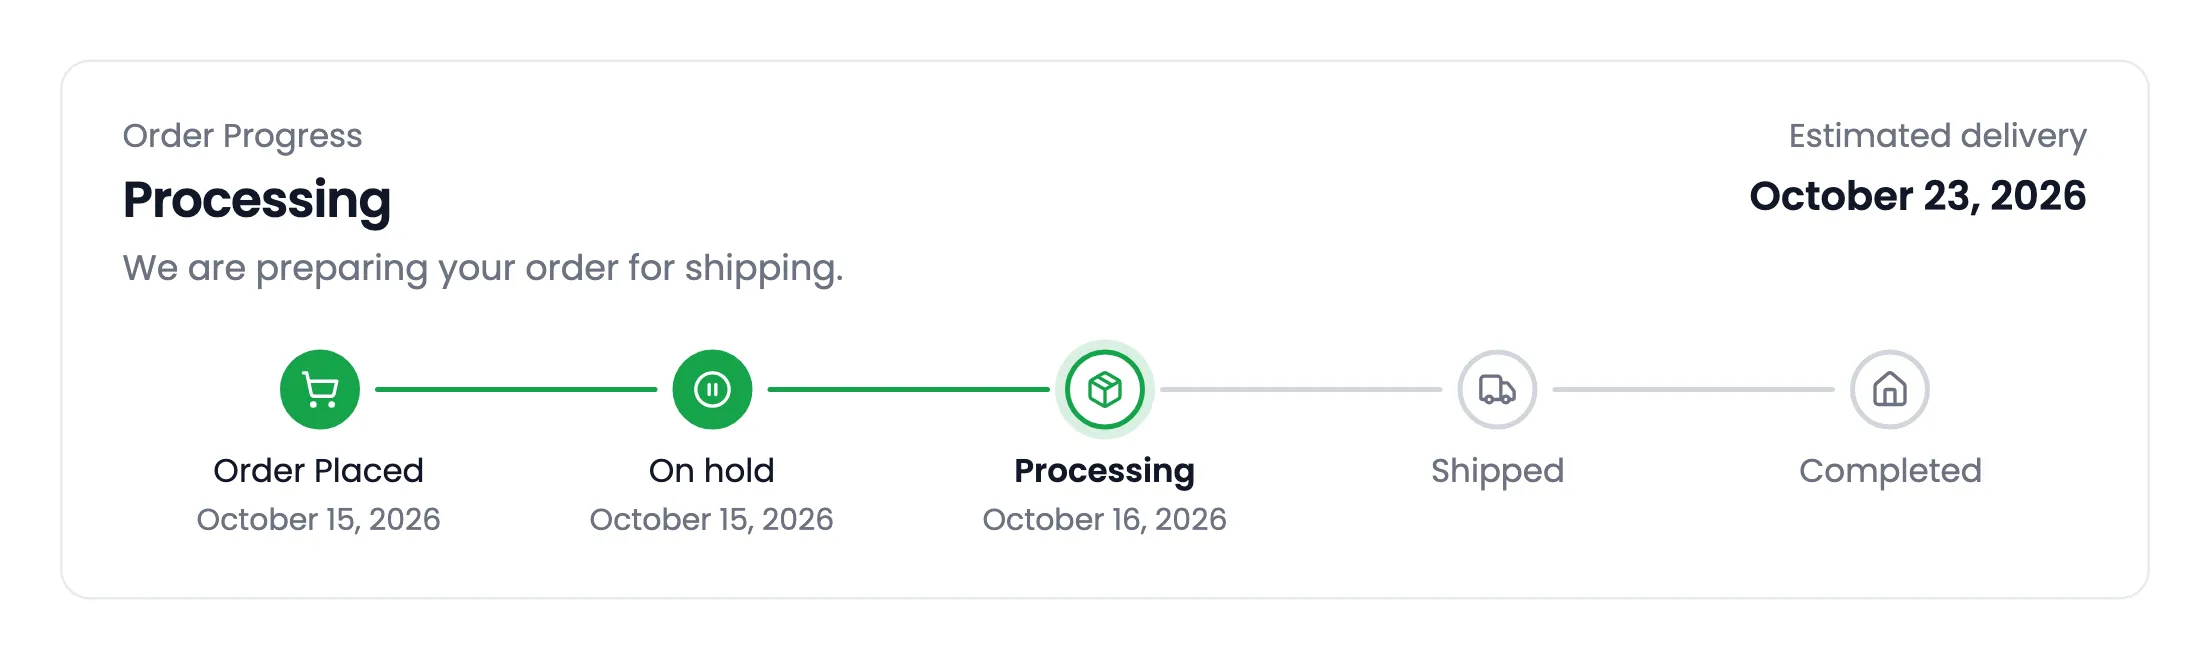
Section titled “Stepper”The default. Icons joined by a line, with the name and date under each. It suits a flow of three to six steps.
Timeline
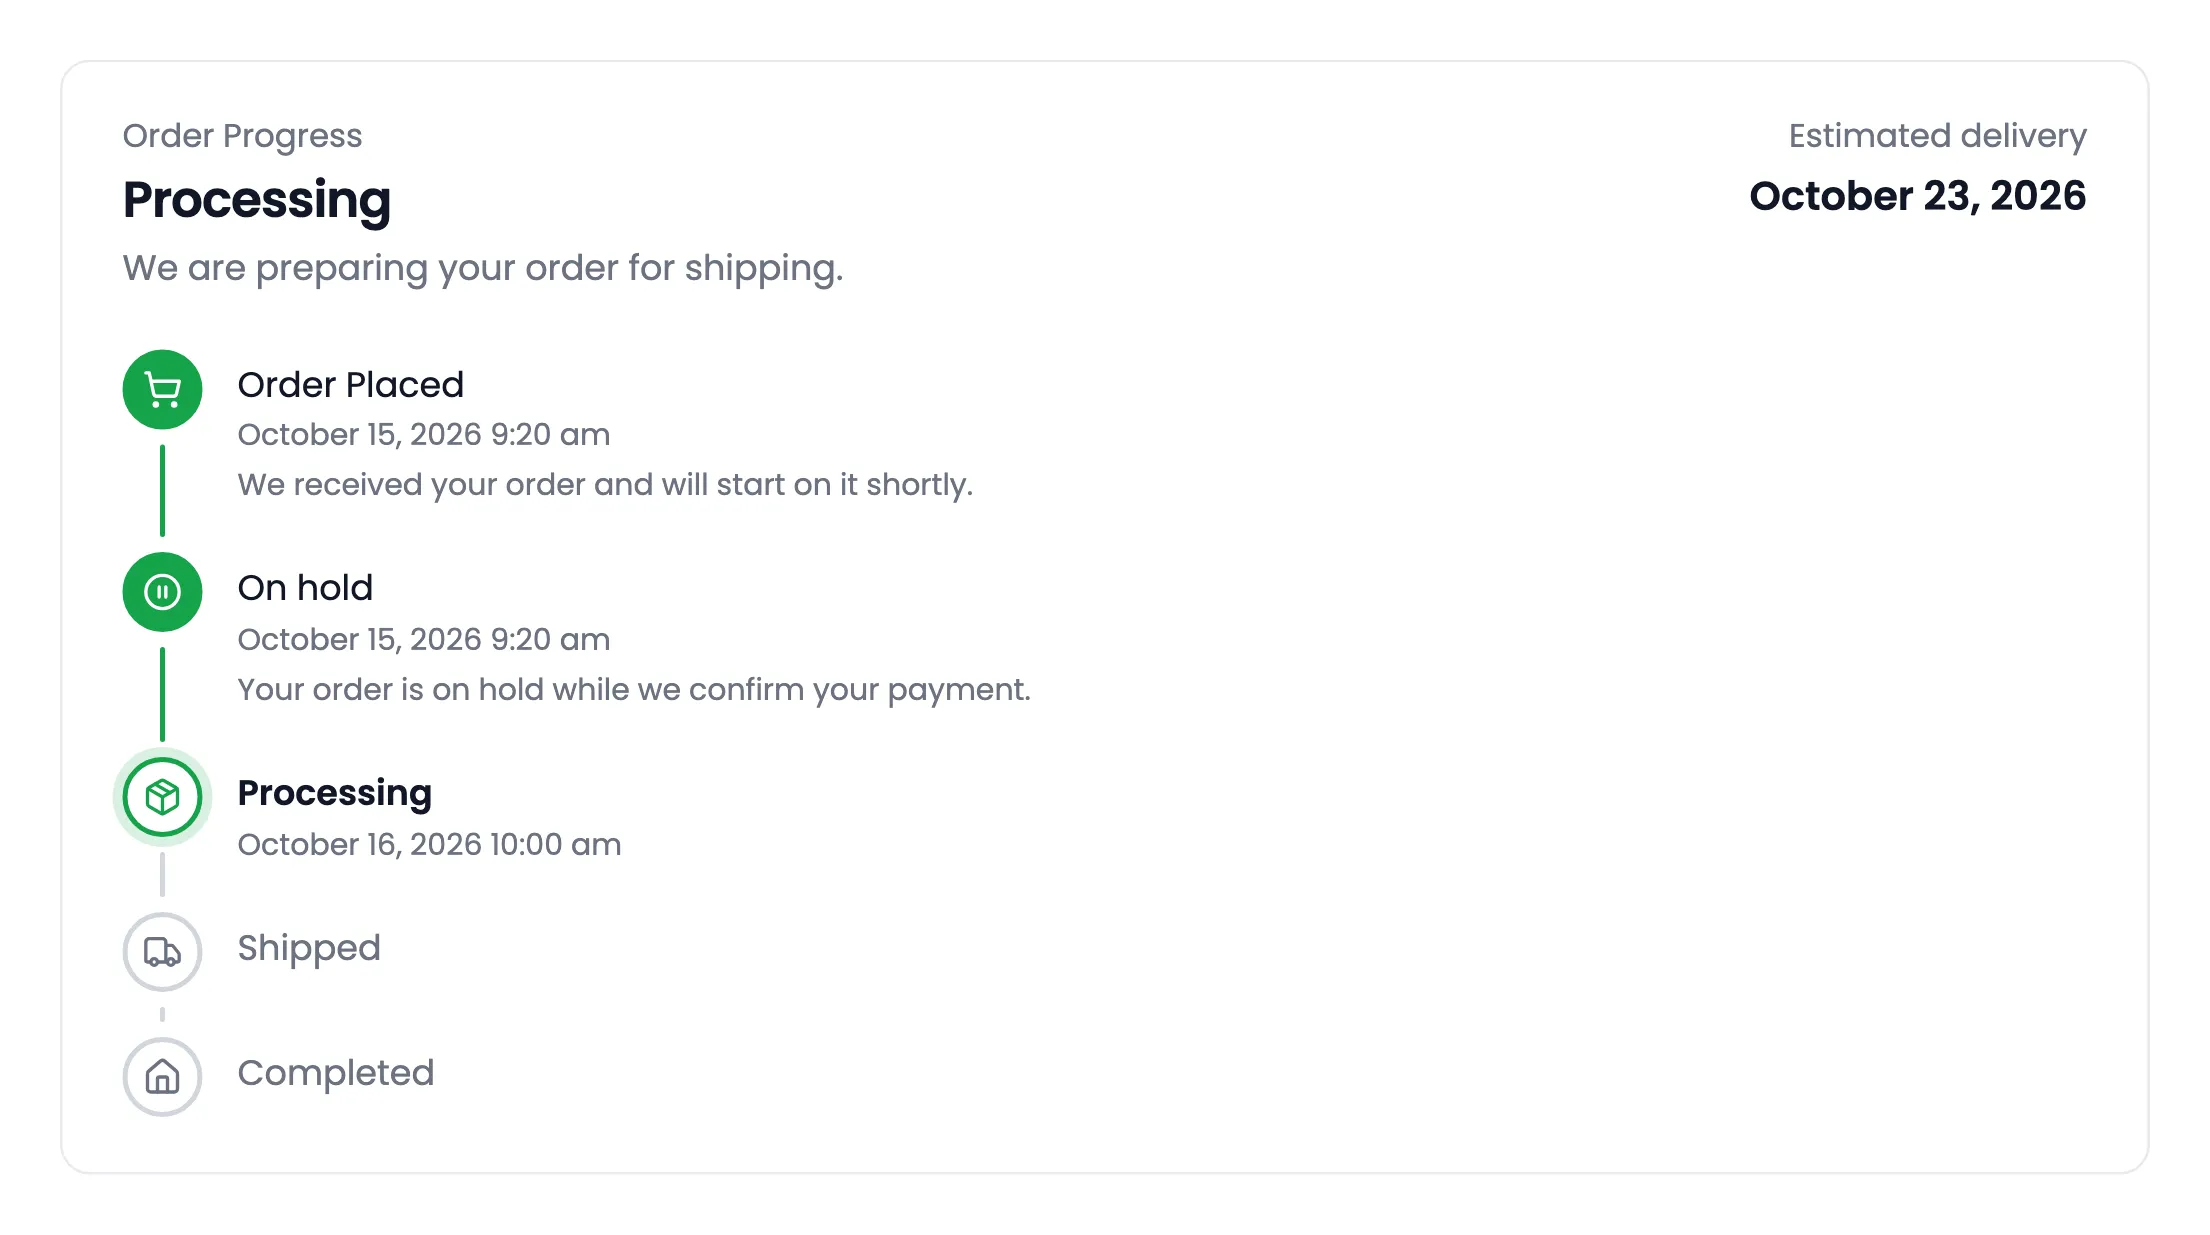
Section titled “Timeline”A vertical list, with the date, time and message of every step reached. It suits long flows and orders that take weeks, and is the layout the order screen uses.
Segments
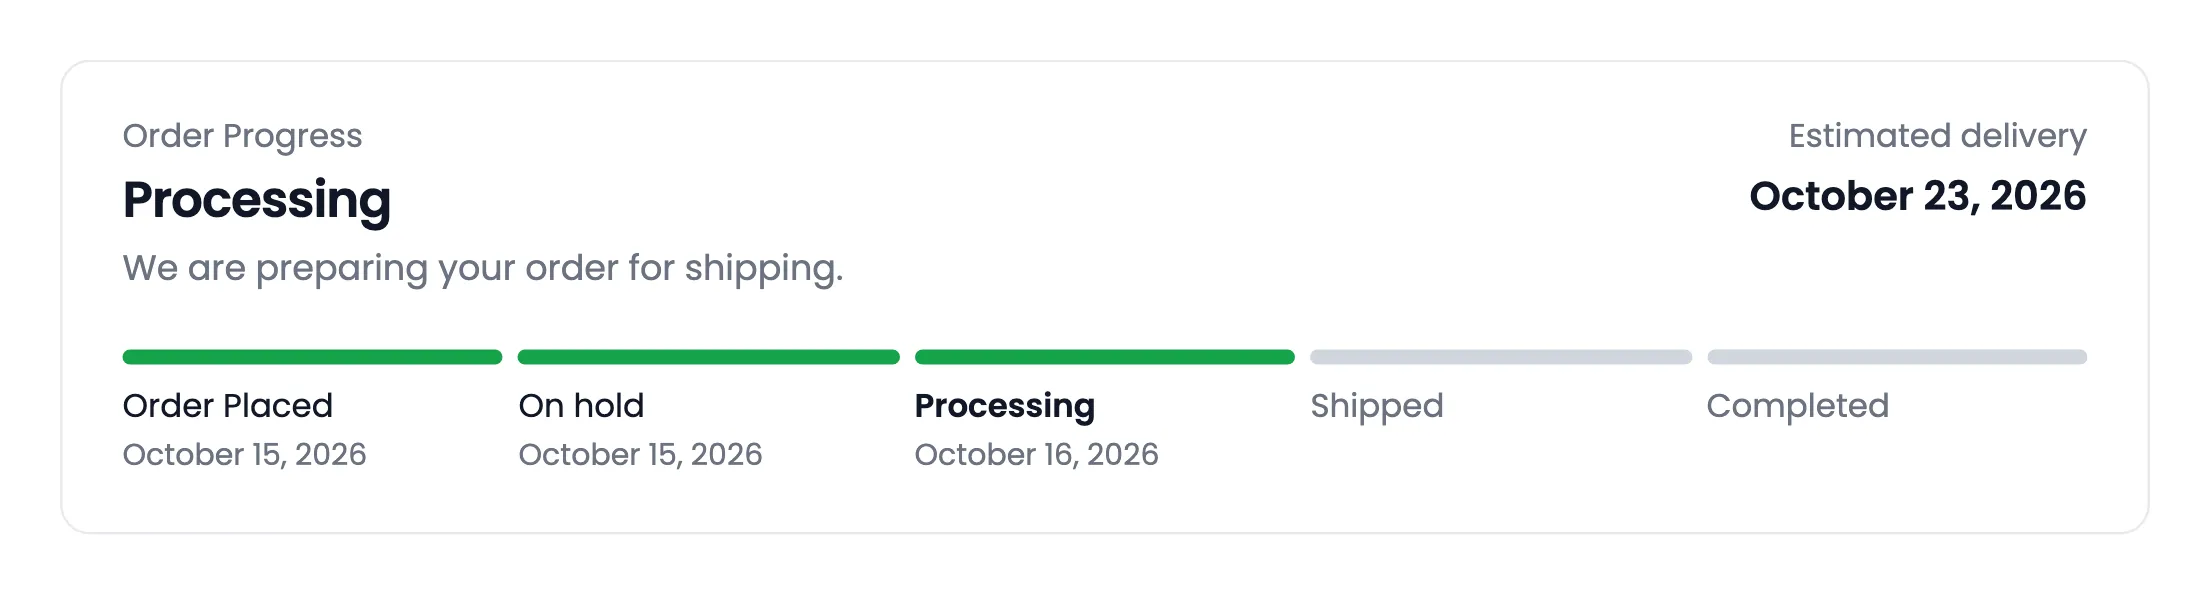
Section titled “Segments”One bar piece per step, with the names under them. It reads well in narrow columns.
Steps as rounded tags that wrap onto a second line. It suits flows with long step names.
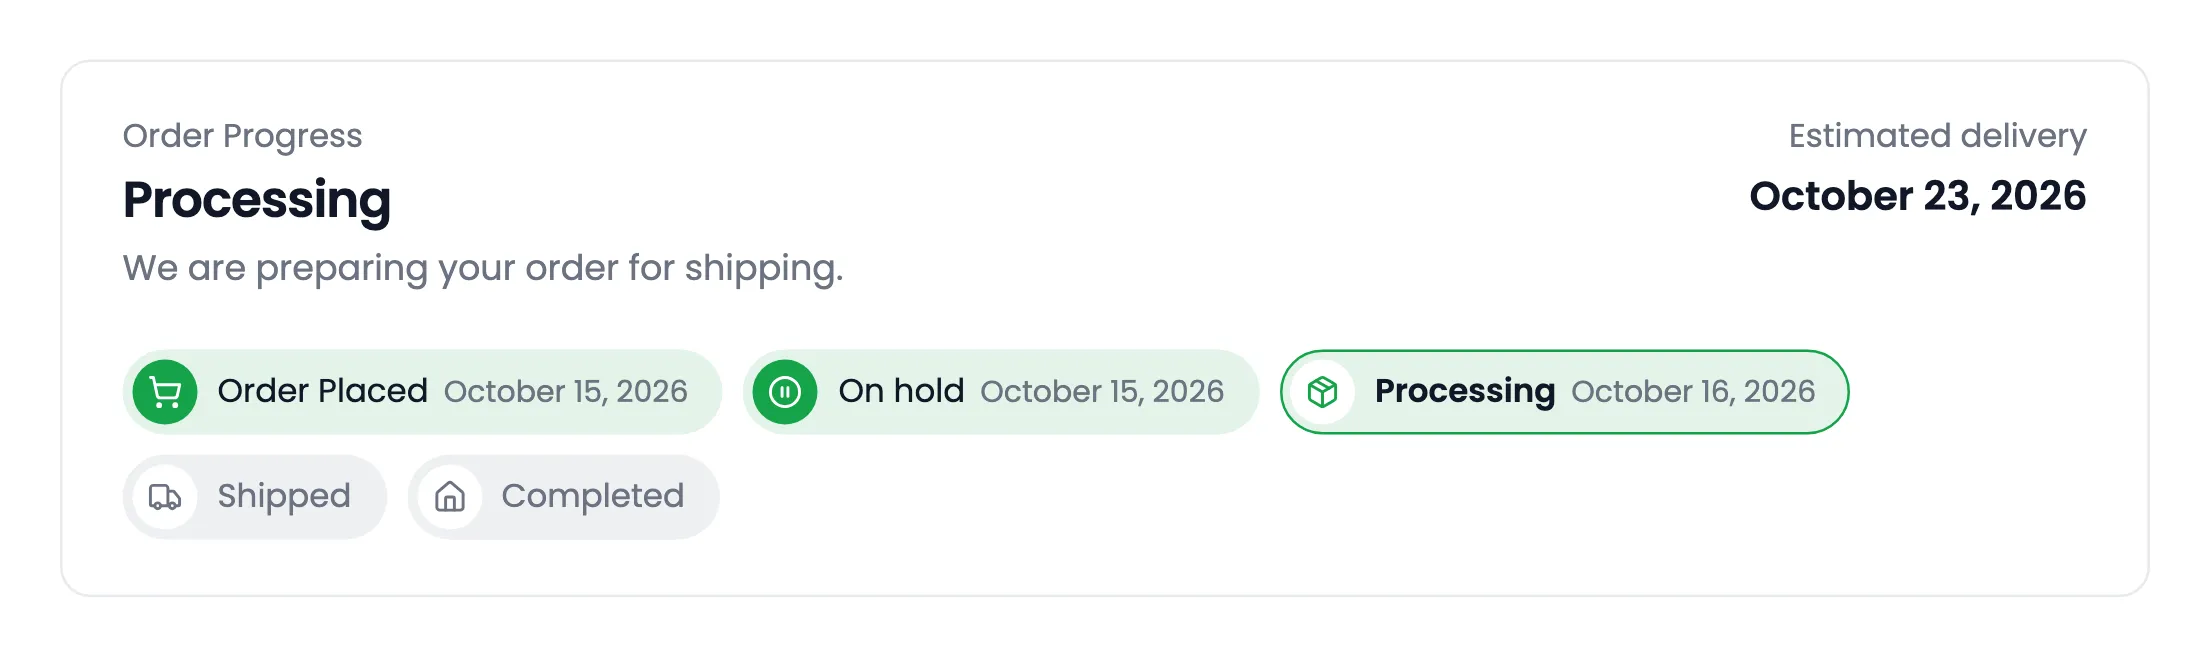
Minimal
Section titled “Minimal”One slim bar, with “Step 3 of 5” and the date of the current step. It suits stores that want the progress without the detail.
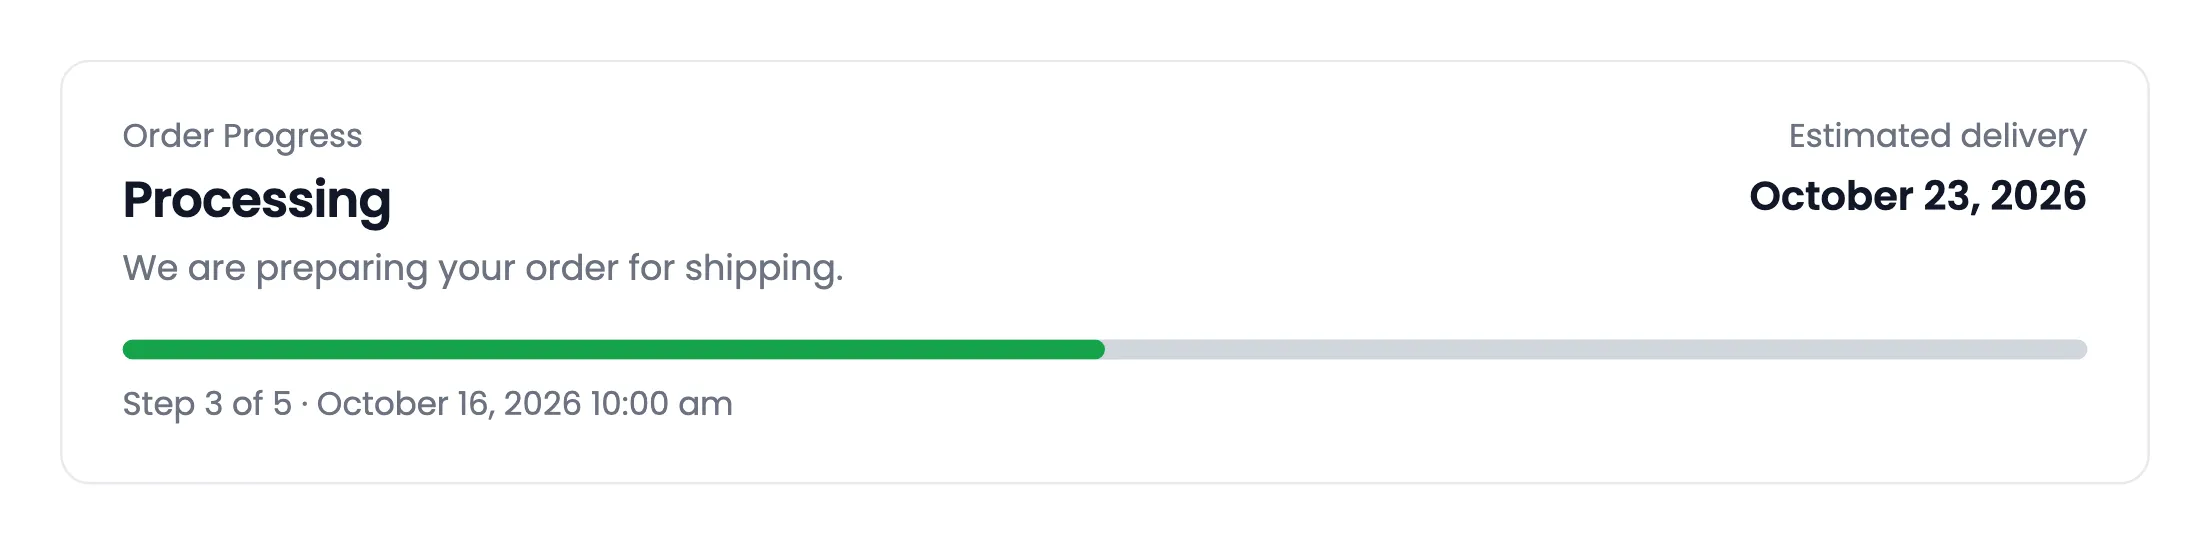
Step 3: Save and check
Section titled “Step 3: Save and check”Click Save Changes. The thank-you page, the View Order page and the Track Order page all switch to the new layout. Emails keep their own compact bar.
Mixing layouts
Section titled “Mixing layouts”The [ddwcopb_progress] shortcode and the Order Progress block take a layout of their own. A custom
thank-you page can use Timeline while the rest of the store uses Stepper. See How to Place the Progress Bar with a Shortcode or Block.