

How to Create a Pre-Order Product
A pre-order is a product plus a date. This walks the form once, end to end.
Step 1: Open the form
Section titled “Step 1: Open the form”Go to DevDiggers Plugins → Pre-Order → Products and press Add New.
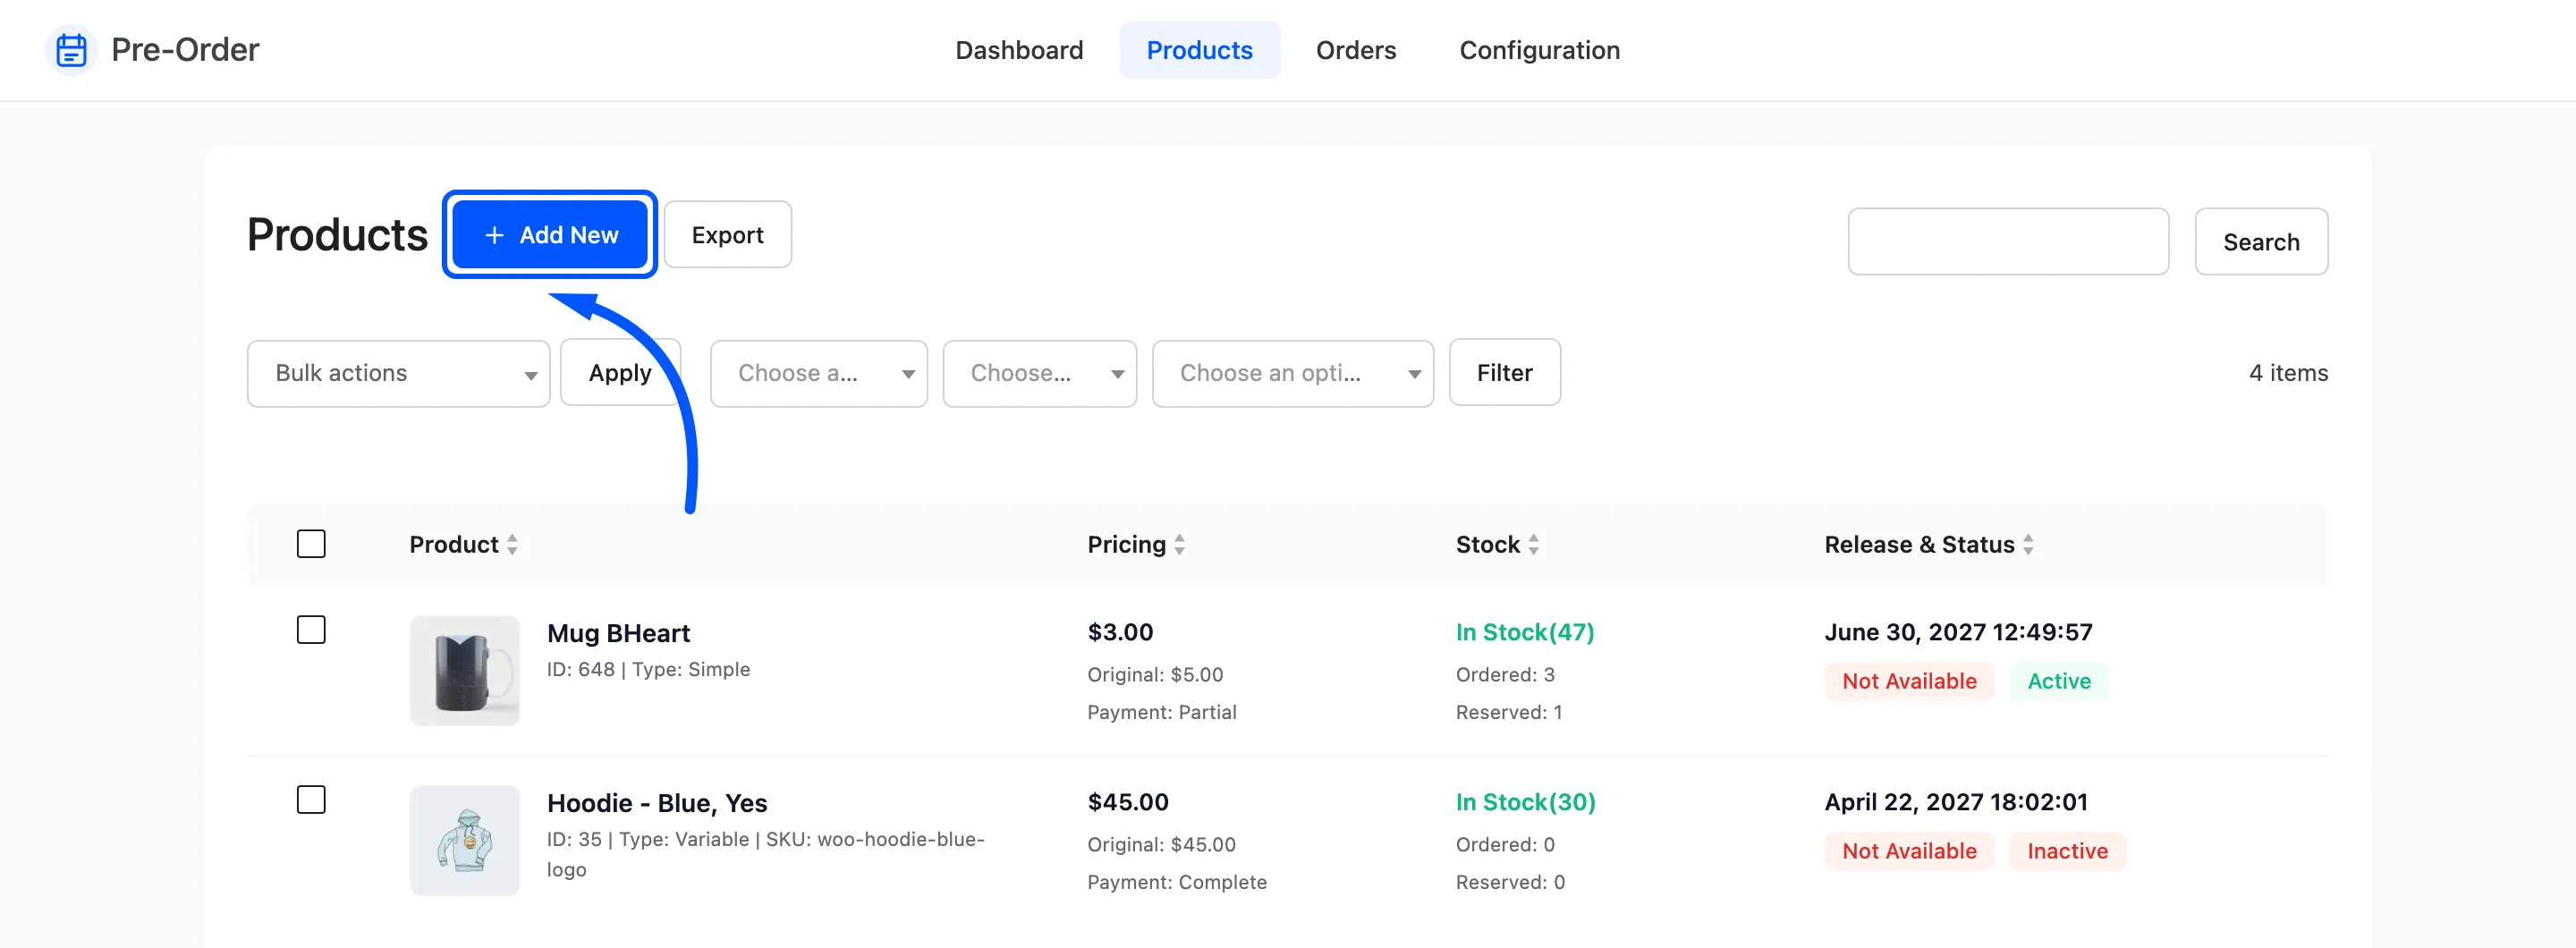
Step 2: Choose the product
Section titled “Step 2: Choose the product”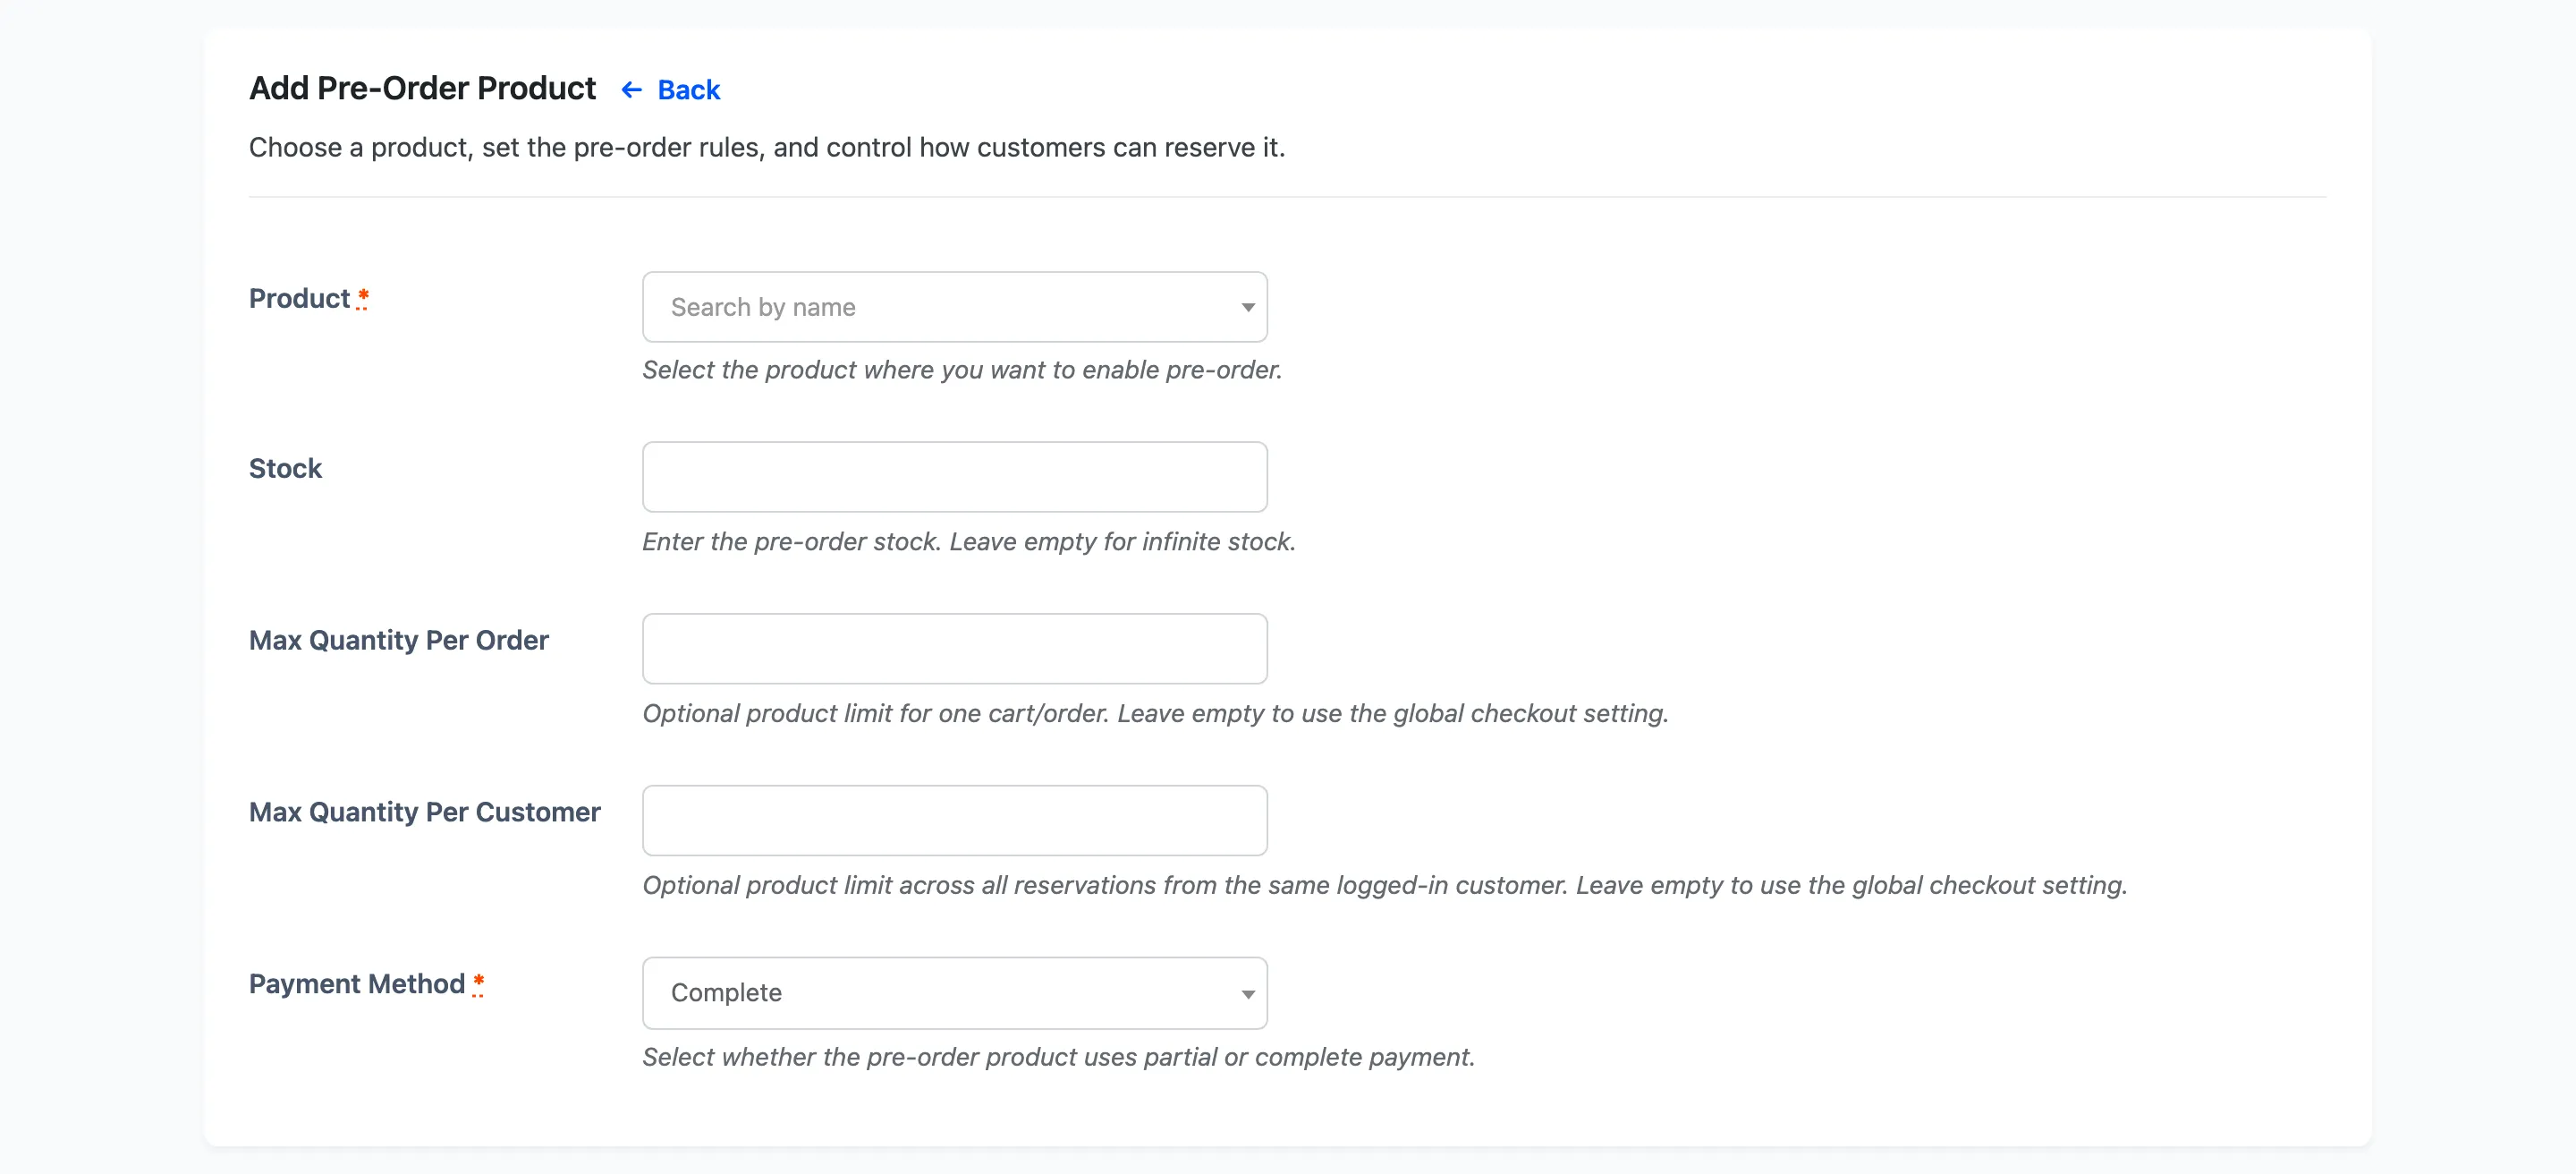
Product is a search field. Start typing and pick from the results.
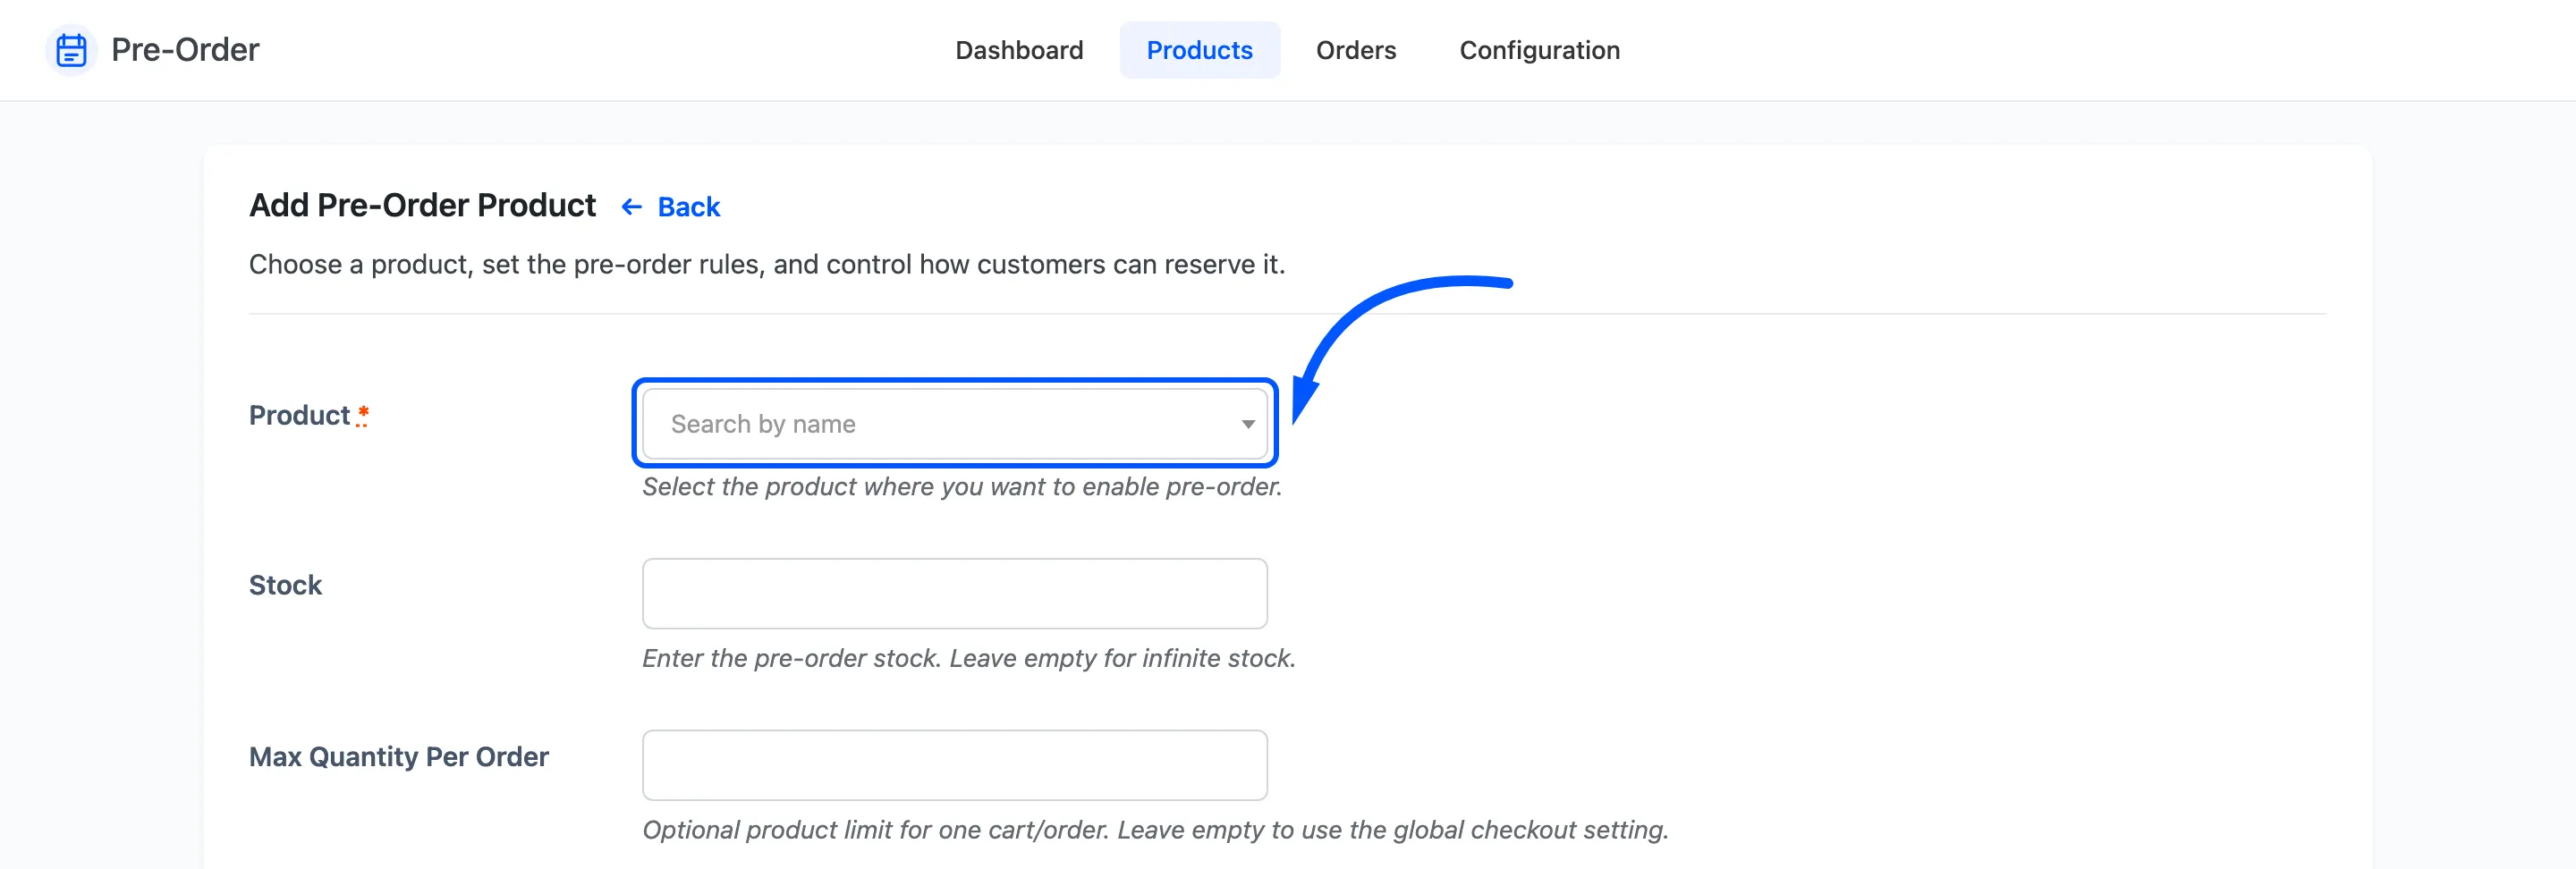
On a variable product, pick the VARIATION, not the parent. Pre-order settings are held per variation, and the parent has no release date of its own to show. Picking the parent stores settings that no page ever renders.
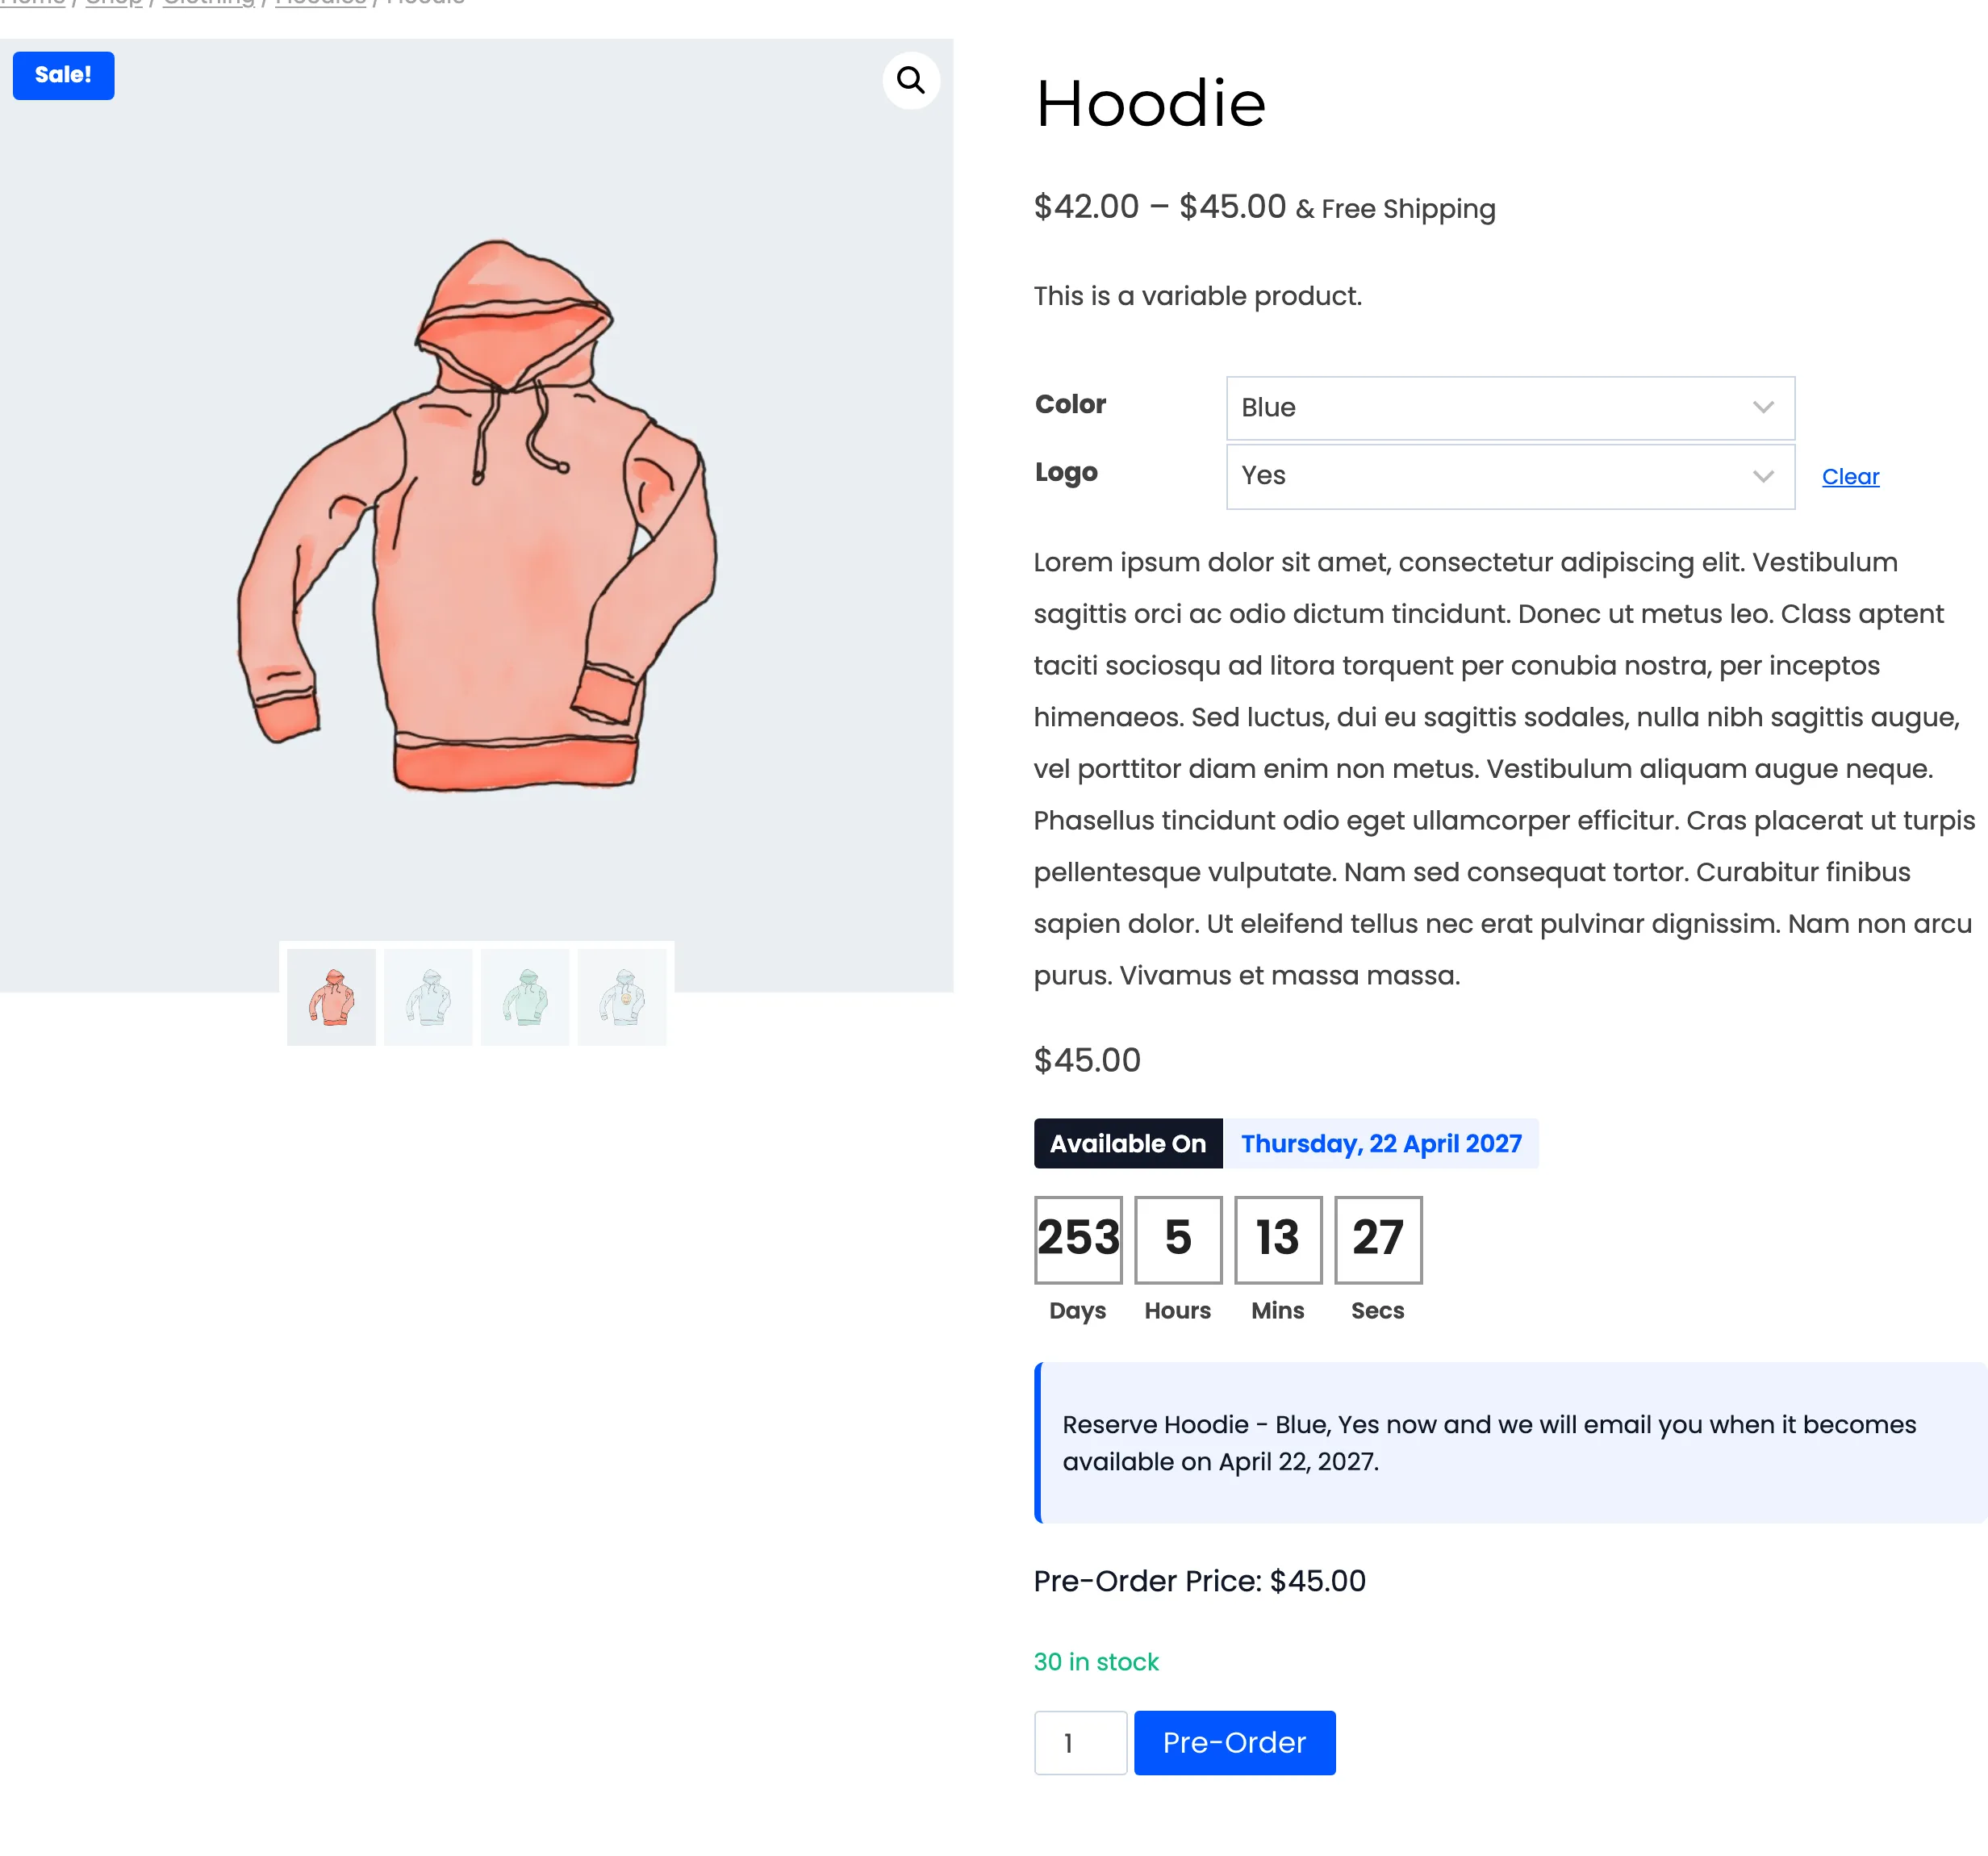
The variation’s own name is what the picker lists, so search for the attribute rather than the product: “Hoodie - Blue, Yes” rather than “Hoodie”.
Step 3: Set the pre-order stock
Section titled “Step 3: Set the pre-order stock”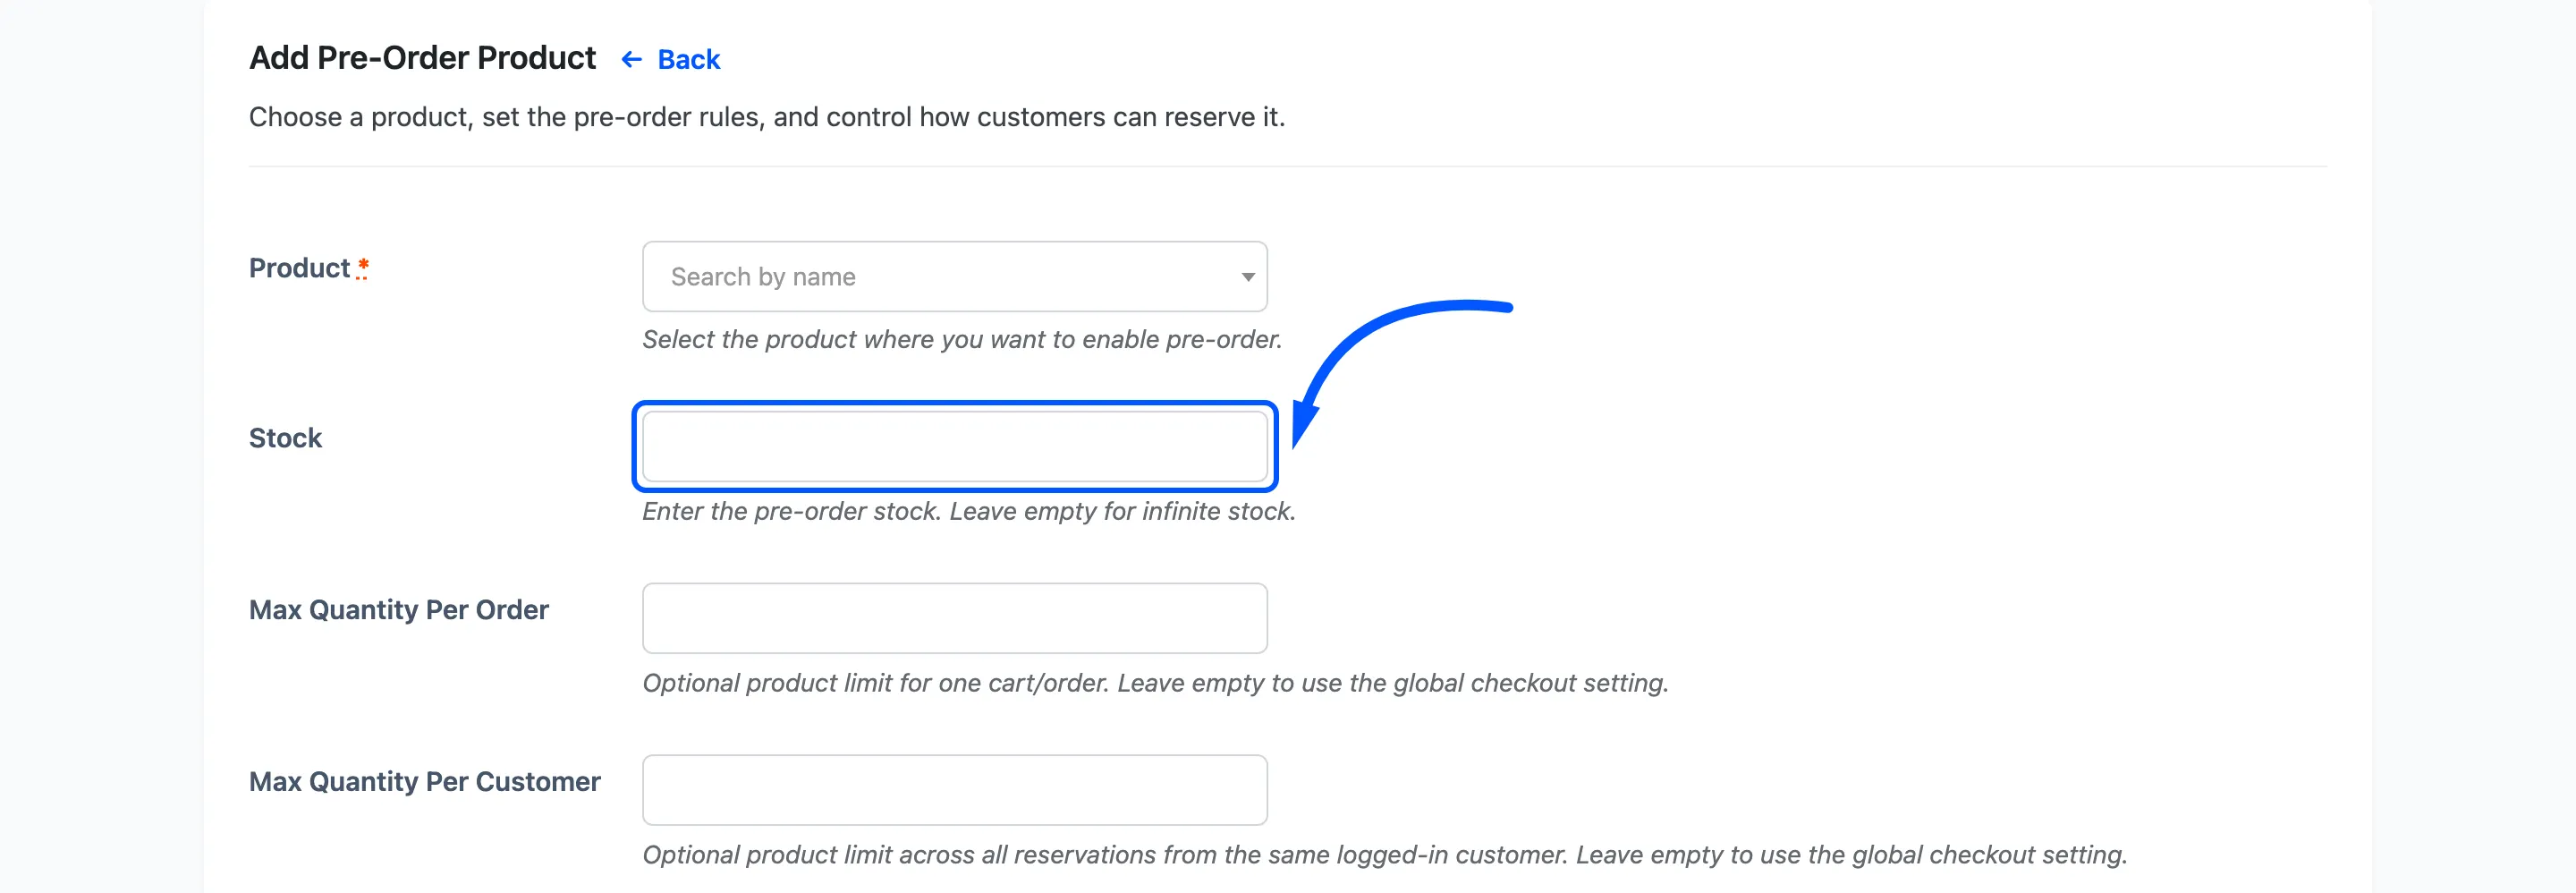
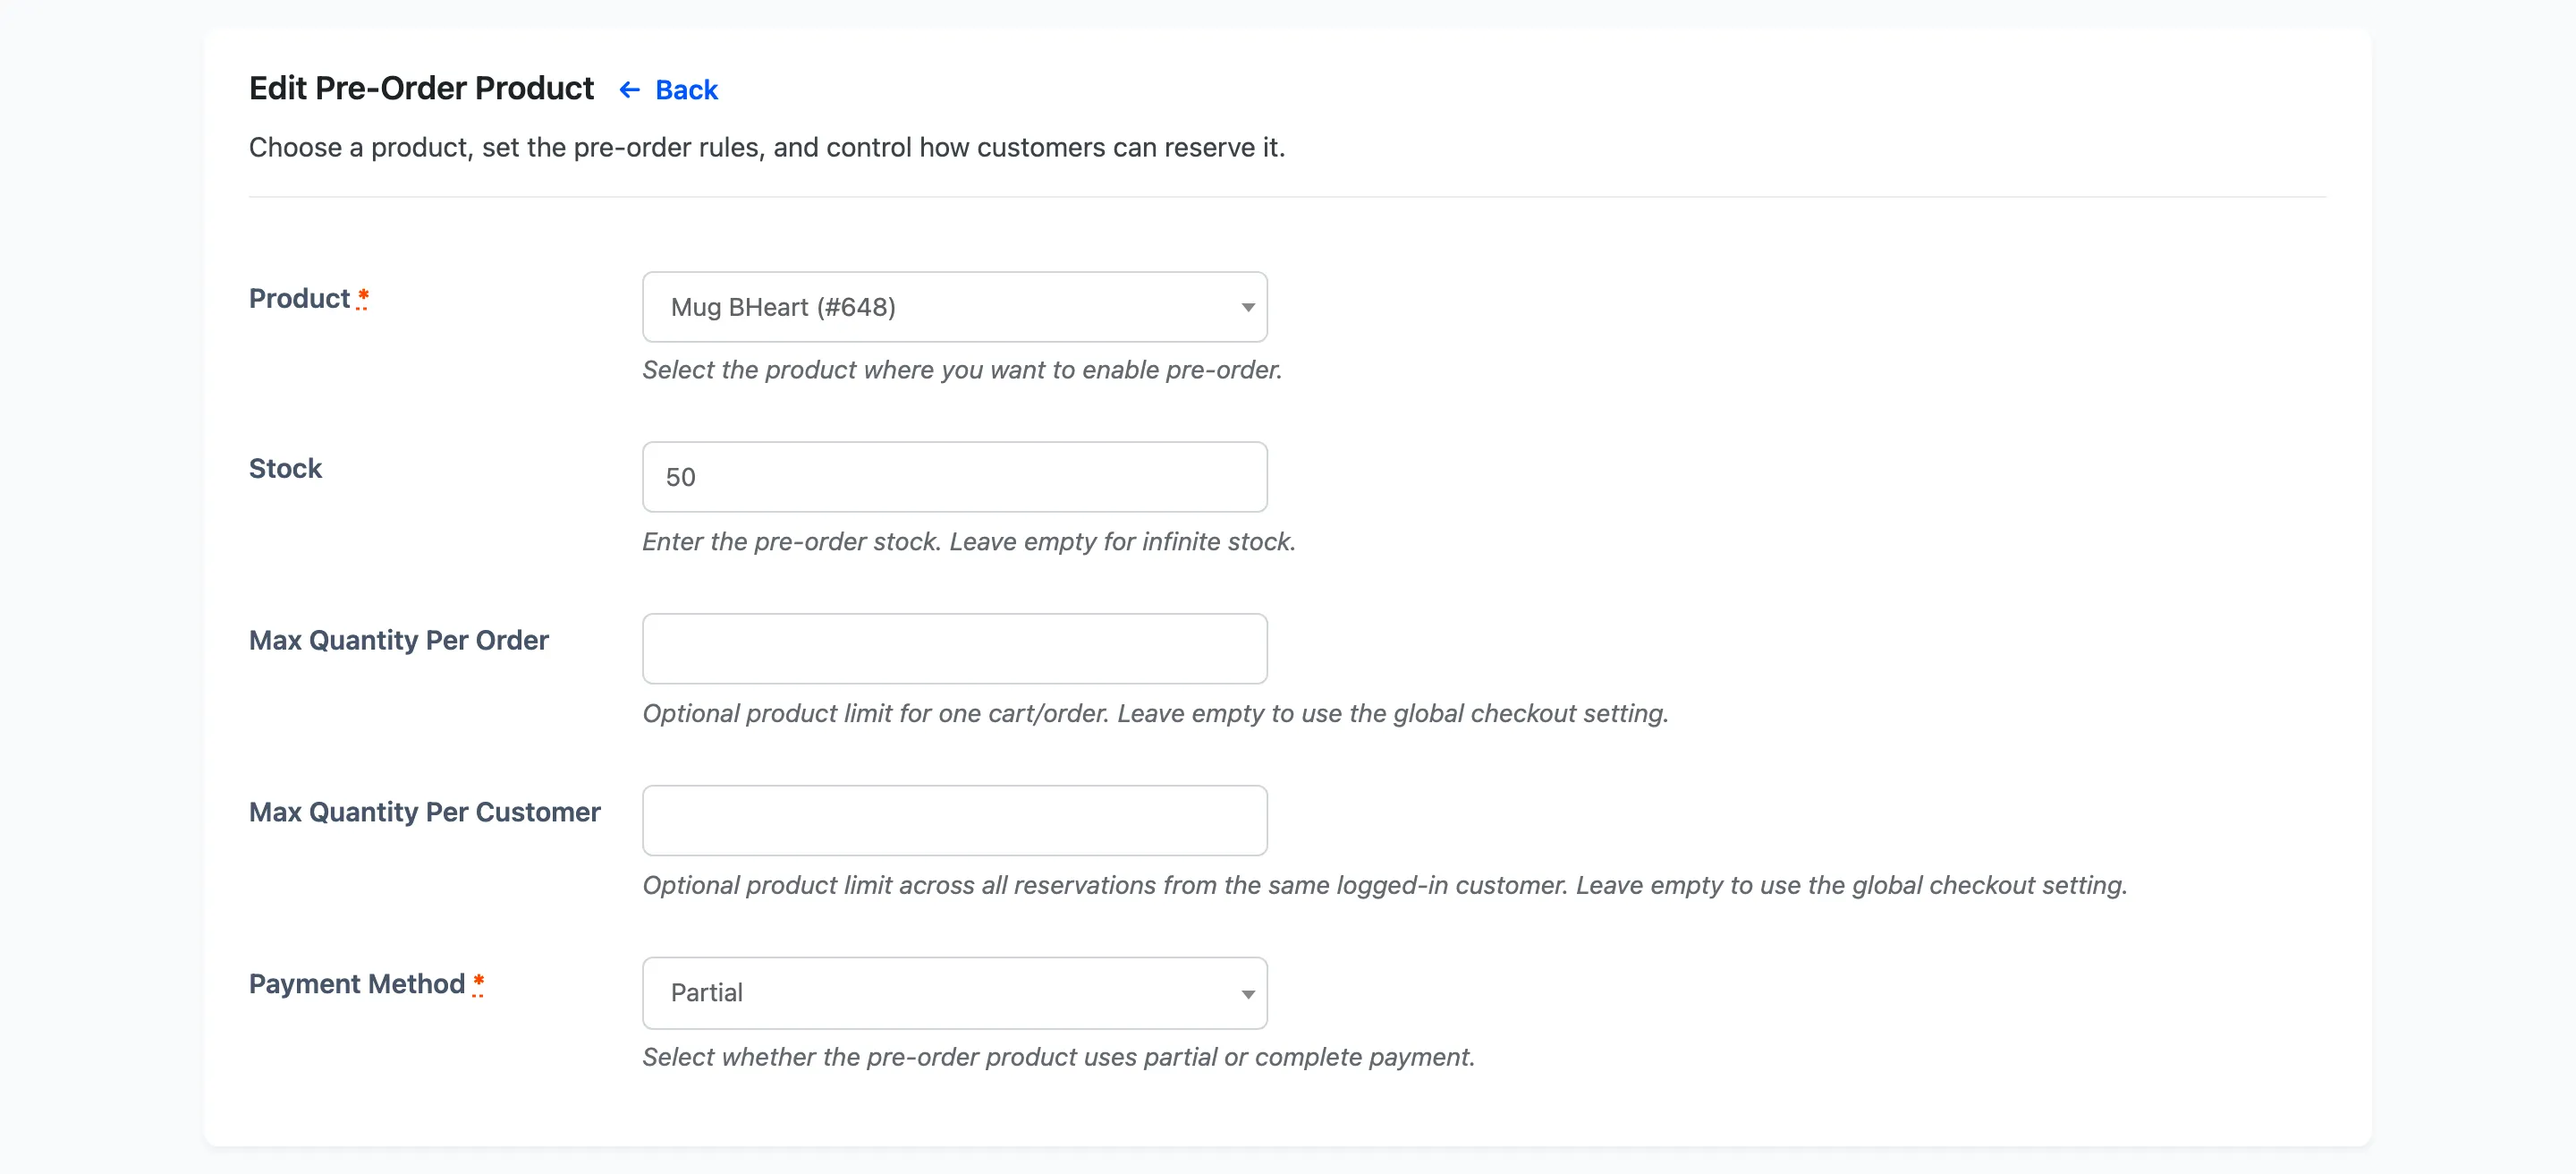
Stock is how many units you are prepared to promise. Leave it empty for no limit.
This number replaces the product’s real stock while the pre-order runs, which is what lets an out-of-stock product keep selling. Your original figure is stored and comes back on release day.
Step 4: Quantity limits and payment mode
Section titled “Step 4: Quantity limits and payment mode”Three fields sit below stock.
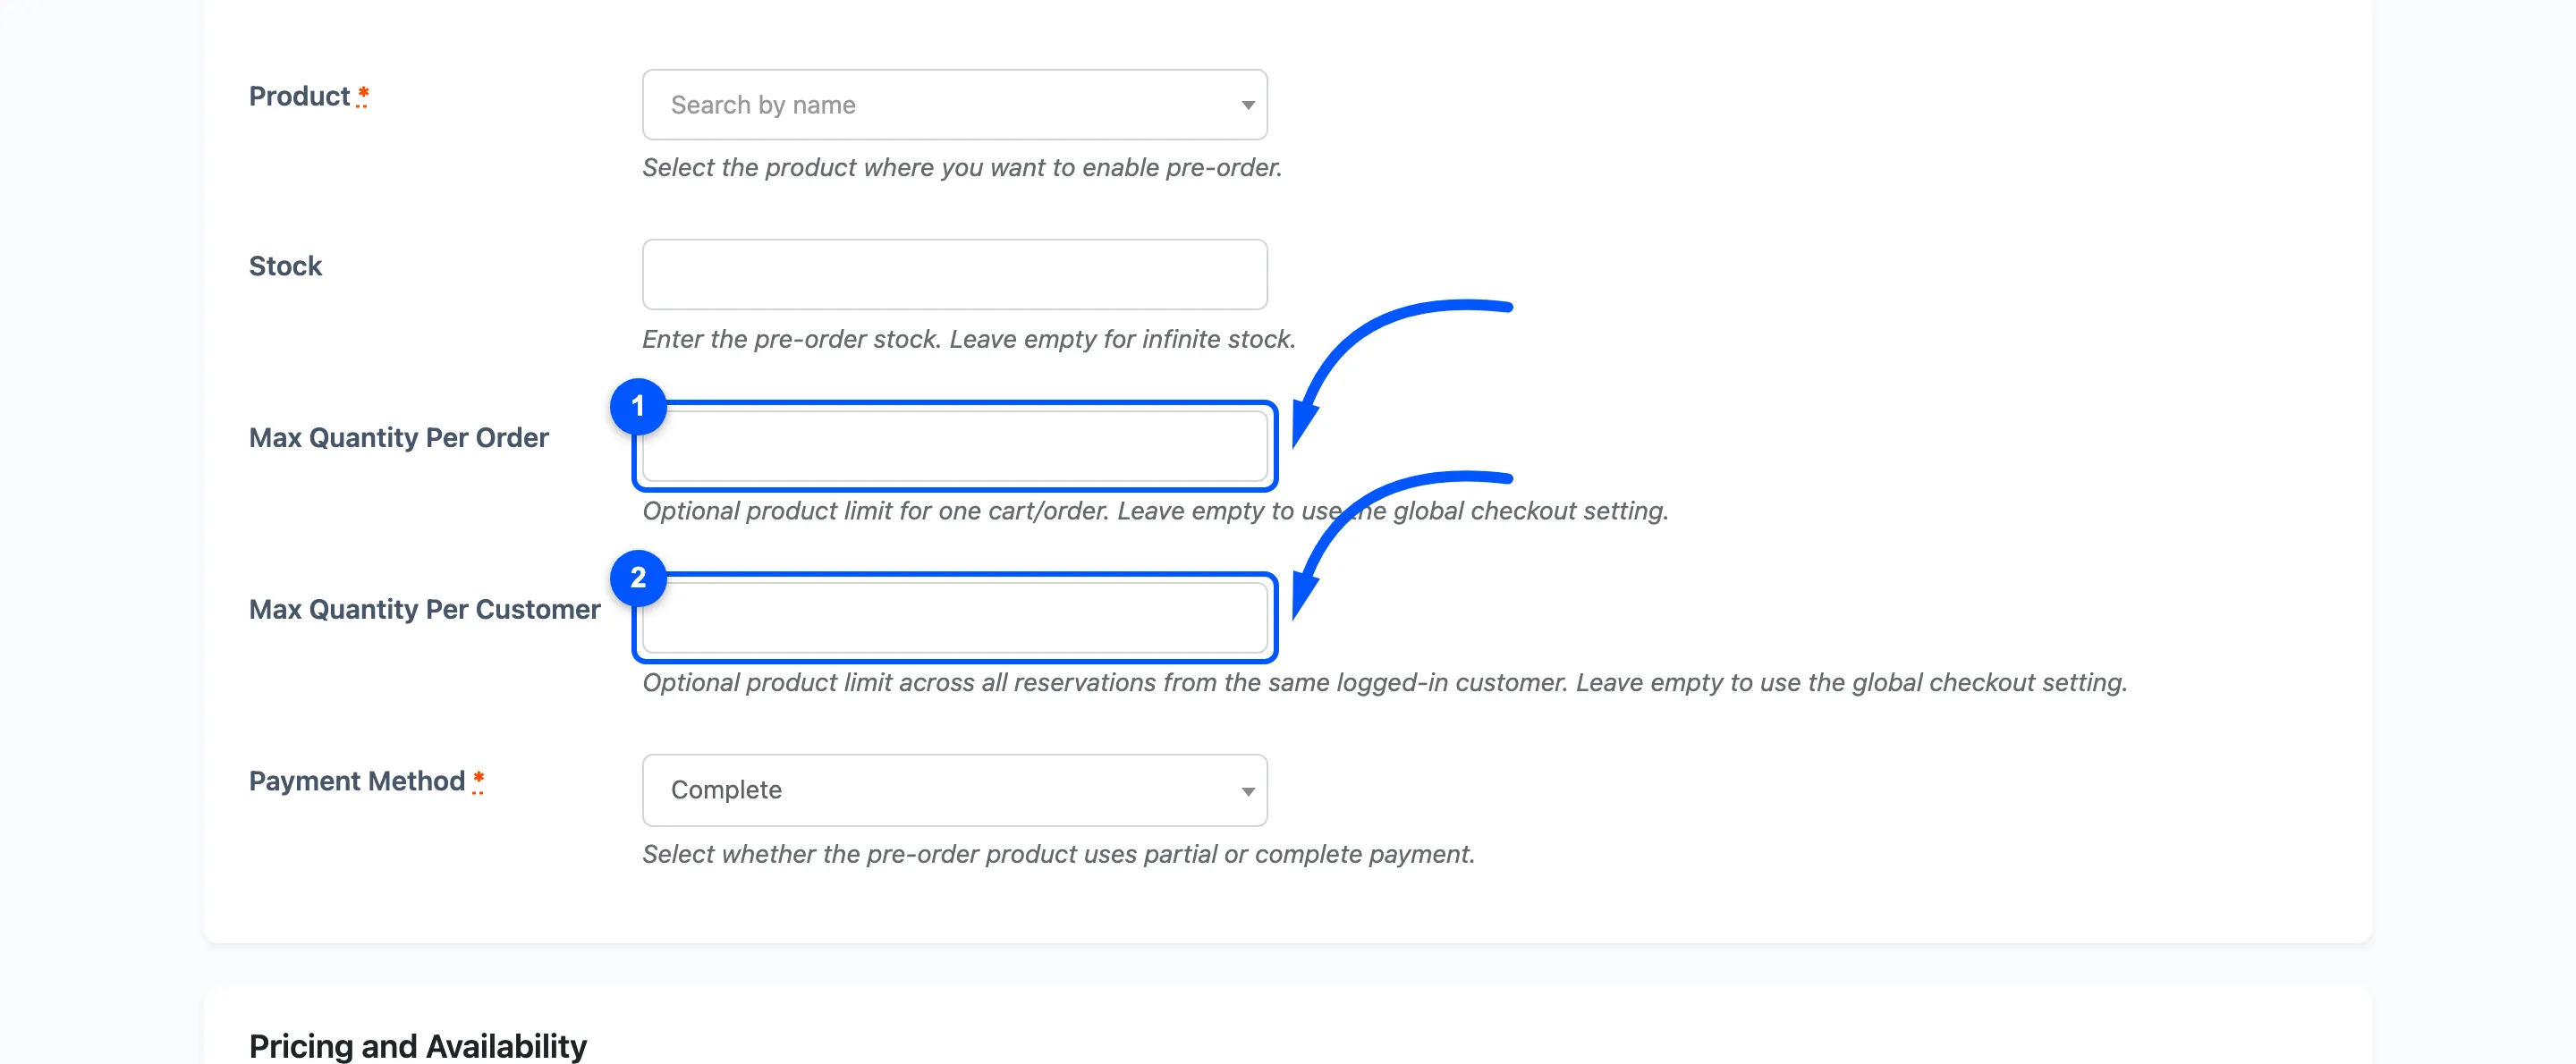
Max Quantity Per Order caps one cart. Max Quantity Per Customer caps a customer across all their pre-orders of this product, so it needs an account to work.
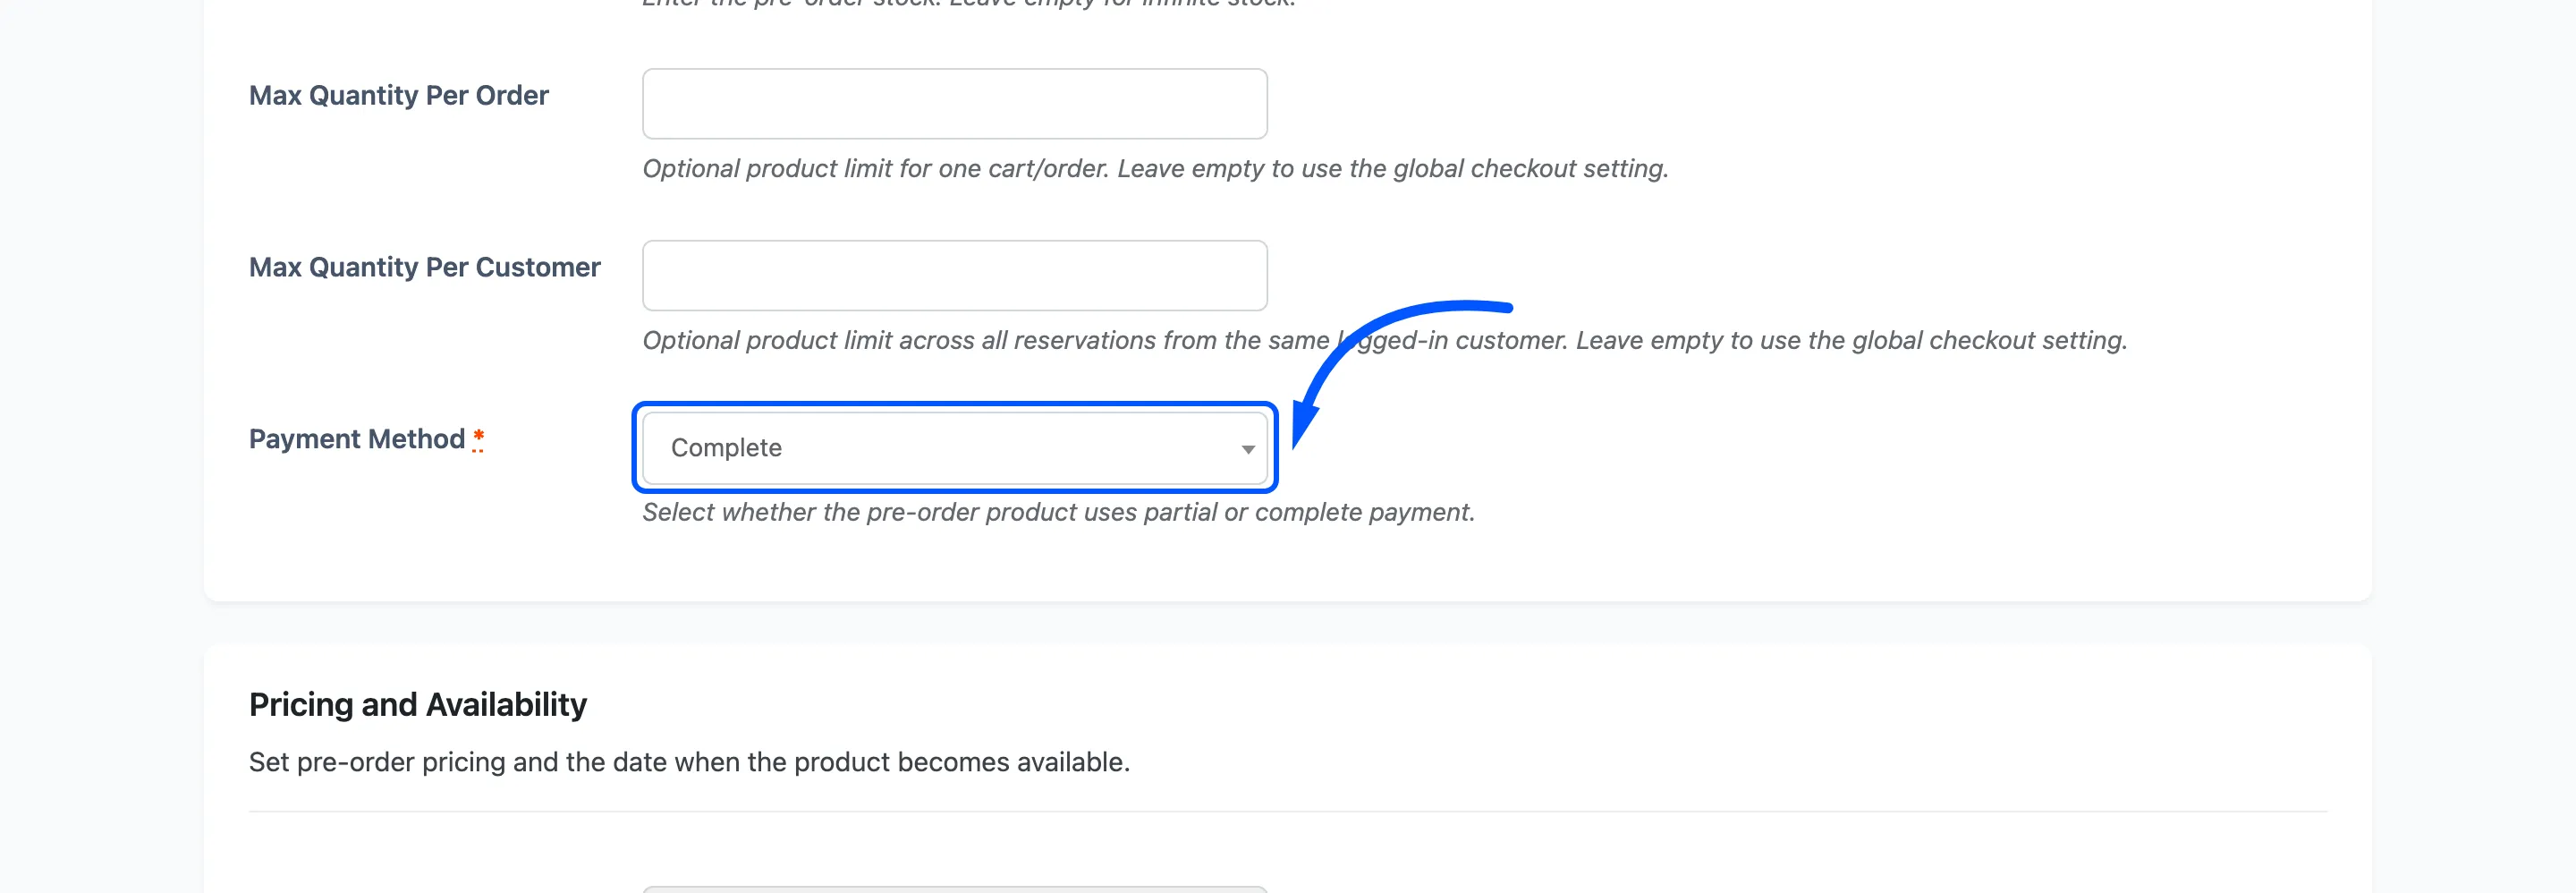
Payment Method is Complete or Partial. Complete charges the full price now. Partial takes a deposit and leaves a balance.
Step 5: Set the price and the date
Section titled “Step 5: Set the price and the date”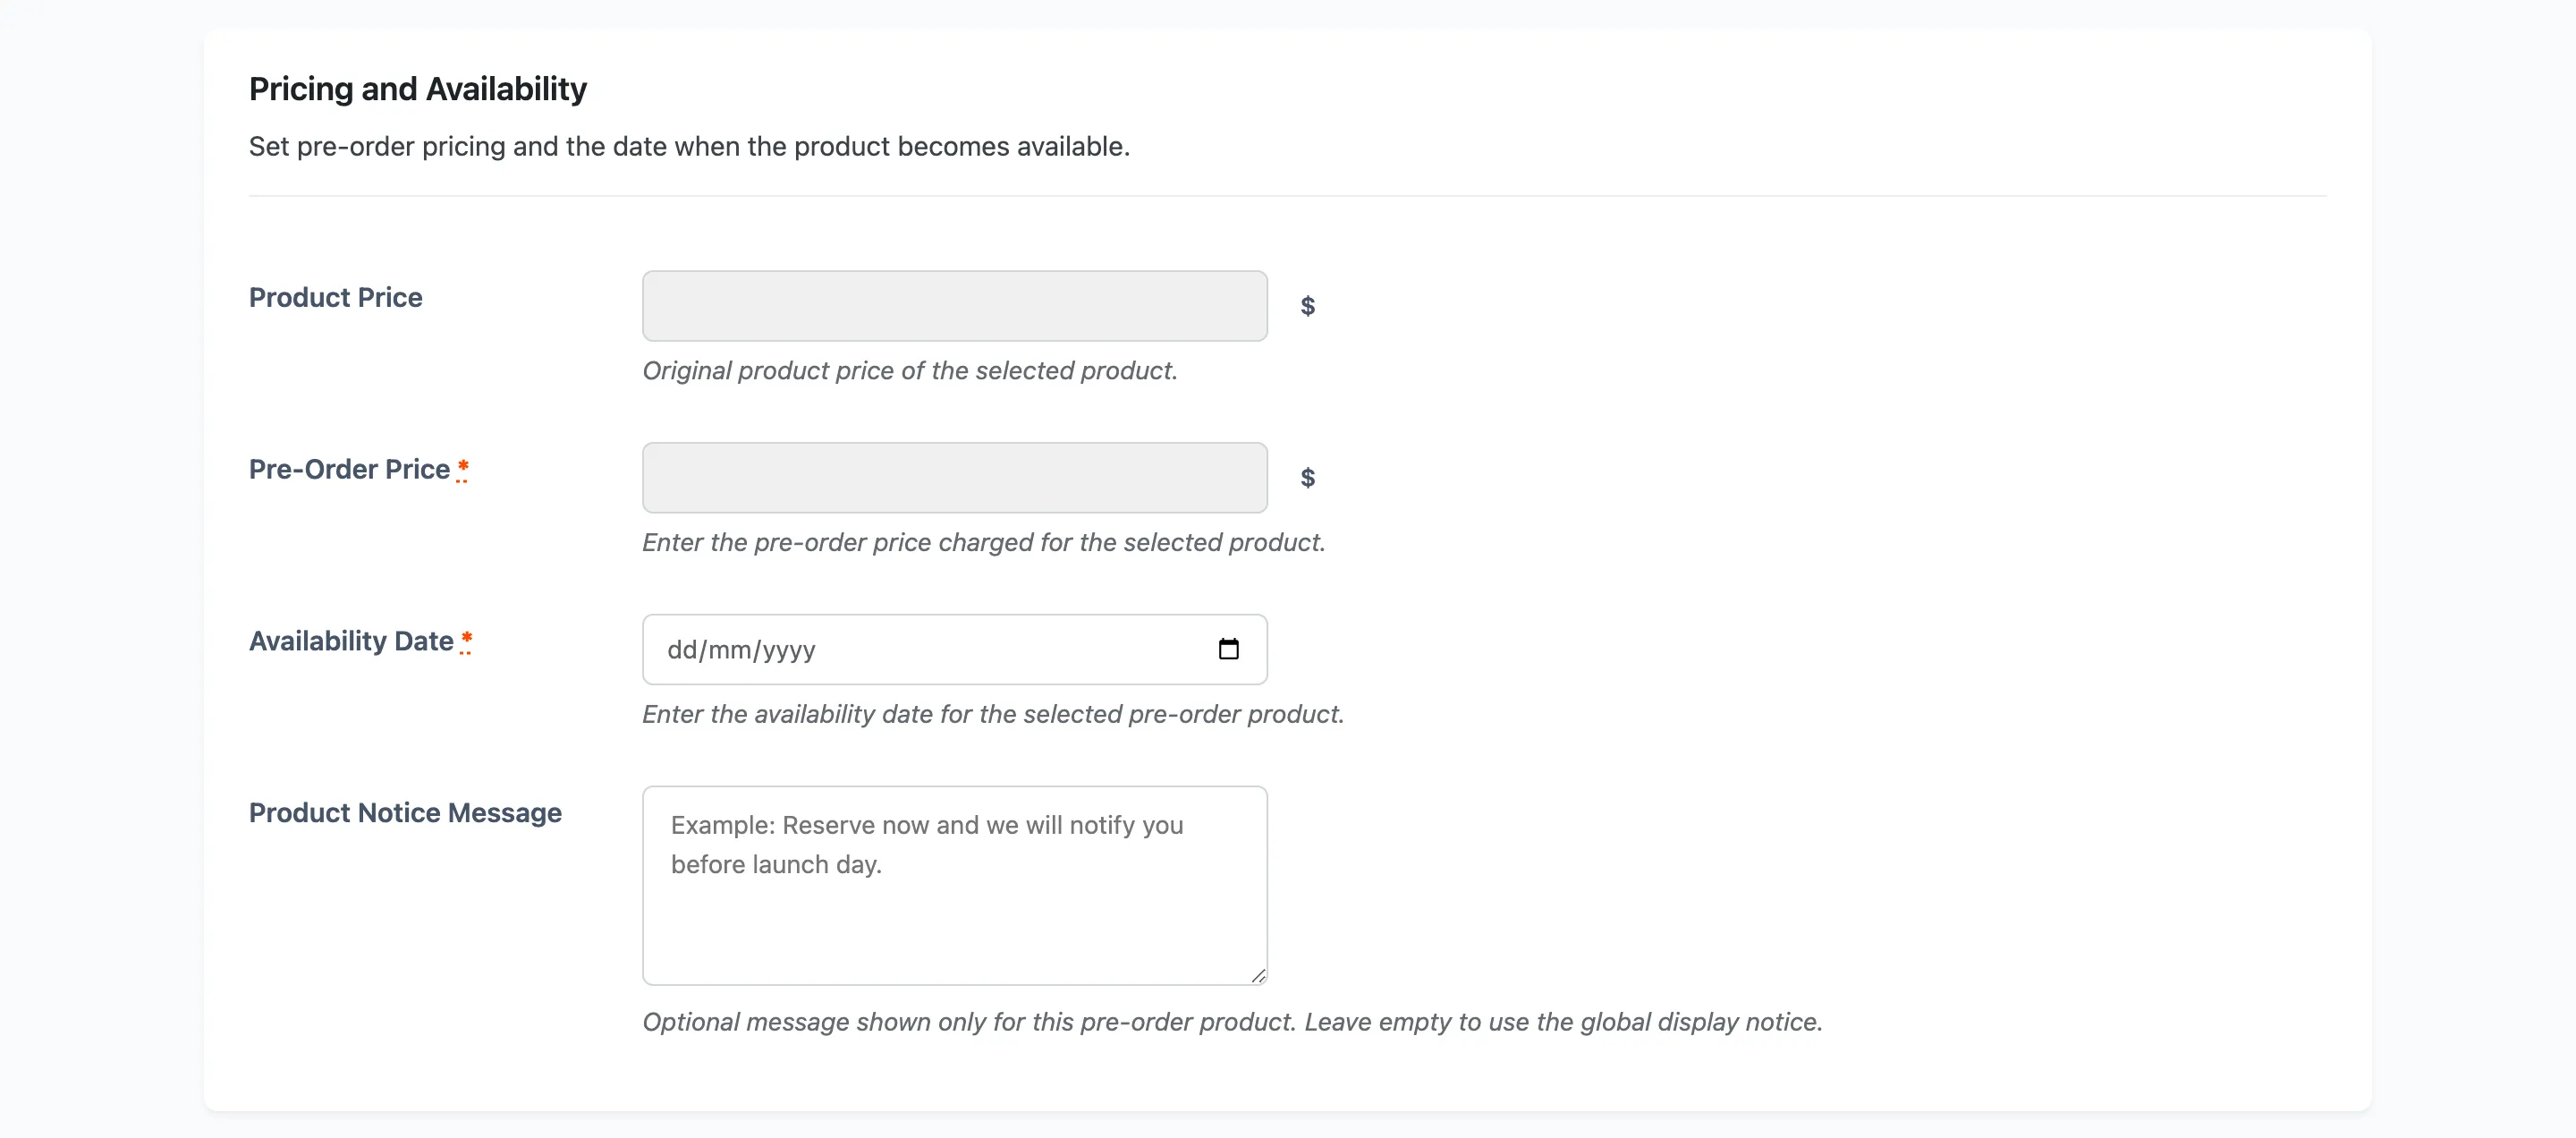
Product Price is read-only. It is the product’s own price, shown so you can see what you are working against.
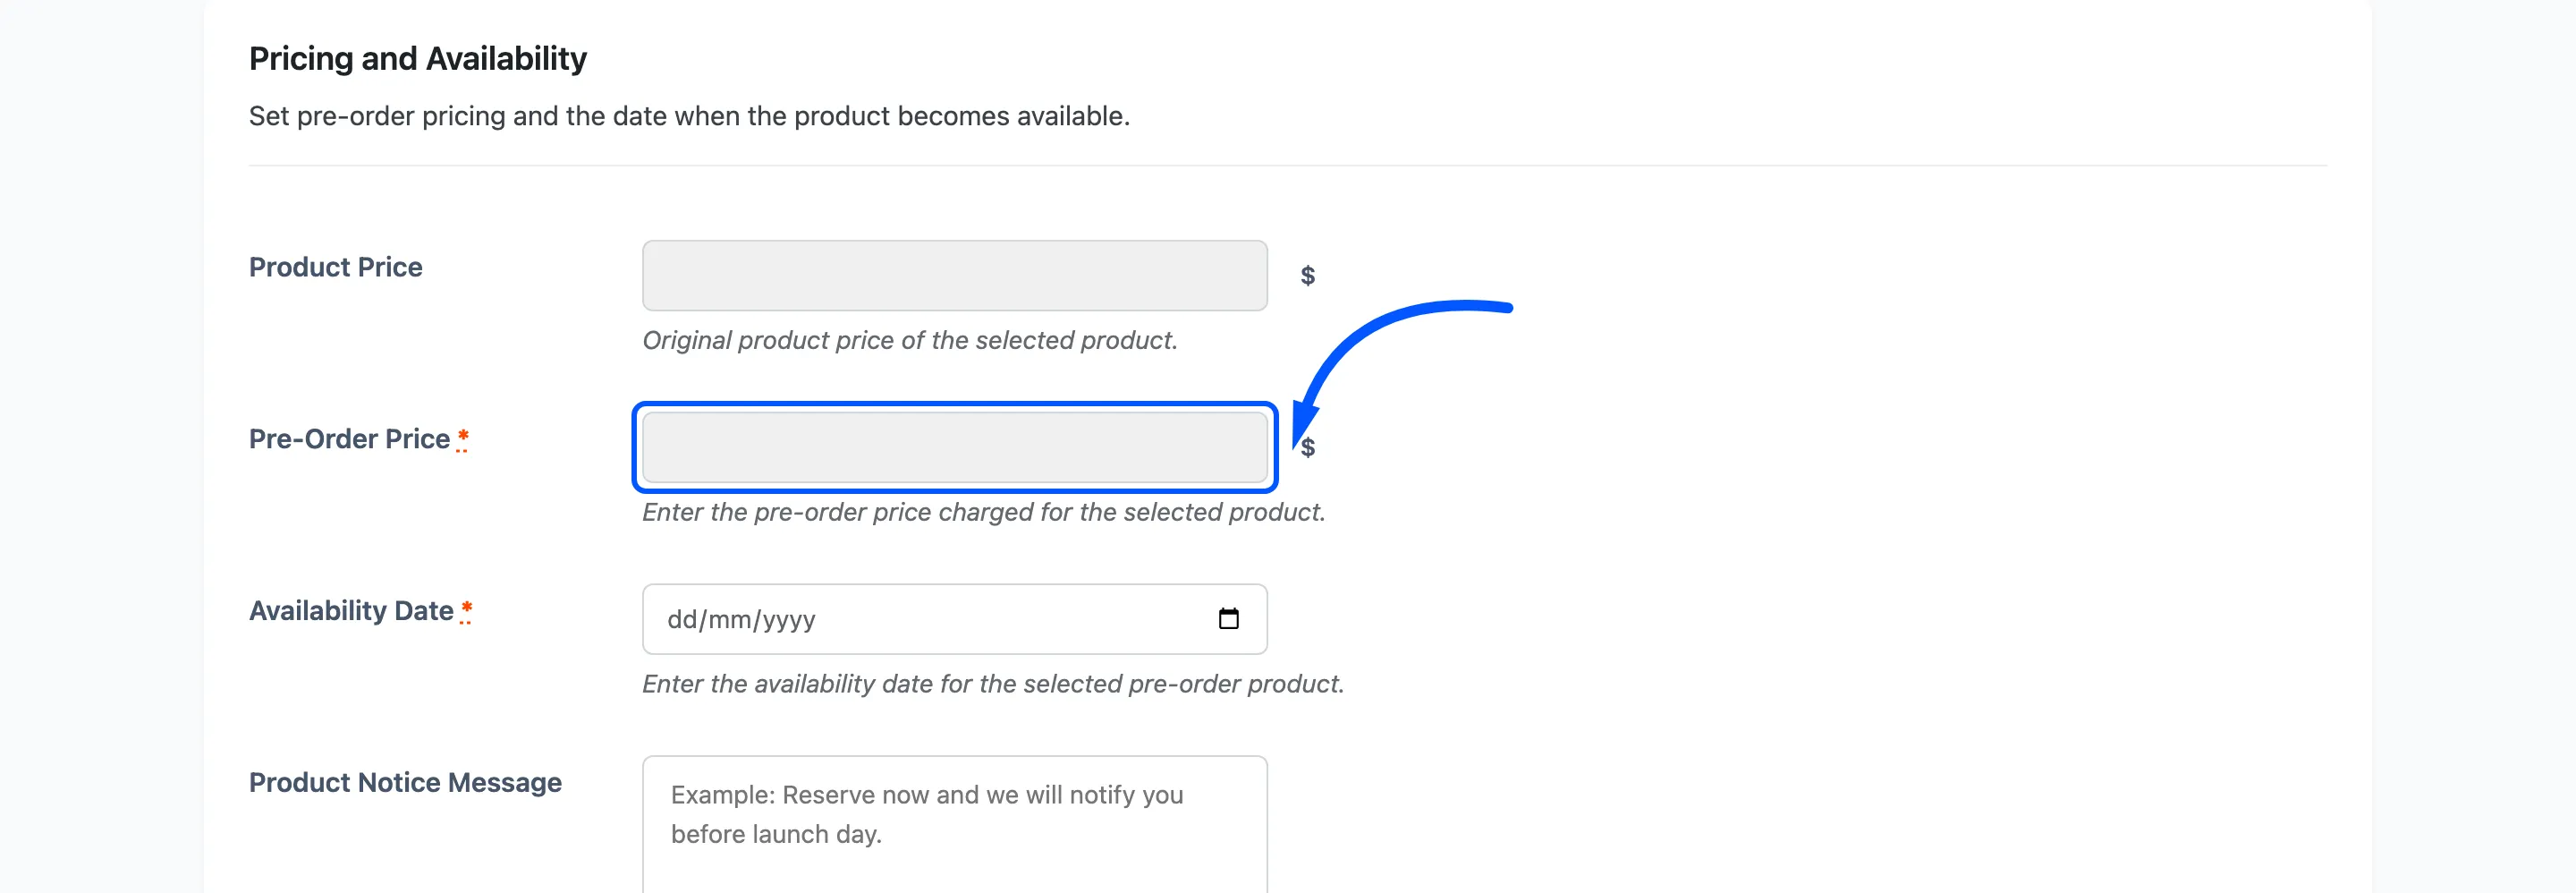
Pre-Order Price is what the customer pays today. On a Complete pre-order the plugin sets it from the product and ignores anything typed here, so it only does anything on a Partial one.
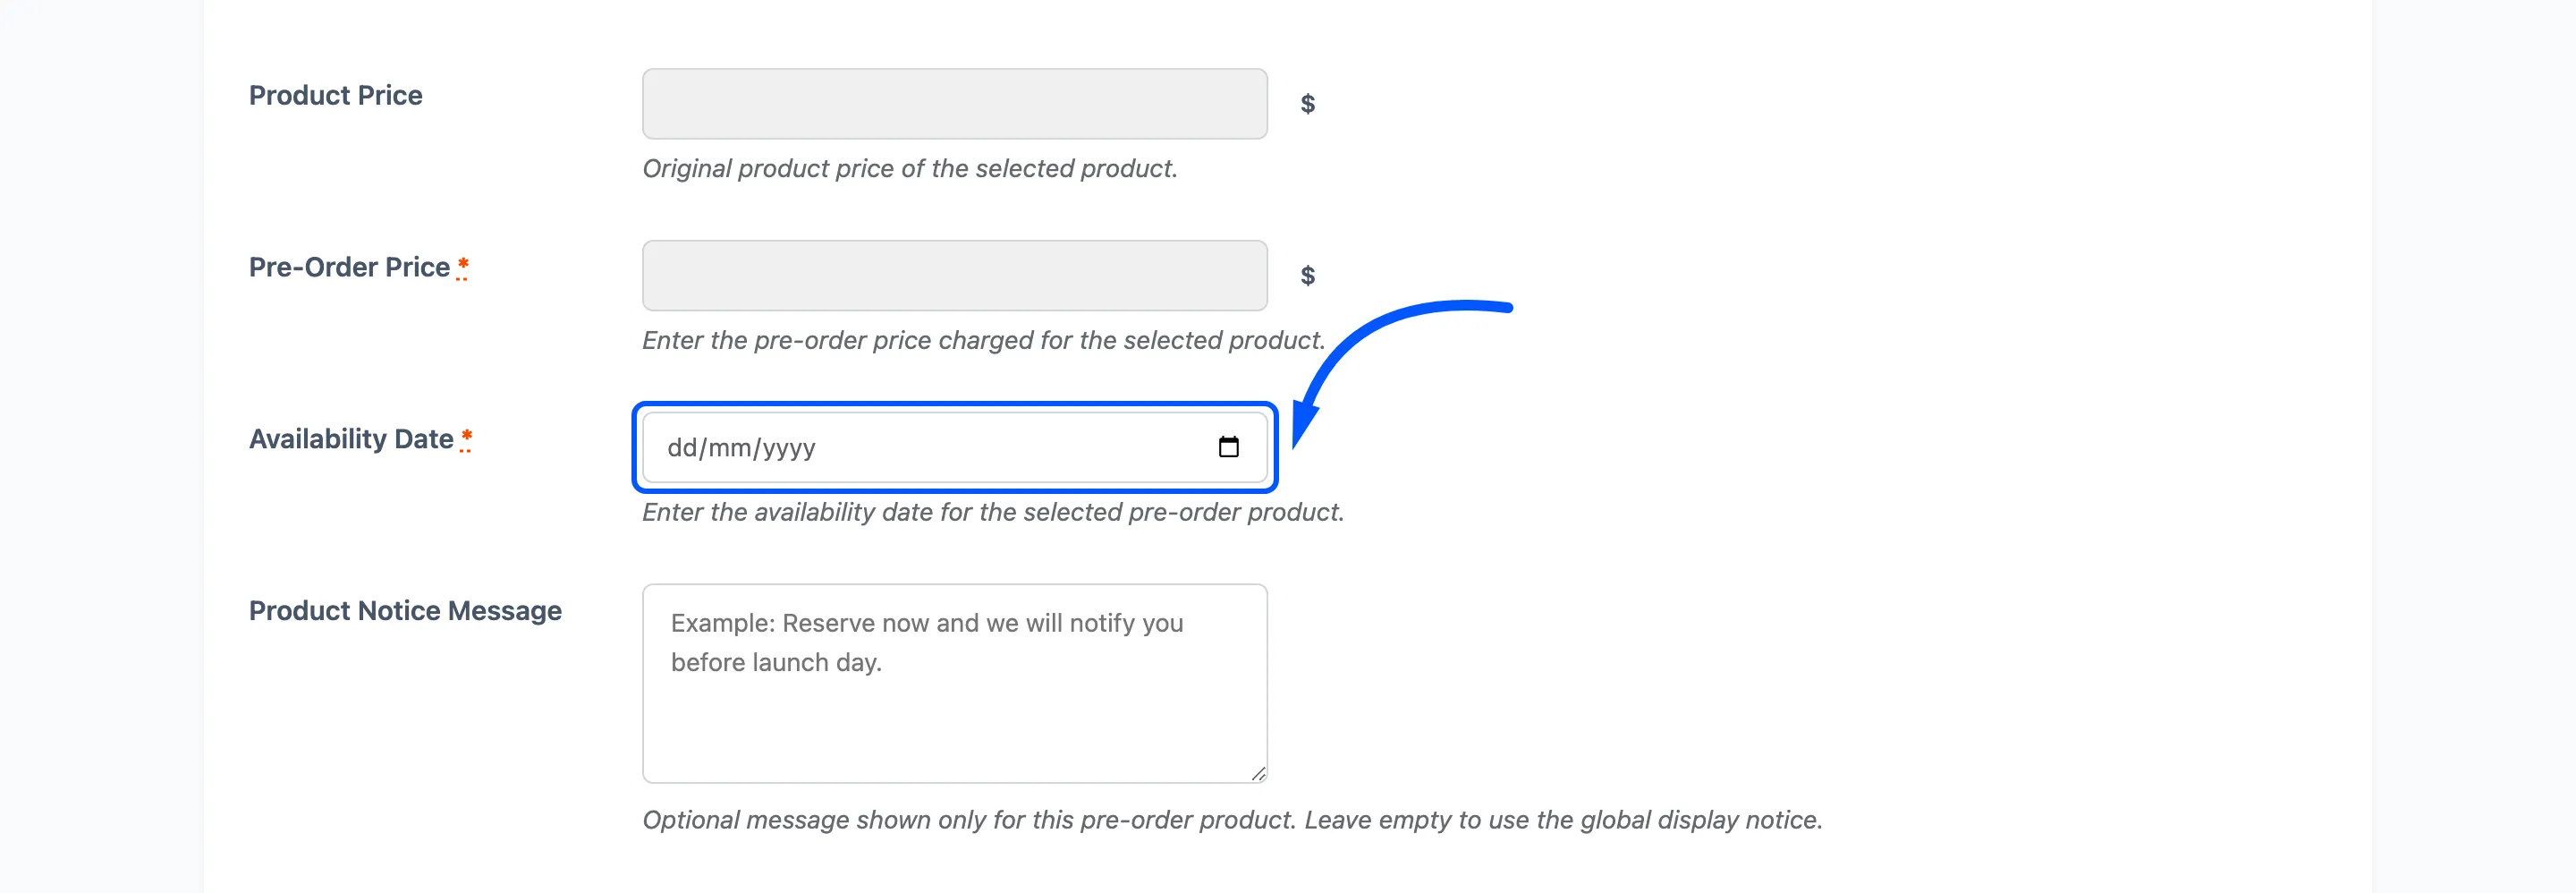
Availability Date is the release date, and it is required. Pick a date in the future: the countdown runs to it and the release job acts on it.
The date is stored with the current time of day. Editing it later and keeping the same day changes nothing, which is why a same-day edit sends no “date changed” email.
Step 6: Write a notice
Section titled “Step 6: Write a notice”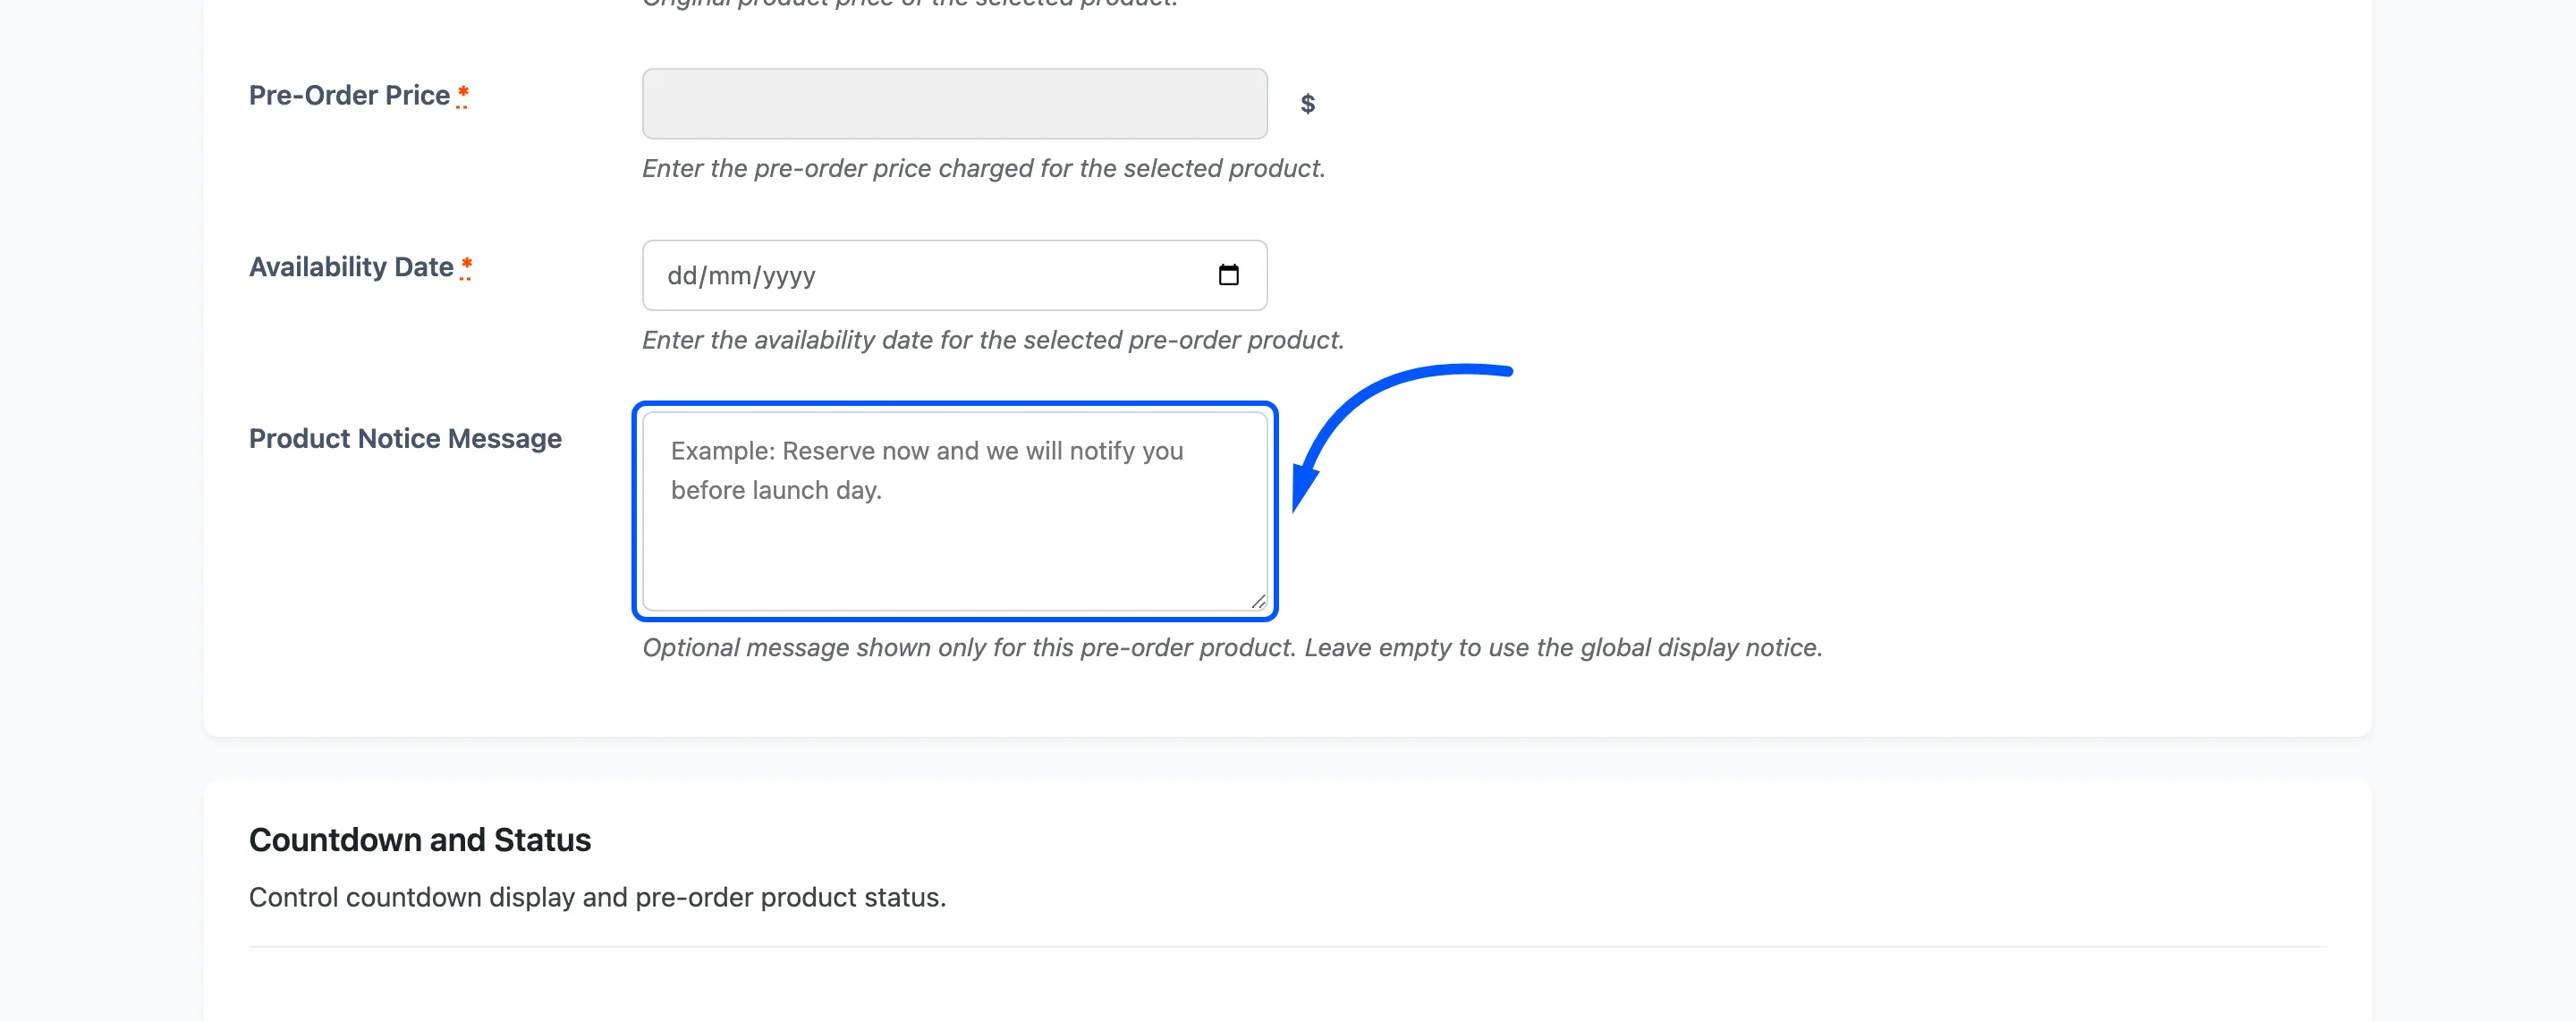
Product Notice Message is shown under the countdown on this product only. Leave it empty to use the global message from the Display tab.
Use it when one product needs saying something the rest do not, such as a shipping window or a colour that is not final.
Step 7: Countdown and status
Section titled “Step 7: Countdown and status”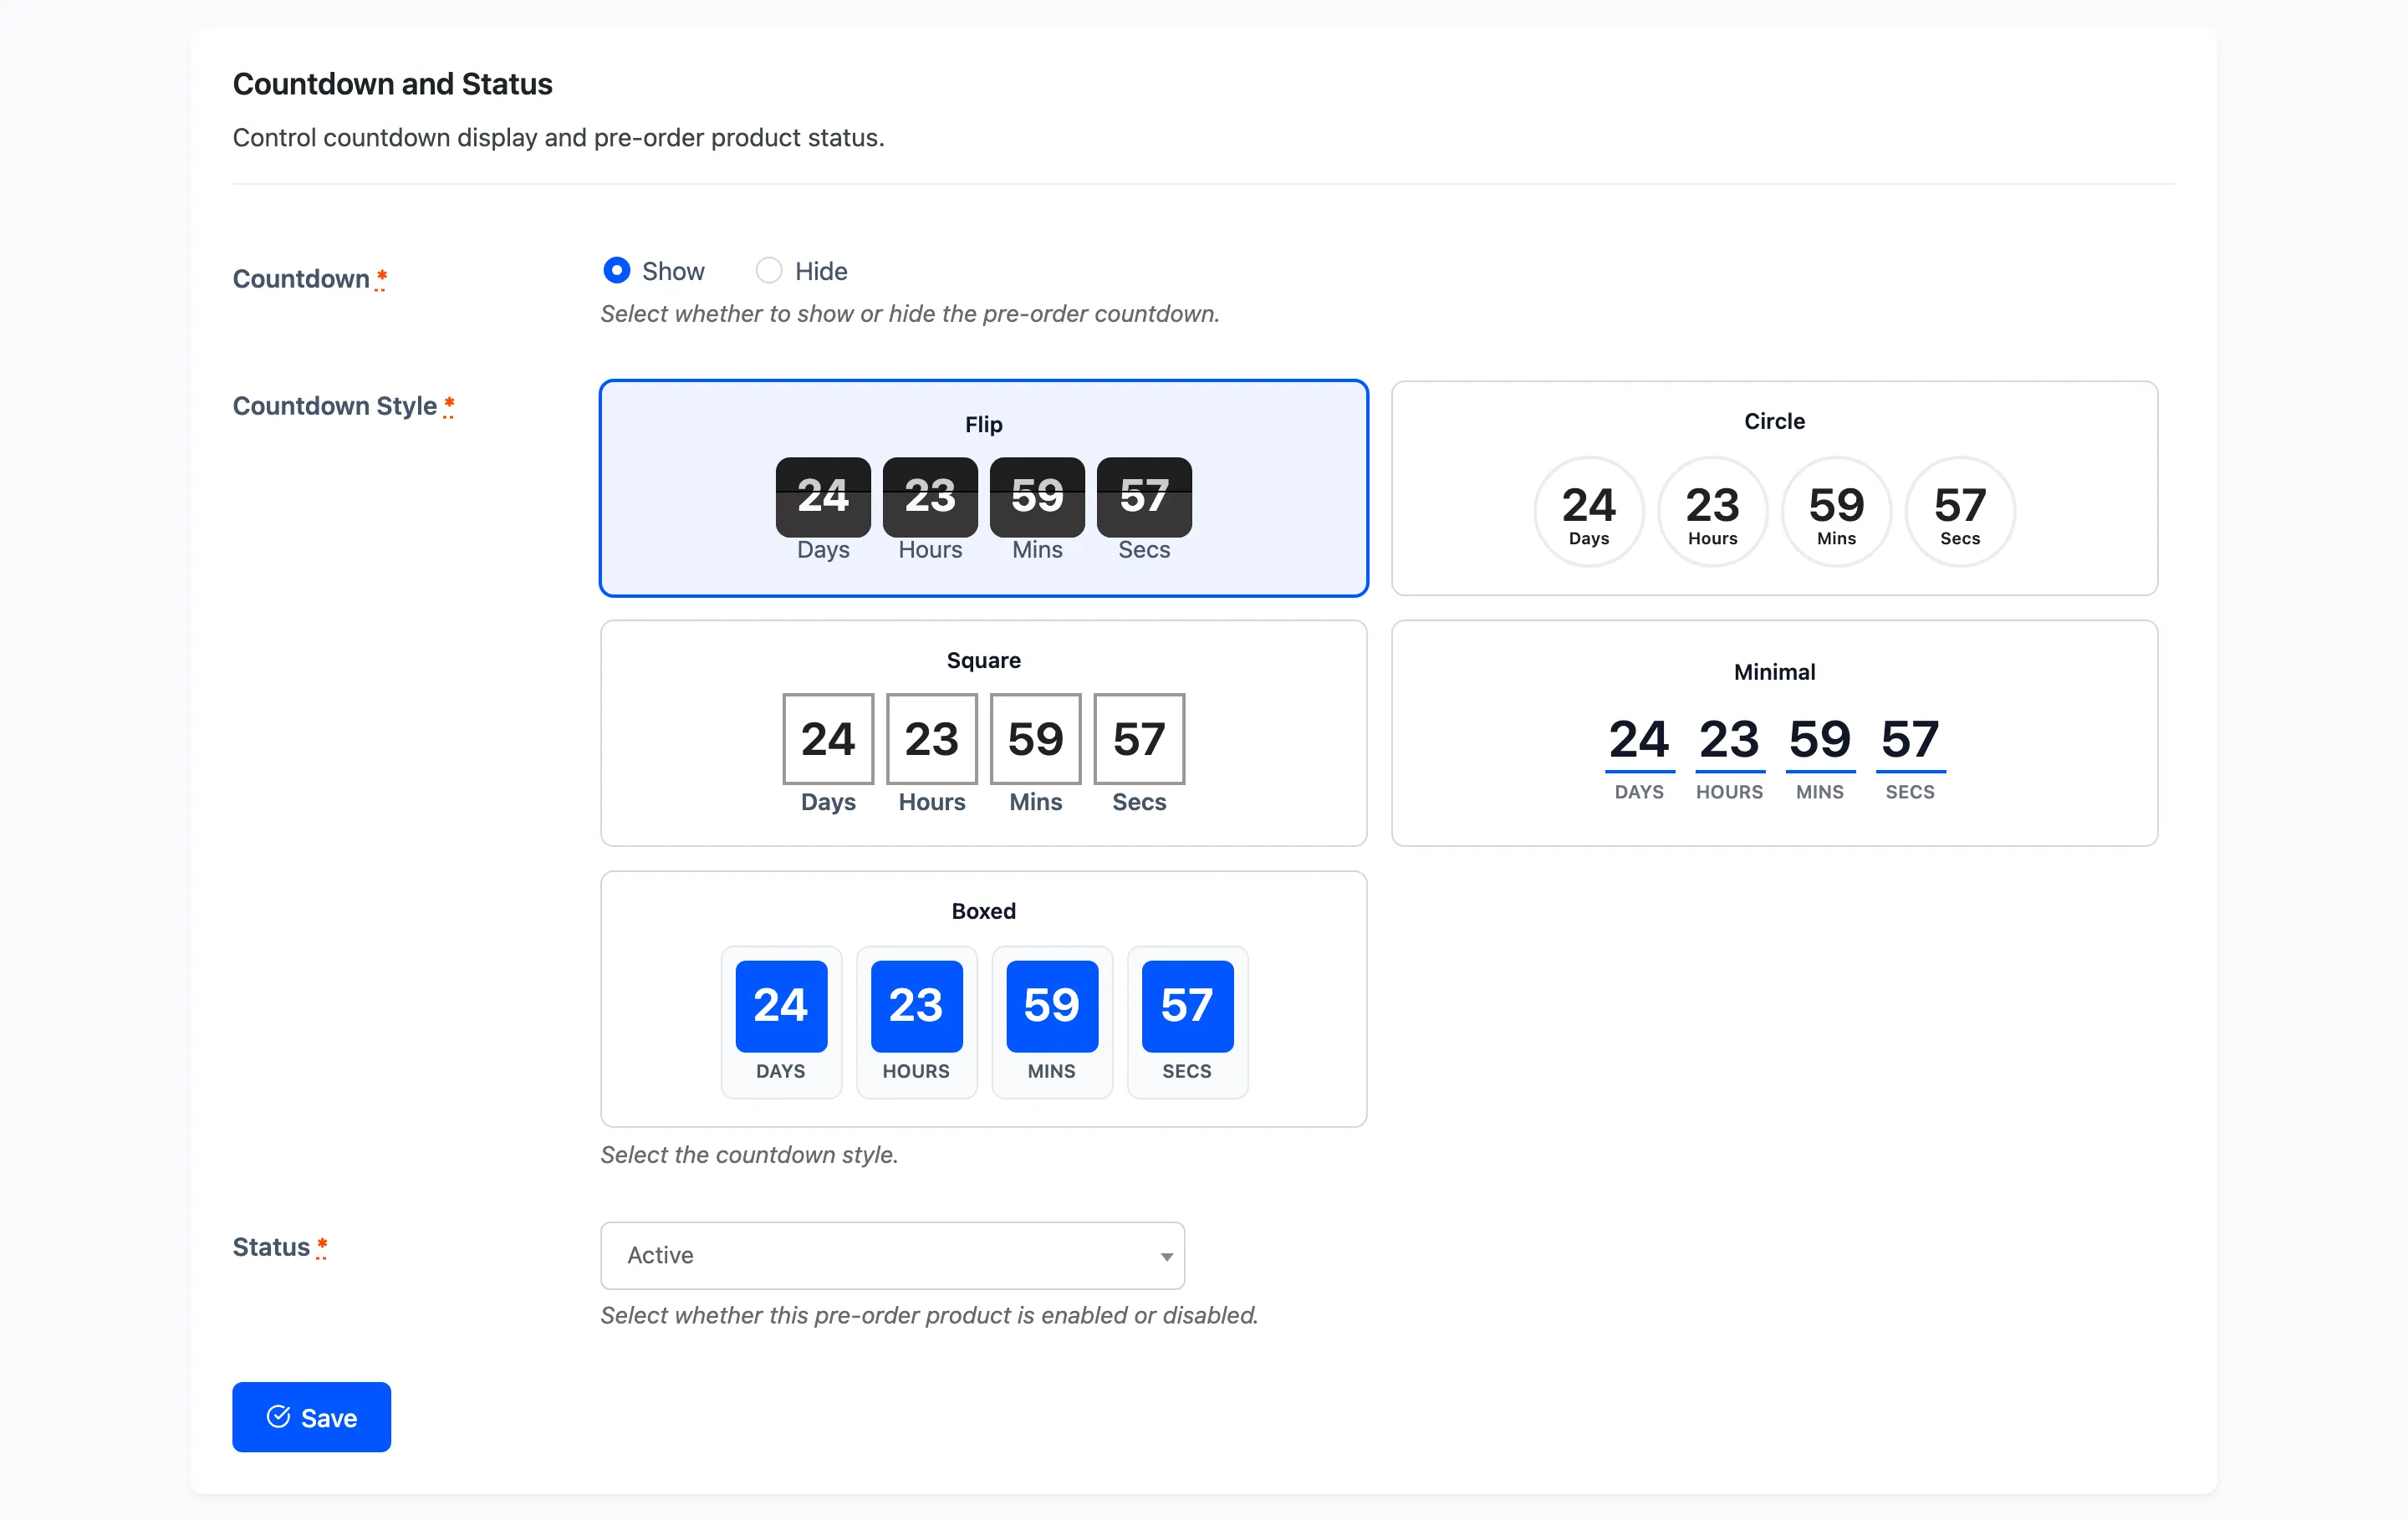
Countdown is Show or Hide. Hide it when the date is soft and you would rather not put a clock on it.
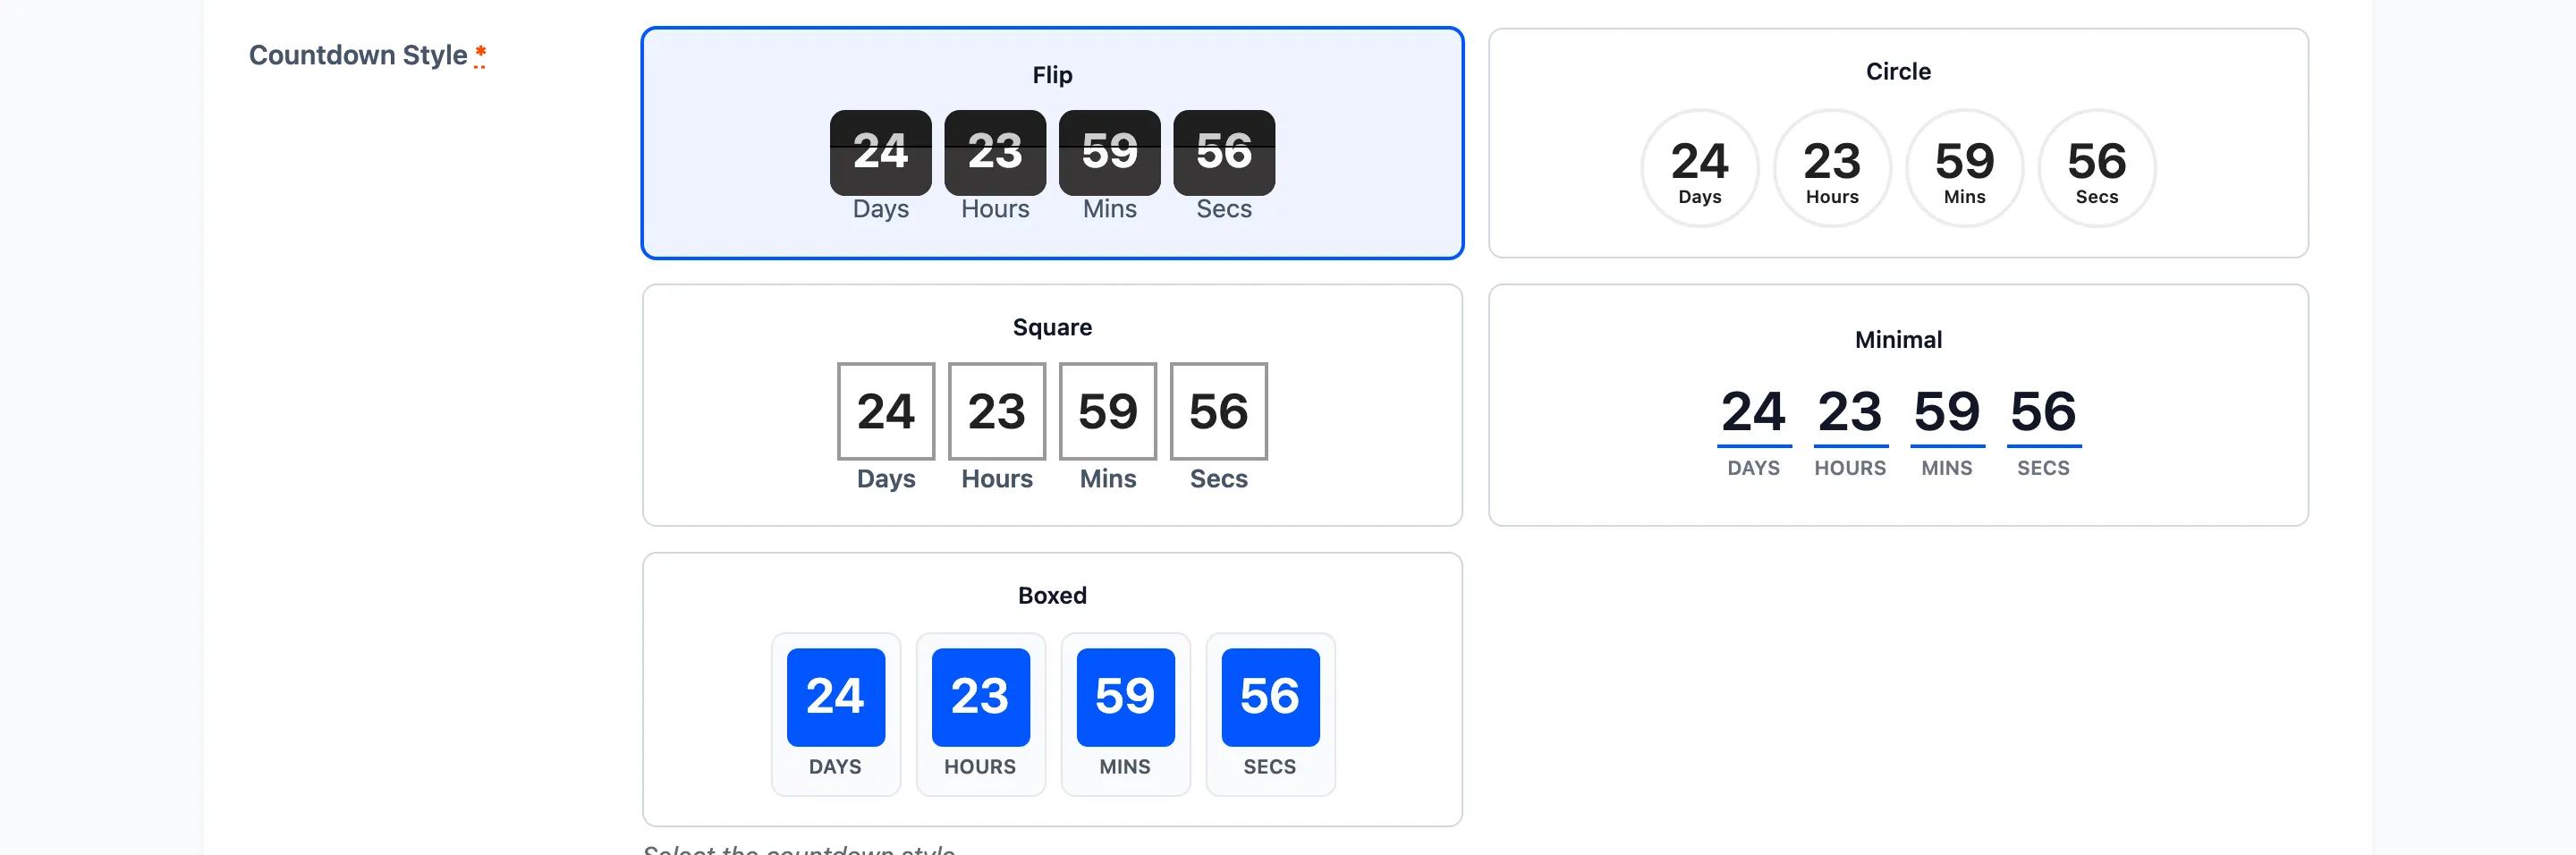
Countdown Style offers five looks, each previewed live.
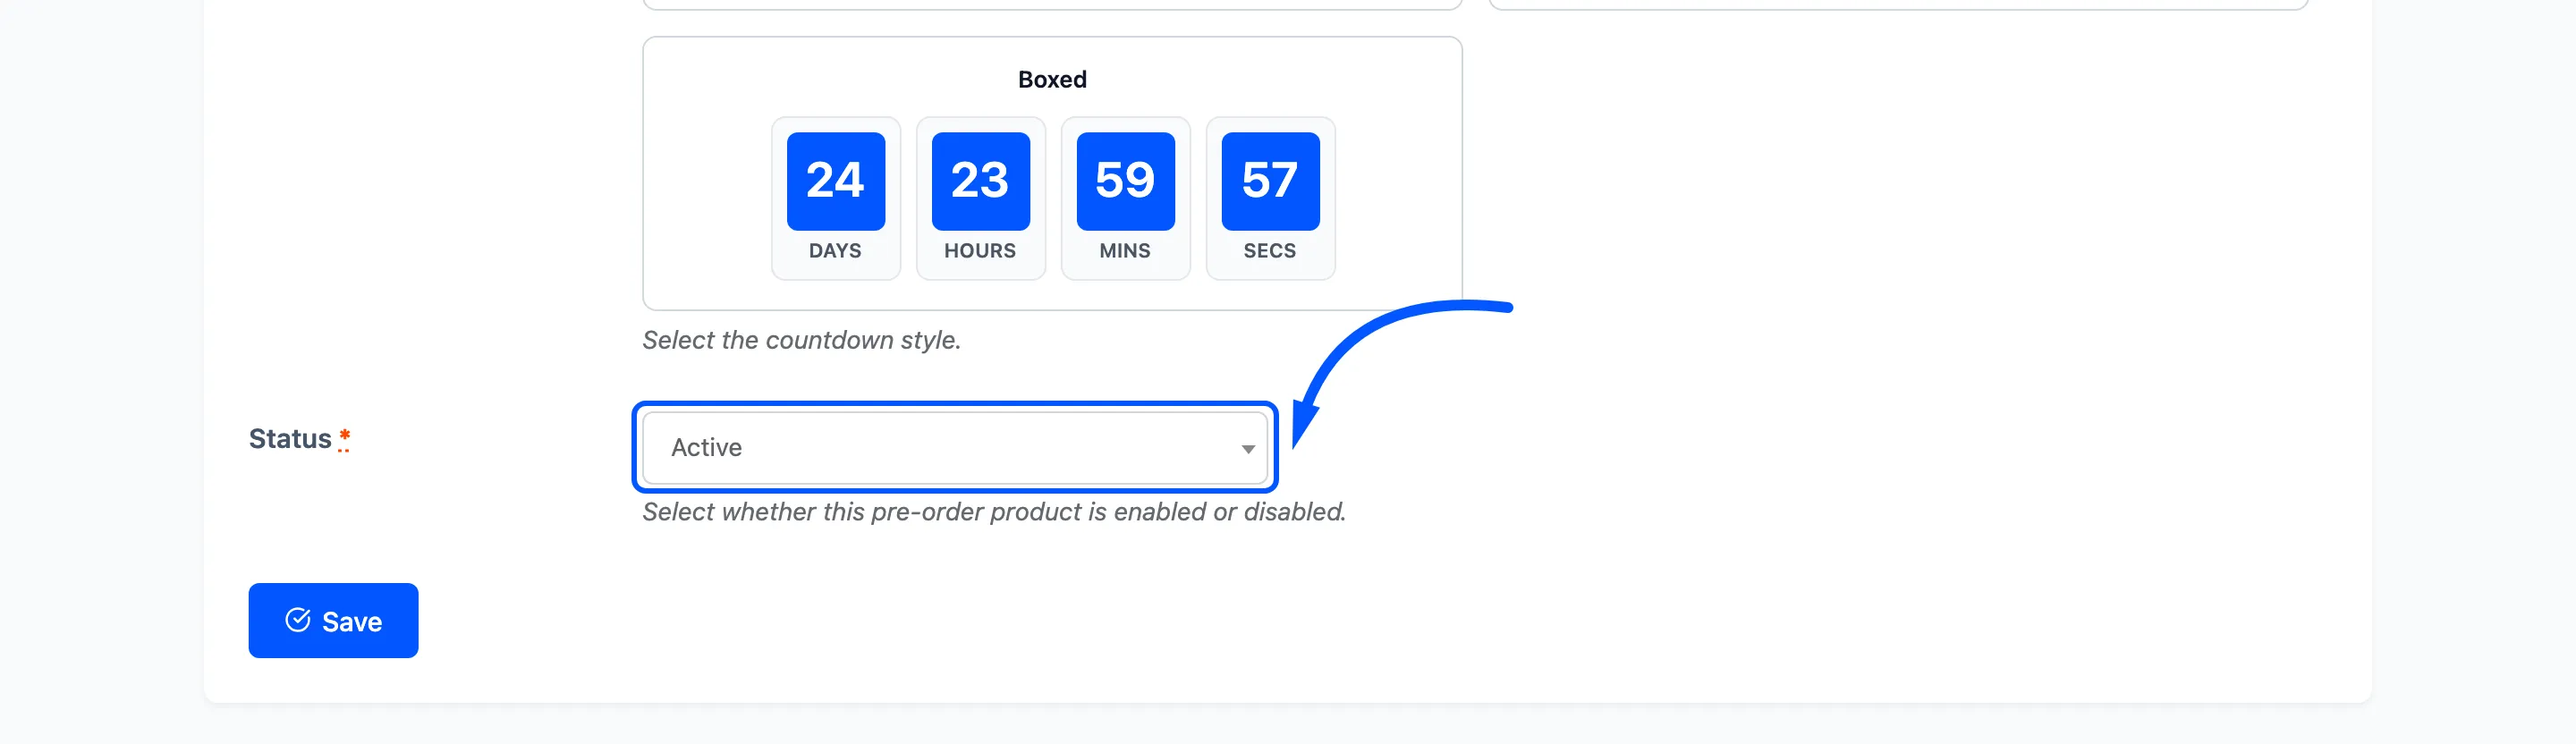
Status must be Active for anything to happen. Inactive stores the settings and leaves the product alone, which is how you prepare a launch in advance.
Press Save.
Step 8: Check the storefront
Section titled “Step 8: Check the storefront”Open the product on your shop.
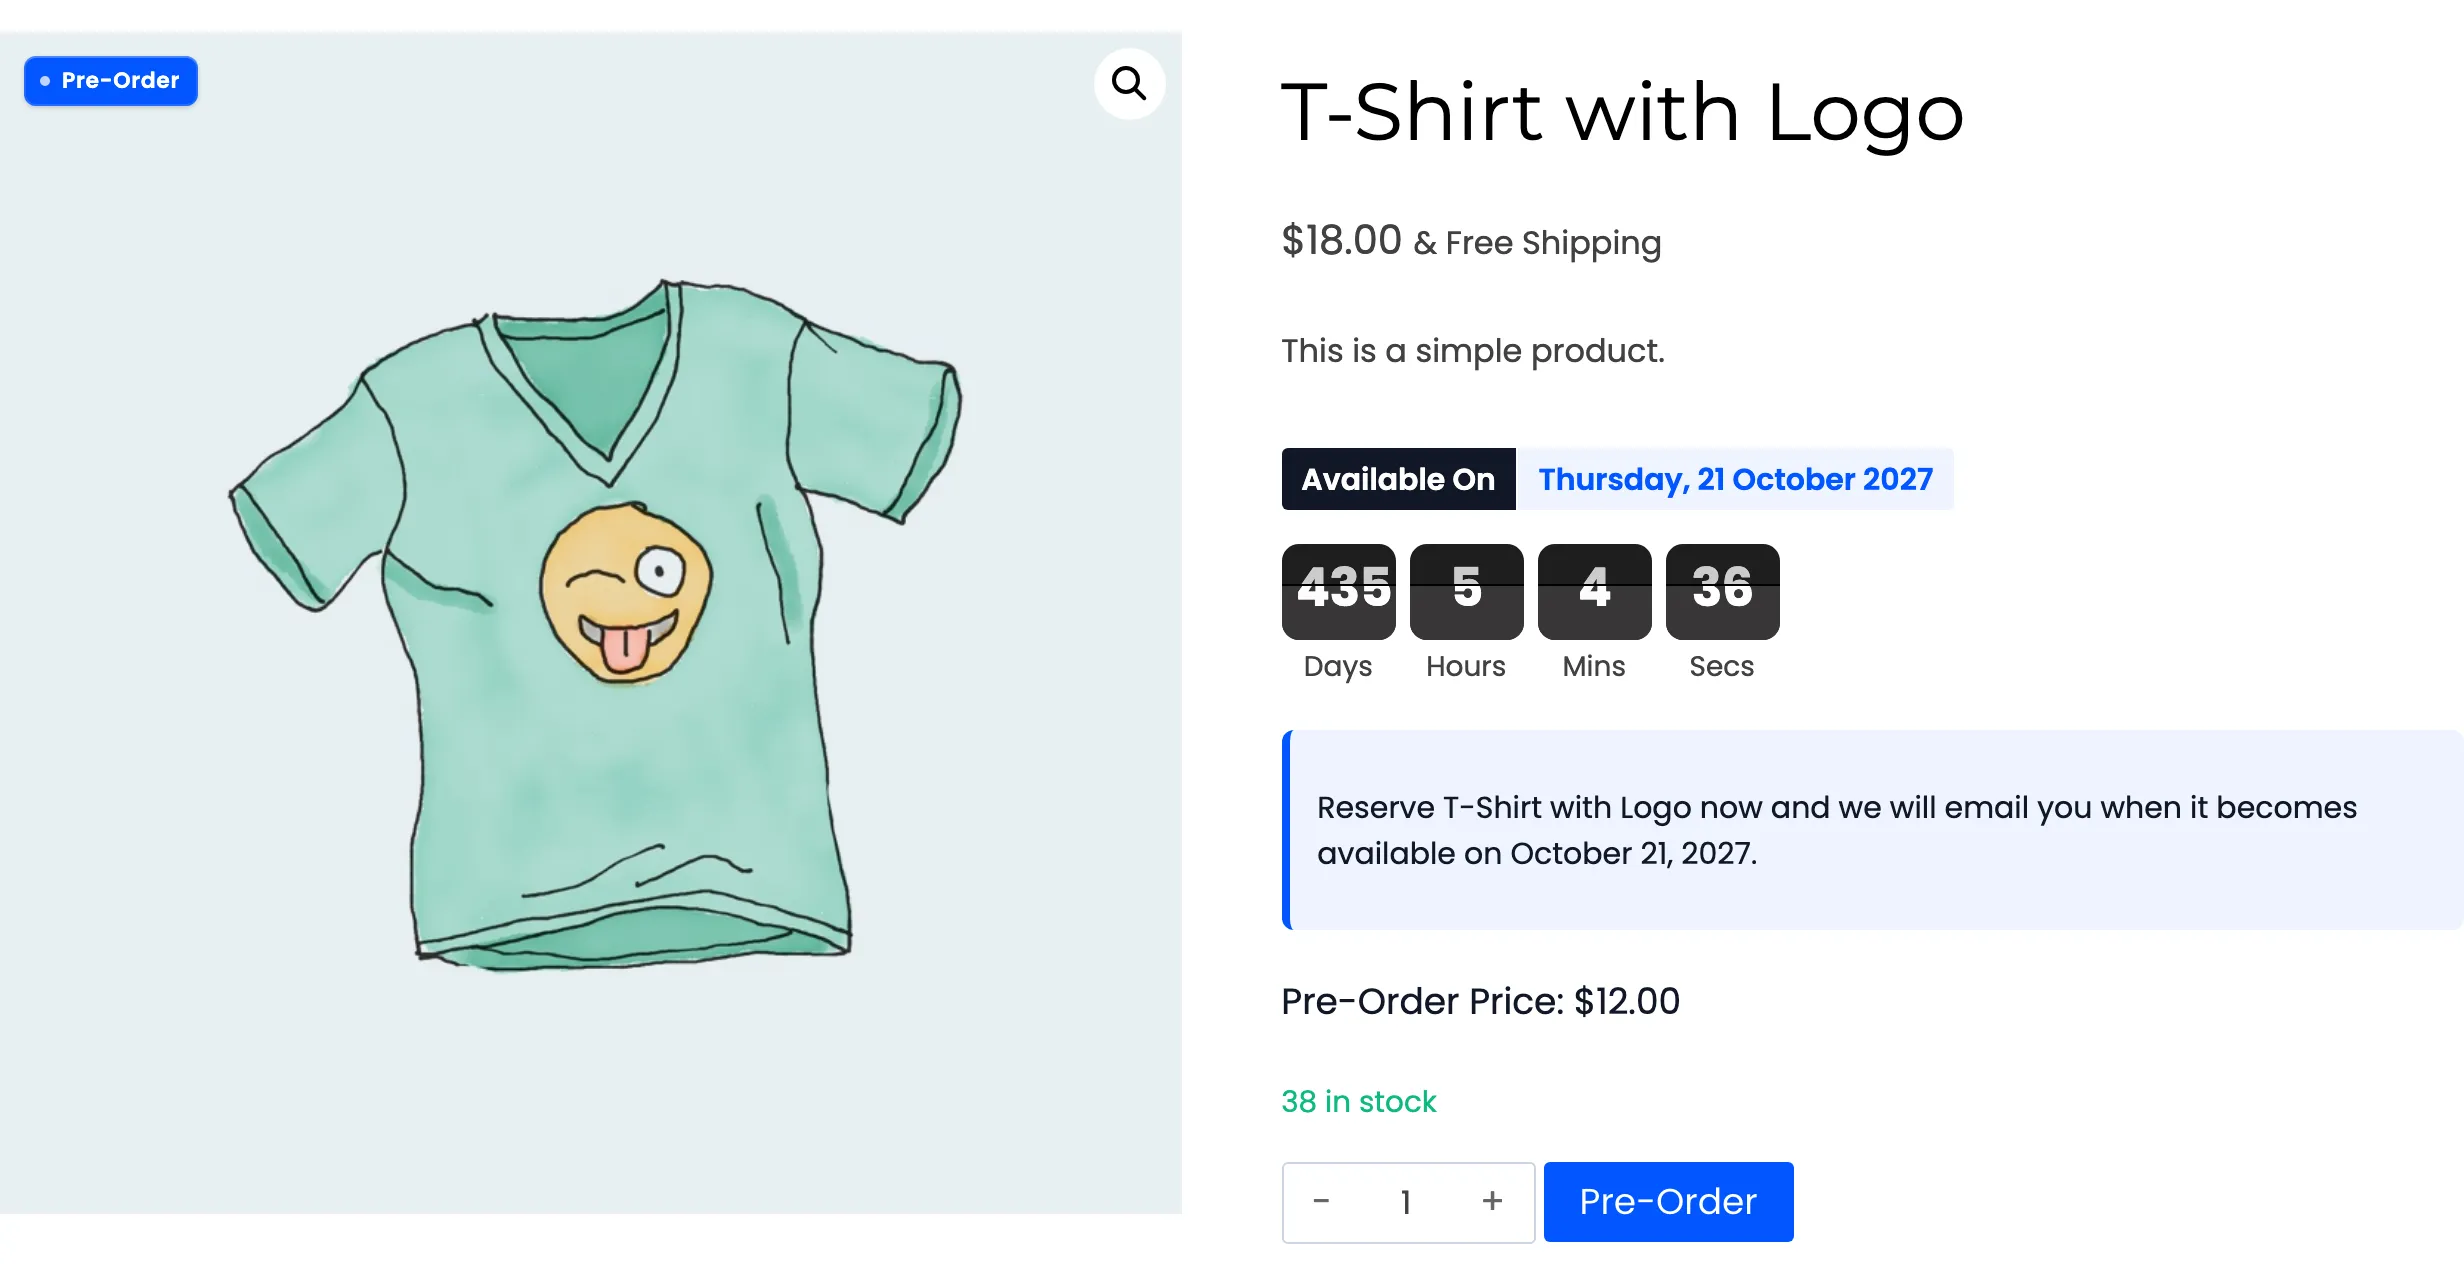
You should see the badge, the release date, the countdown, your notice, the pre-order price and the pre-order button in place of Add to cart.
If it looks unchanged, check three things in this order: the licence is active, Enable pre-orders is ticked on the General tab, and this product’s Status is Active.
Editing later
Section titled “Editing later”The row’s Edit action reopens the same form.
Editing keeps the counts that have built up: ordered quantity, reserved stock and the list of customers to notify all survive a save.