

Installing and Activating Pre-Order
Pre-Order installs like any WordPress plugin. The Pro version needs two things the free one does not: the free plugin alongside it, and an active licence.
Before you start
Section titled “Before you start”WooCommerce must be installed and active. Pre-Order hooks into WooCommerce products, the cart and the checkout, so without it the plugin shows a notice and does nothing.
Minimum versions are WooCommerce 9.5 and WordPress 6.5.
Installing the plugin
Section titled “Installing the plugin”- Go to Plugins → Add New → Upload Plugin.
- Choose the zip file from your DevDiggers order.
- Press Install Now, then Activate.
The Pro plugin installs and activates the free DevDiggers Pre-Order for WooCommerce plugin for you. Both stay active. Deactivating the free one turns Pro off as well.
A new Pre-Order entry appears under DevDiggers Plugins in the admin menu.
Activating your licence
Section titled “Activating your licence”Go to DevDiggers Plugins → Pre-Order → Configuration → License.
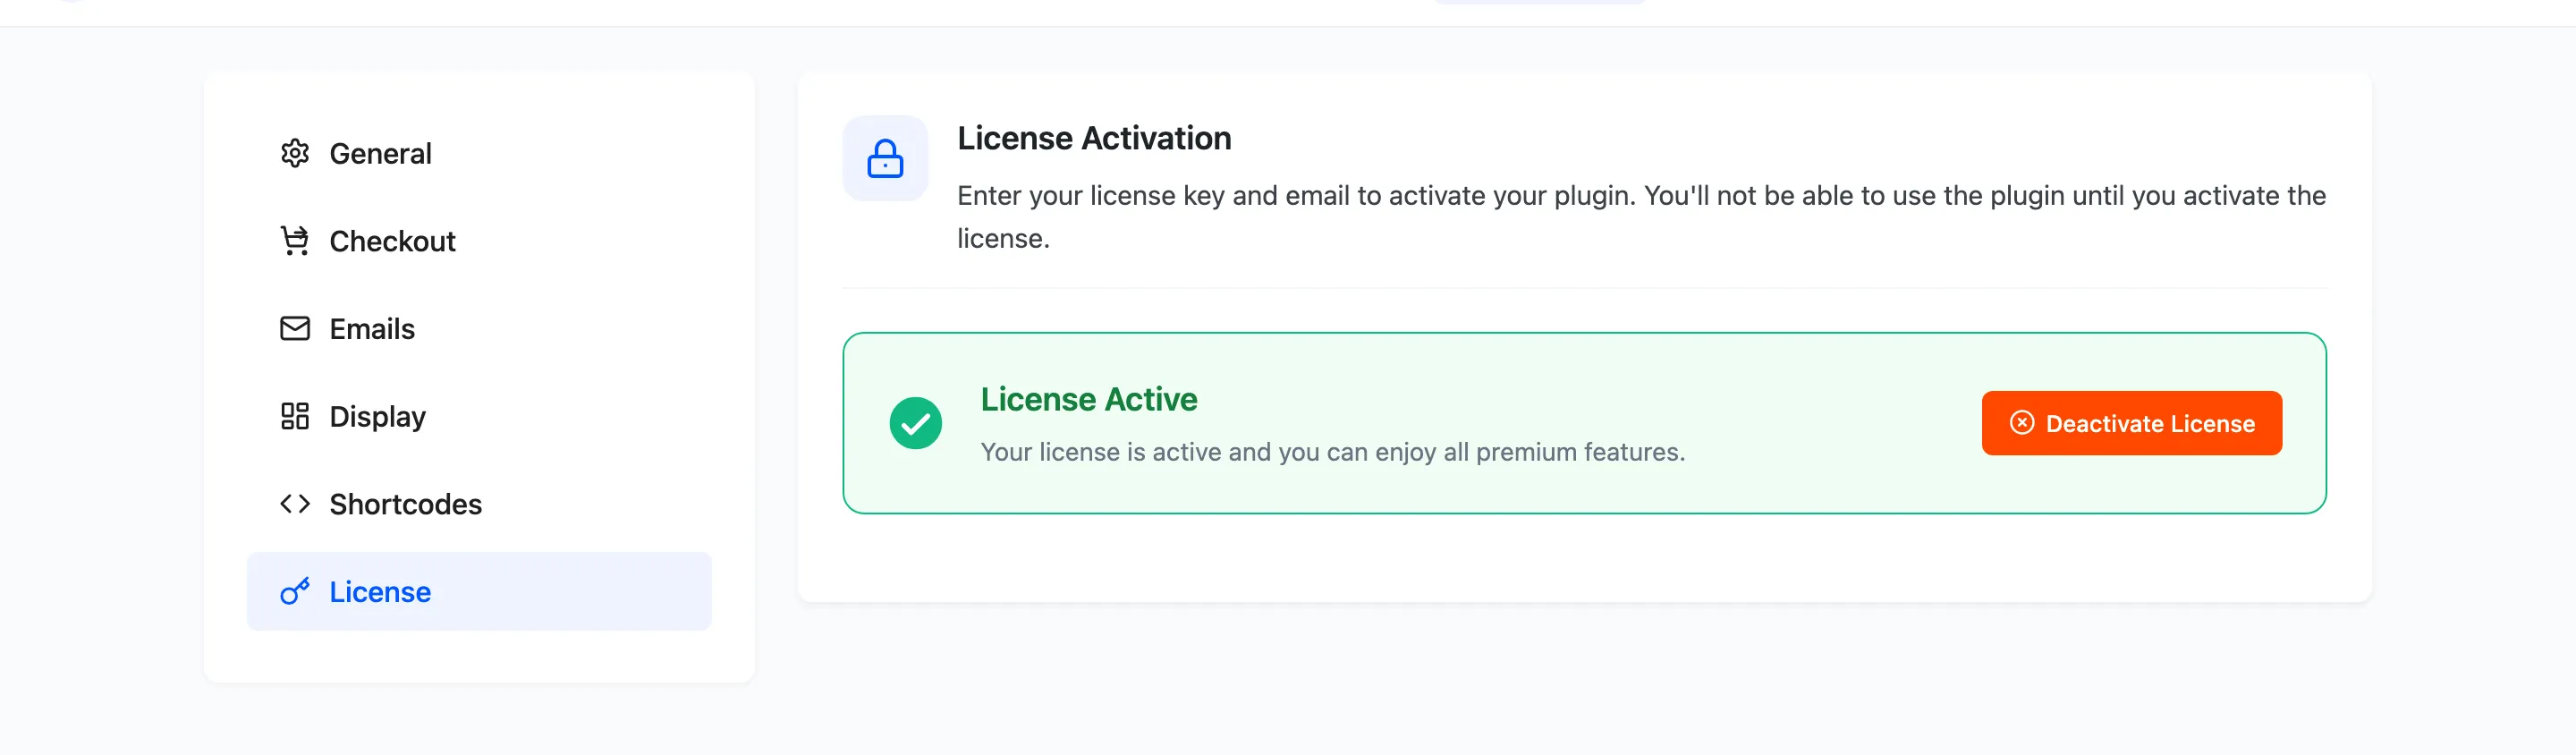
Enter the purchase code and the email address from your order, then press Activate License.
The licence is not decoration. Until it reads active the storefront loads nothing: no badge, no countdown, no Pre-Order button, and the release schedule does not run. The admin screens still open, so it is easy to configure the whole plugin and wonder why the shop looks unchanged.
Switching pre-orders on
Section titled “Switching pre-orders on”Go to Configuration → General and tick Enable pre-orders on this store.
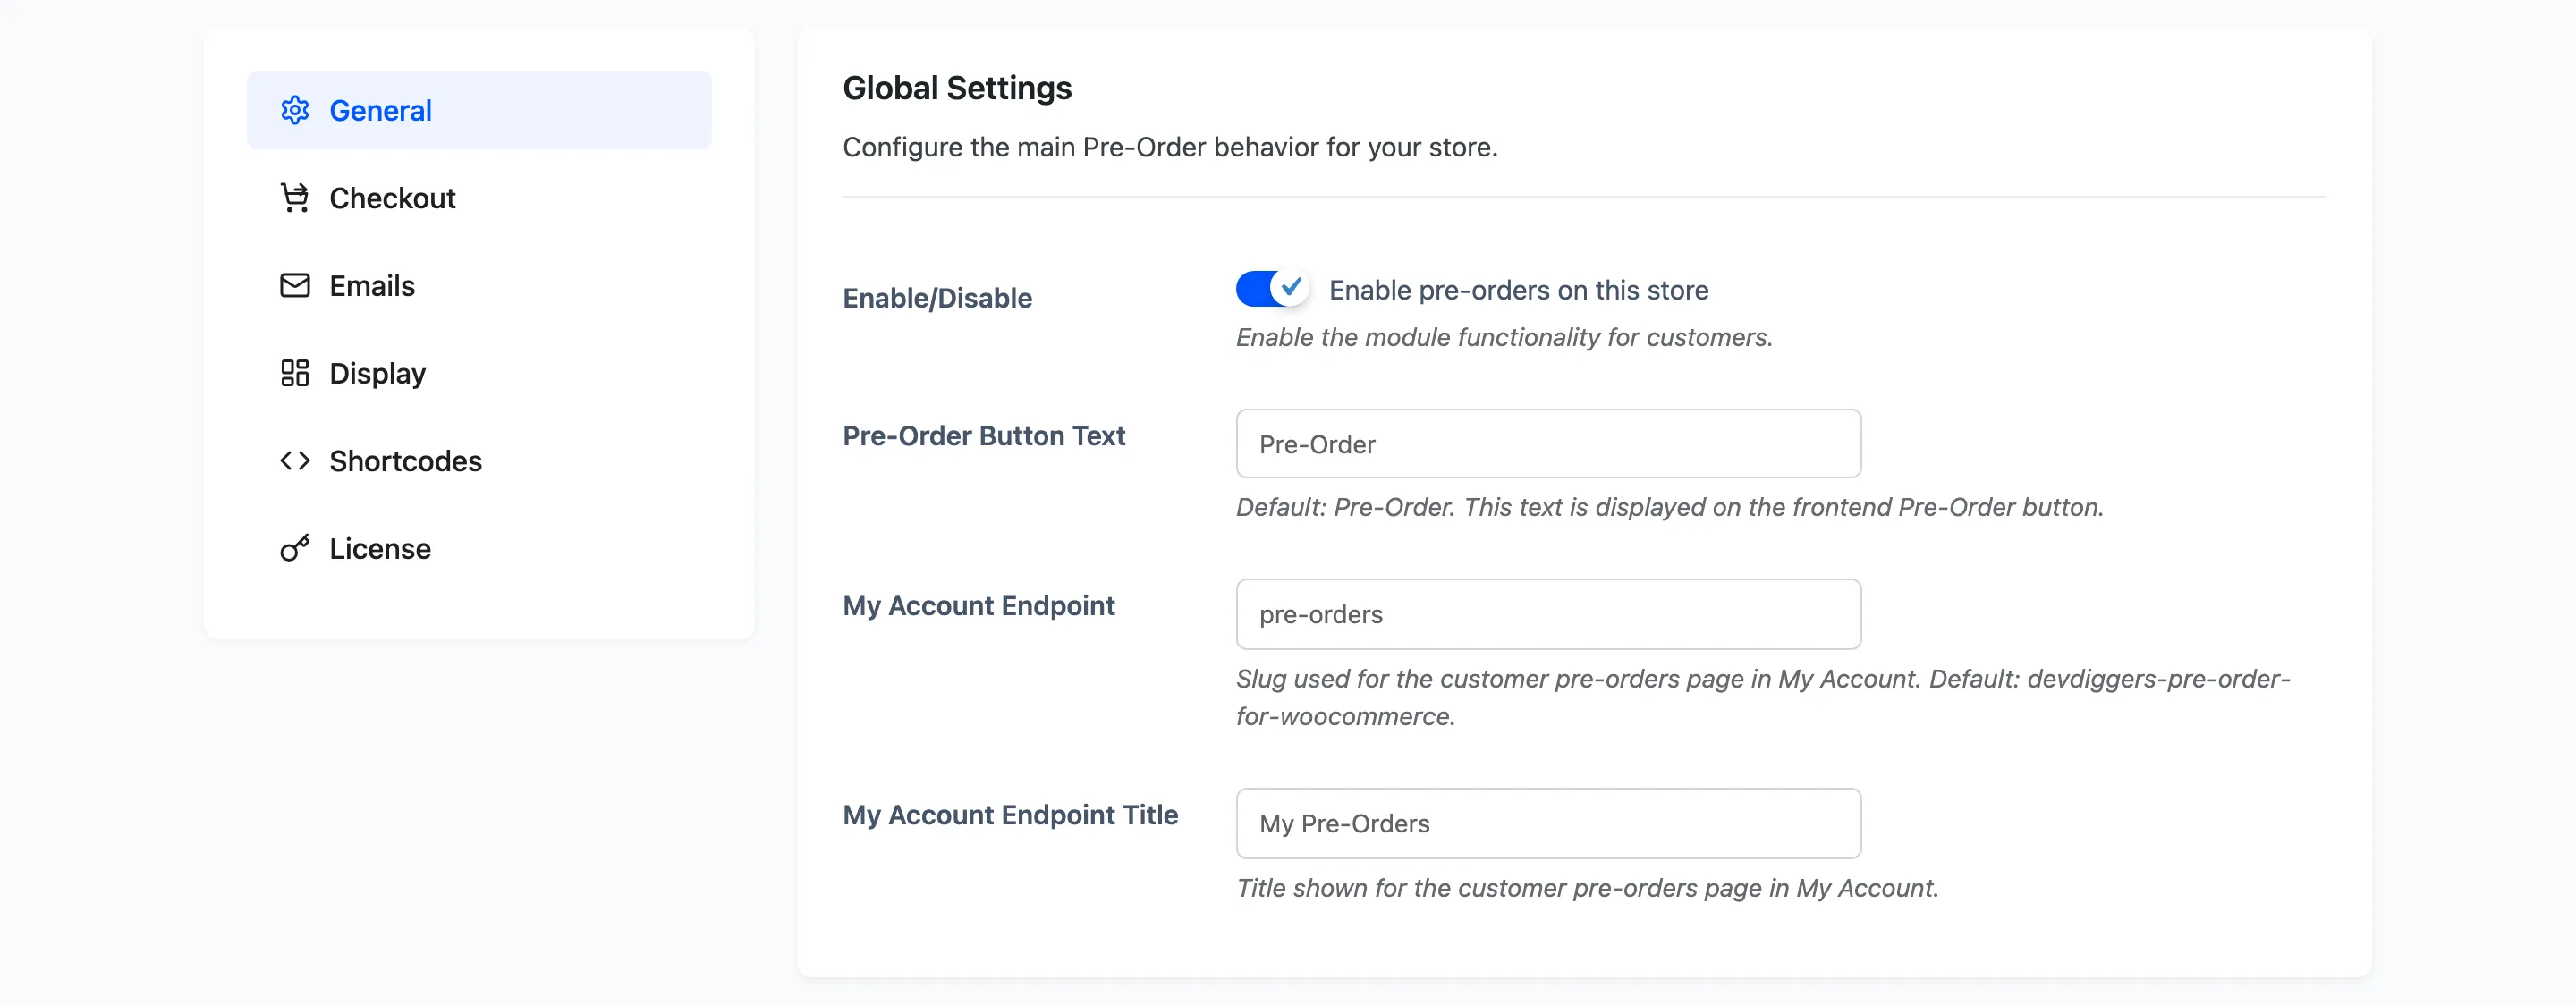
This is the master switch. With it off, pre-order products behave like ordinary products and the plugin adds nothing to the front end.
Press Save Changes.
Running the setup wizard
Section titled “Running the setup wizard”On first activation the plugin opens its setup wizard. You can reopen it at any time from the Setup Wizard link on the Plugins screen.
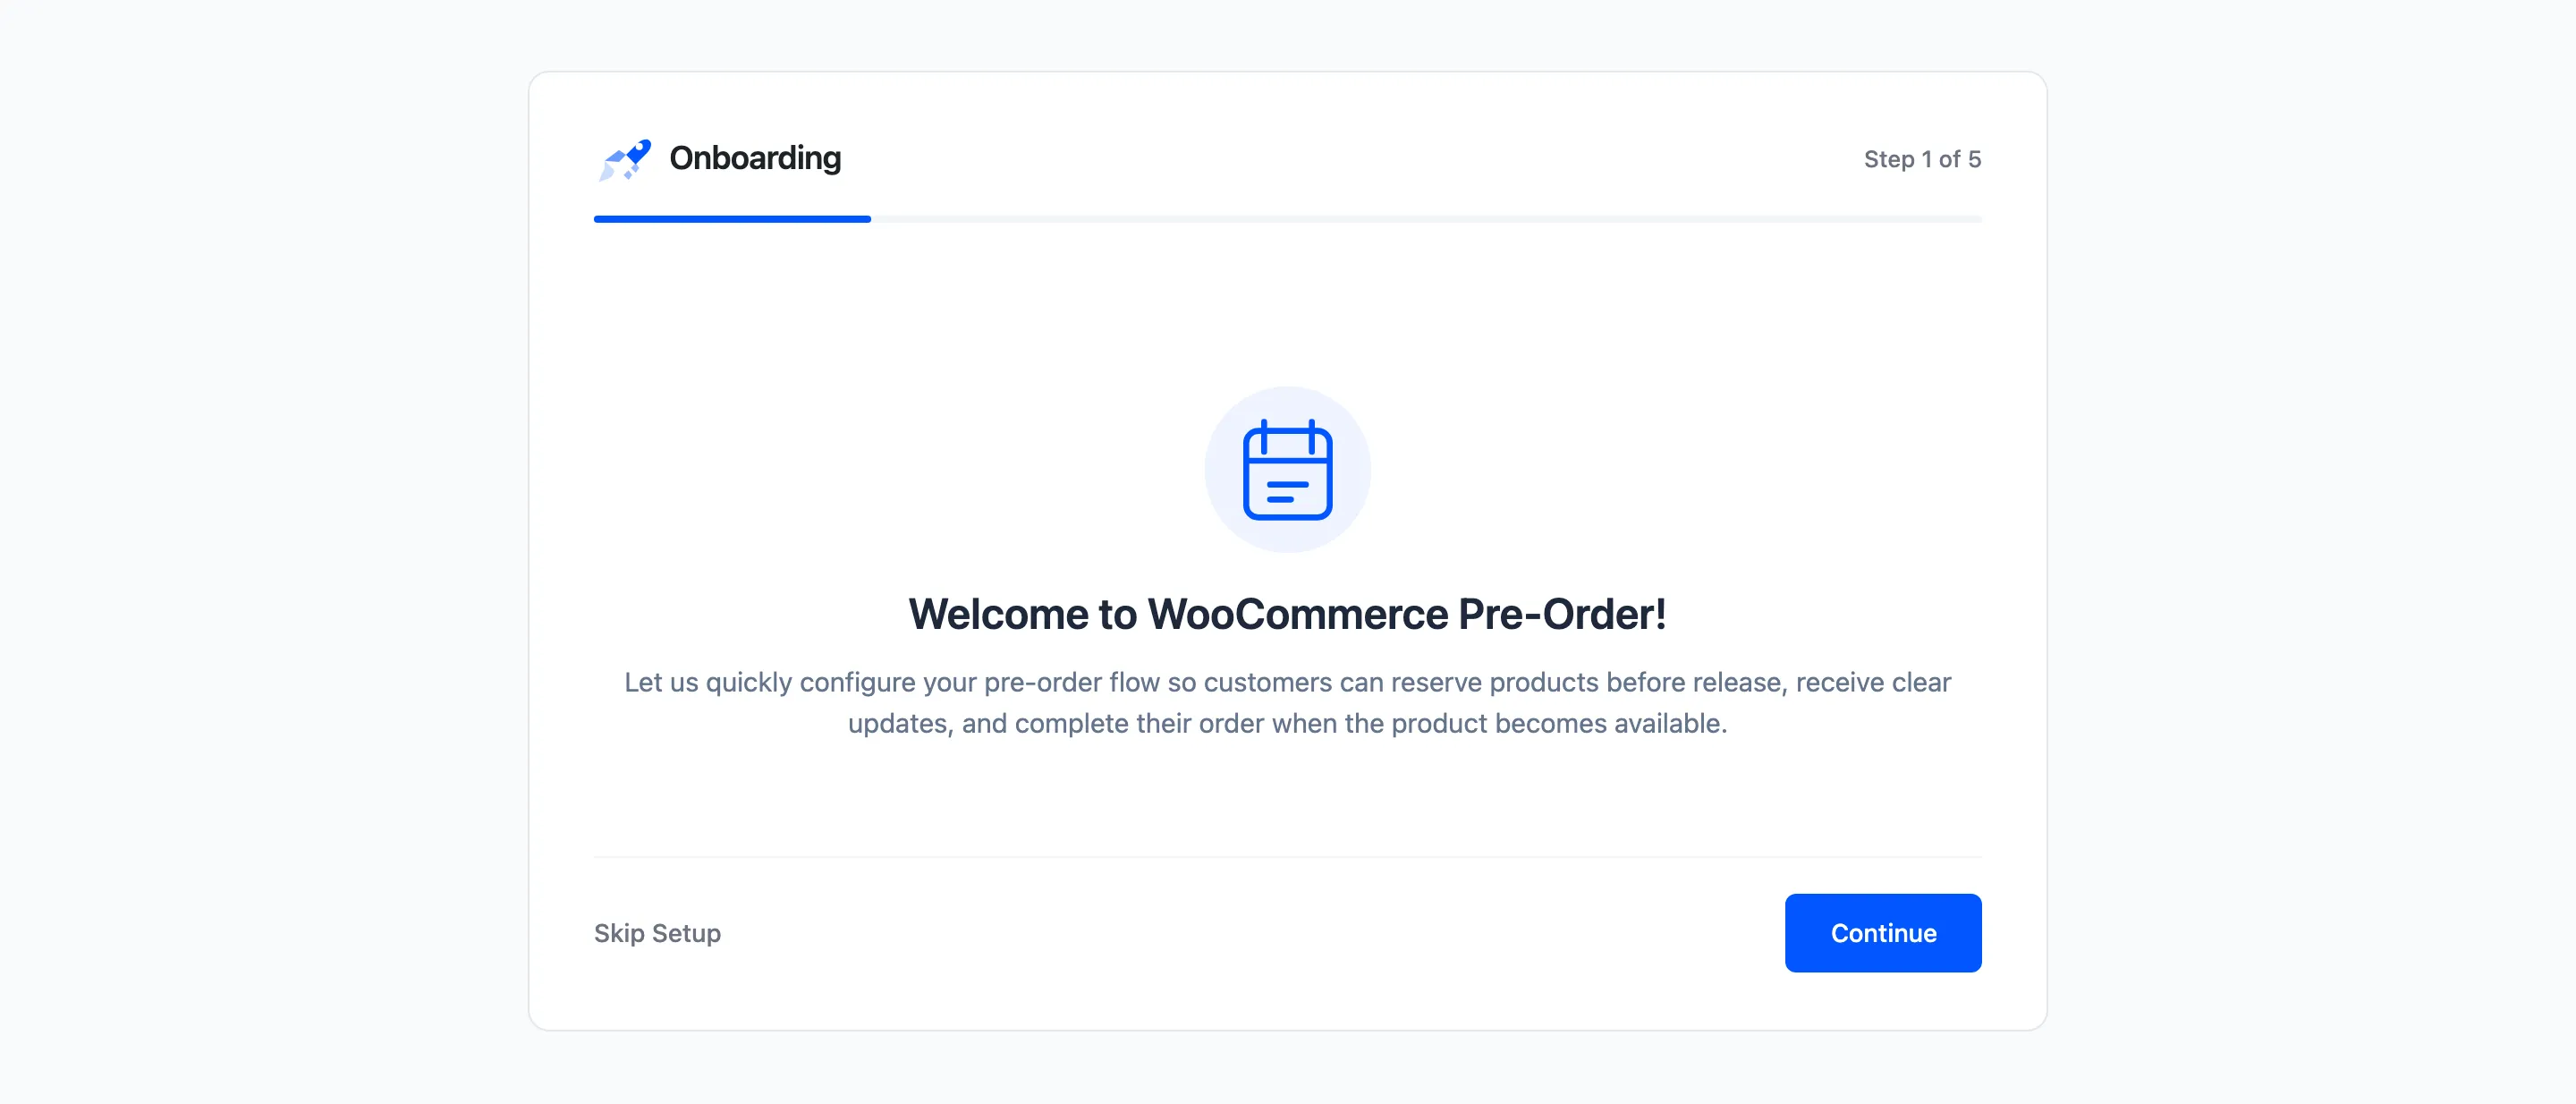
Five short steps cover the licence, the button text, and how releases and checkout behave. The Setup Wizard walks through each one.
Checking it worked
Section titled “Checking it worked”The fastest check is to make one product a pre-order and open it on the storefront.
- Go to Pre-Order → Products → Add New.
- Pick a simple product, set a release date in the future, and press Save.
- Open that product on your shop.
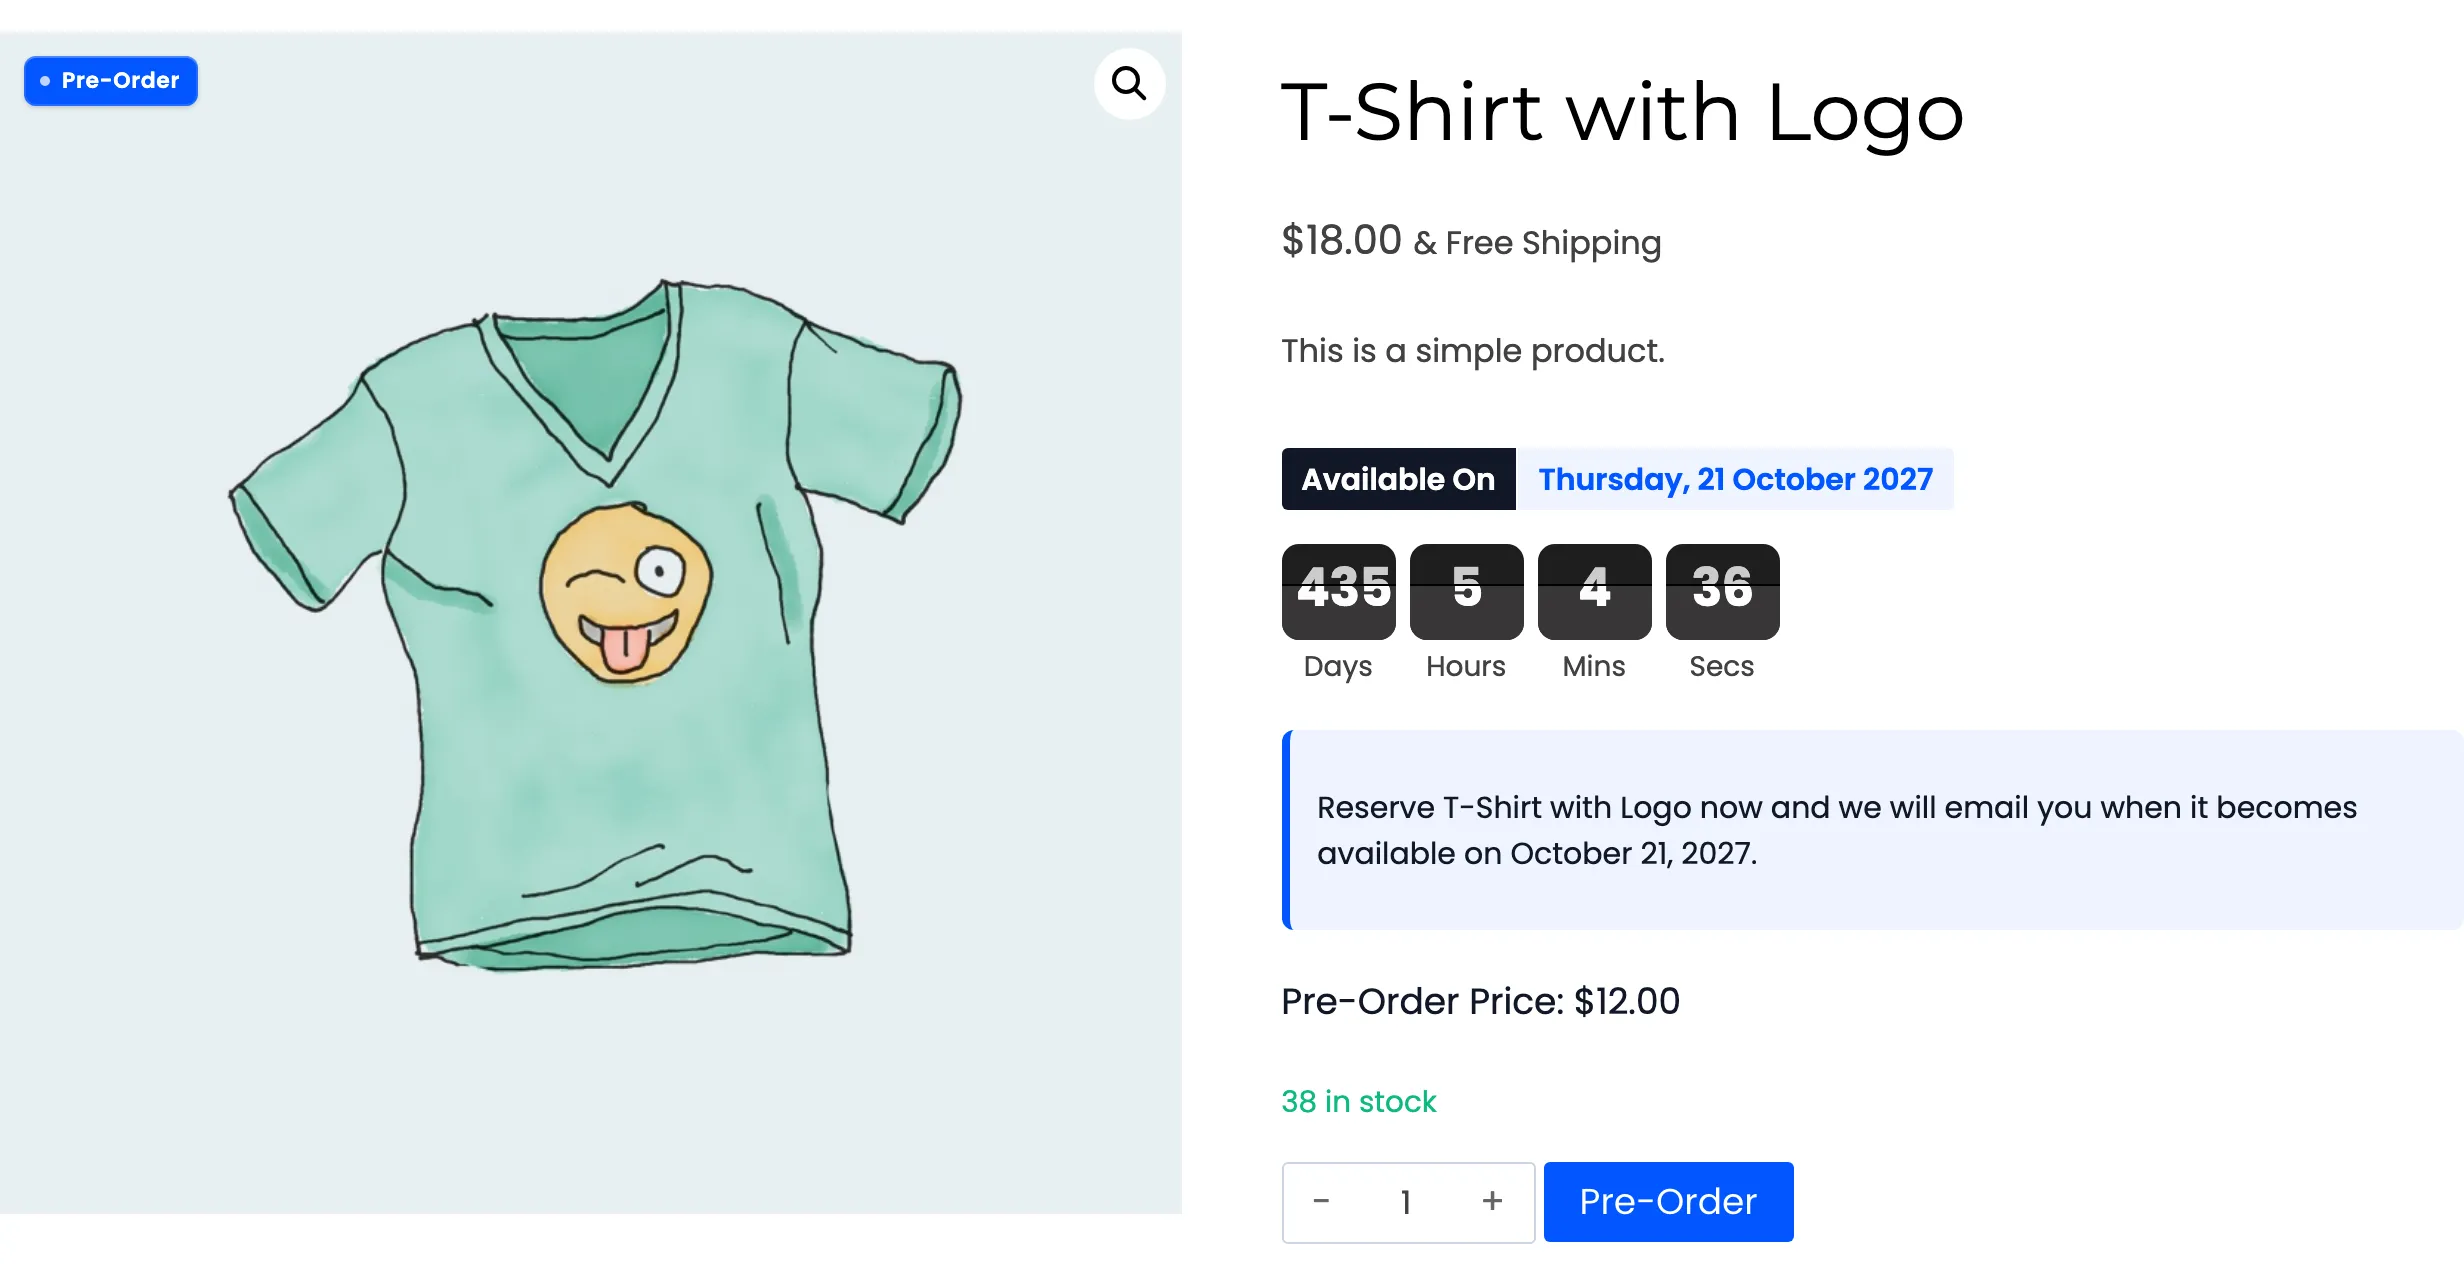
The Add to cart button is replaced by Pre-Order, and the release date and countdown sit above it. If you see the normal button instead, work through the three switches in order: licence active, Enable pre-orders ticked, and the product’s own Status set to Active.
What the plugin schedules
Section titled “What the plugin schedules”Two background jobs start when the plugin activates.
- Hourly: Releases any pre-order product whose date has passed, and collects outstanding balances where that is enabled.
- Daily: Sends the admin a summary of products about to release.
Both are WordPress cron events, so they run when your site gets traffic. A quiet store releases a product a little after its date rather than on the minute.