

How to Use the Switcher with the Cart and Checkout Blocks
The WooCommerce Cart and Checkout blocks are the default on new stores. The switcher works on them with no extra setting: Cart page and Checkout page under Show Switcher On cover both kinds of page.
Step 1: Keep the pages picked
Section titled “Step 1: Keep the pages picked”Open Configuration → General and check Show Switcher On lists Cart page and Checkout page.
Step 2: Open the Cart block as a shopper
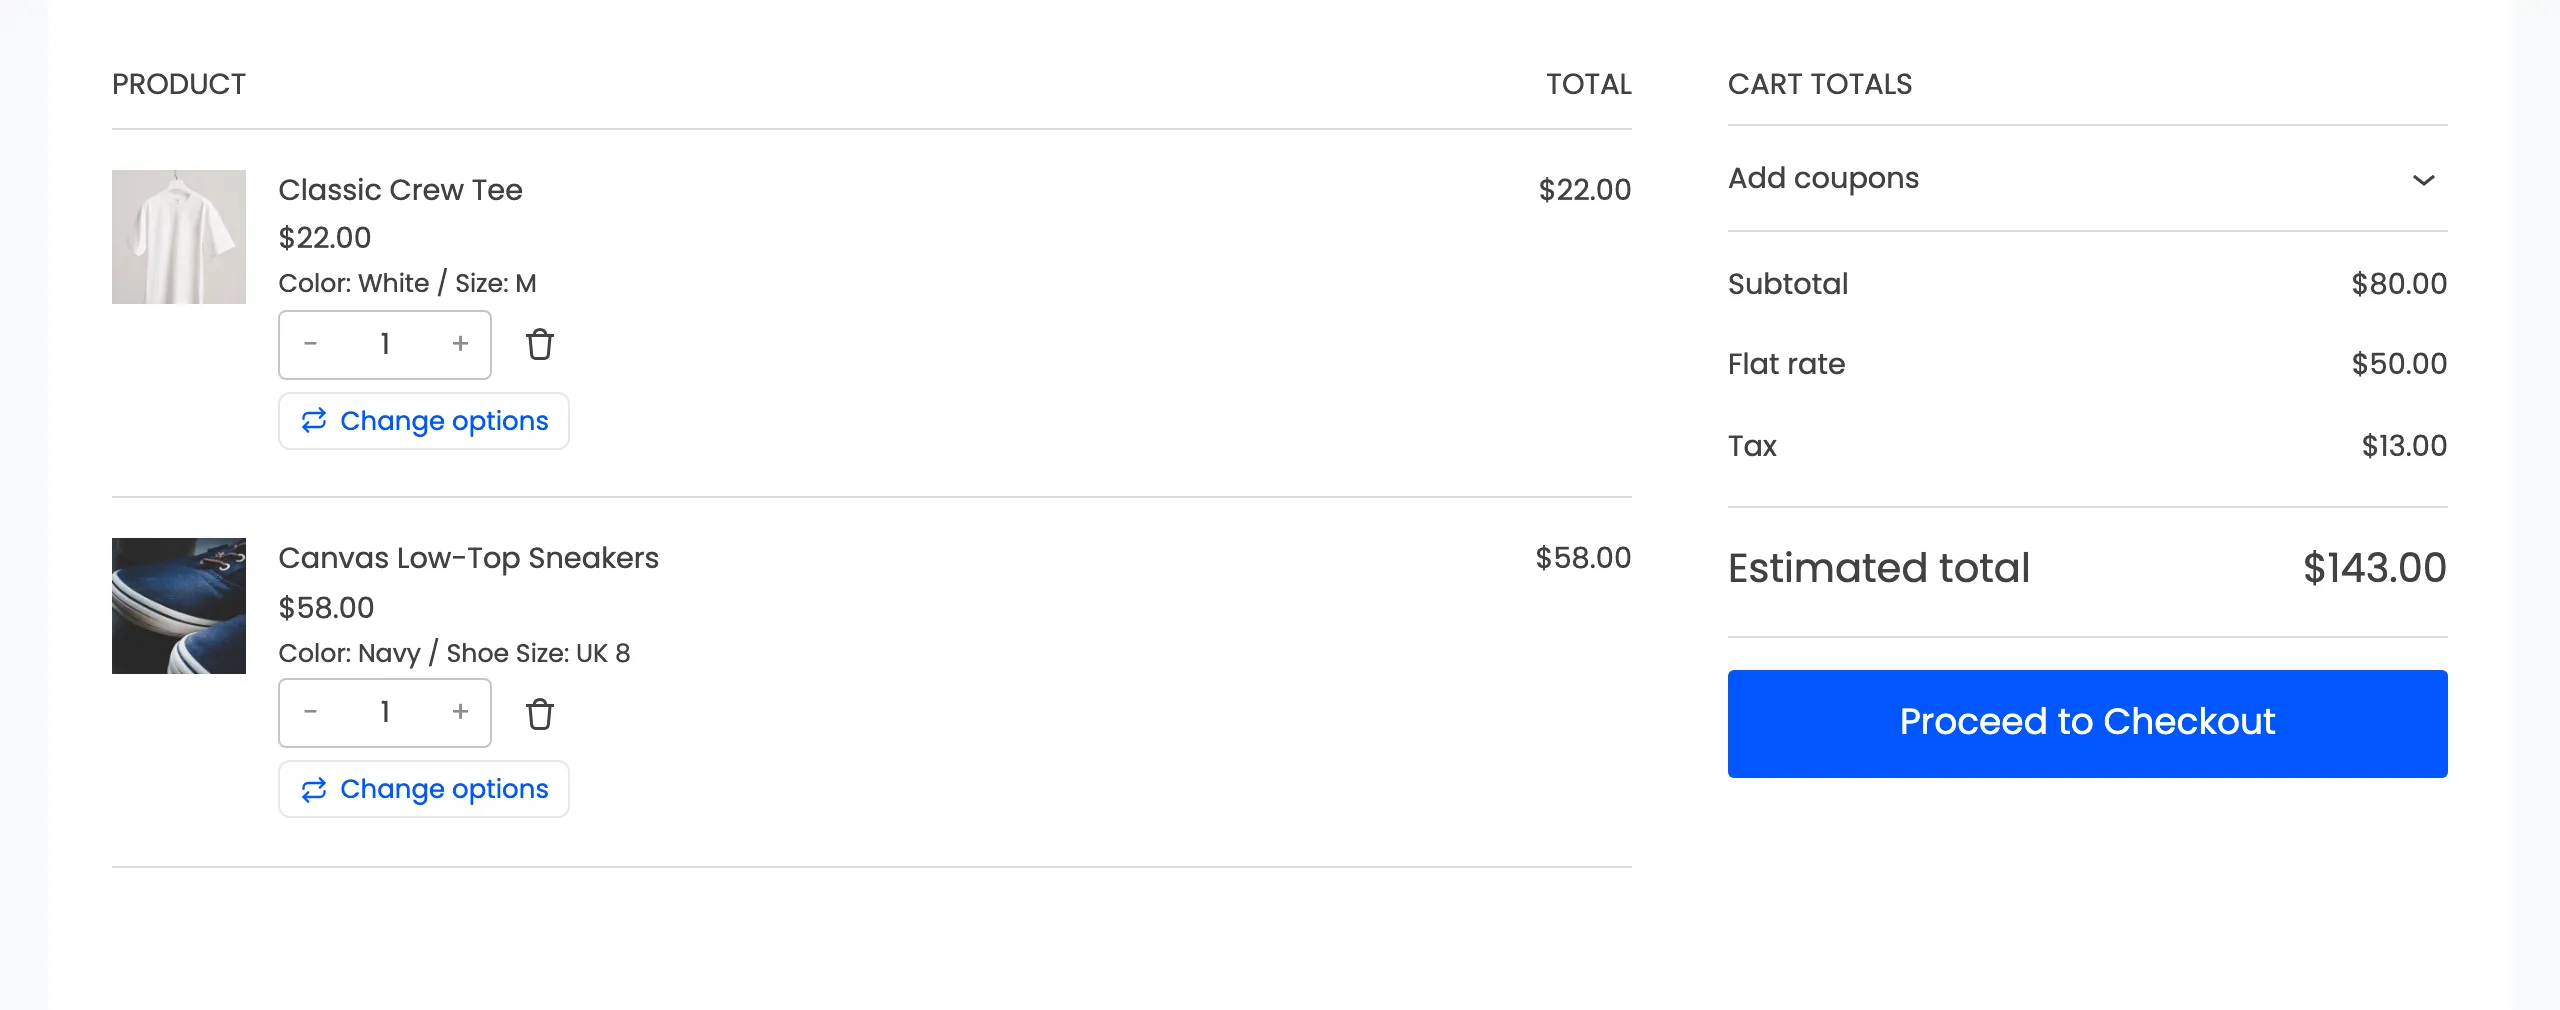
Section titled “Step 2: Open the Cart block as a shopper”For this tutorial the demo’s cart and checkout pages were switched to the blocks. Change options sits under each item’s quantity.
Step 3: Switch an item
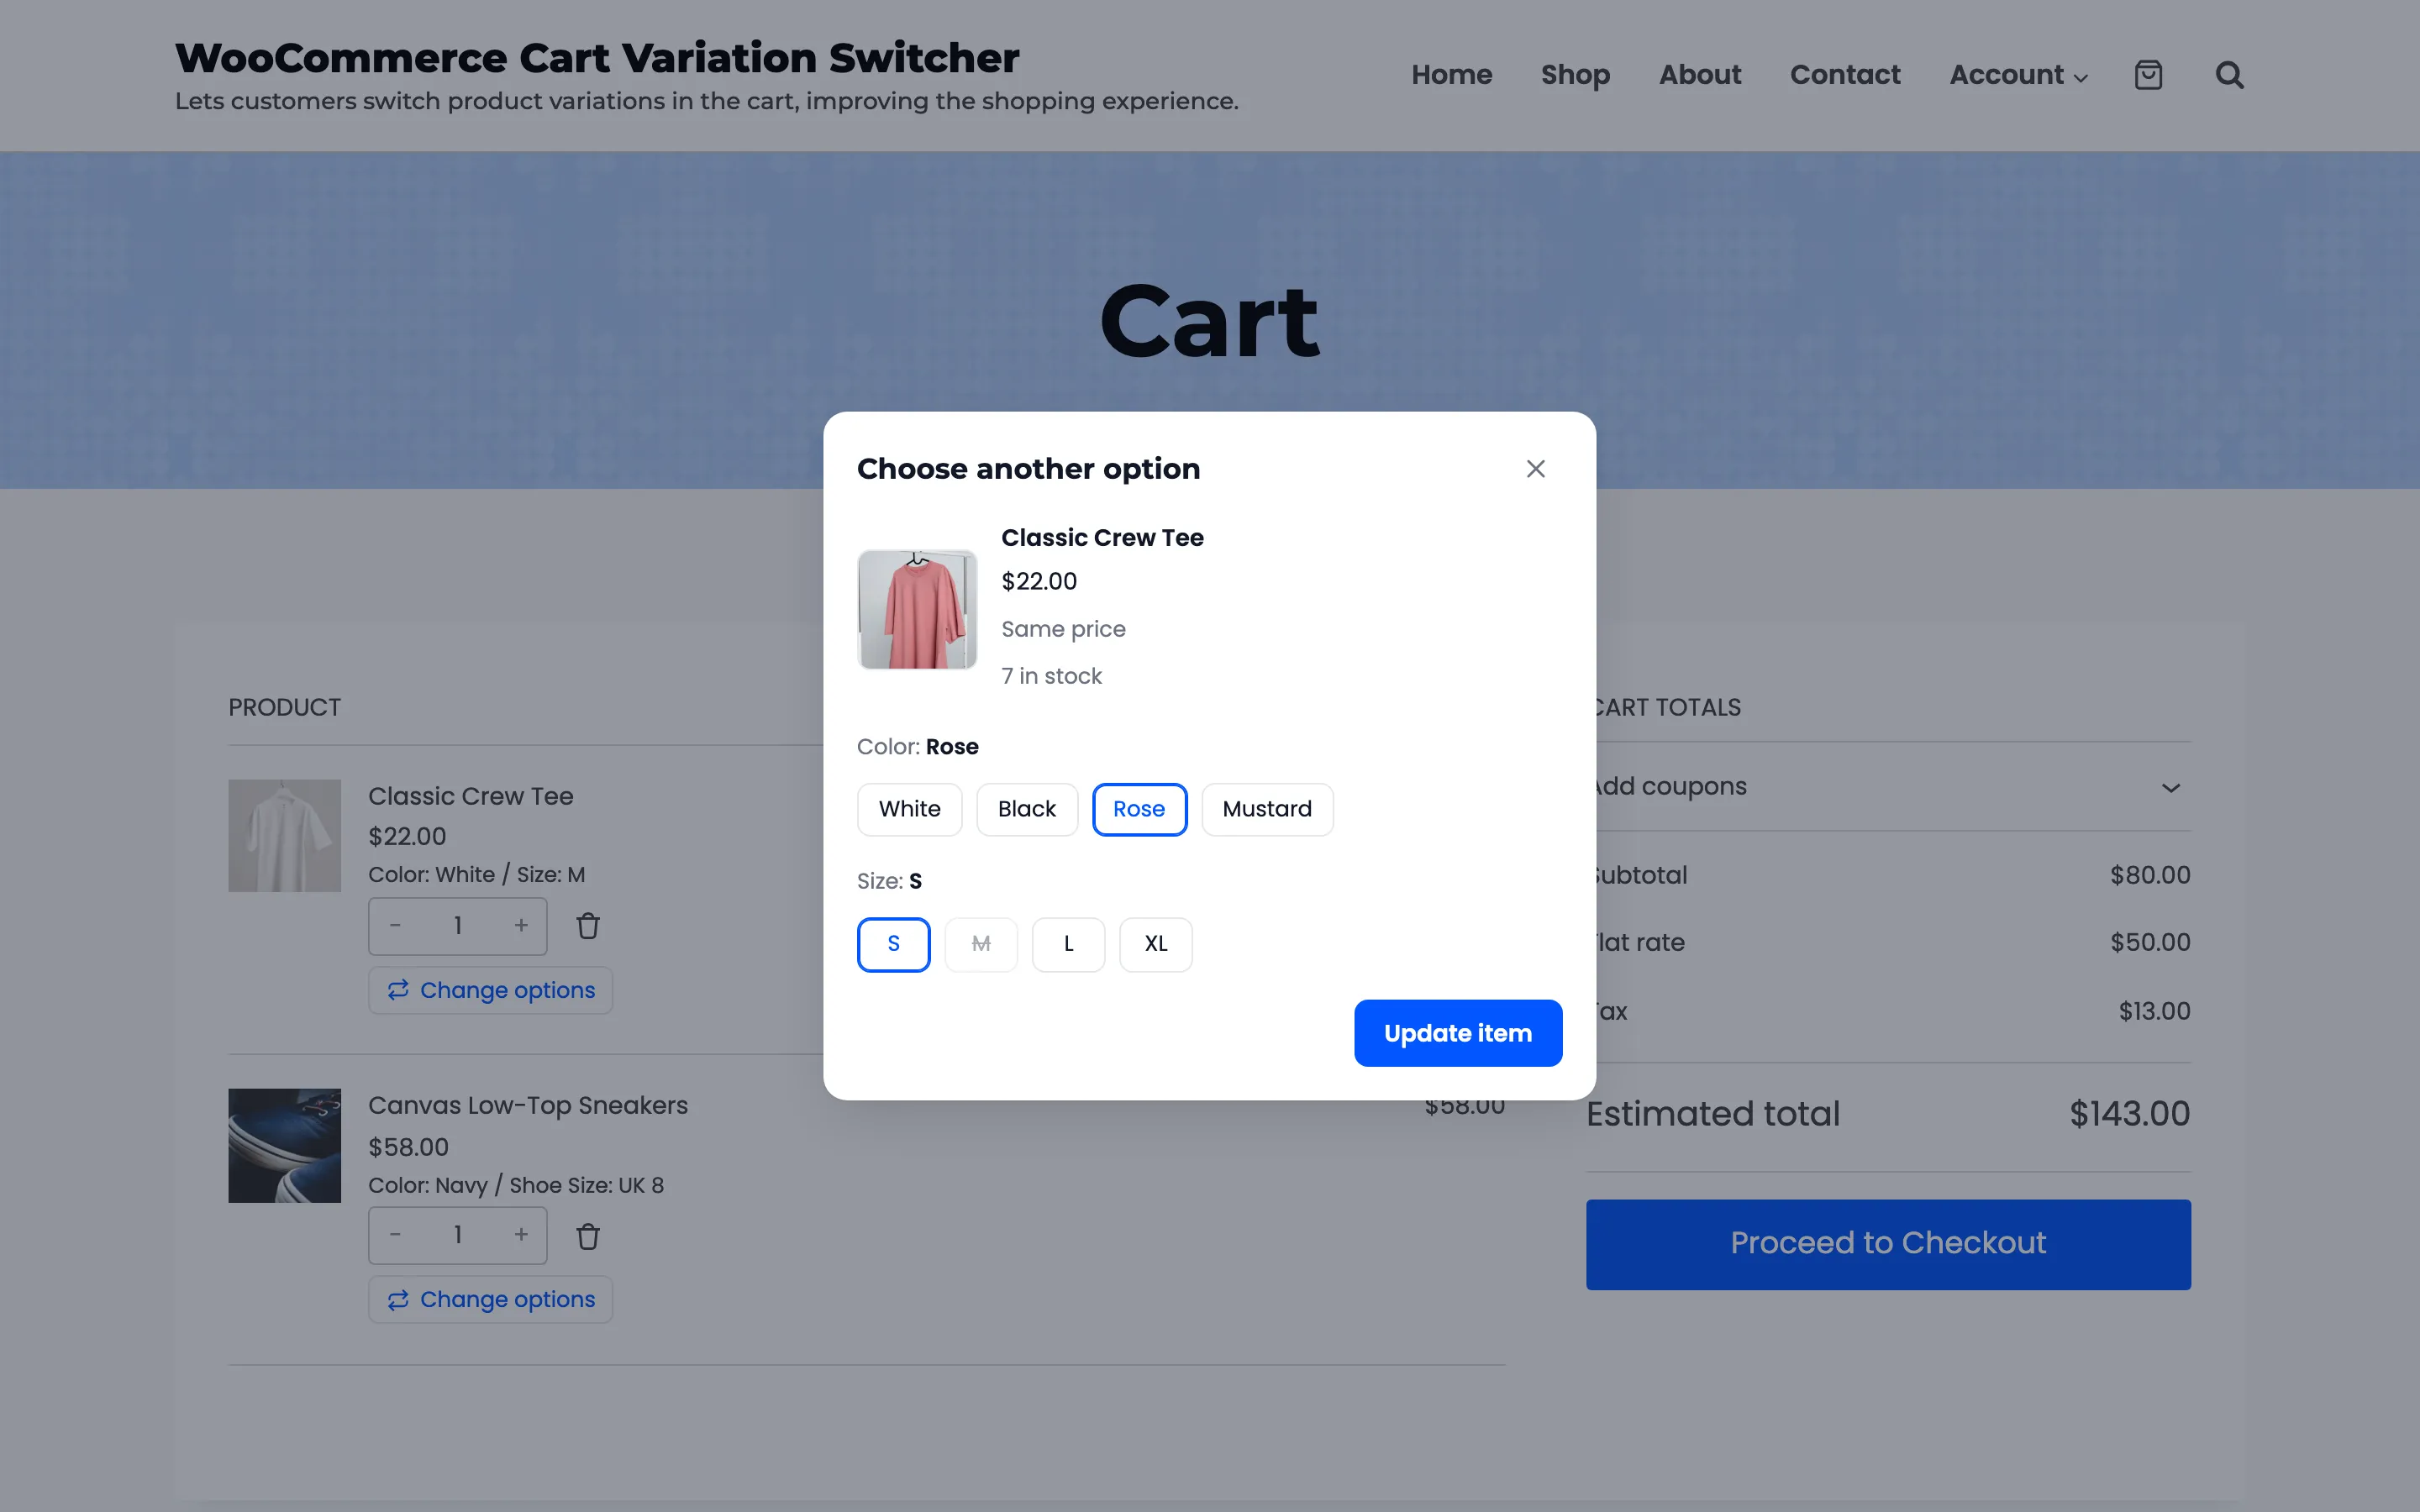
Section titled “Step 3: Switch an item”Press Change options. The same popup opens. The demo shopper picked Rose in S for the tee.
Press Update item. The Cart block updates the line and the totals in place.
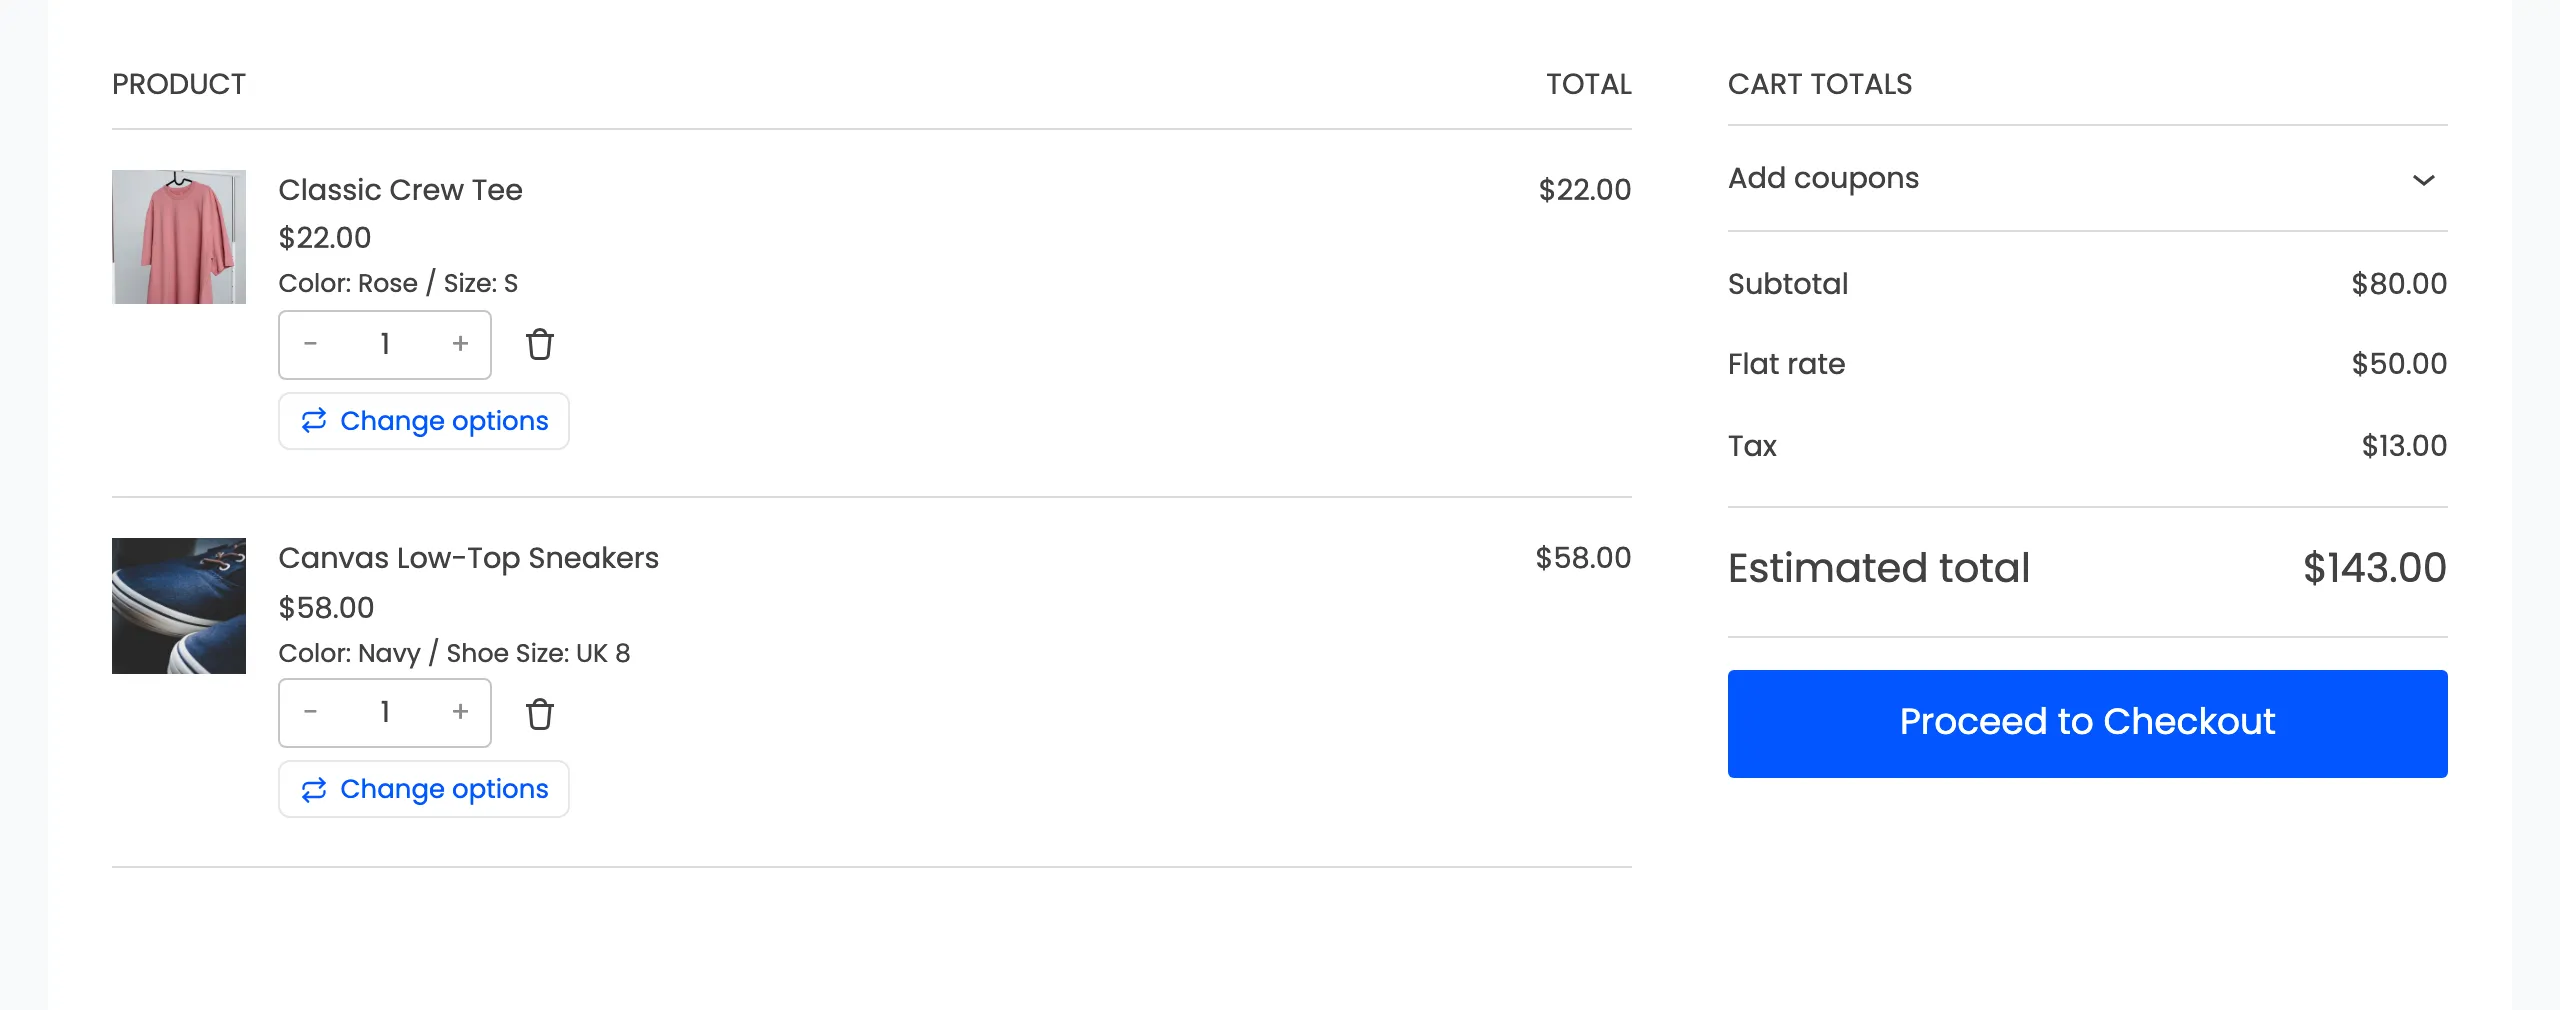
The block normally announces a changed line as “removed” and added again. The switcher keeps those notices quiet, so the shopper only sees Item updated.
Step 4: Check the Checkout block
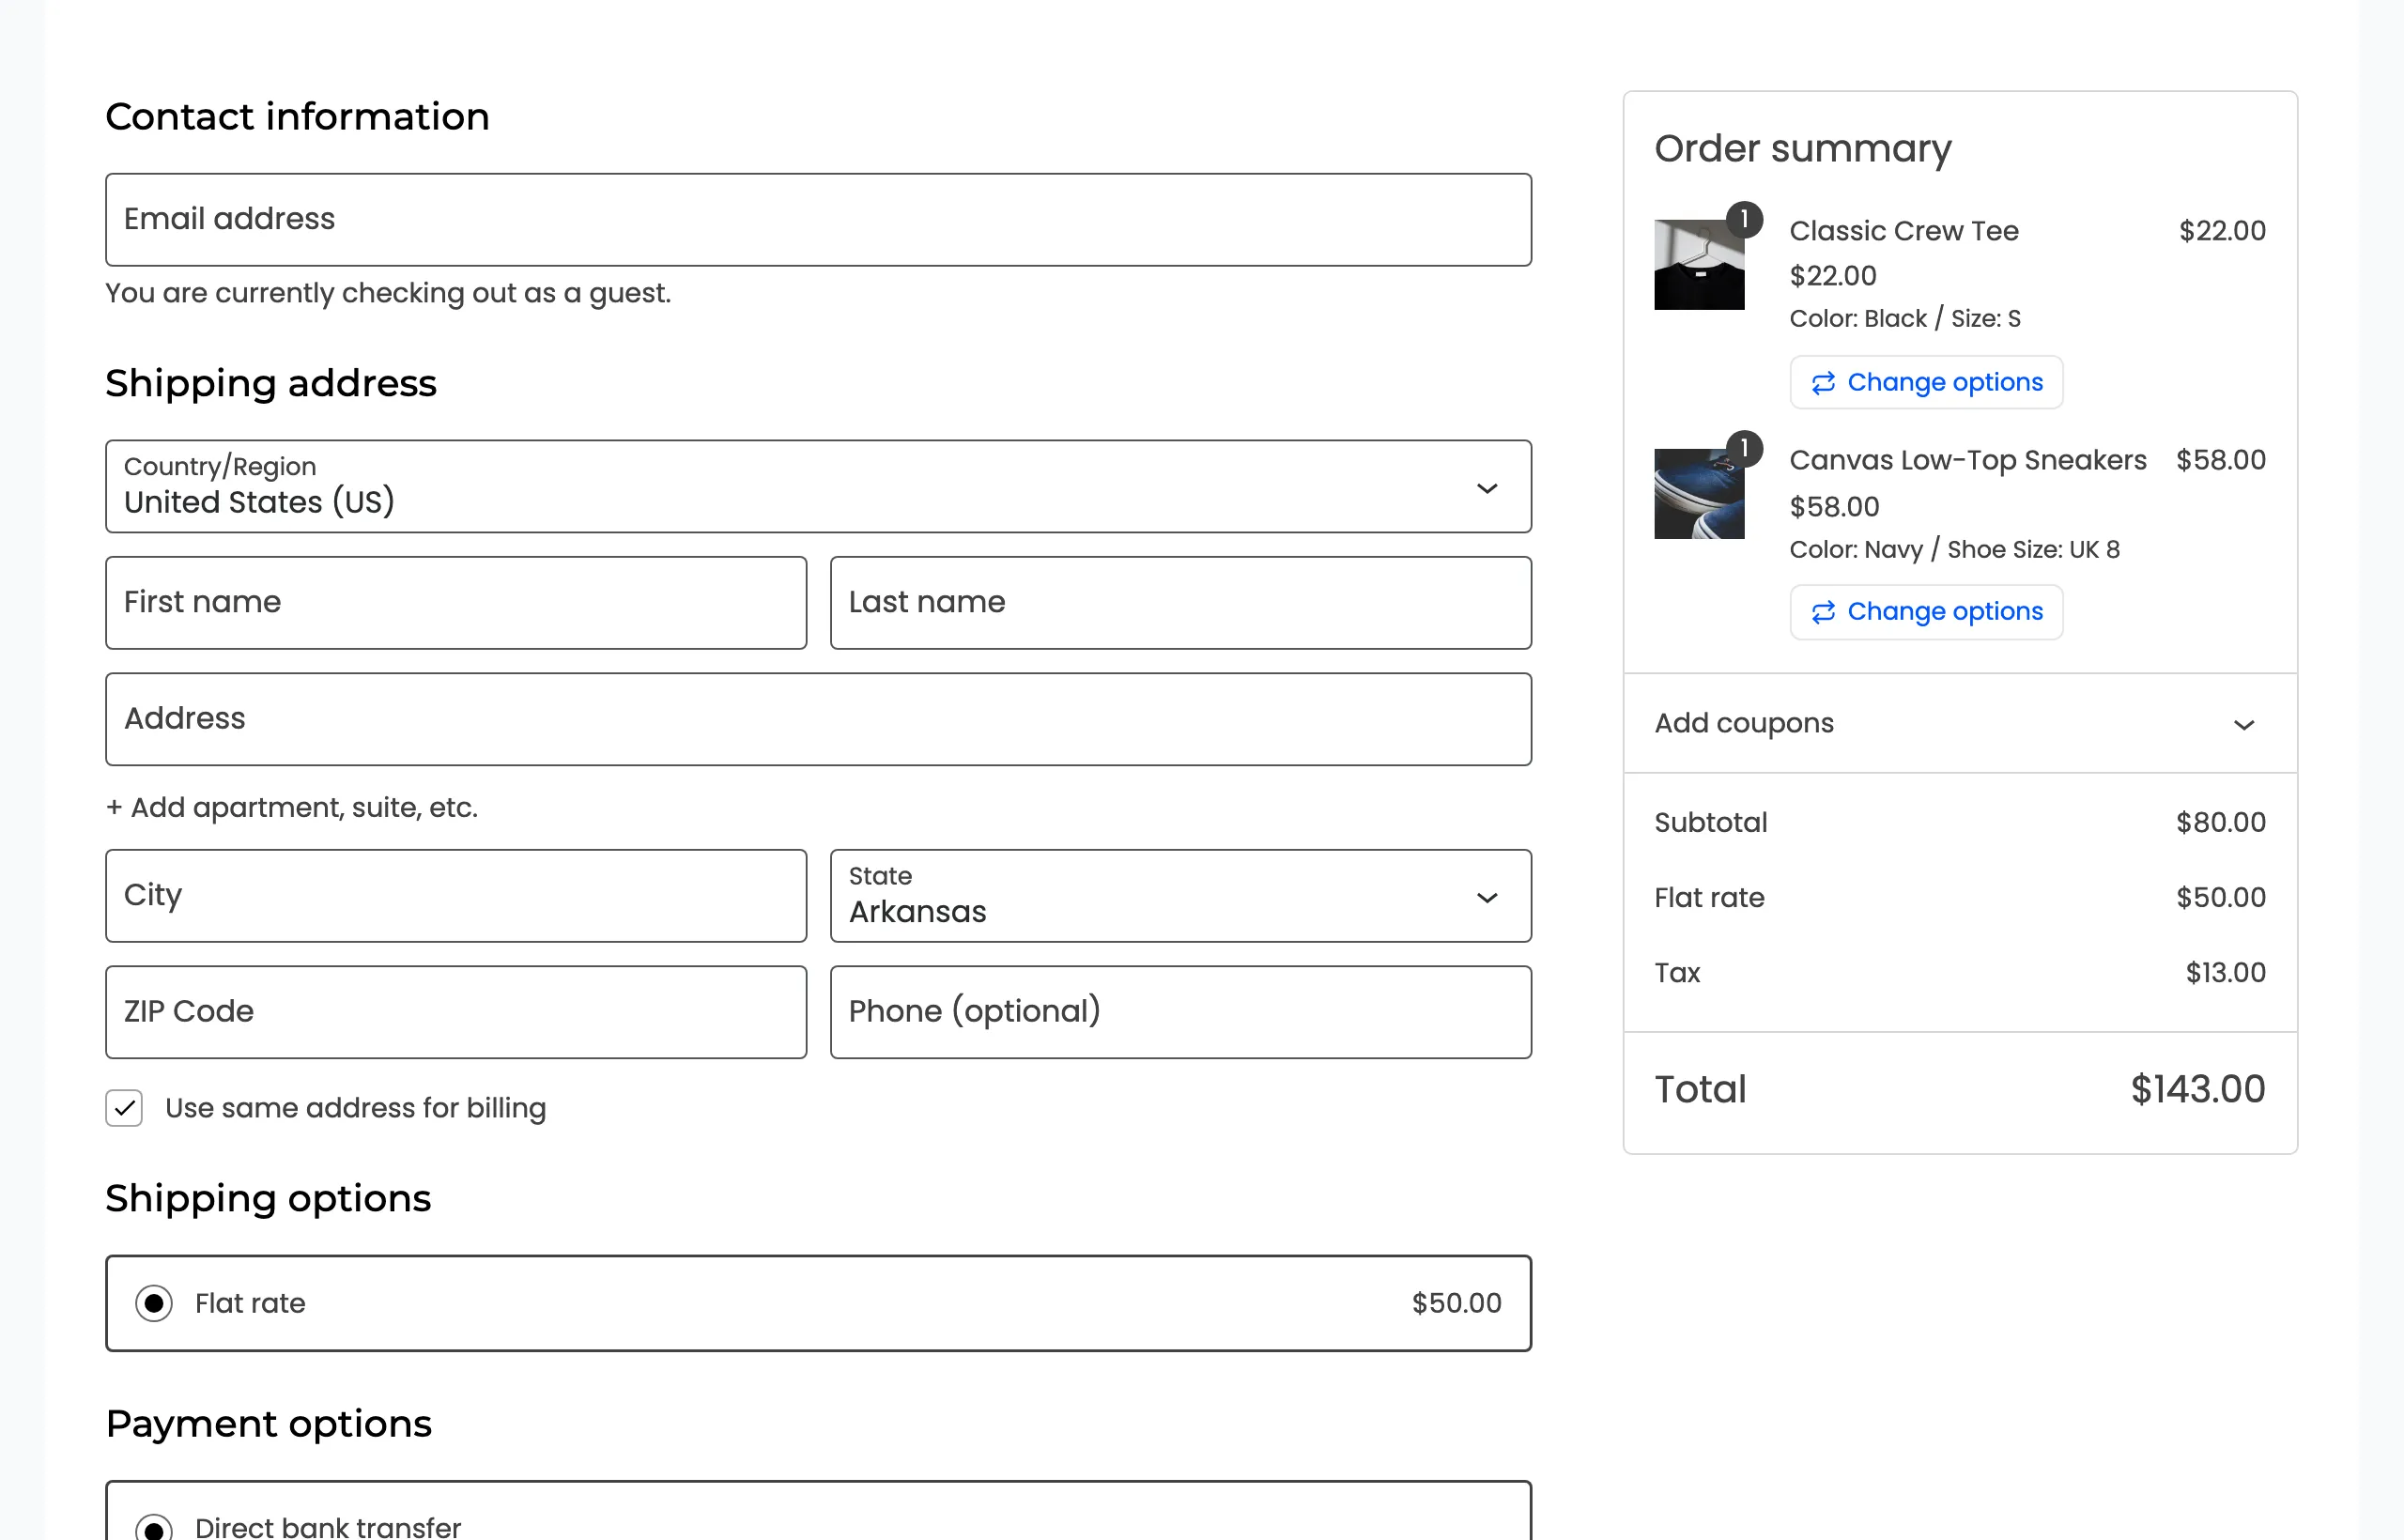
Section titled “Step 4: Check the Checkout block”The Checkout block’s Order summary shows the button under each item too.
Good to know
Section titled “Good to know”- On the blocks the switcher always opens as a popup.
- A switch made in the theme’s header mini cart refreshes the Cart block too, and a switch in the block refreshes the mini cart. Both were performed on the demo.
- The dashboard groups block switches as Cart or checkout block under Where Shoppers Switch.