

How to Choose What the Switcher Shows
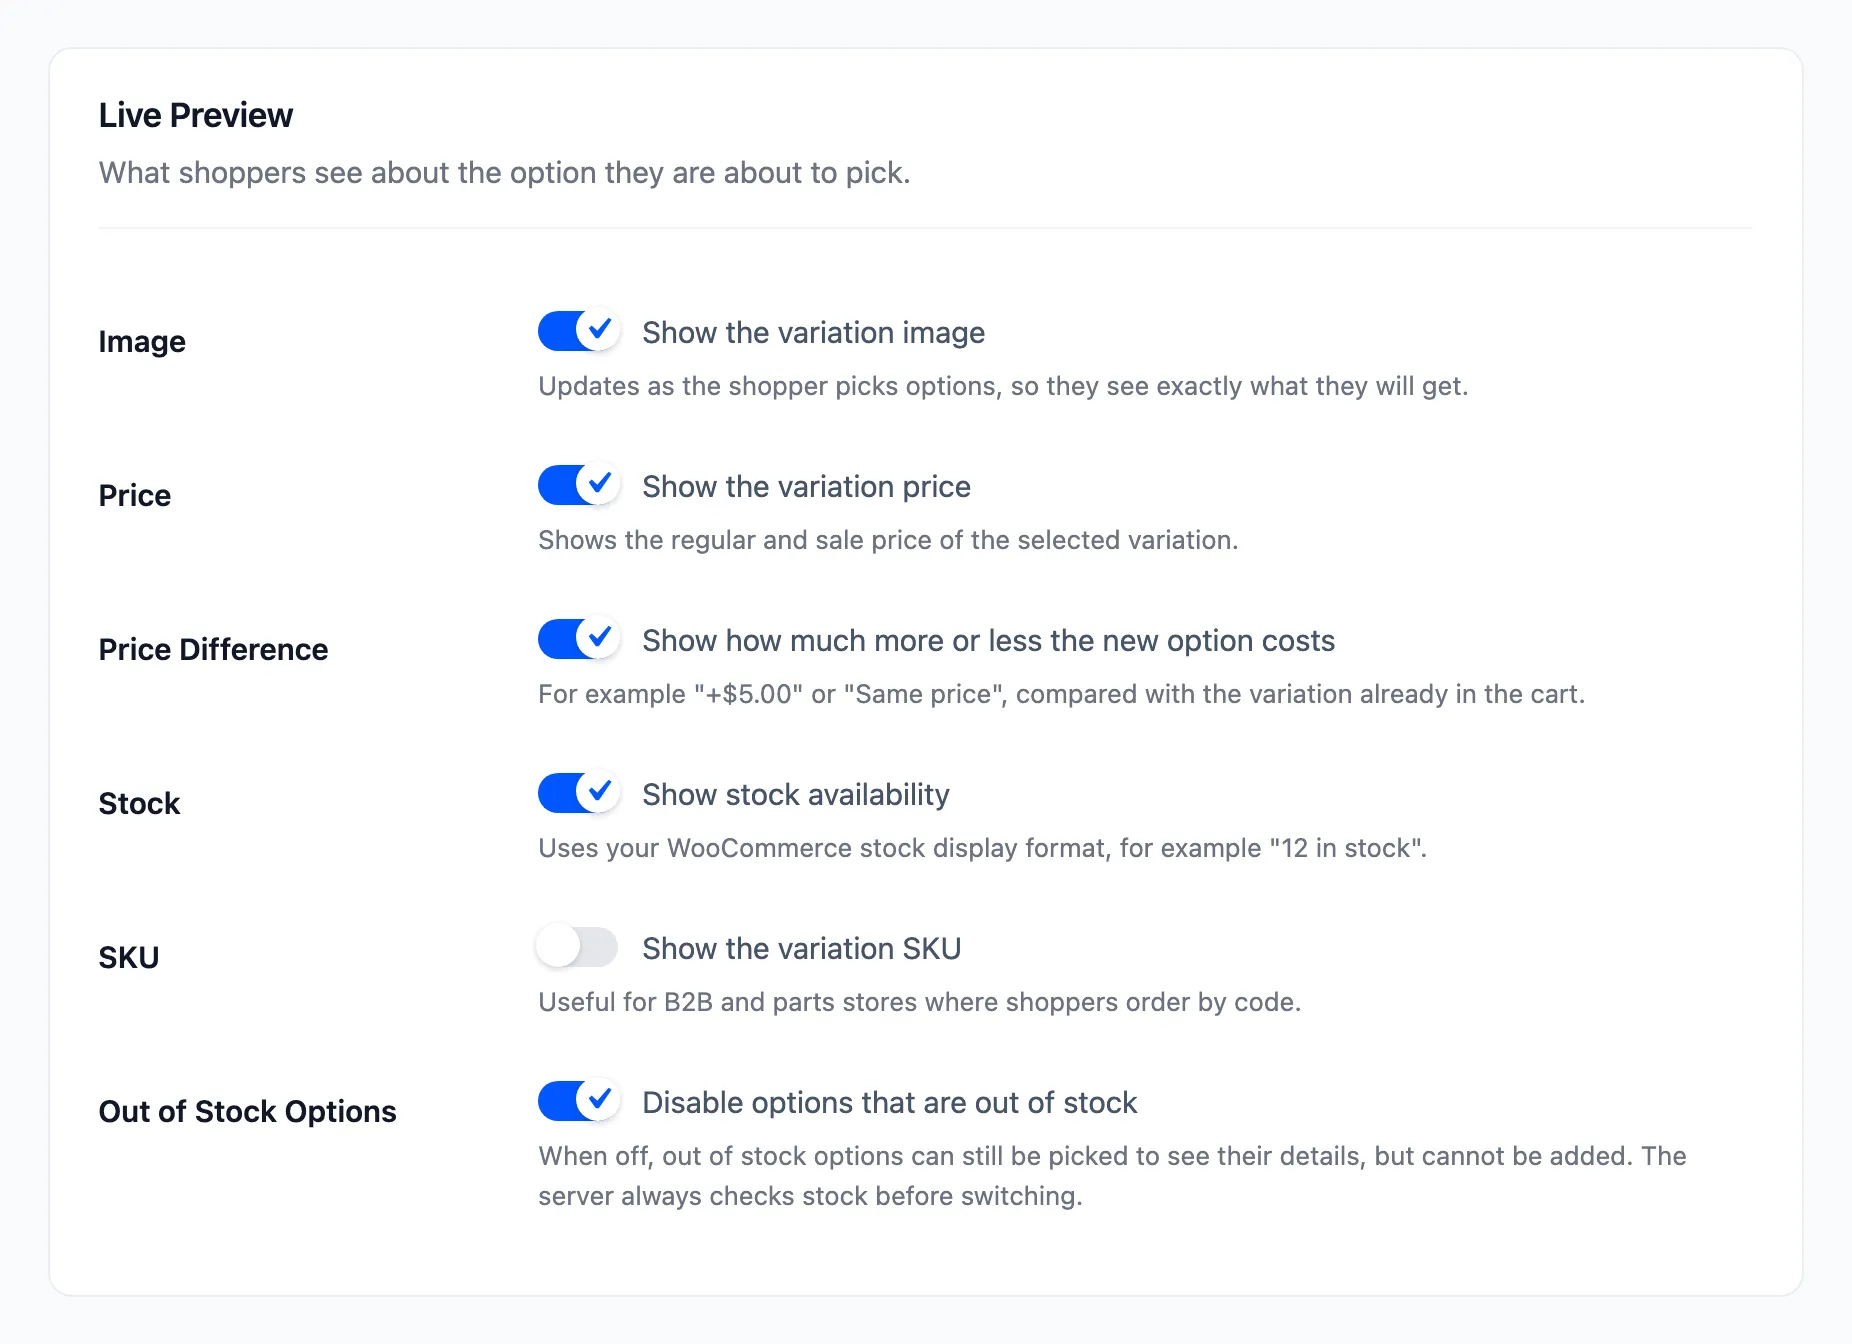
The top of the switcher previews the option being picked, so the shopper knows what they will get before they press Update item. Five switches decide what is in it.
Step 1: Open Live Preview
Section titled “Step 1: Open Live Preview”Open Configuration → Display and find Live Preview.
Step 2: Tick what shoppers should see
Section titled “Step 2: Tick what shoppers should see”- Image: The variation’s picture, which changes with each pick. On.
- Price: The variation’s price, with a sale shown against the regular price. On.
- Price Difference: How much more or less than the option in the cart, such as +$4.00. On.
- Stock: Your WooCommerce stock text, such as “12 in stock”. On.
- SKU: The variation’s SKU. Off.
Step 3: Save and check
Section titled “Step 3: Save and check”Click Save Changes and open the switcher in a cart.
With SKU on, it shows under the stock. Stores that sell by part number often want this.
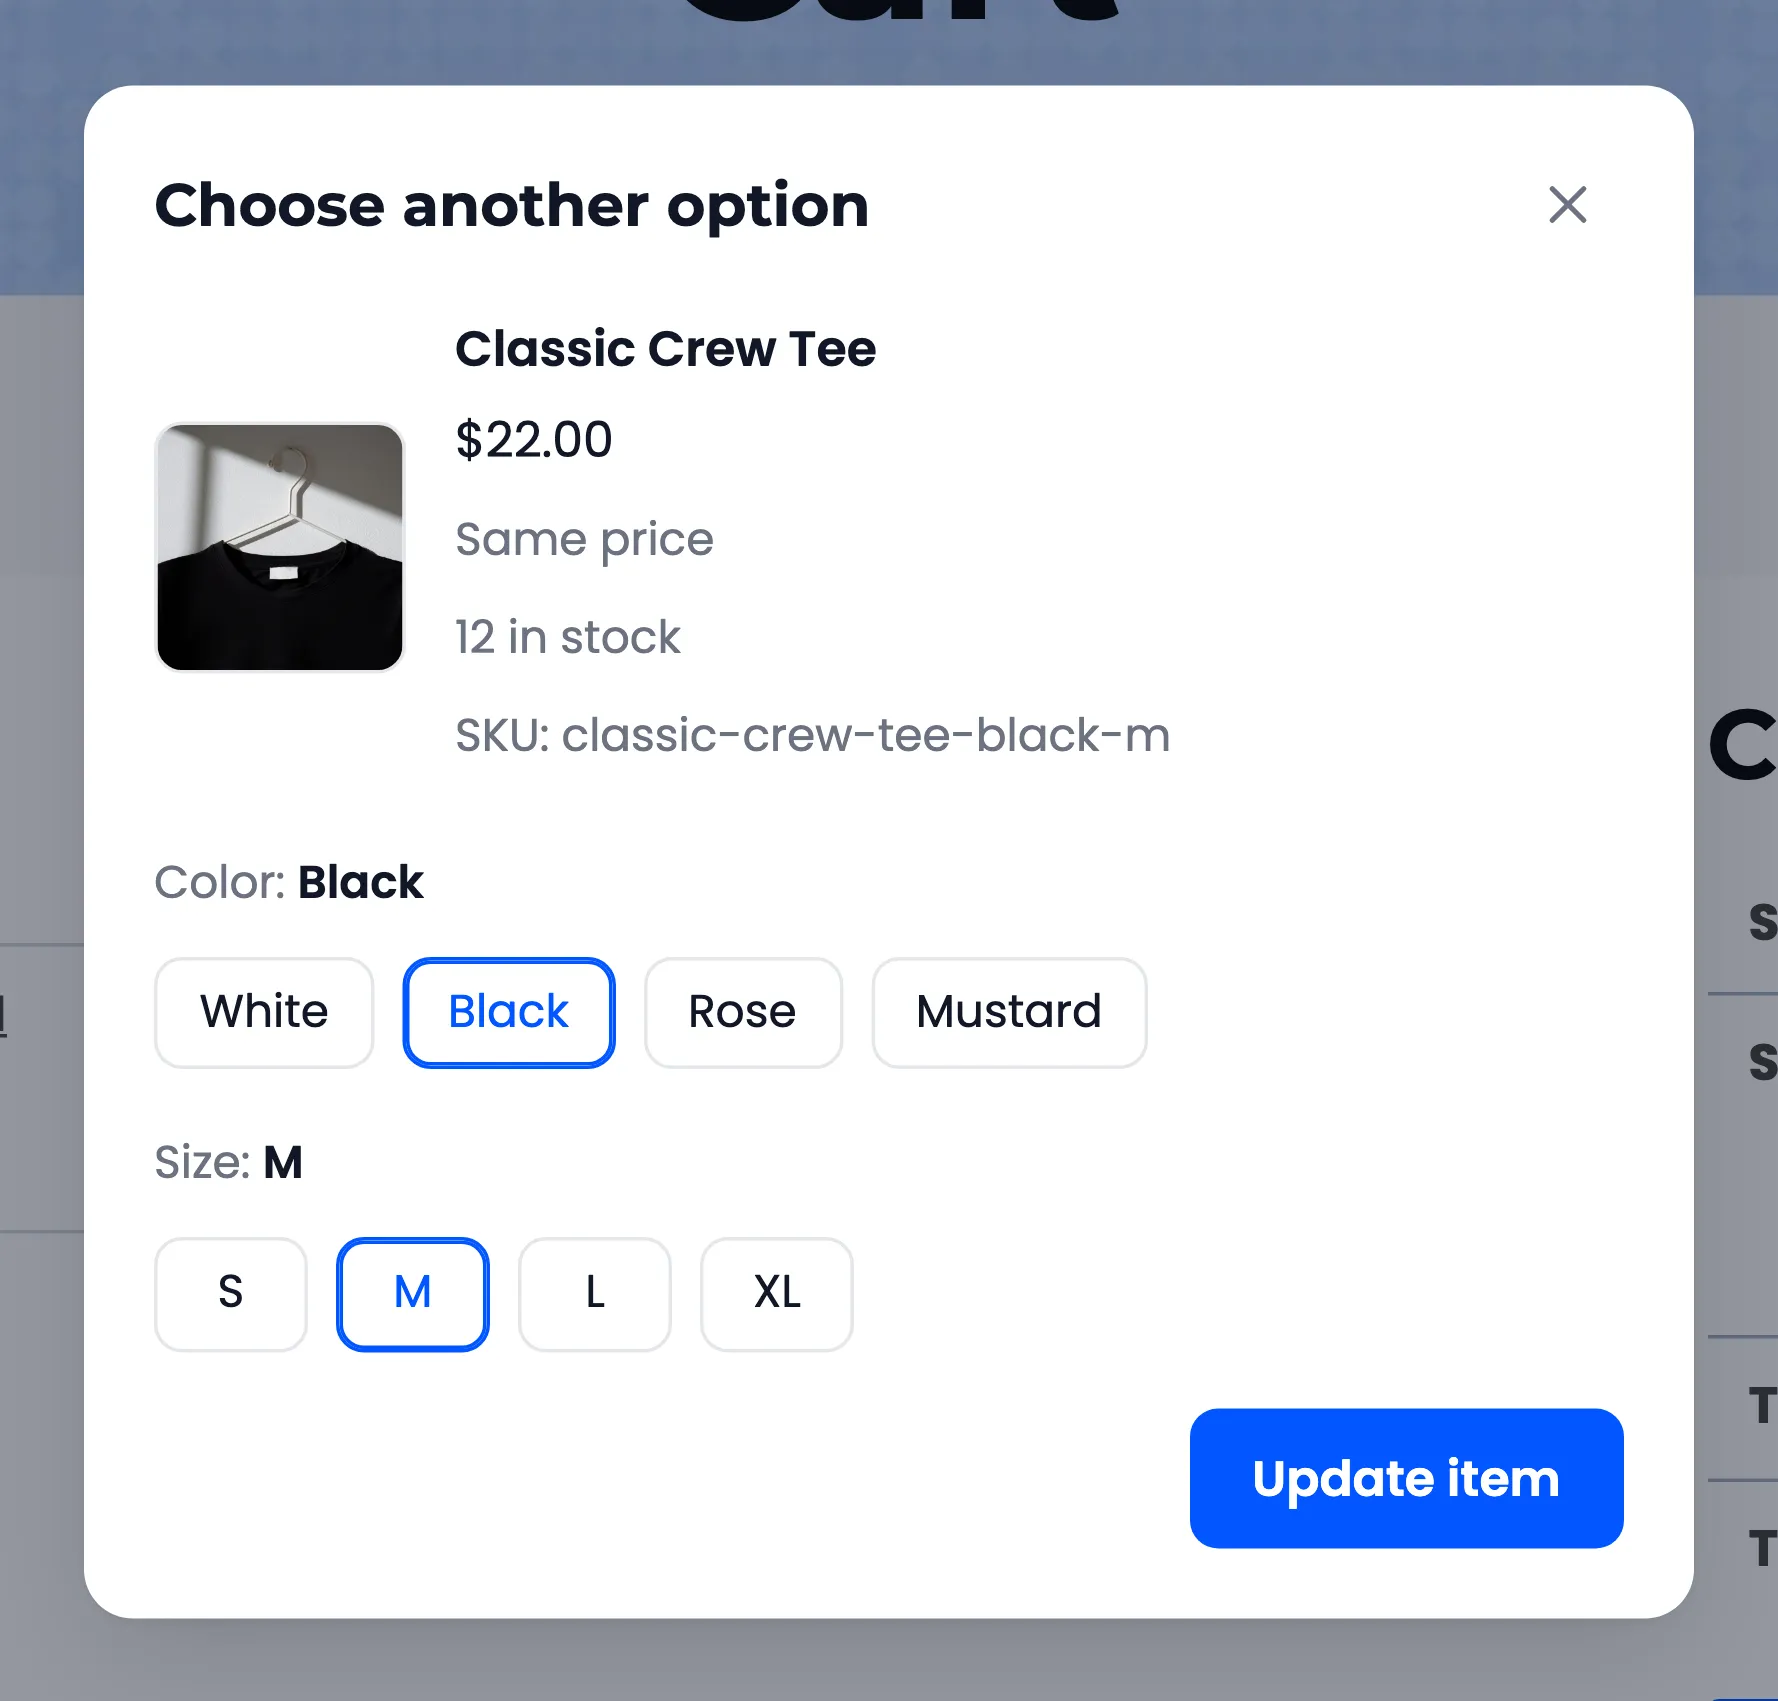
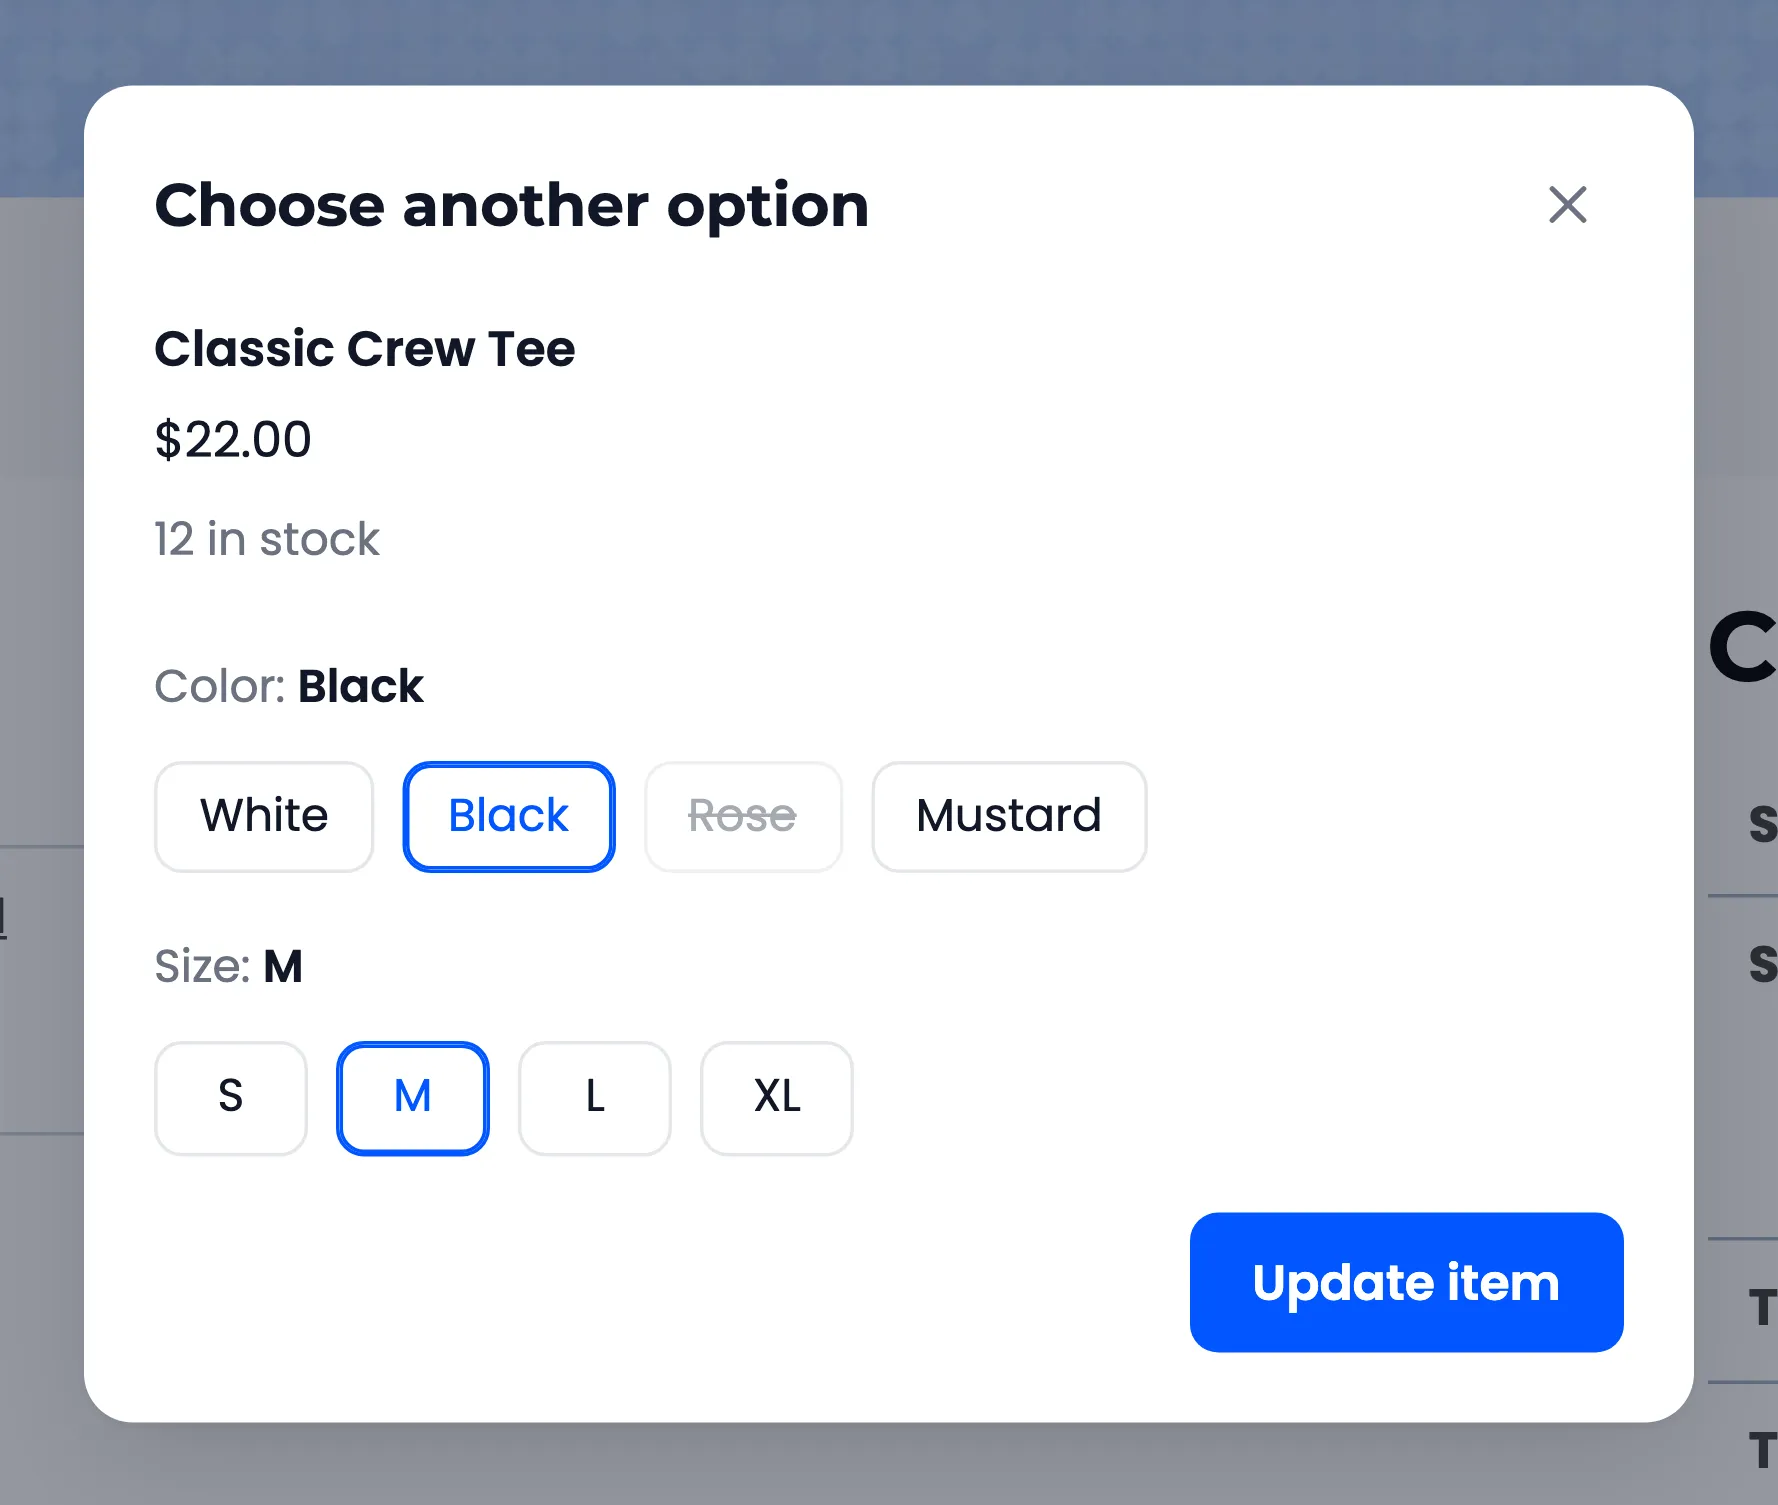
With Image and Price Difference off, the preview is the name, the price and the stock.
Good to know
Section titled “Good to know”- The price follows your WooCommerce tax display setting, as on the product page.
- The difference is worked out per item. With three in the cart, +$4.00 each means the cart goes up by $12.00.
- The checks before a switch run the same whatever is shown.