

How to Let Shoppers Change a Variation in the Cart
This is the plugin’s whole job in five steps. It takes a minute to try on your own store, and it is worth doing as a shopper would, in a private window.
Step 1: Switch the switcher on
Section titled “Step 1: Switch the switcher on”Open DevDiggers Plugins → Cart Variation Switcher → Configuration → General. Tick Enable Cart Variation Switcher, check that Show Switcher On lists Cart page, and click Save Changes.
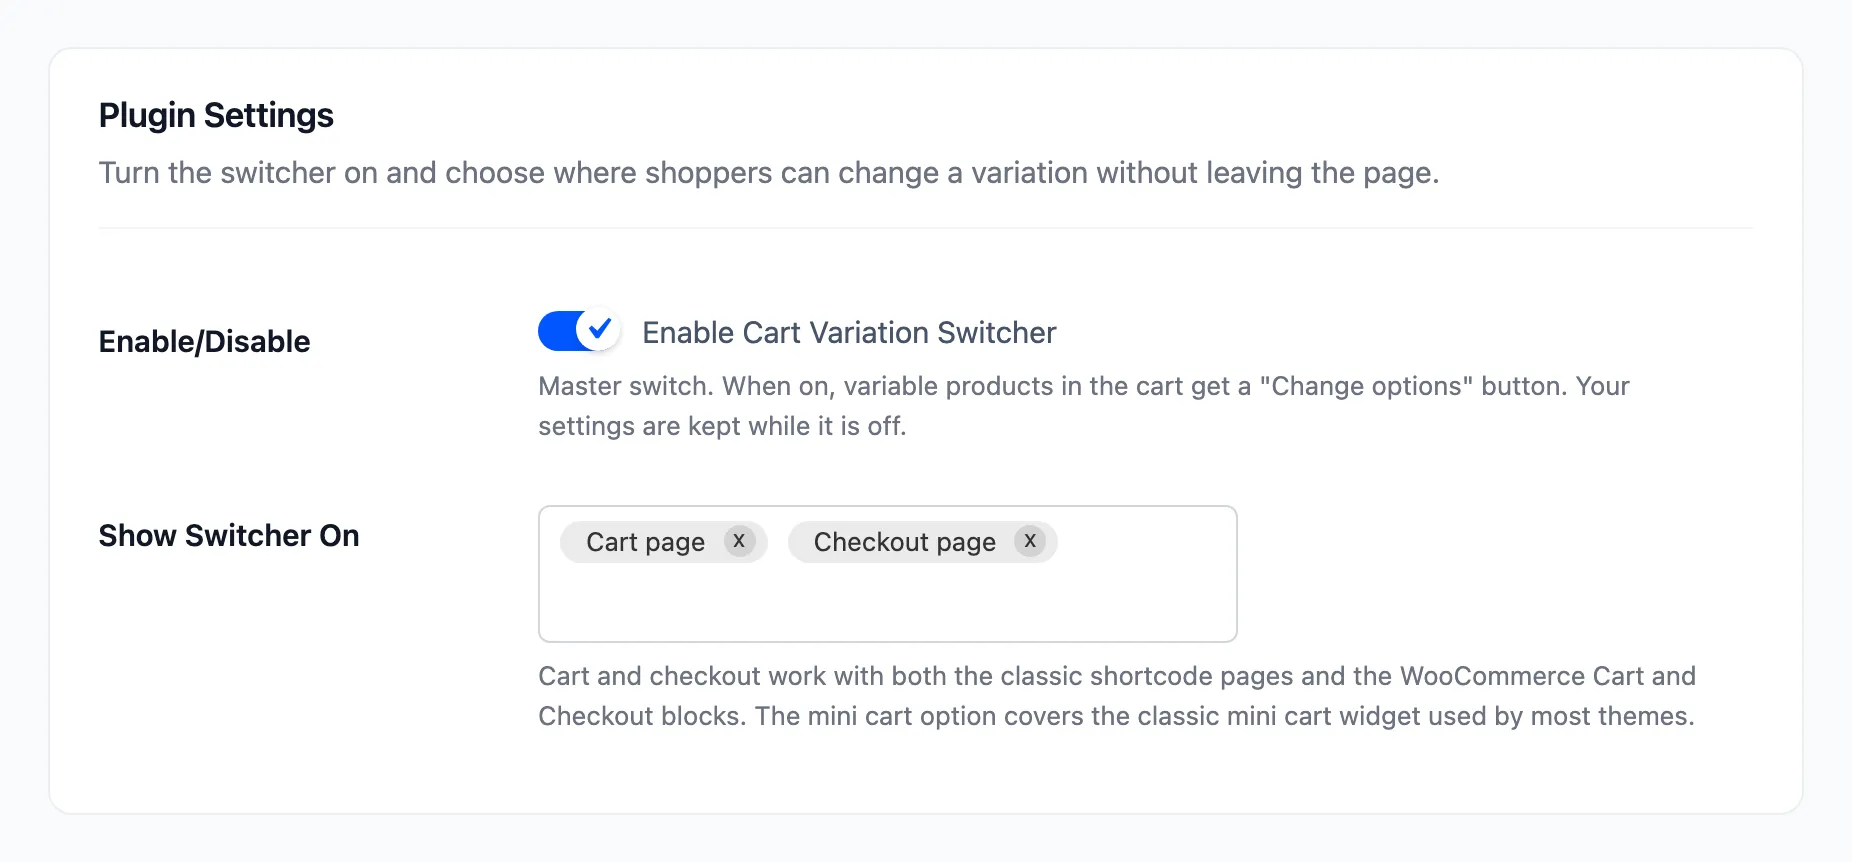
The license must be active too. Without it, shoppers see nothing.
Step 2: Add a variable product to the cart
Section titled “Step 2: Add a variable product to the cart”As a shopper, add a variable product to the cart and open the cart page. The demo used a Classic Crew Tee in White, size M, and a pair of sneakers.
Step 3: Press Change options
Section titled “Step 3: Press Change options”The button sits under the product name.
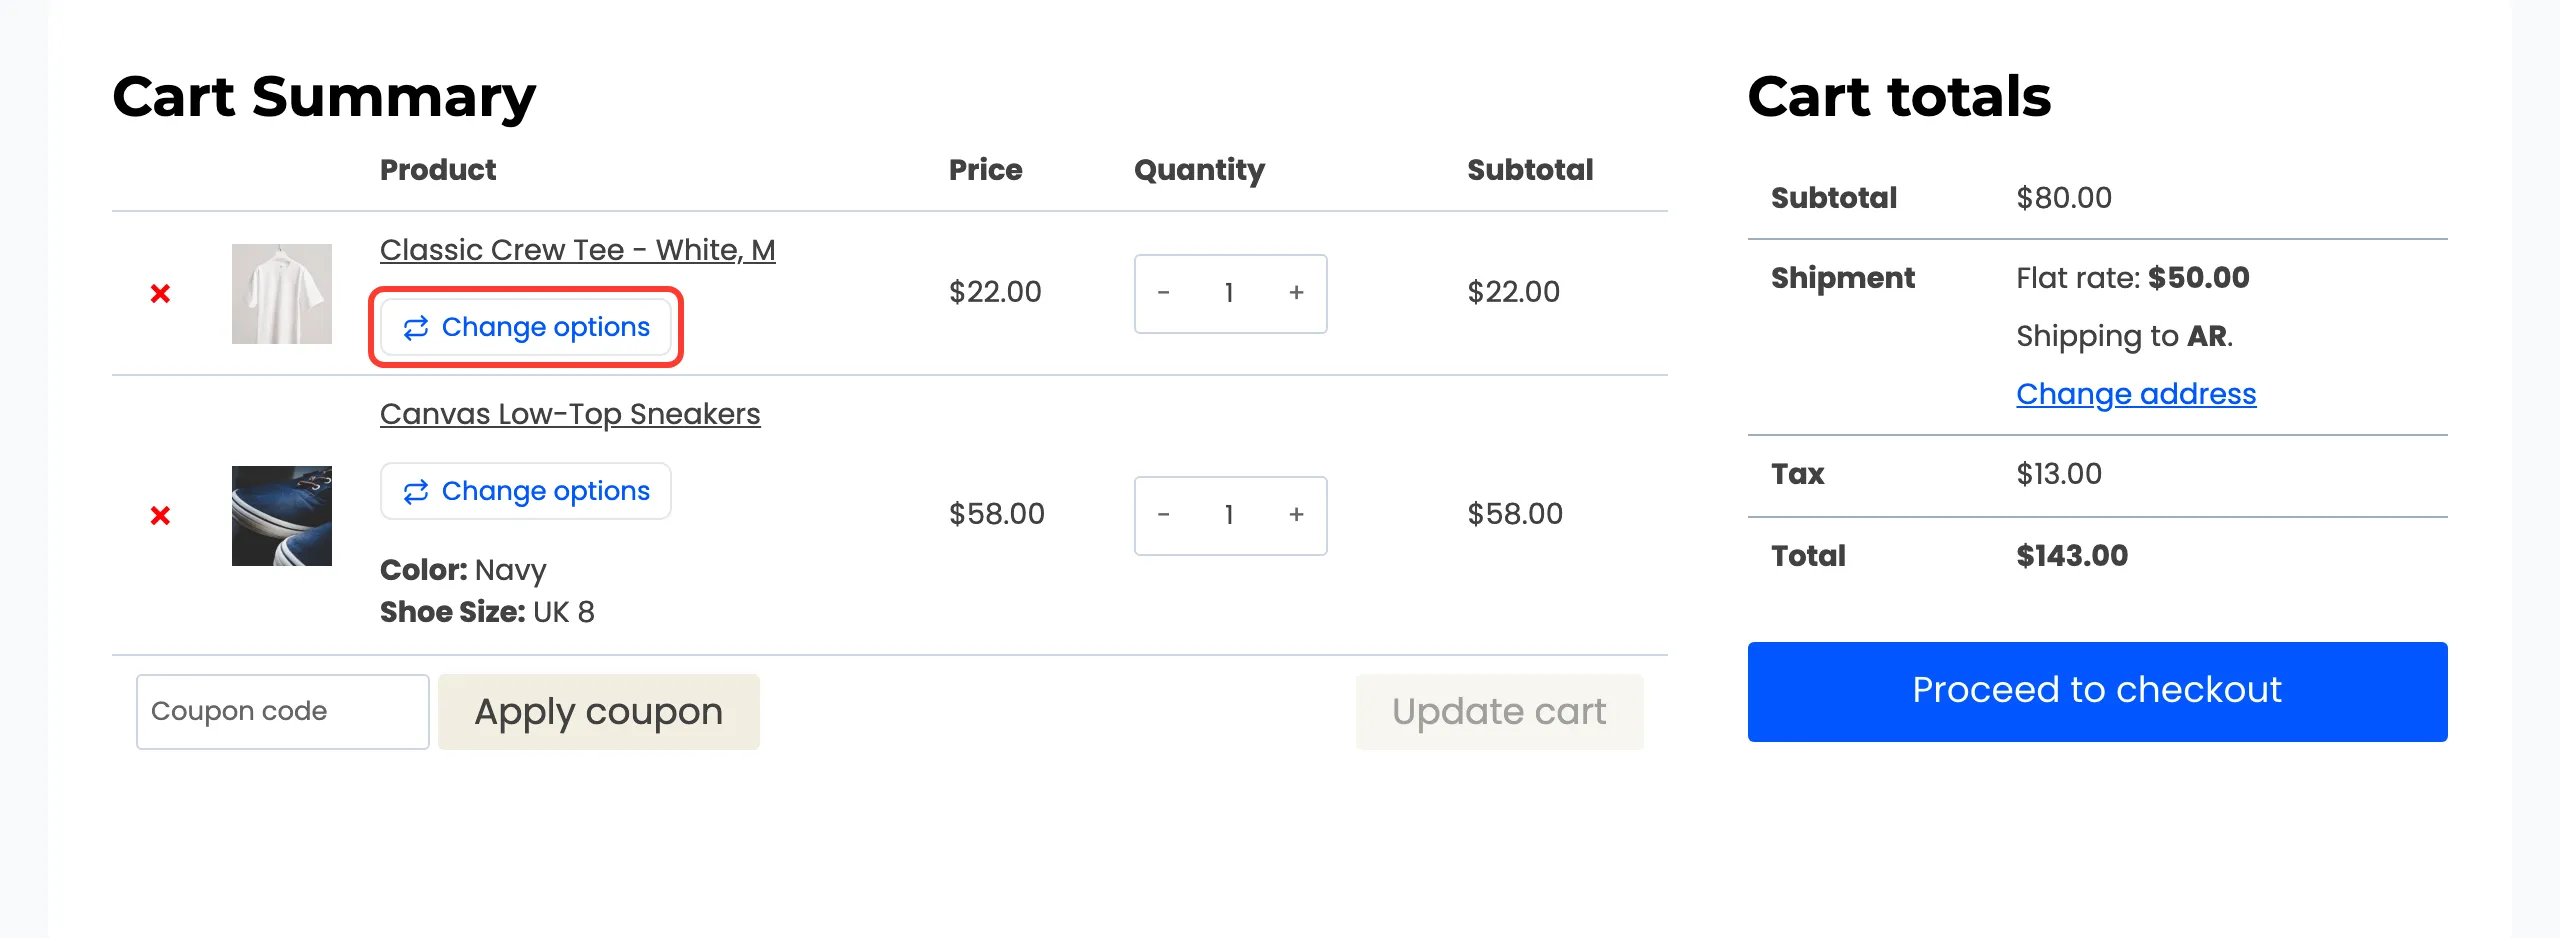
It opens the switcher on the option already in the cart. Update item is greyed out until something changes.
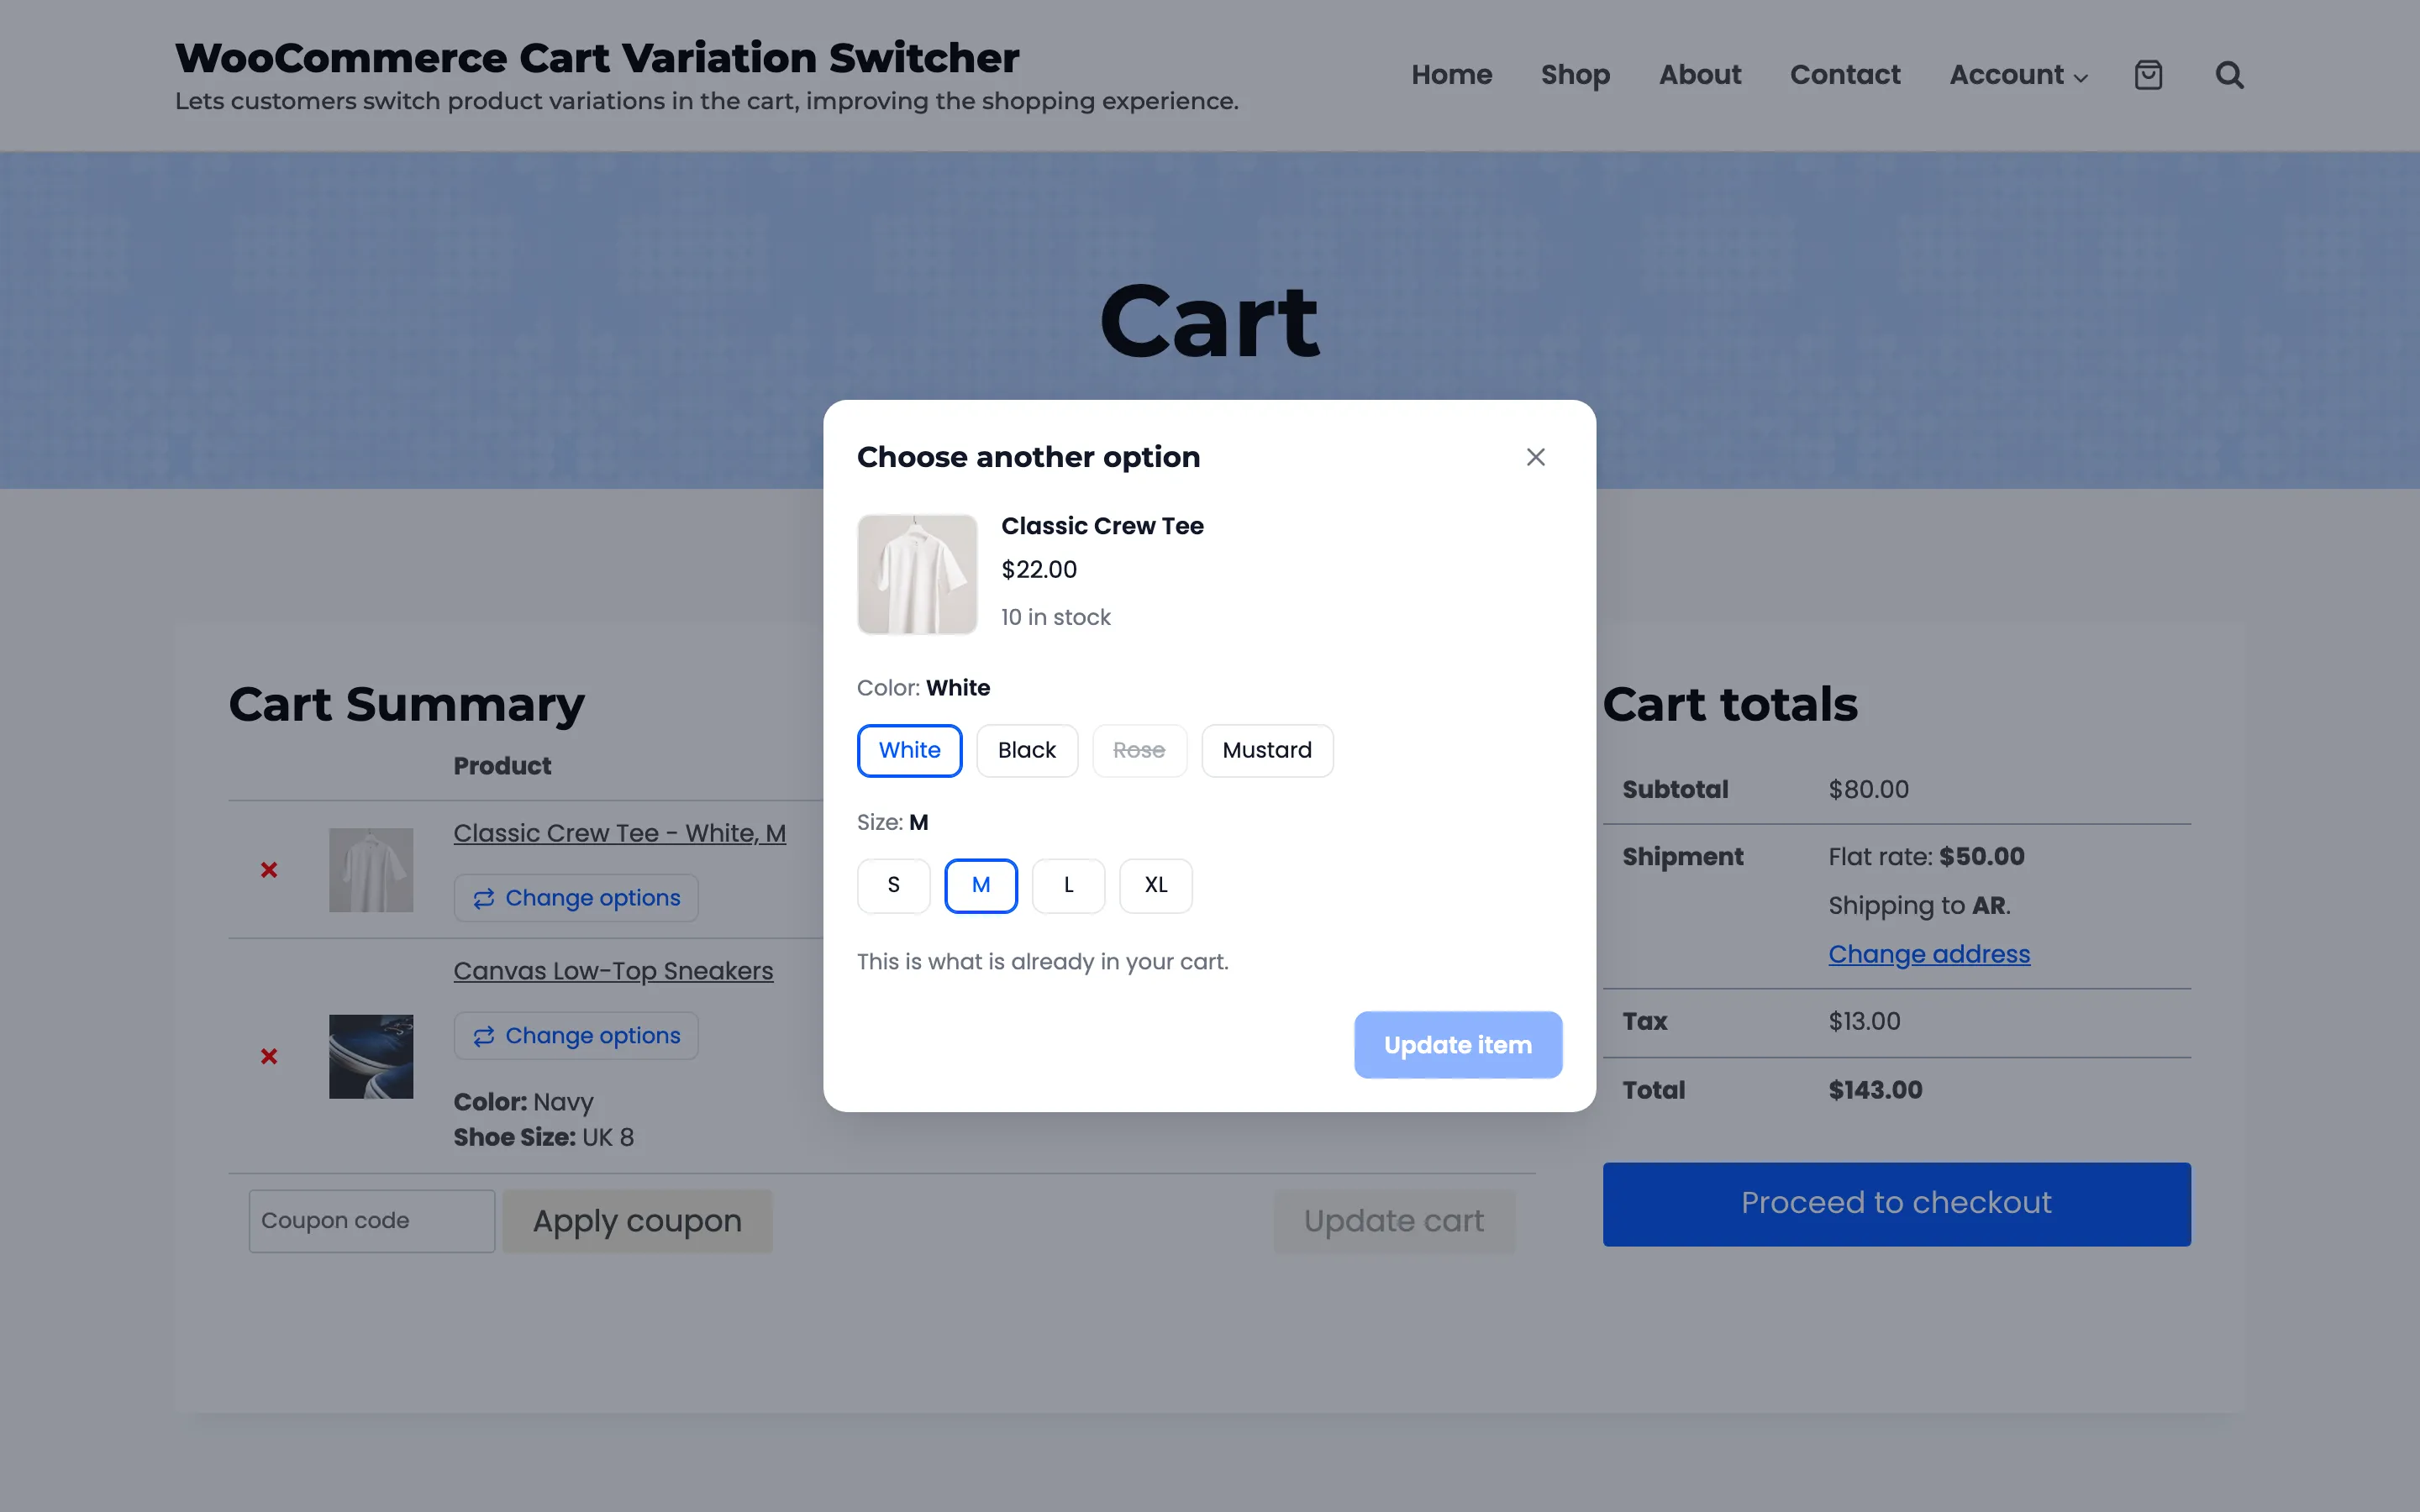
Step 4: Pick the new option
Section titled “Step 4: Pick the new option”Pick a size, a color or both. The popup shows the new option’s image, price, stock and how much more or less it costs. White in L is the same price, so it reads Same price.
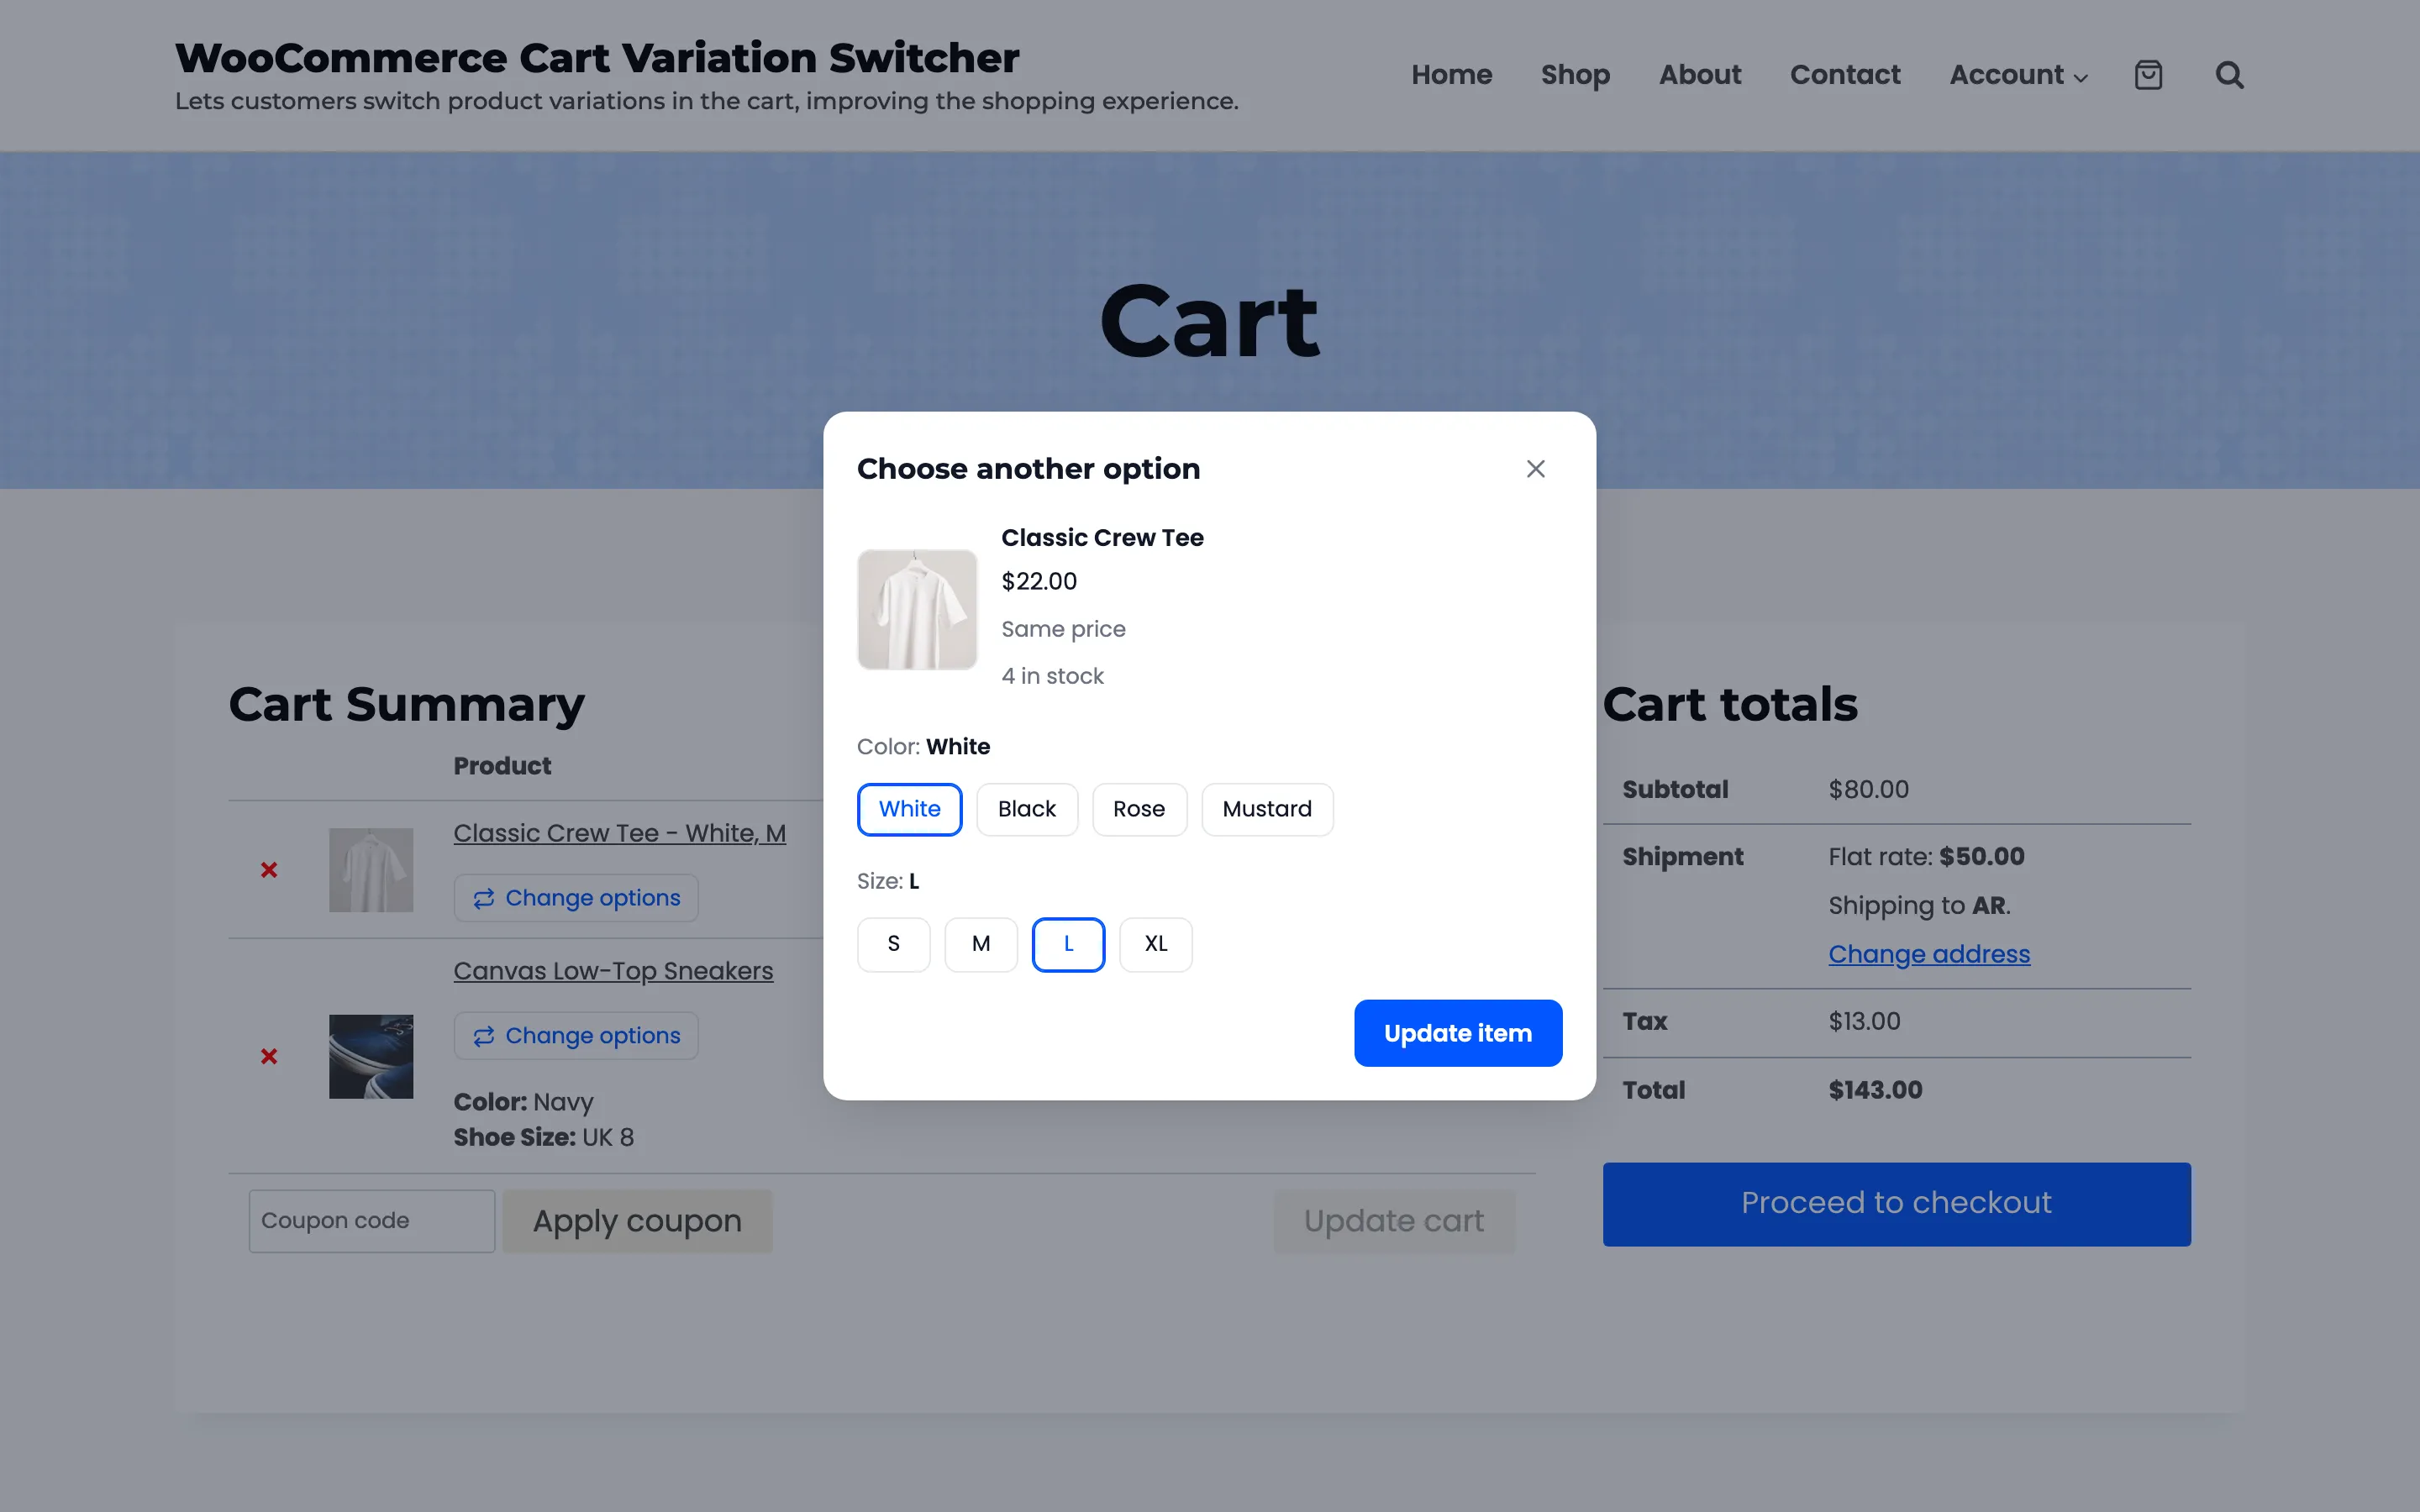
Step 5: Press Update item
Section titled “Step 5: Press Update item”The popup closes, Item updated. appears, and the cart reloads with the new option on the same line.
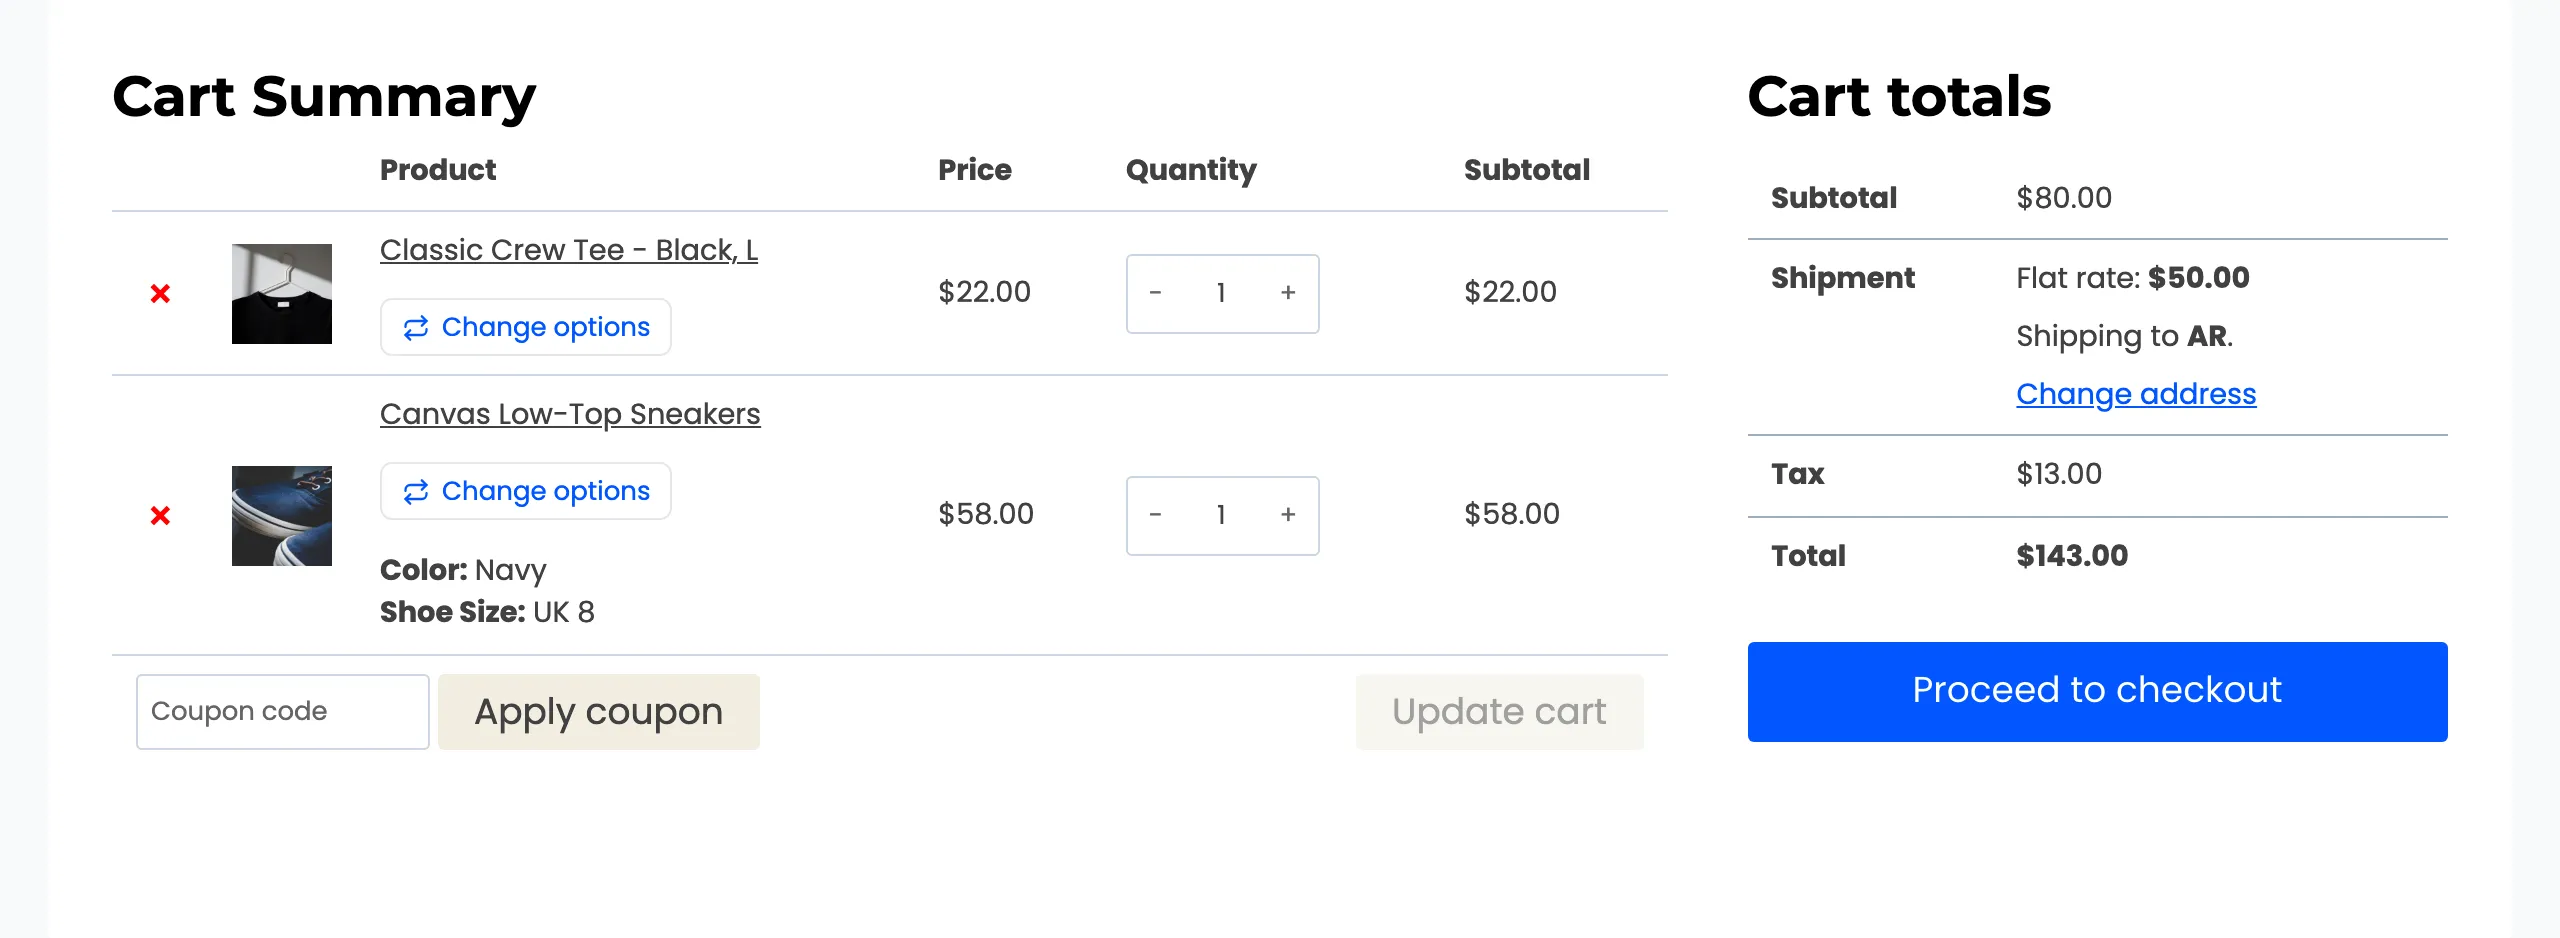
That is all a shopper ever has to do. Nothing was removed, so the item kept its place, its quantity and anything another plugin added to it.
If the button is missing
Section titled “If the button is missing”- The product is simple, or variable with one variation.
- A rule or the product’s own opt out leaves it out. Check Configuration → Rules and the product’s Inventory tab.
- The page is not one of those under Show Switcher On.