

How to Export Switches to CSV
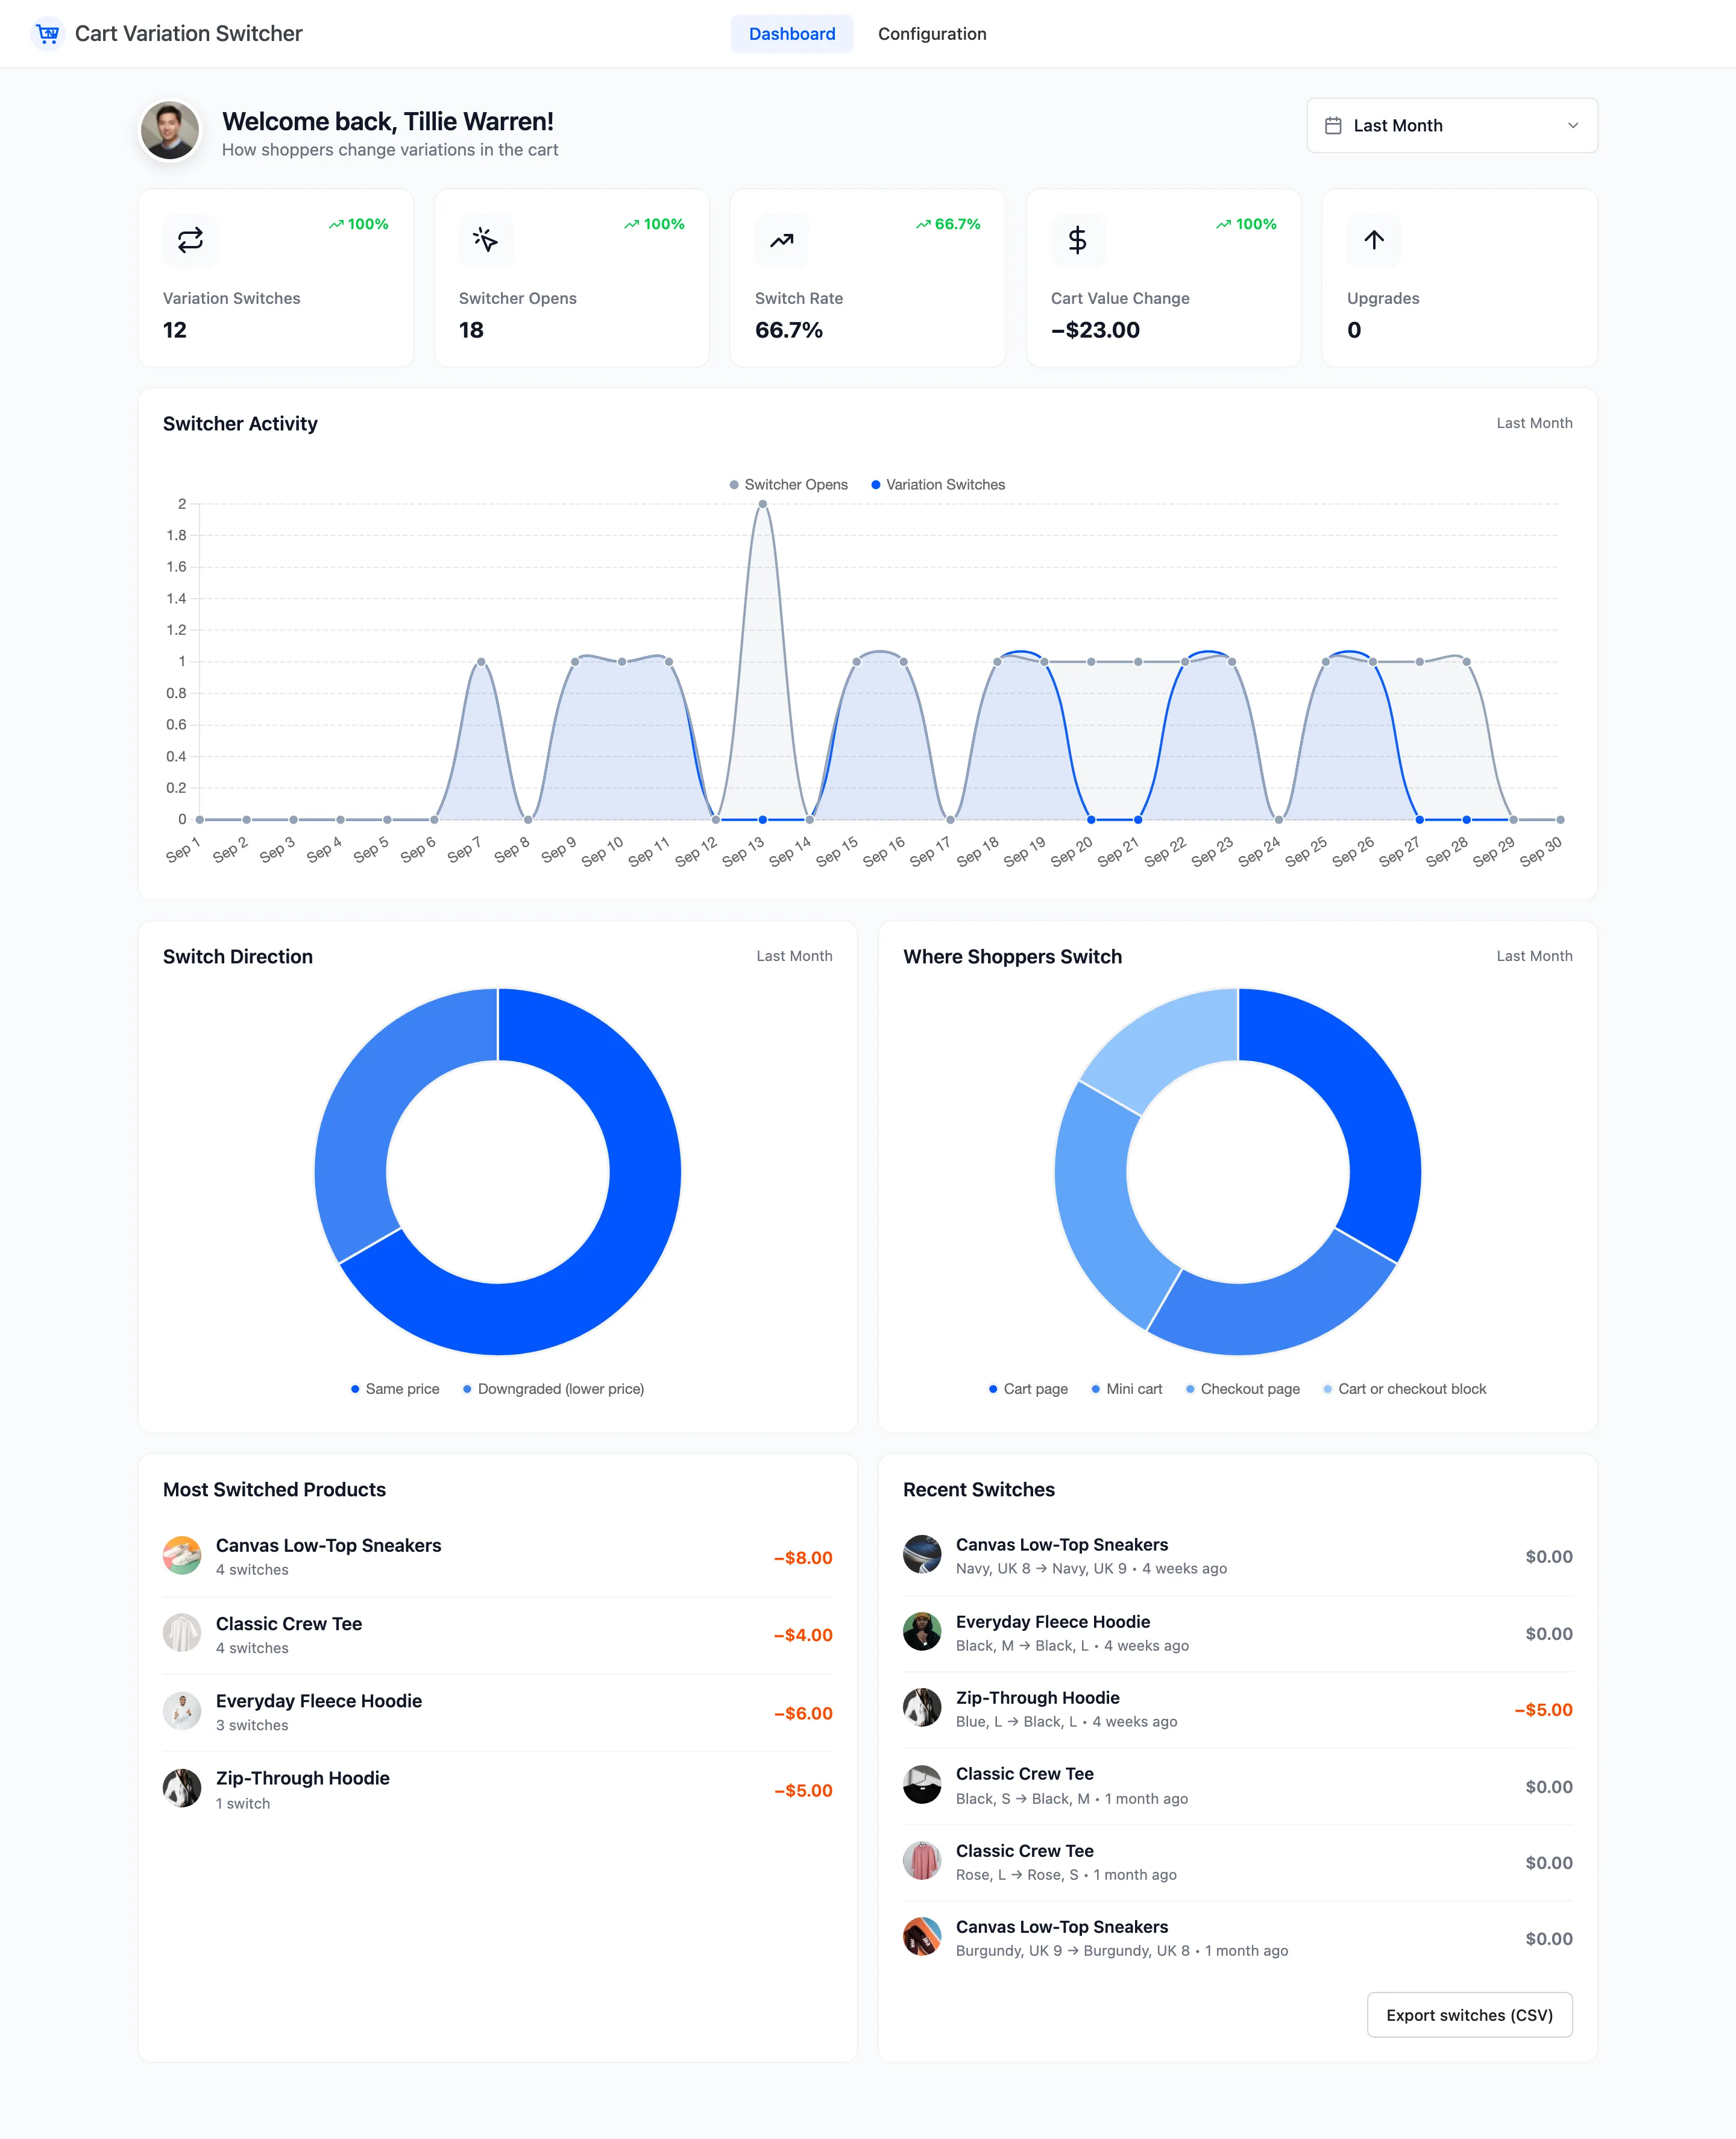
The dashboard shows six recent switches. The CSV has all of them for the period, for a spreadsheet, a report or a supplier conversation about sizing.
Step 1: Pick the period
Section titled “Step 1: Pick the period”On the dashboard, pick a range at the top right. The export covers the same range.
Step 2: Click Export switches (CSV)
Section titled “Step 2: Click Export switches (CSV)”The button sits under Recent Switches. It shows once the period has at least one switch.
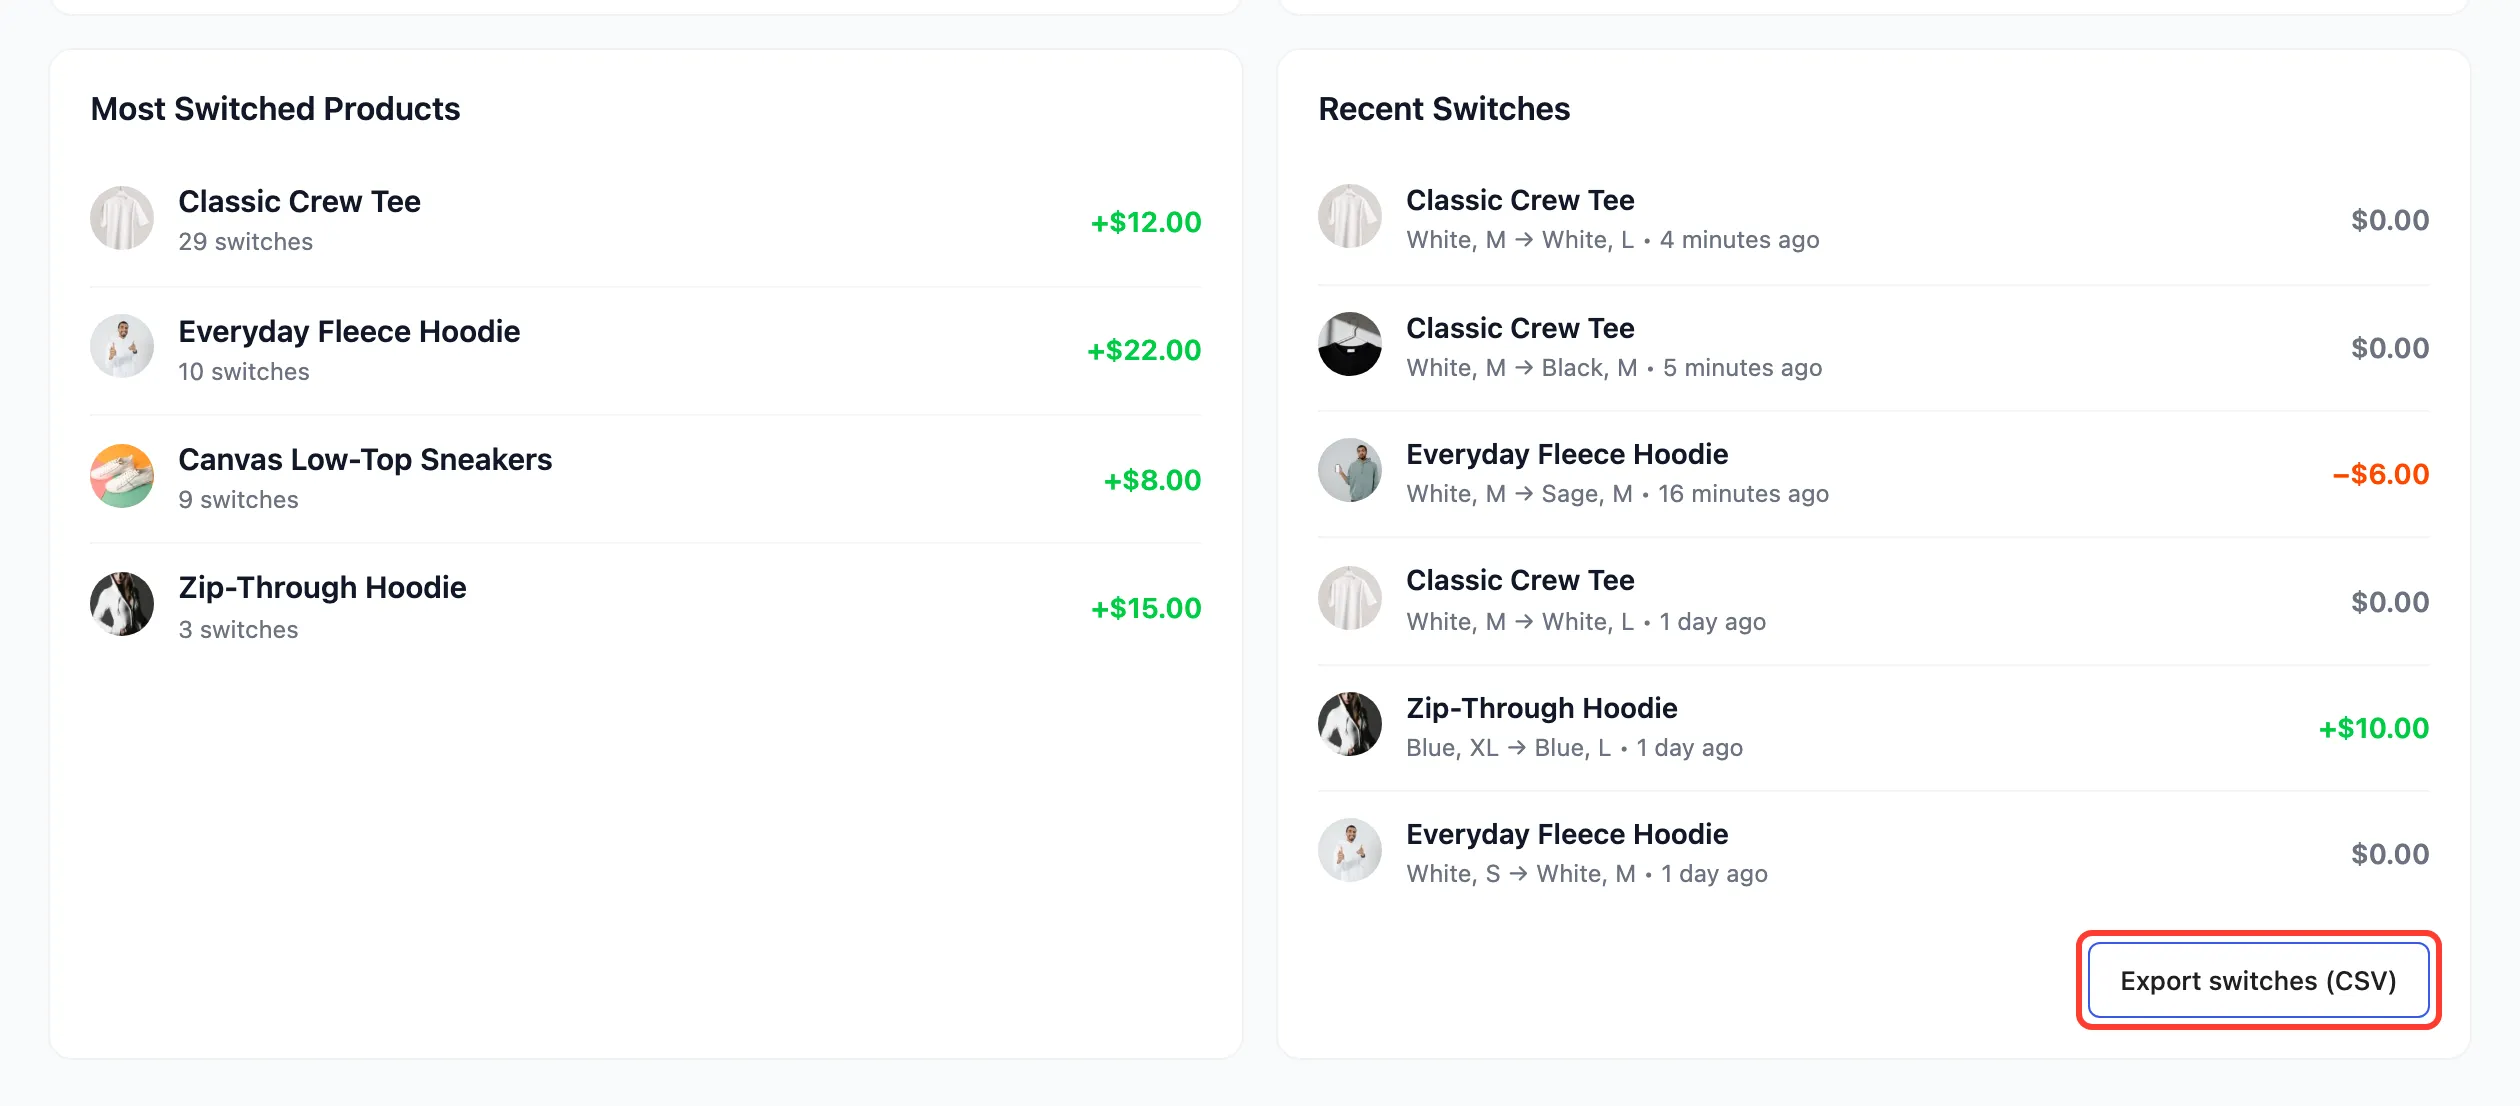
The file is named for the range, such as variation-switches-2026-10-01-to-2026-10-22.csv.
Step 3: Open the file
Section titled “Step 3: Open the file”One row per switch, newest first. The first rows of the demo’s export:
Date,Product,From,To,Quantity,"Price Change",Where,Customer"2026-10-22 09:04:57","Classic Crew Tee","White, M","White, L",1,0.00,"Checkout page",Guest"2026-10-22 09:04:21","Classic Crew Tee","White, M","Black, M",1,0.00,"Cart page",Guest"2026-10-22 08:53:07","Everyday Fleece Hoodie","White, M","Sage, M",1,-6.00,"Cart page",customer@email.com"2026-10-21 04:54:40","Zip-Through Hoodie","Blue, XL","Blue, L",1,10.00,"Cart or checkout block",GuestThe columns
Section titled “The columns”- Date: When the switch happened, in your site’s time zone.
- Product: The product’s name.
- From and To: The options before and after.
- Quantity: How many were in the line.
- Price Change: The difference for the whole line. Negative is cheaper.
- Where: Cart page, Checkout page, Mini cart or Cart or checkout block.
- Customer: The account’s email for a signed-in shopper, or Guest.
Only users who can manage WooCommerce can export.