

How to Tune the 3D Viewer
Four settings decide how the on-page viewer behaves. They are all on by default and all defensible, but each answers a real question about your storefront.
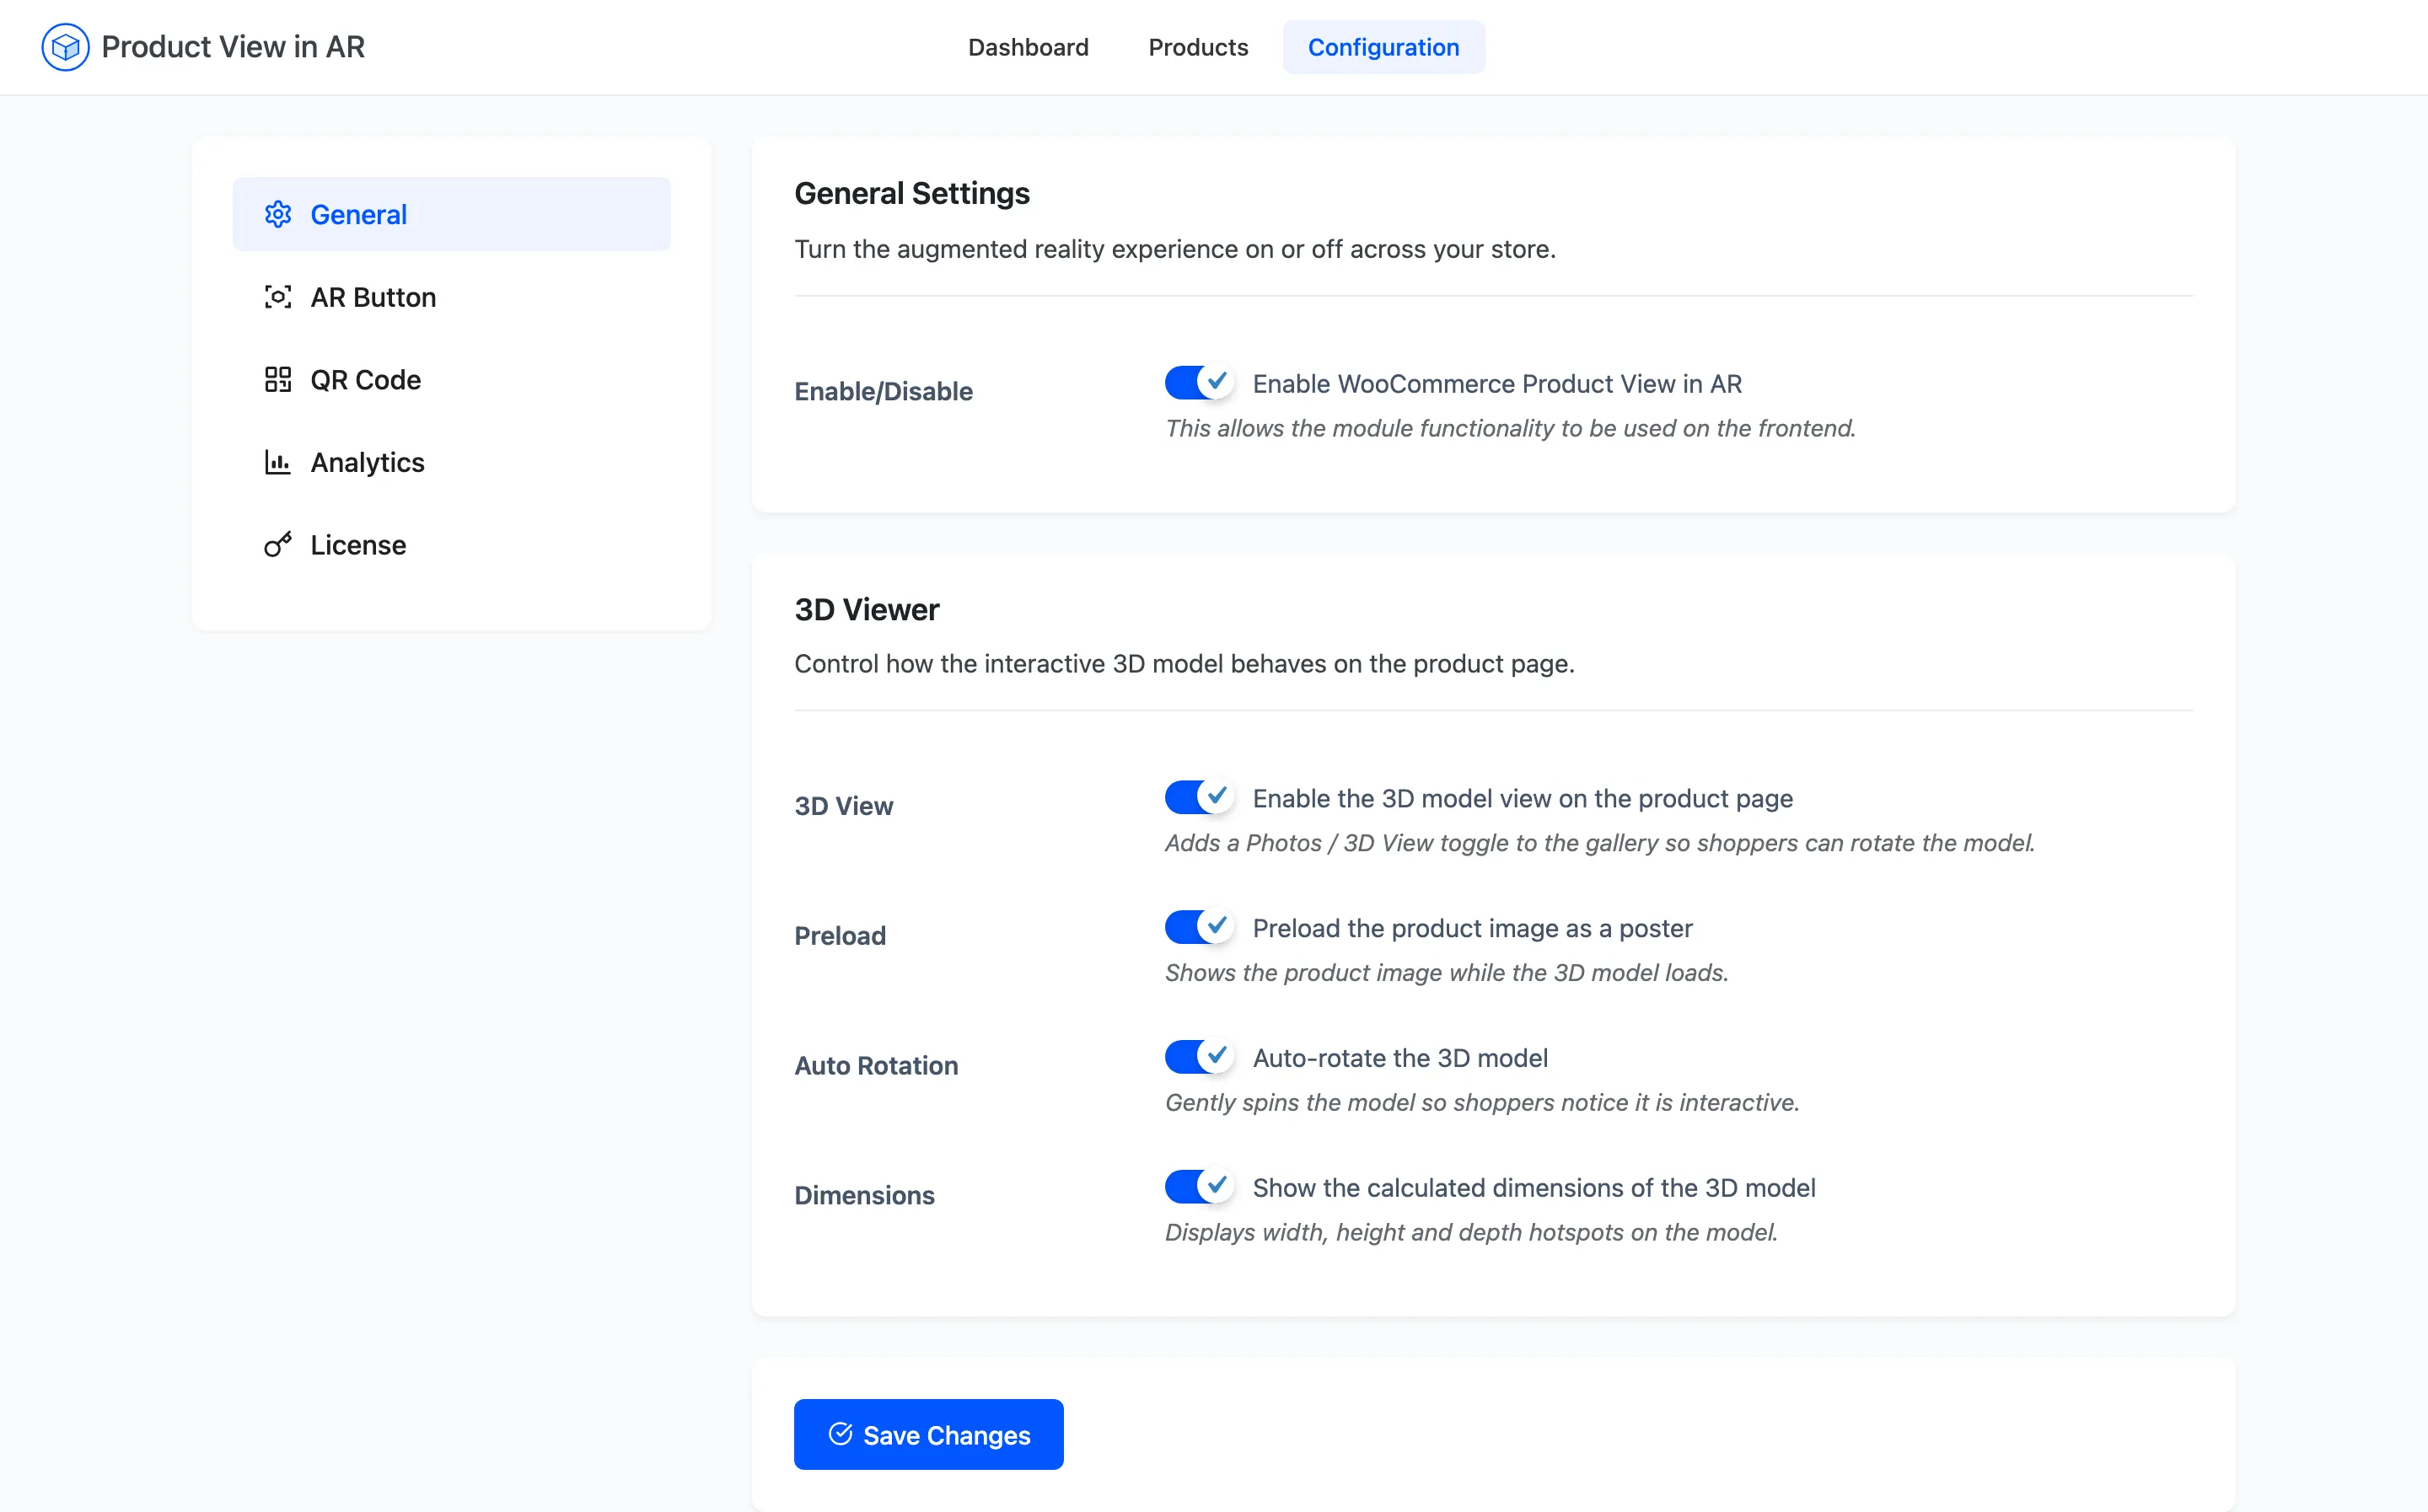
Go to DevDiggers Plugins → Product View in AR → Configuration → General.
Step 1: Confirm the master switch is on
Section titled “Step 1: Confirm the master switch is on”Enable/Disable is the switch the whole feature hangs from. Off, and none of what follows exists.
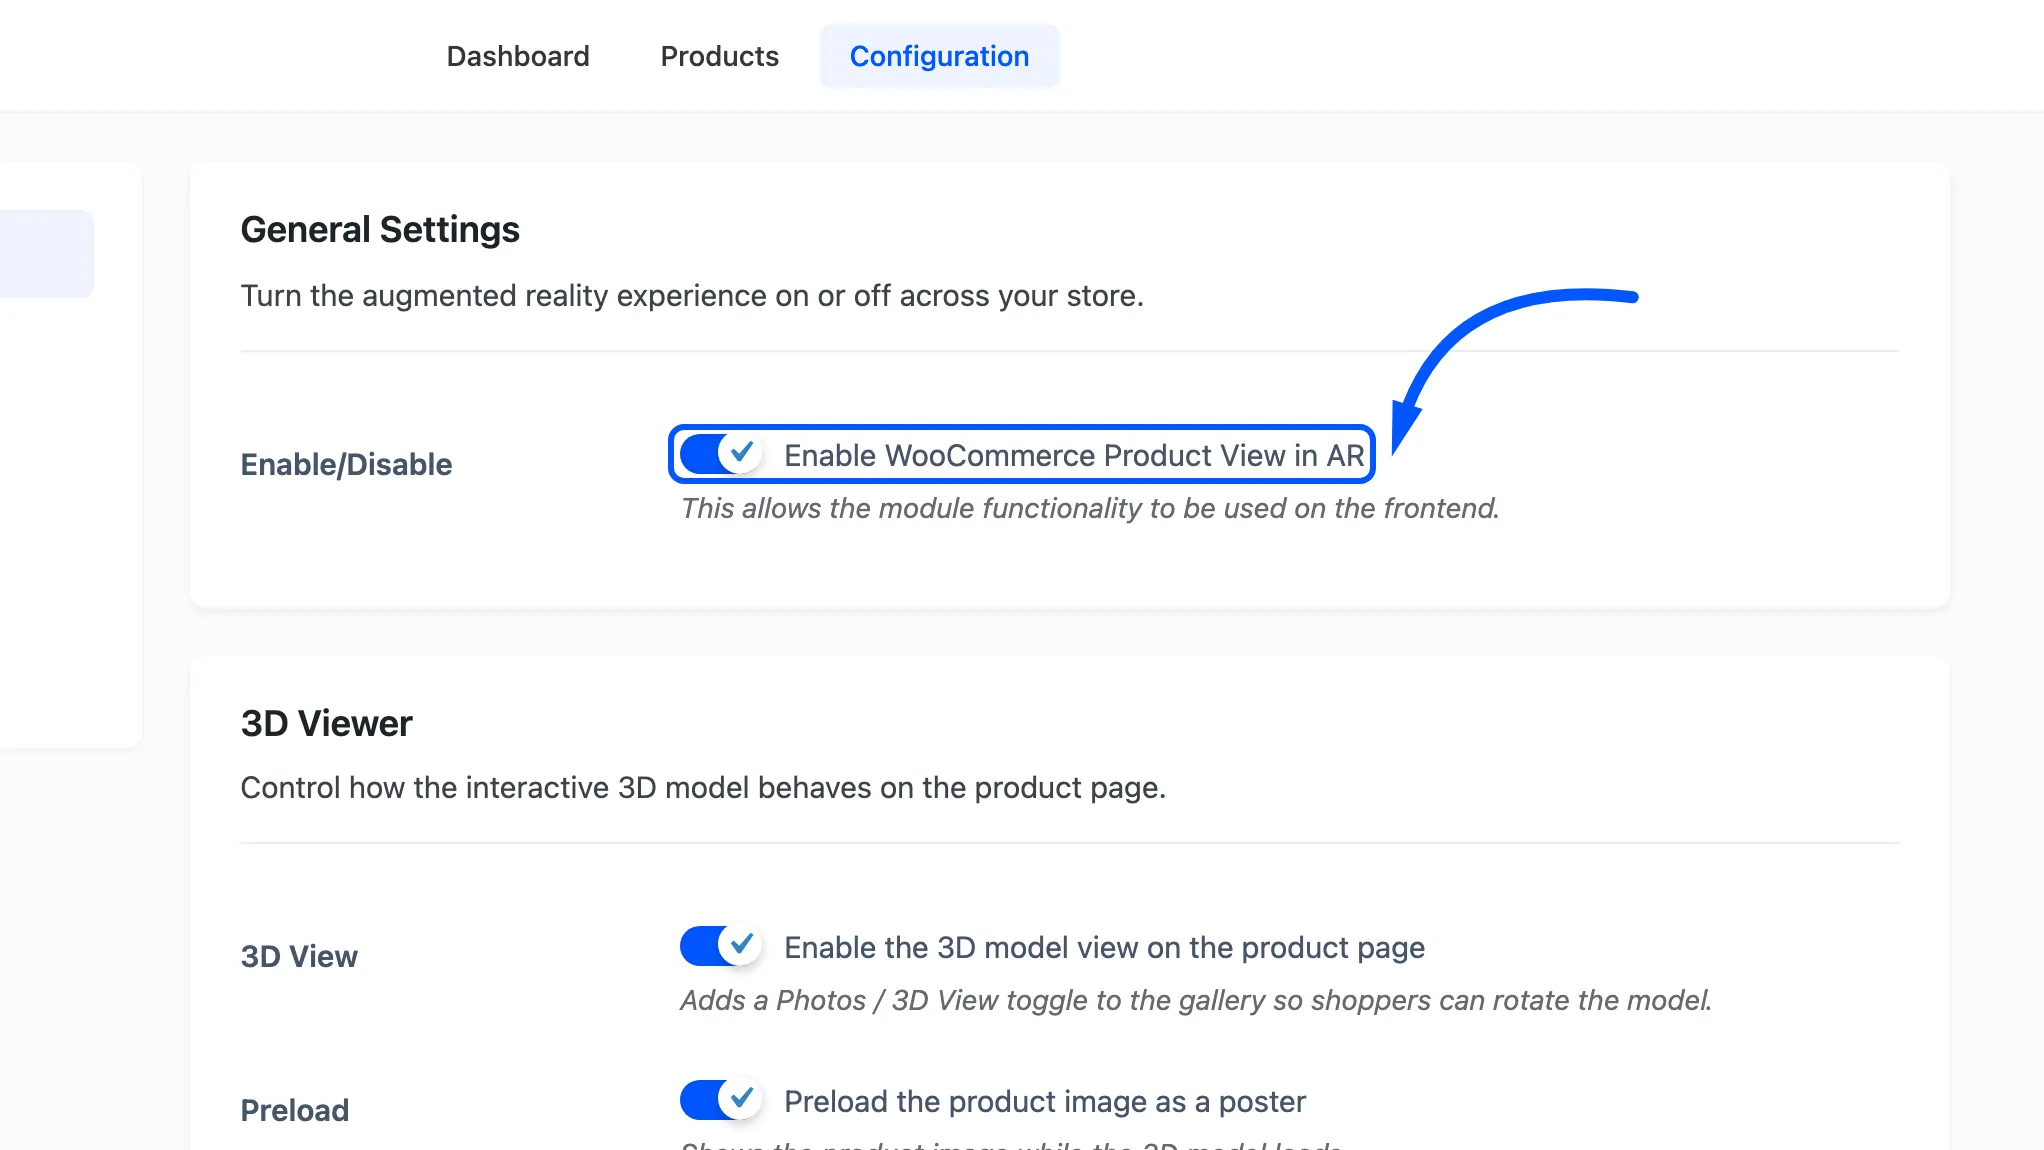
The setup wizard turns it on, so it is usually already ticked.
Step 2: Turn the 3D viewer on
Section titled “Step 2: Turn the 3D viewer on”3D View adds the Photos / 3D View toggle to the gallery.
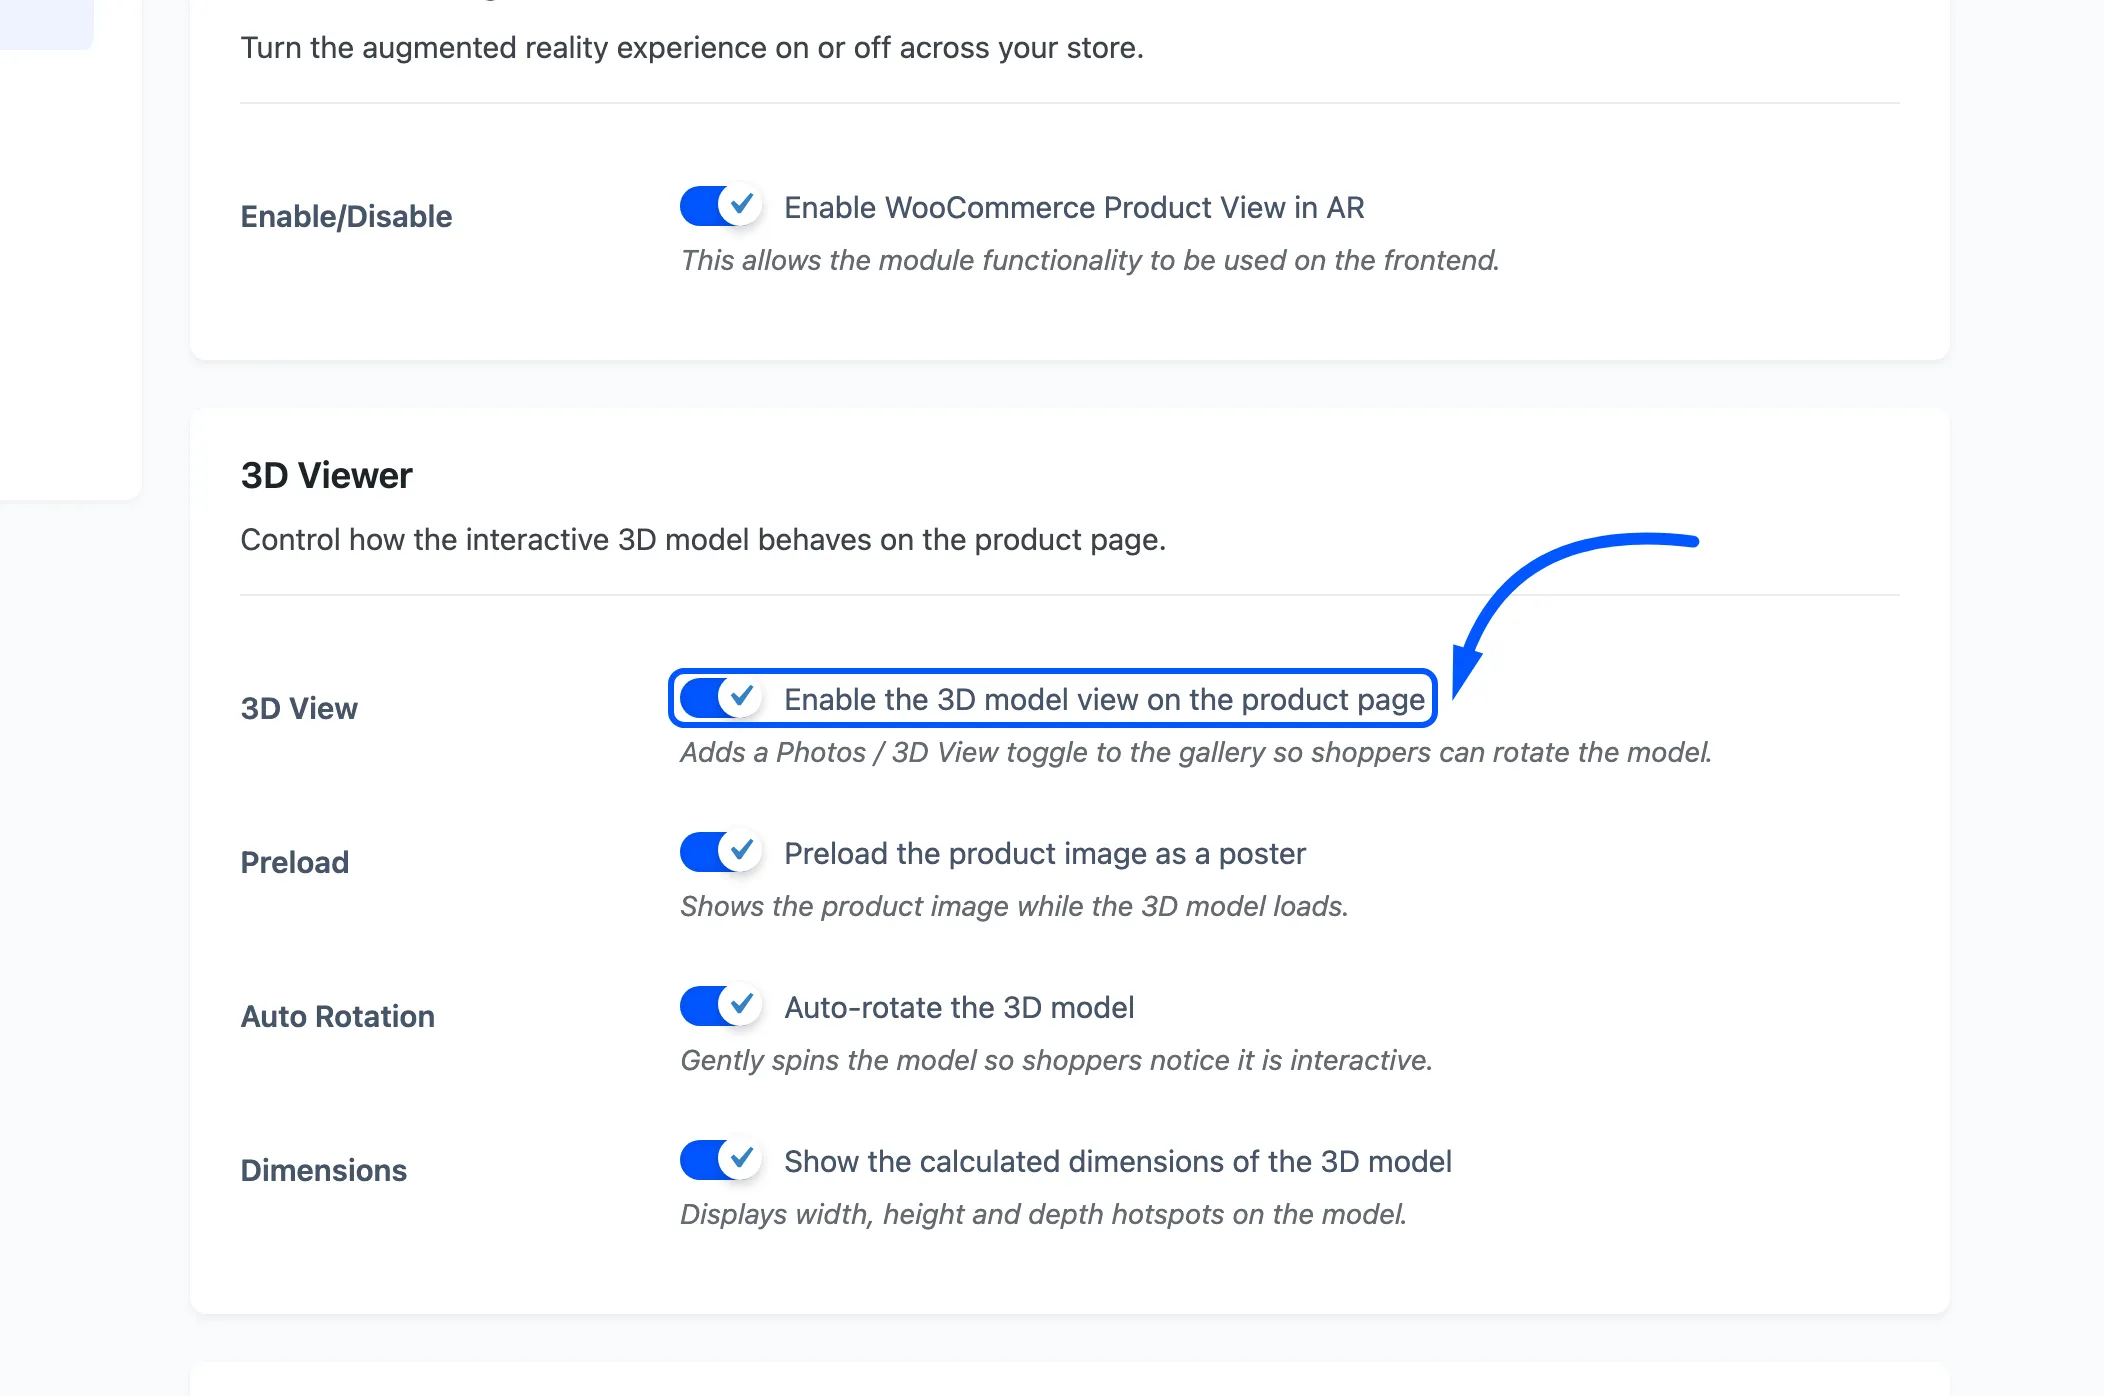
Leave it on unless your traffic is almost entirely mobile and you want AR to be the only route to the model. Turning it off does not disable AR; it removes the on-page viewer.
The toggle also needs the product to carry a .glb, because that is what the on-page viewer renders.
A product with only a .usdz will not show the toggle however this is set.
Step 3: Keep the poster on
Section titled “Step 3: Keep the poster on”Preload shows the product’s own photo inside the viewer while the model downloads.
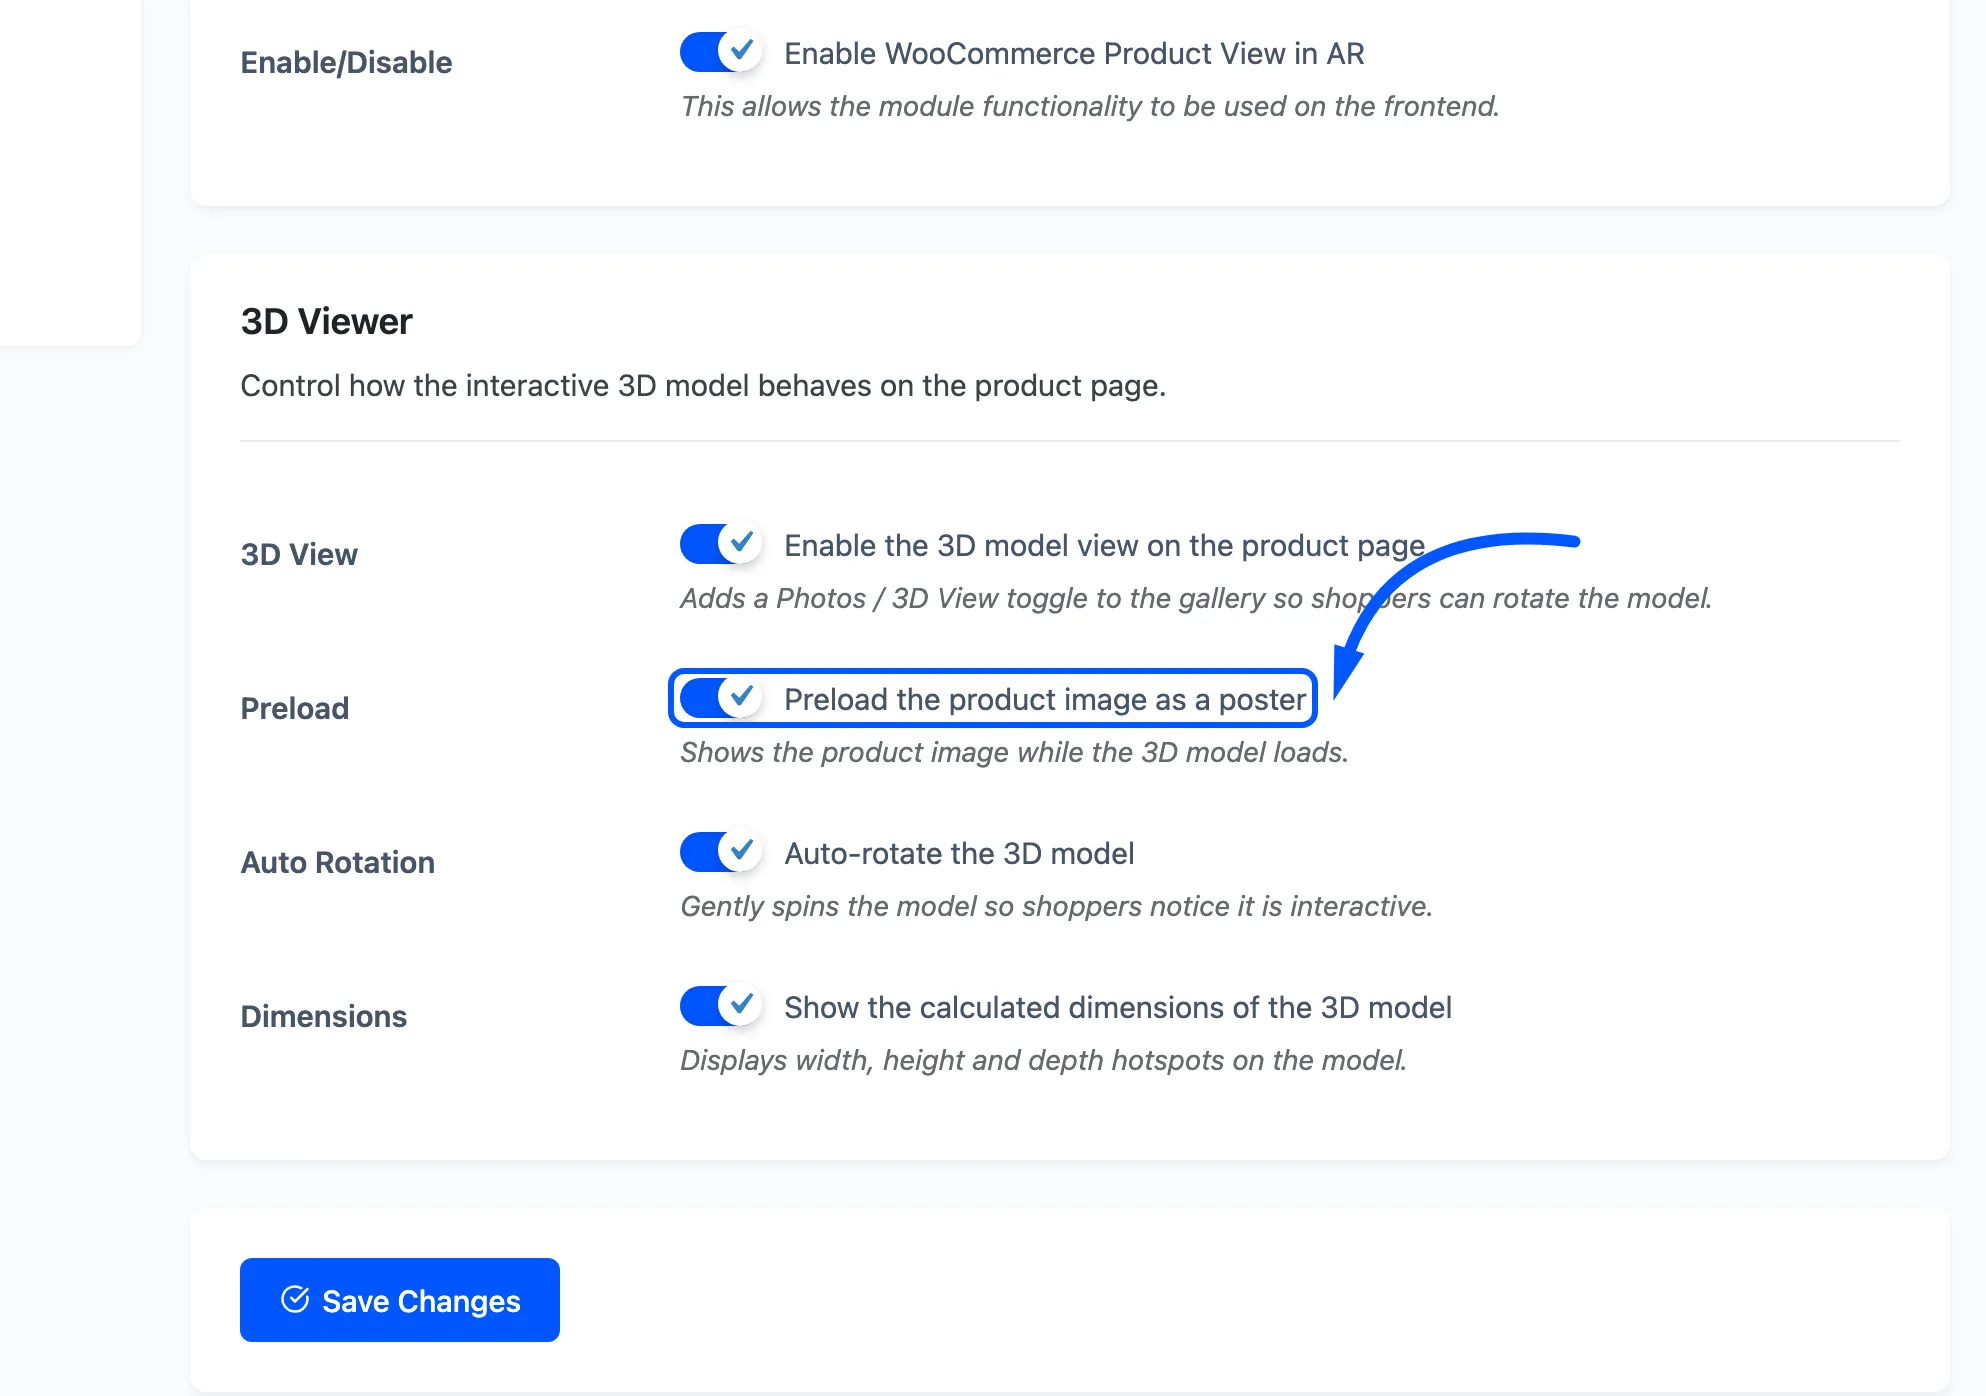
A model is several megabytes over a phone connection. This is the difference between a familiar photo and an empty box on the slowest part of the page. There is no good reason to turn it off.
Step 4: Decide on auto-rotation
Section titled “Step 4: Decide on auto-rotation”Auto Rotation turns the model slowly on its own when the viewer opens.
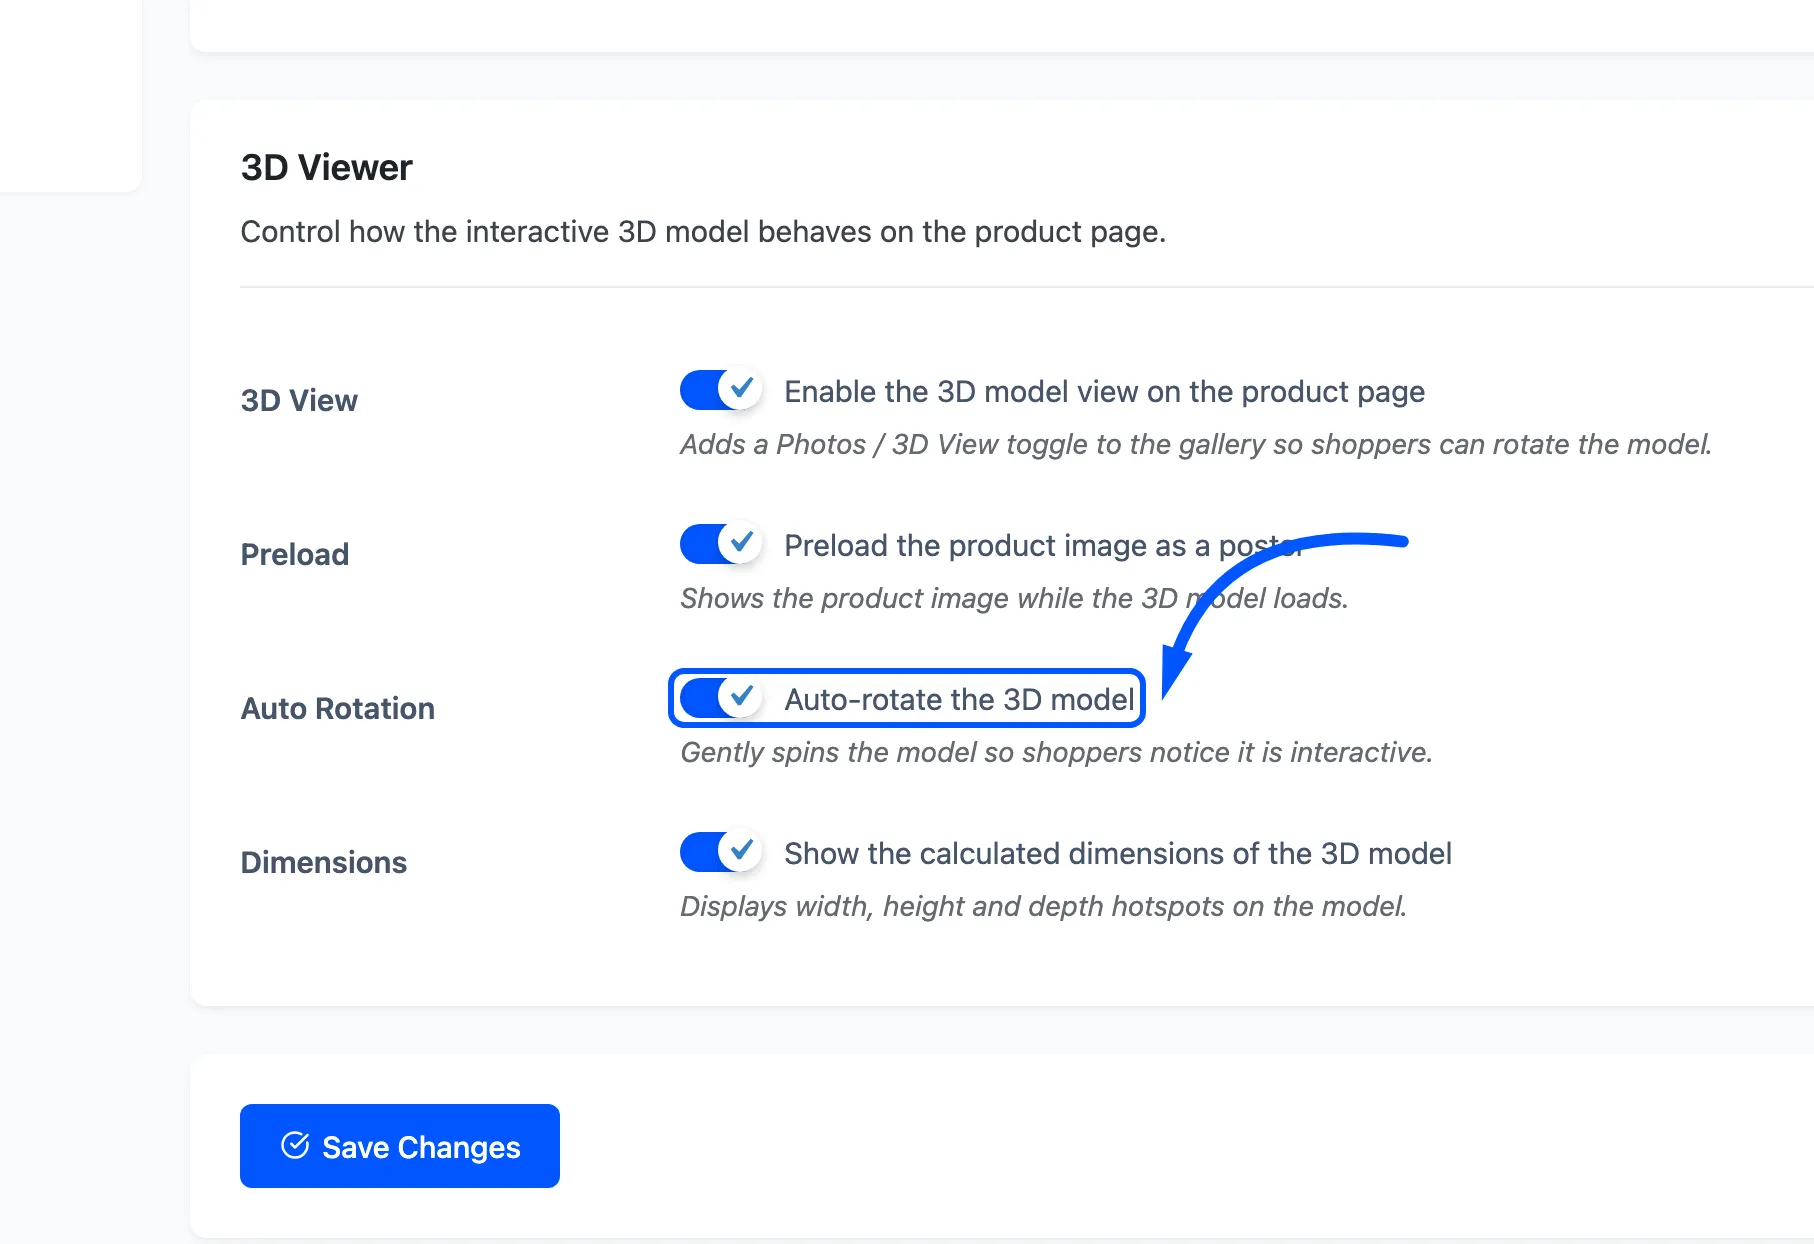
Its job is discovery, not decoration. A still 3D render is indistinguishable from a photo, so without it a good number of shoppers never work out they can drag. The moment the shopper drags, they take over.
Turn it off if your models are large and you would rather not have the device rendering continuously on a page shoppers may leave open.
Step 5: Decide on dimensions
Section titled “Step 5: Decide on dimensions”Dimensions labels the model with its own measured width, height and depth in centimetres.
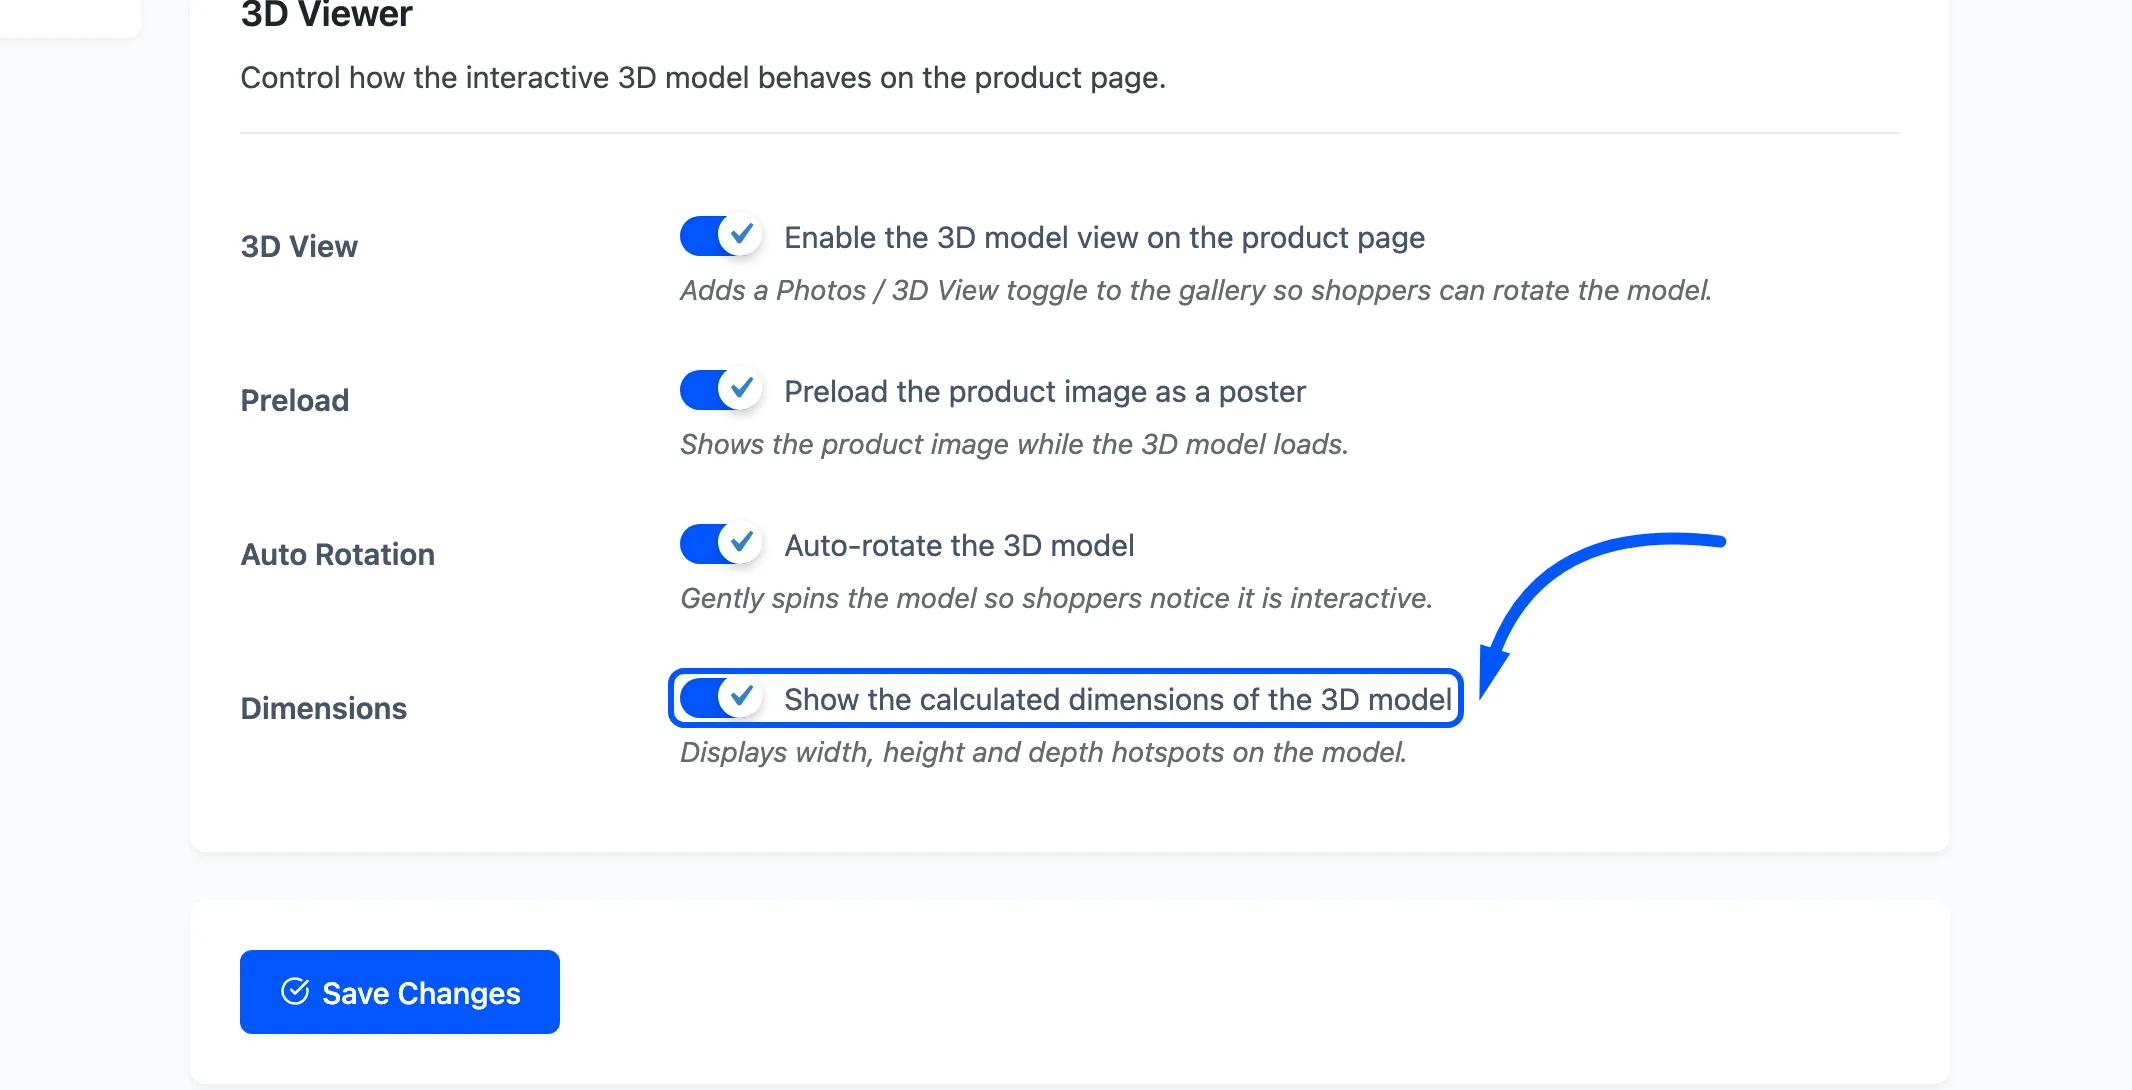
It changes what the viewer looks like more than any other setting here, so it has its own walkthrough. See How to Show Your Products’ Dimensions in 3D.
Step 6: Save and check a product page
Section titled “Step 6: Save and check a product page”Press Save Changes, then open a product that has a model.
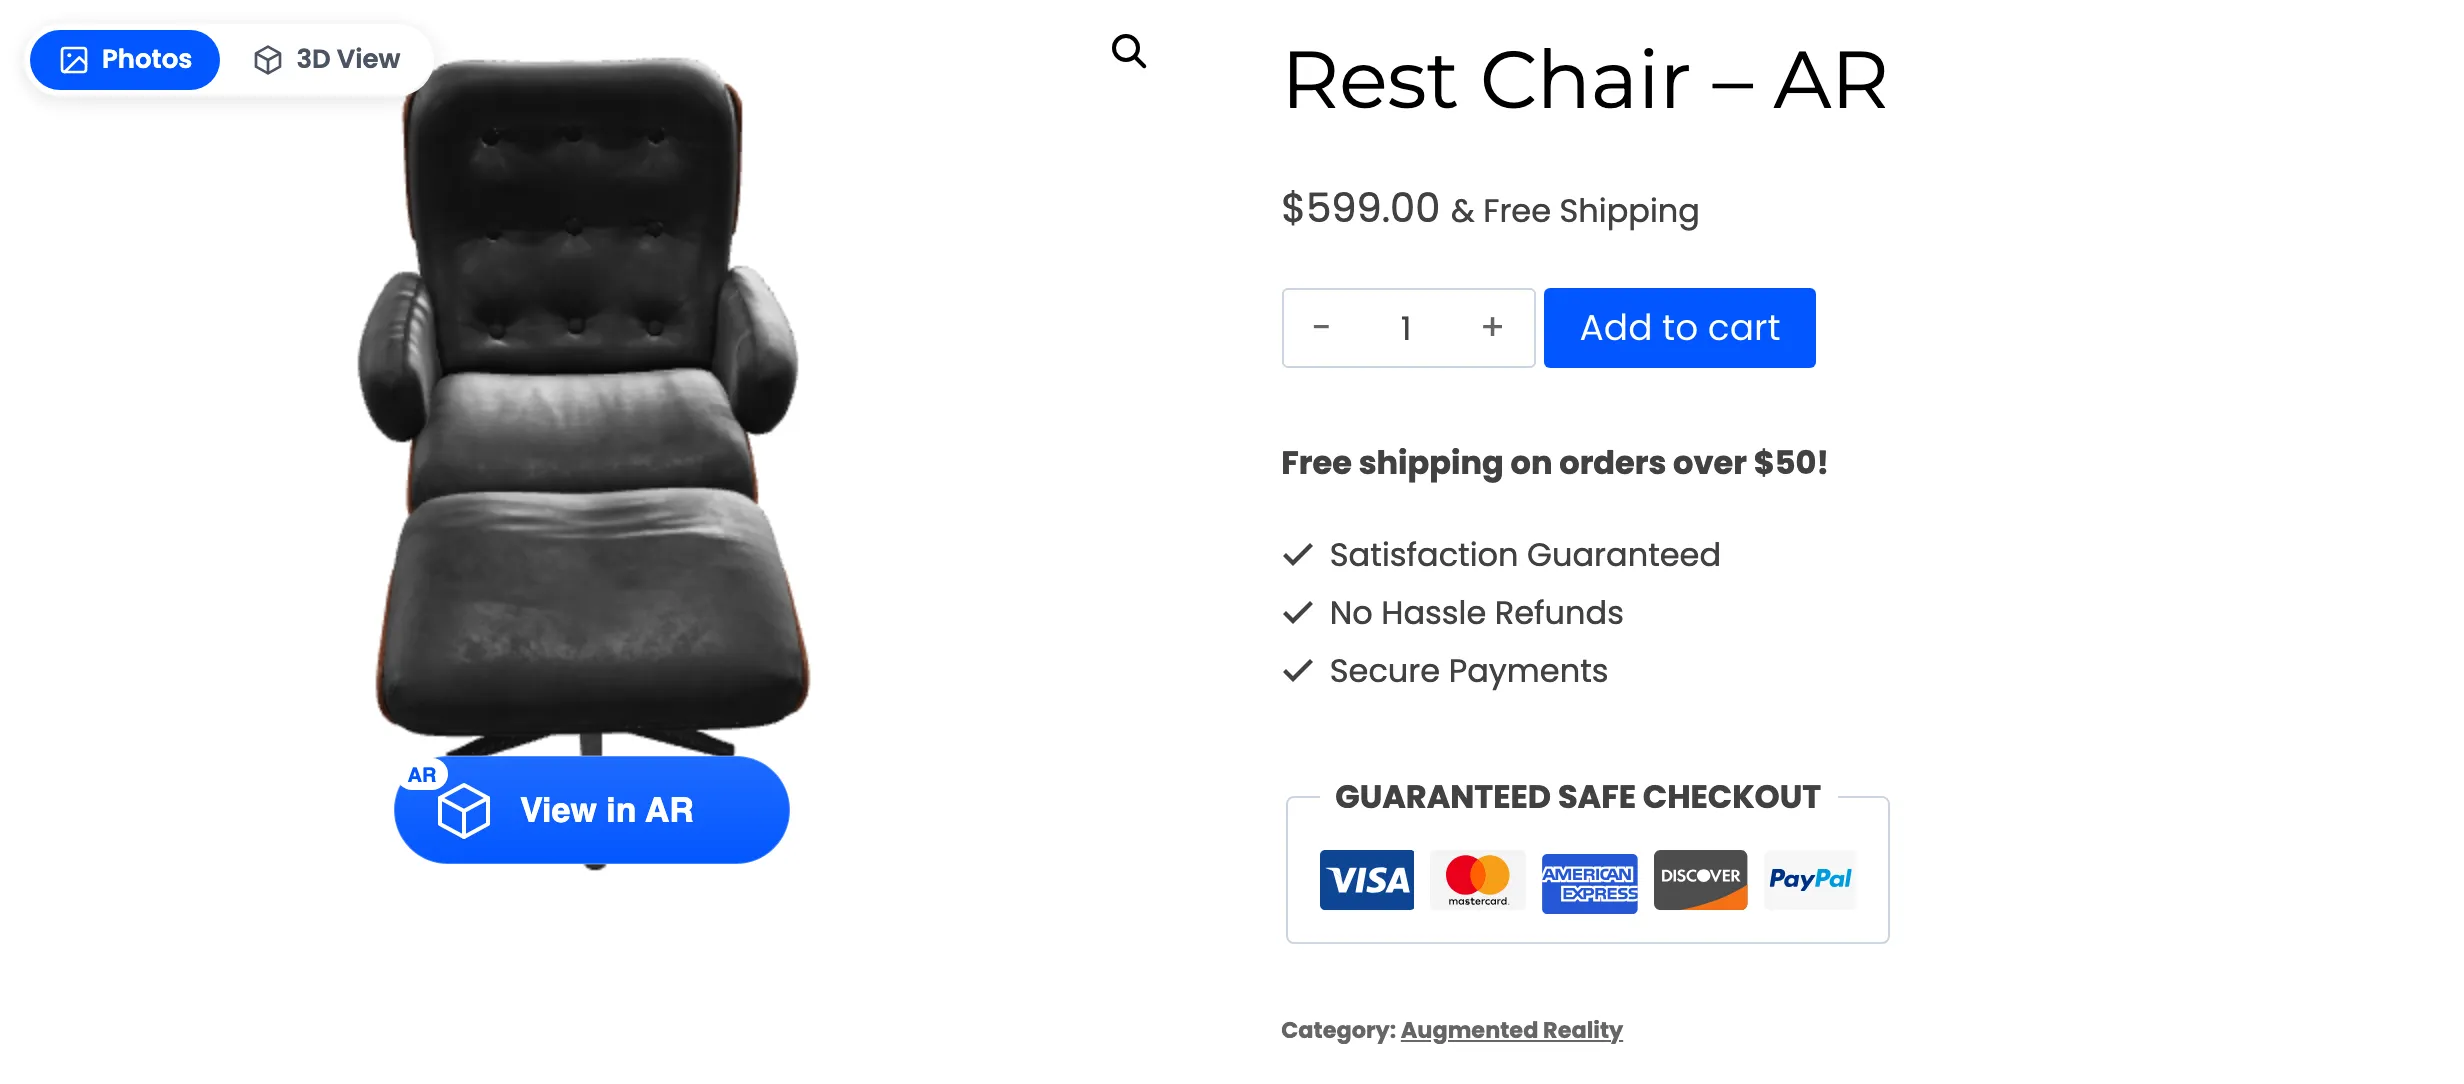
The gallery opens on photos, with the toggle in its corner. Press 3D View.
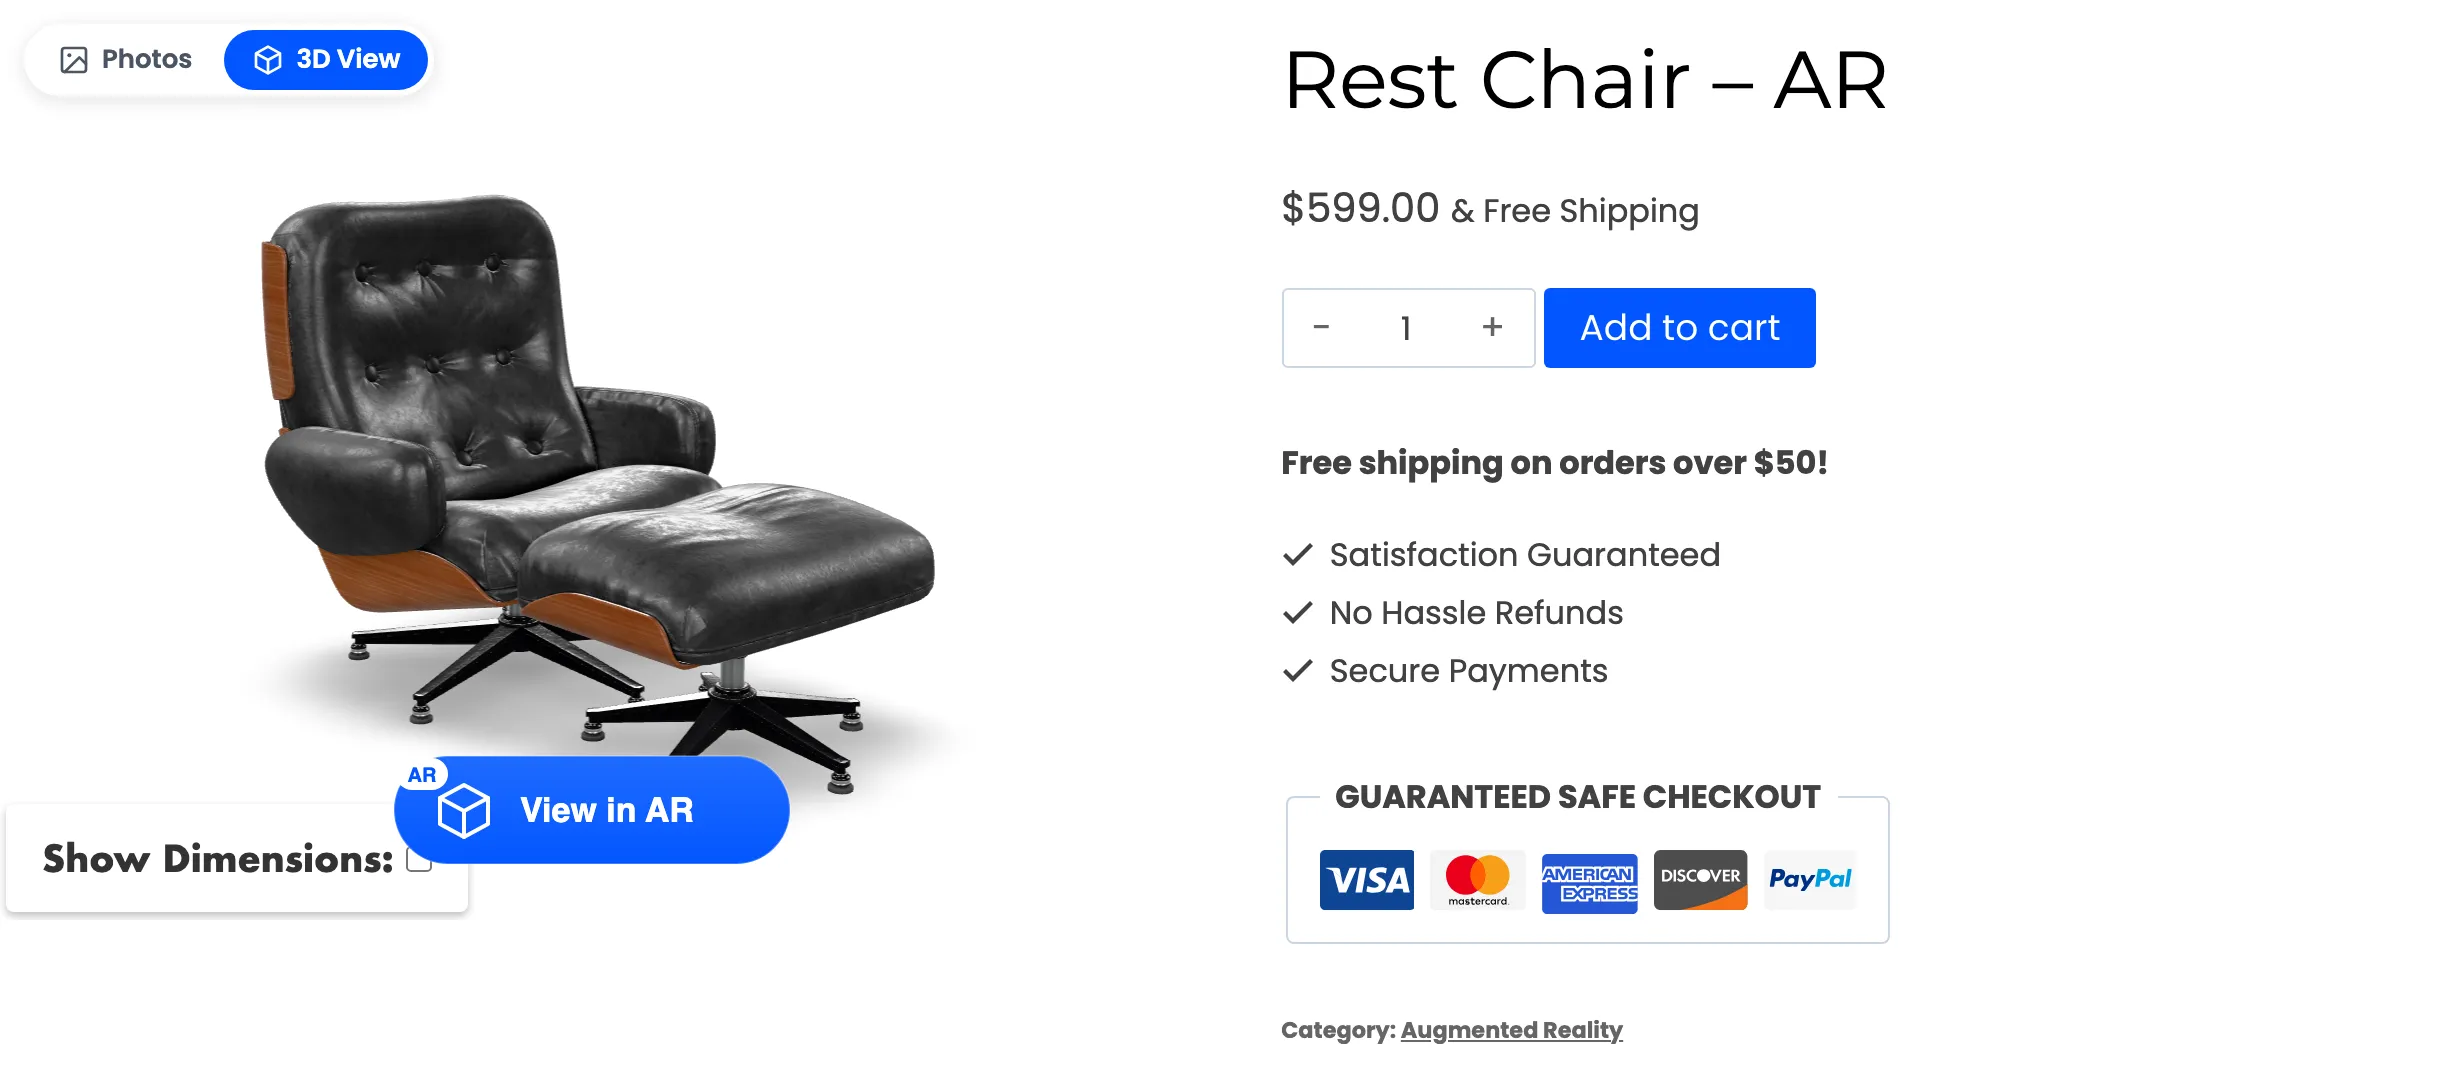
Watch the first three seconds specifically. That is where Preload and Auto Rotation earn their place. The photo should be there instantly, and the model should replace it without the box ever going empty. With auto-rotation on, it should be turning by the time you look at it.