

The Customer Experience
This is the whole journey from the shopper’s side, in the order they meet it. Read it once before you change any of the appearance settings. Most of those settings only make sense once you know what they are moving.
What they see first
Section titled “What they see first”A product with a model looks like an ordinary product page with two extra controls over the gallery.
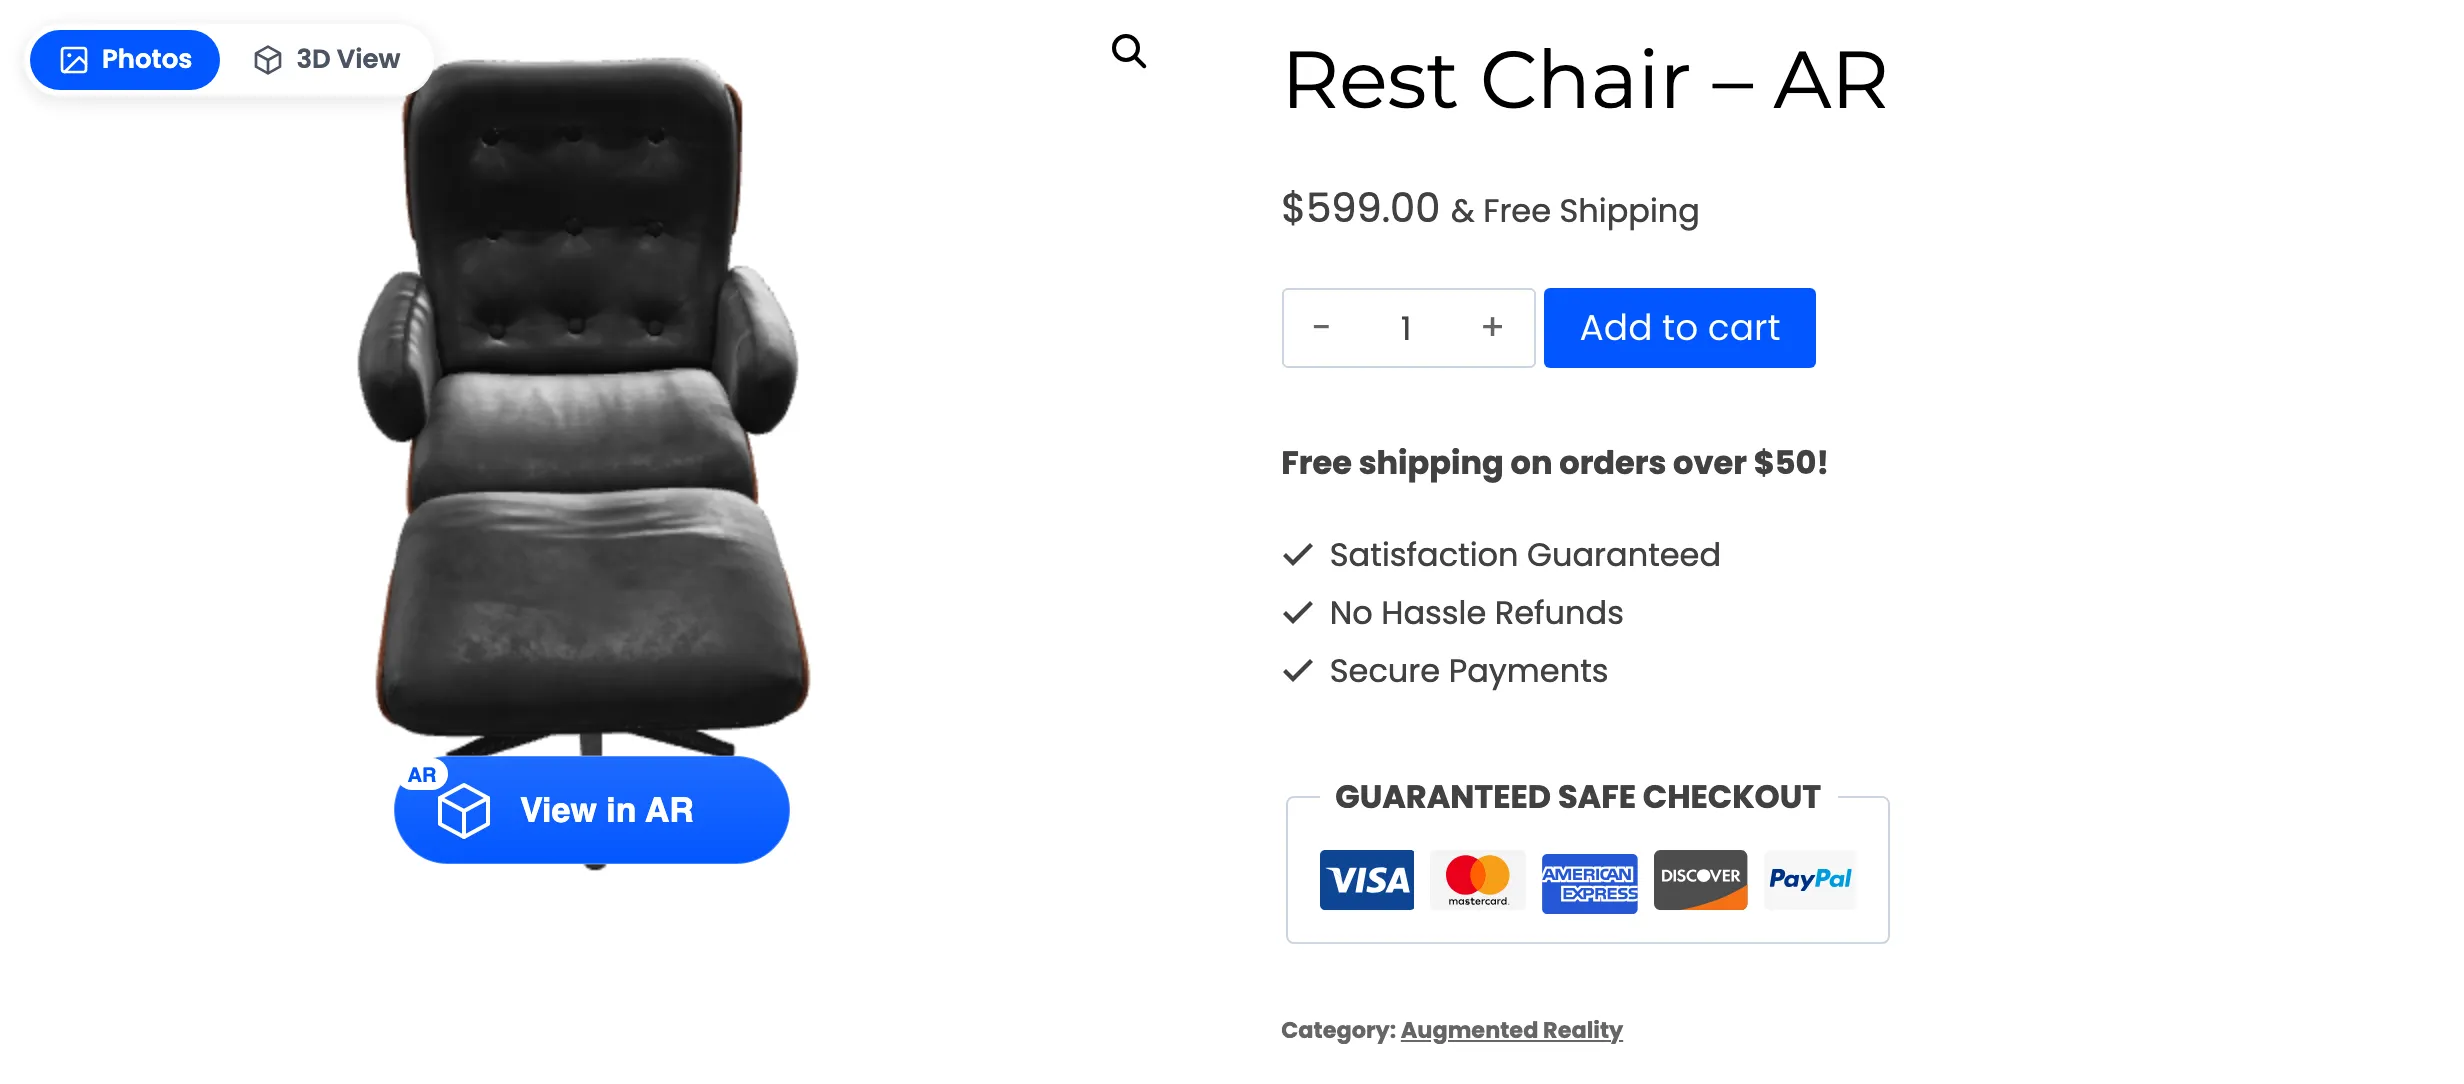
The gallery still opens on photos. Nothing autoplays, nothing loads a 3D library, and the page weighs what it always did. The toggle and the button are the only invitations.
Turning the product over
Section titled “Turning the product over”Pressing 3D View swaps the photos for the model.
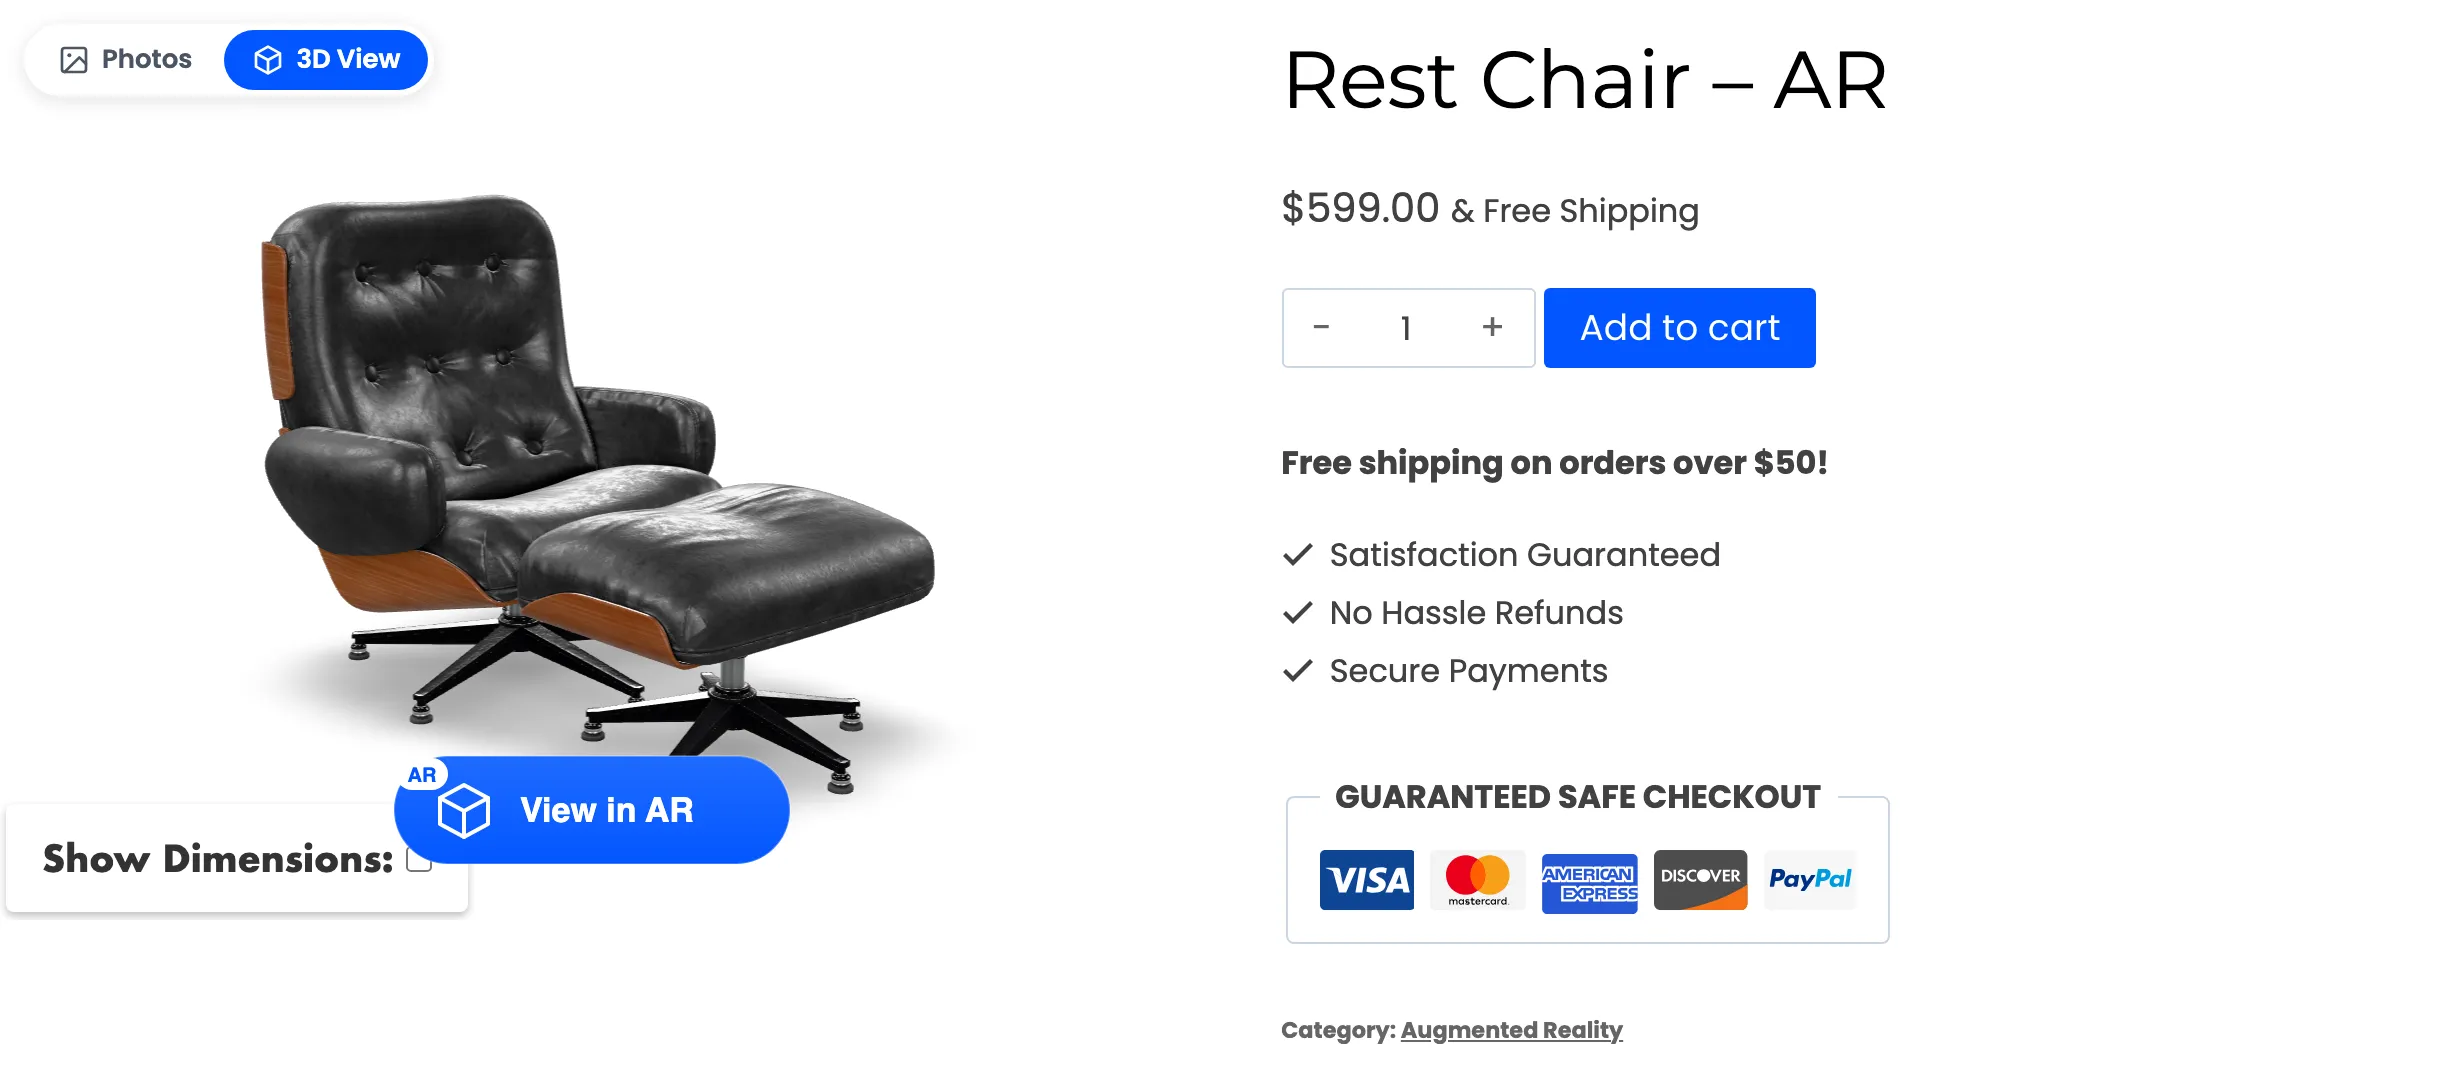
From here a shopper can drag to spin, pinch or scroll to zoom, and drag with two fingers to pan. Pressing Photos puts the gallery back, unchanged.
The model itself is a large file, so on a slow connection the product’s own photo sits in its place until it is ready. That is the Preload poster, and it is why the viewer never shows an empty box.
If auto-rotation is on, the model turns slowly on its own for the first few seconds. That is doing one job: telling a shopper who has never seen a 3D viewer that this picture is different from the others.
Seeing the size
Section titled “Seeing the size”With Dimensions on, the model carries its own measurements.
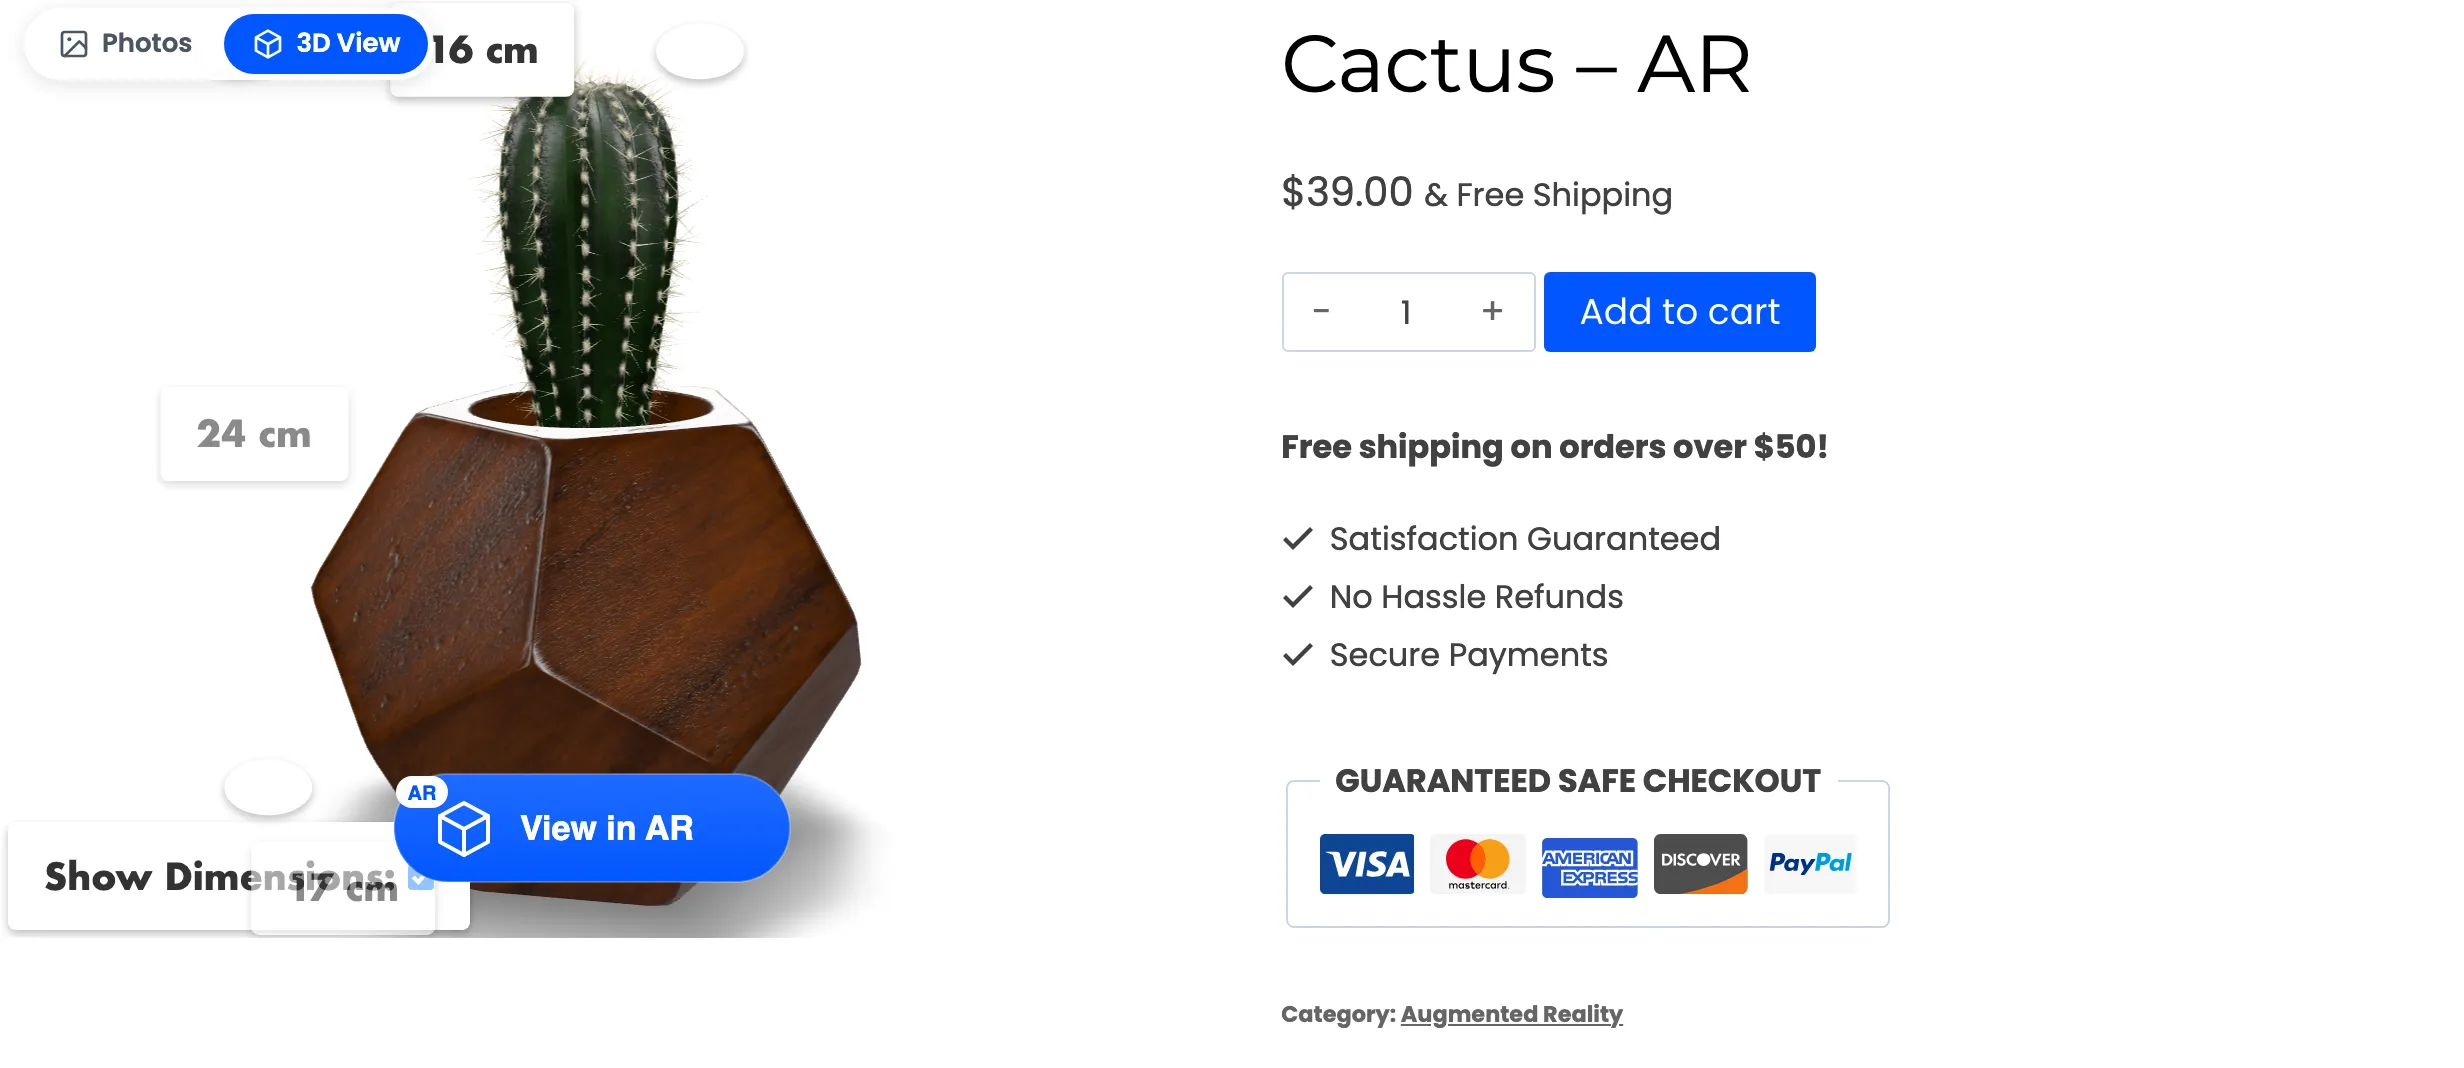
Width, height and depth appear in centimetres on the model itself, with a Show Dimensions checkbox to hide them again. This is measured from the model, so it answers “will it fit the alcove” without the shopper opening the specifications tab.
Placing it in the room, on a phone
Section titled “Placing it in the room, on a phone”On a phone the View in AR button is a direct link into the phone’s own AR viewer.
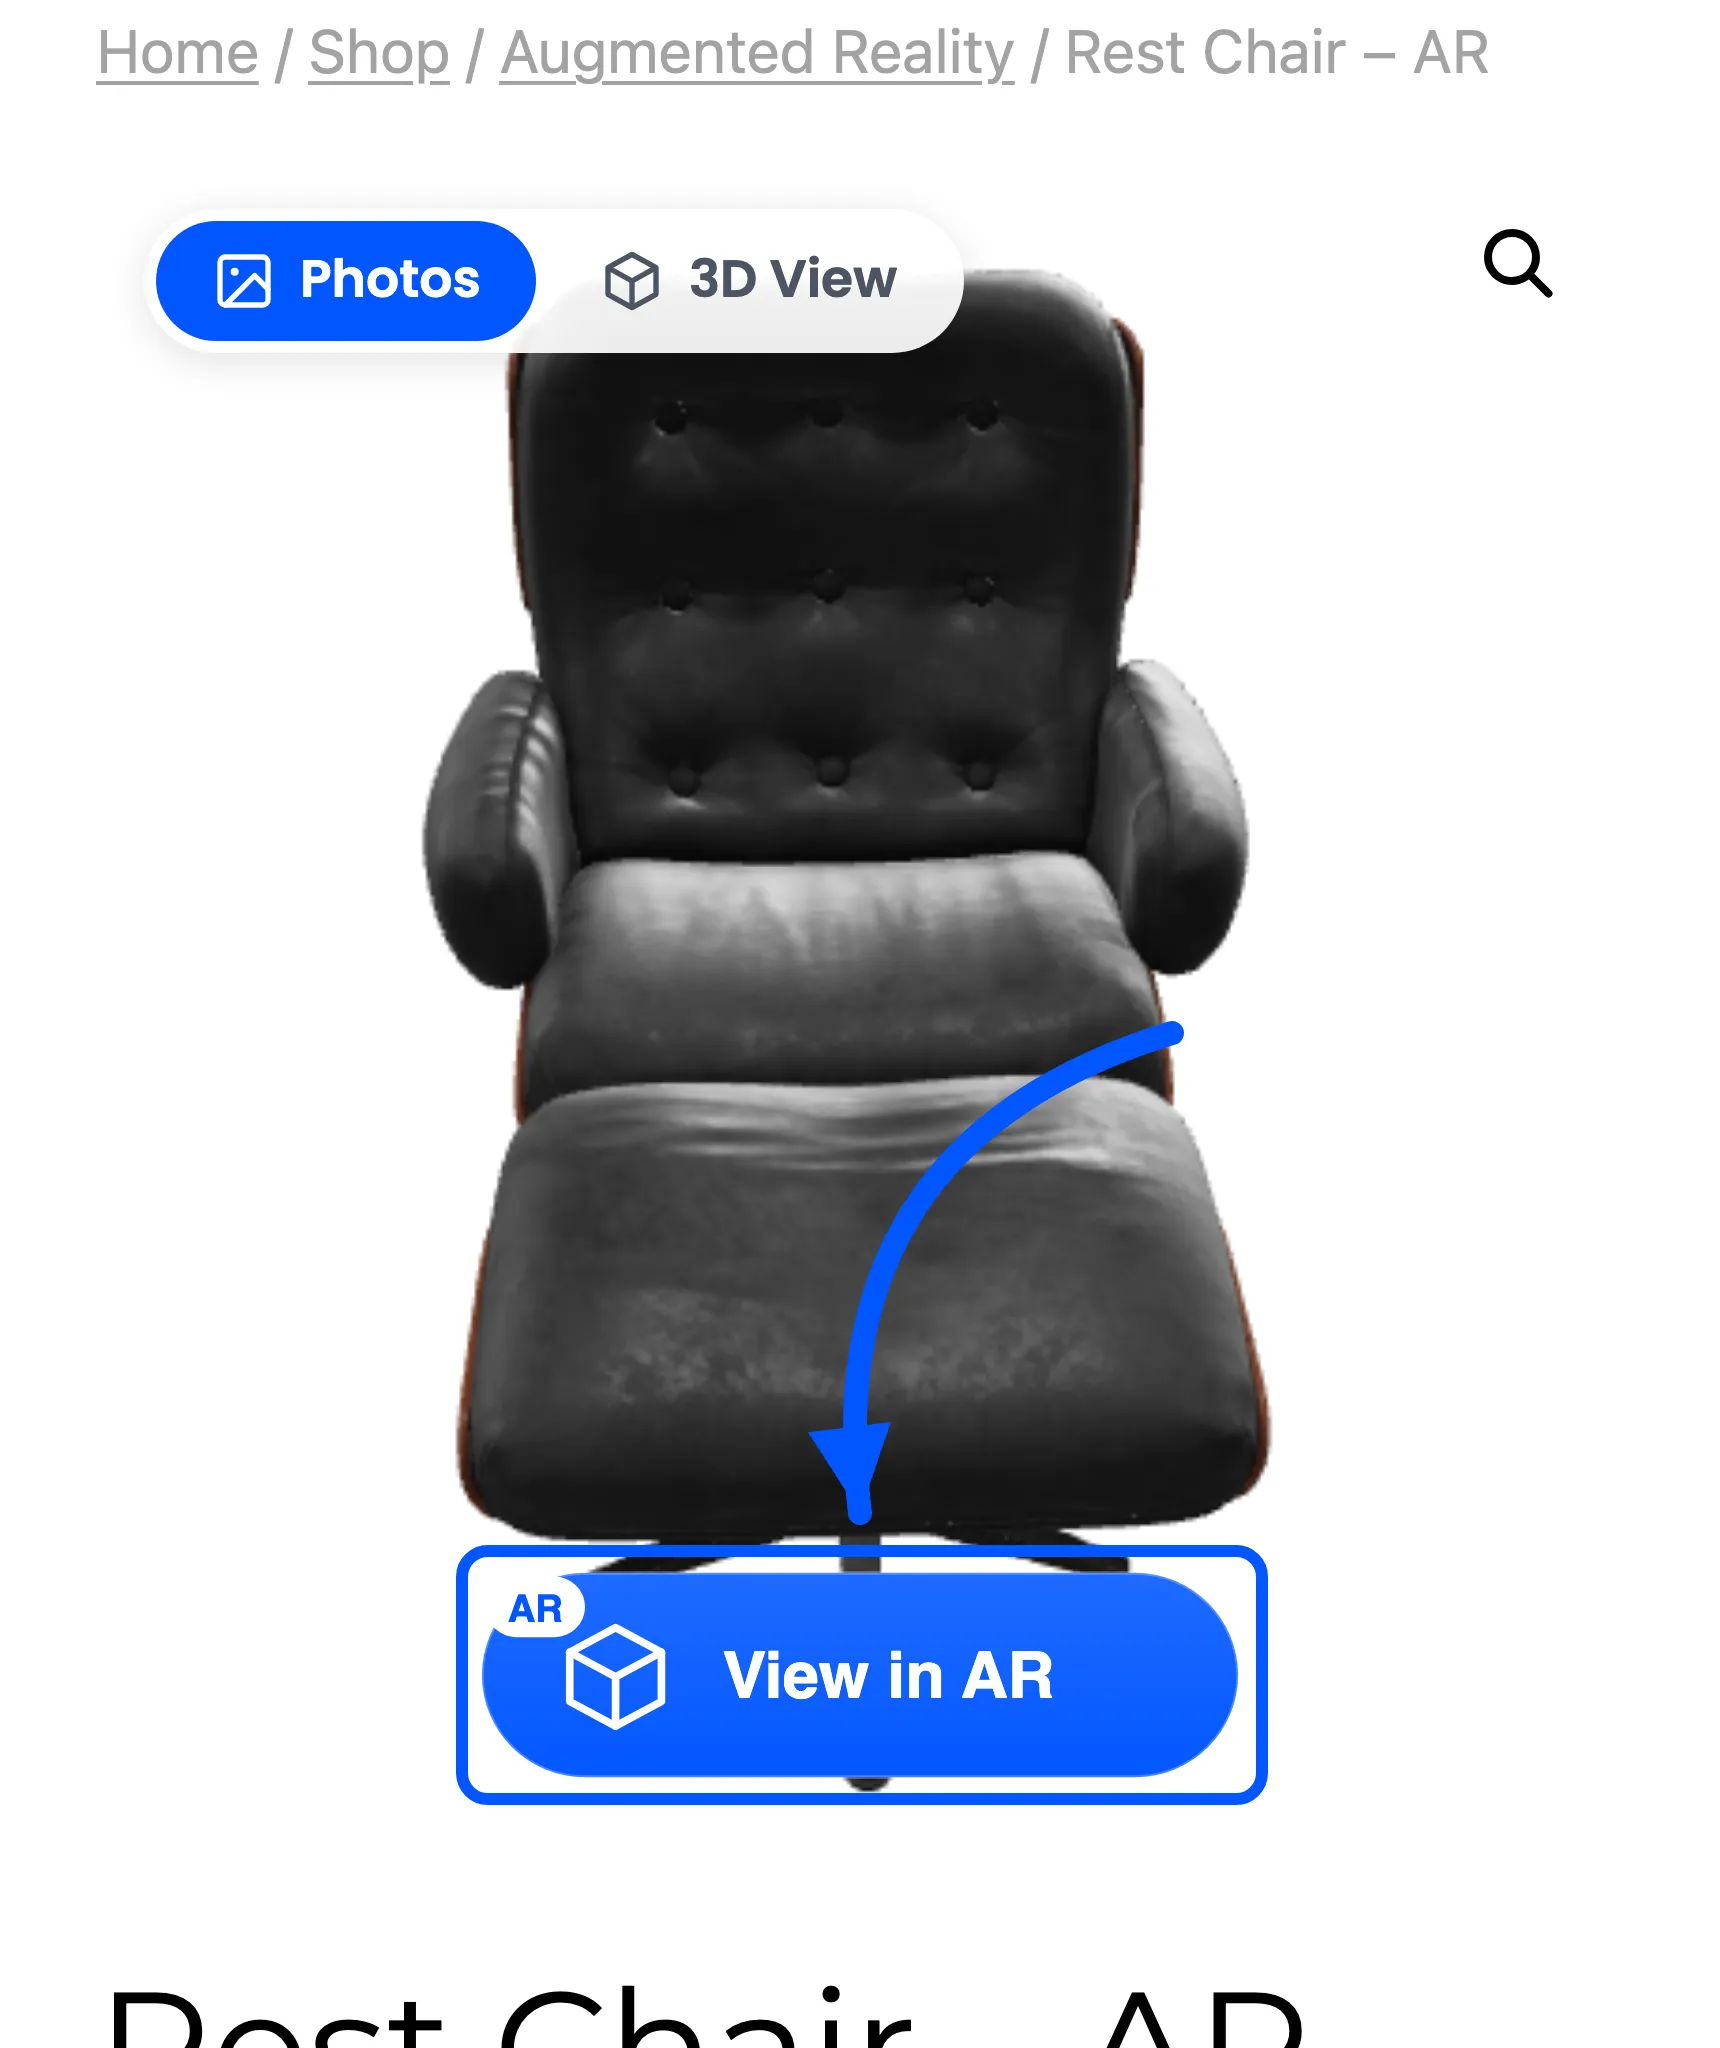
Pressing it hands over to Google’s Scene Viewer on Android or AR Quick Look on iPhone and iPad. The shopper points the camera at the floor, the product appears at real size, and they can walk around it. Nothing to install, and no account.


Two things in those recordings are the operating system’s, not yours. The floor-sweep prompt is how each viewer finds a surface, and the percentage badge is its scale readout. Neither can be styled, relabelled or switched off from the plugin.
Coming back is the browser’s back gesture, and they land on the product page where they left it, with the cart untouched.
Placing it in the room, from a desktop
Section titled “Placing it in the room, from a desktop”A desktop browser has nowhere to put a chair, so the same button opens a QR code.
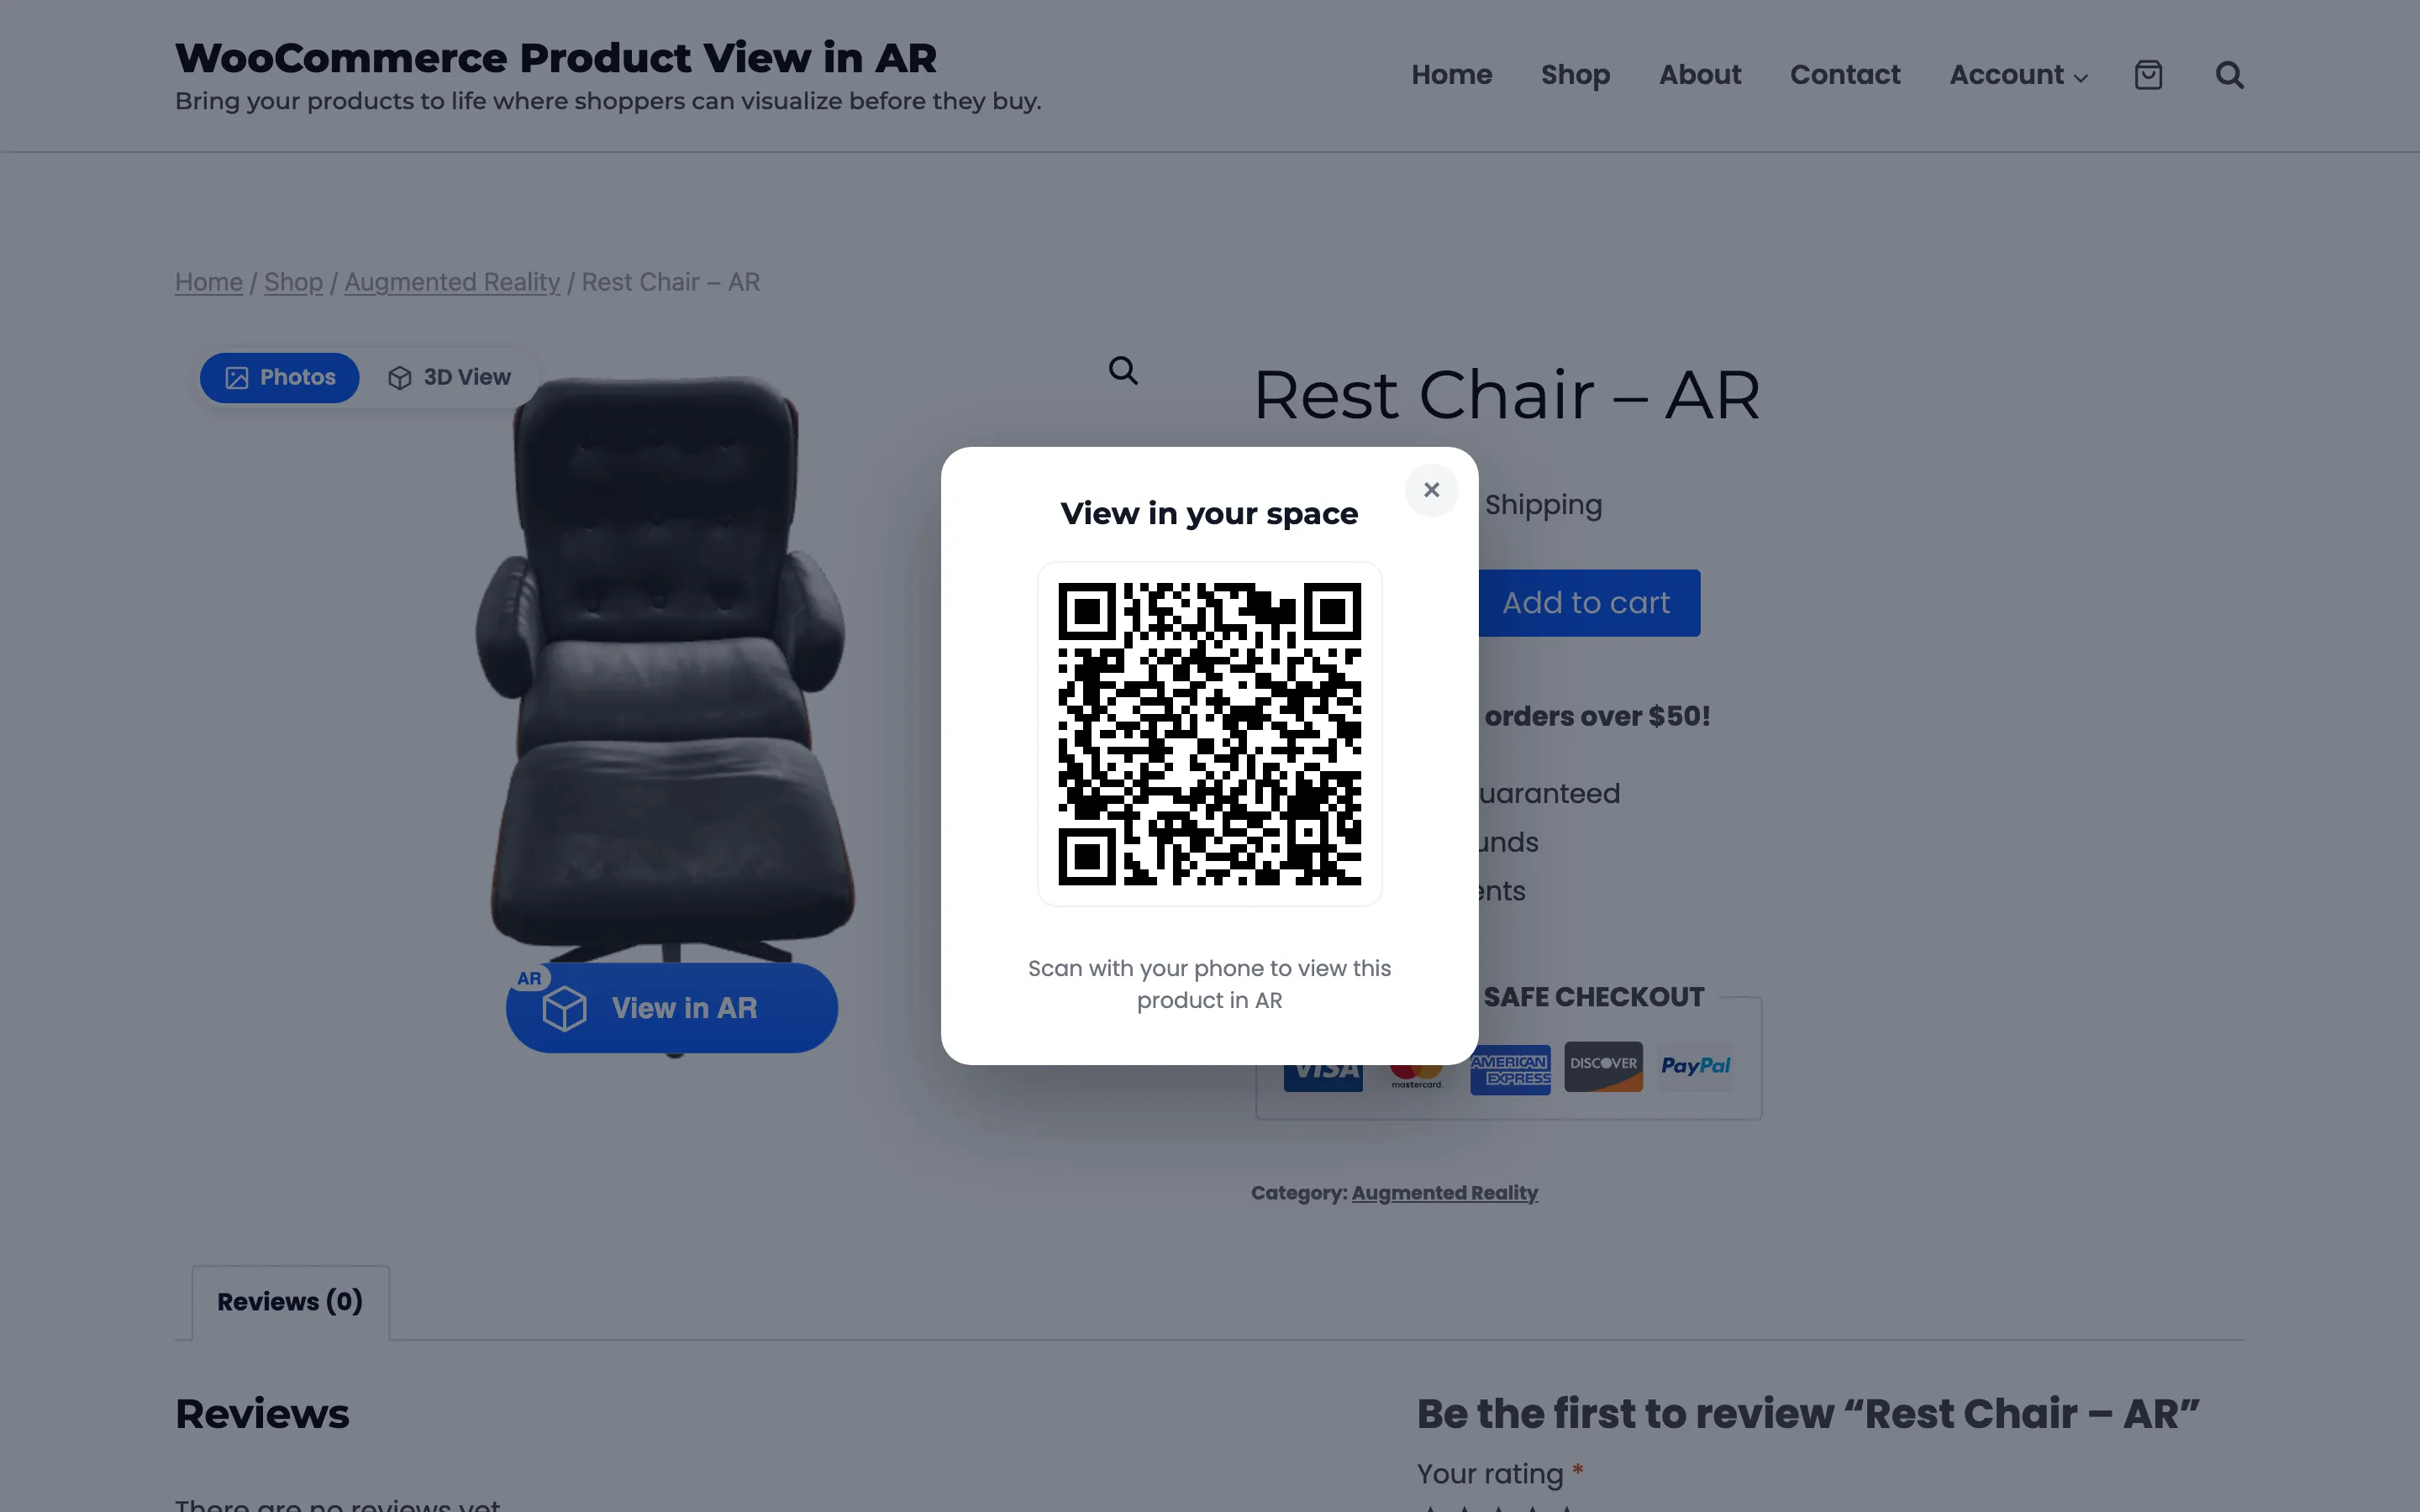
The code encodes this product’s own URL, so scanning it opens this product on their phone, where the AR button is the real one. The caption under it is yours to write, and the popup closes on the X, on the backdrop, or with Escape.
With the QR hand-off off, a desktop shopper sees no AR button at all and the 3D viewer is the whole experience. That is deliberate. AR needs a camera, and a button that cannot work costs more trust than it earns.
Choosing a variation
Section titled “Choosing a variation”On a variable product the model follows the choice. Picking Oak loads the oak model; switching to Walnut swaps it. A variation with no model of its own removes the toggle and the button until the shopper picks one that has one. Worth knowing before you model half a range.
What is never asked of them
Section titled “What is never asked of them”No app, no account, no permission prompt from your site, and no personal data. The camera permission belongs to the phone’s own AR viewer, granted once by the operating system. All your store records is that a product was viewed in 3D or AR, from a mobile or a desktop device.