

Products
Products is the working screen. Every model file on your store is attached and removed here, one row per product, with no need to open the product editor at all.
Go to DevDiggers Plugins → Product View in AR → Products.
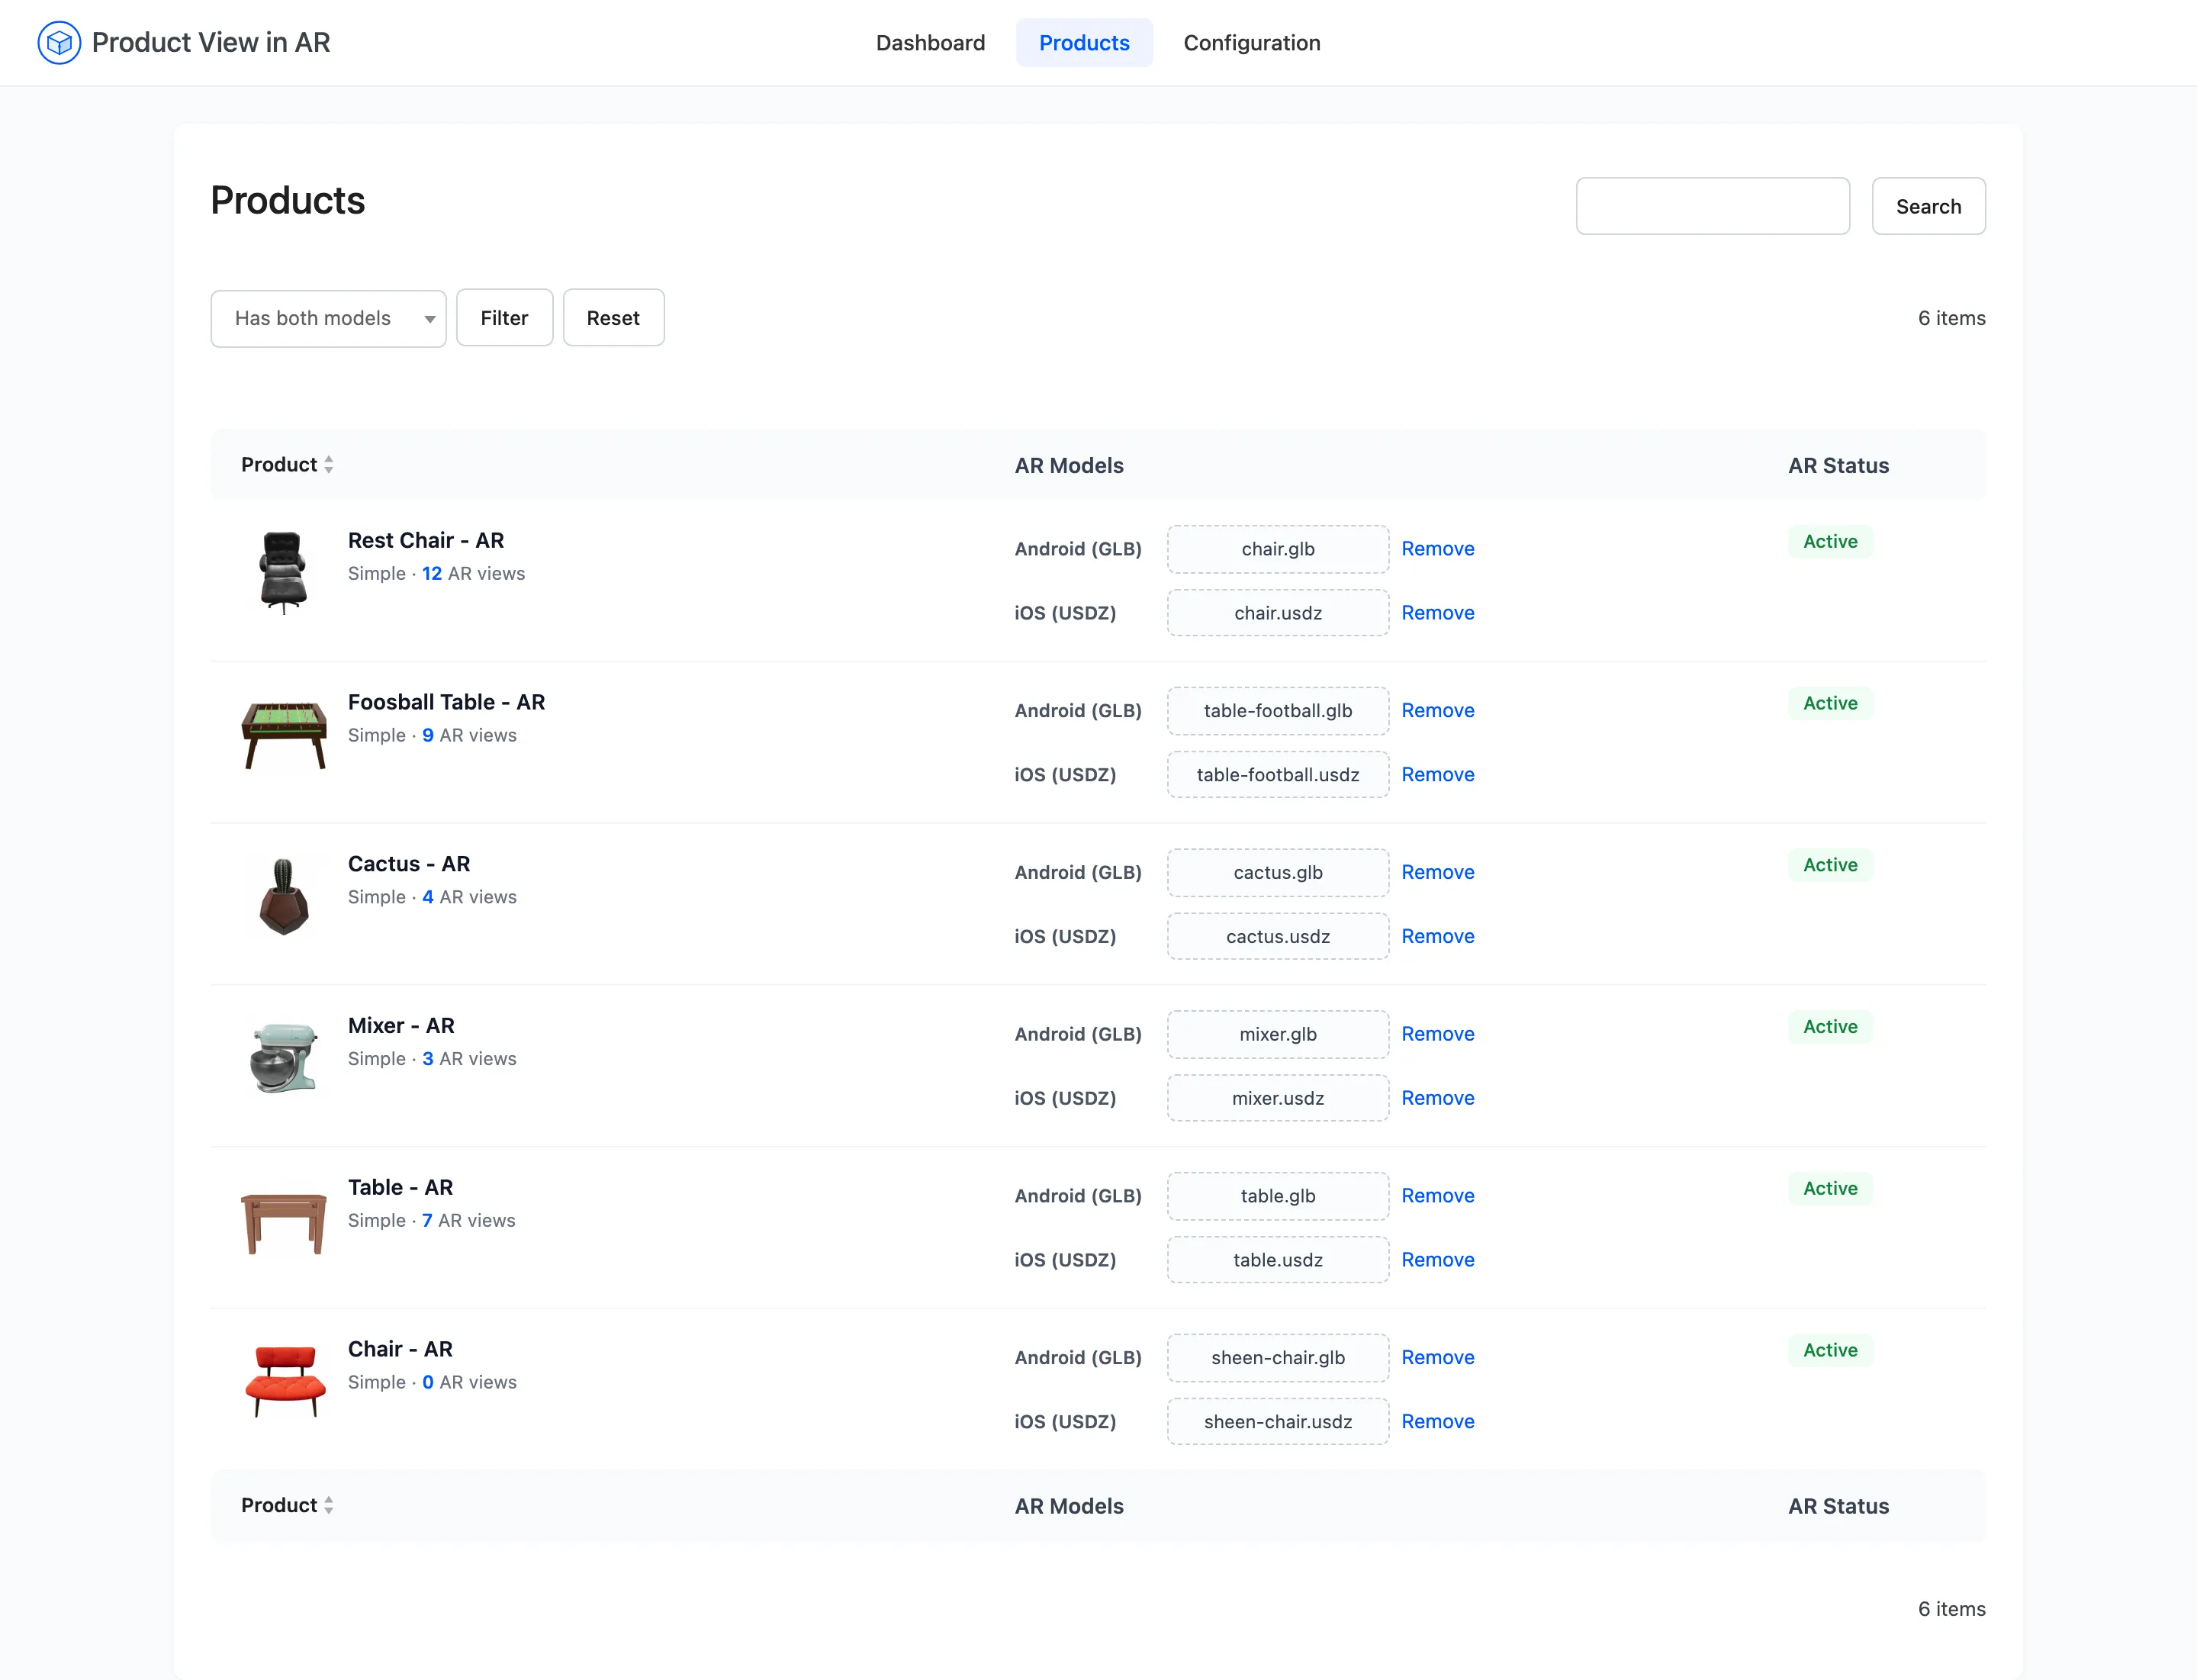
The three columns
Section titled “The three columns”- Product shows the thumbnail, the name, whether it is Simple or a Variation, and its total AR view count. Hovering a row reveals Edit and View links to the WooCommerce product editor and the live product page. The view count is Pro, so a free row ends at the type.
- AR Models holds two upload controls, one labelled Android (GLB) and one iOS (USDZ). Each shows either the word Upload or the filename already attached, with a Remove link beside it.
- AR Status is a badge: Active when the product has at least one model file, Inactive when it has neither.
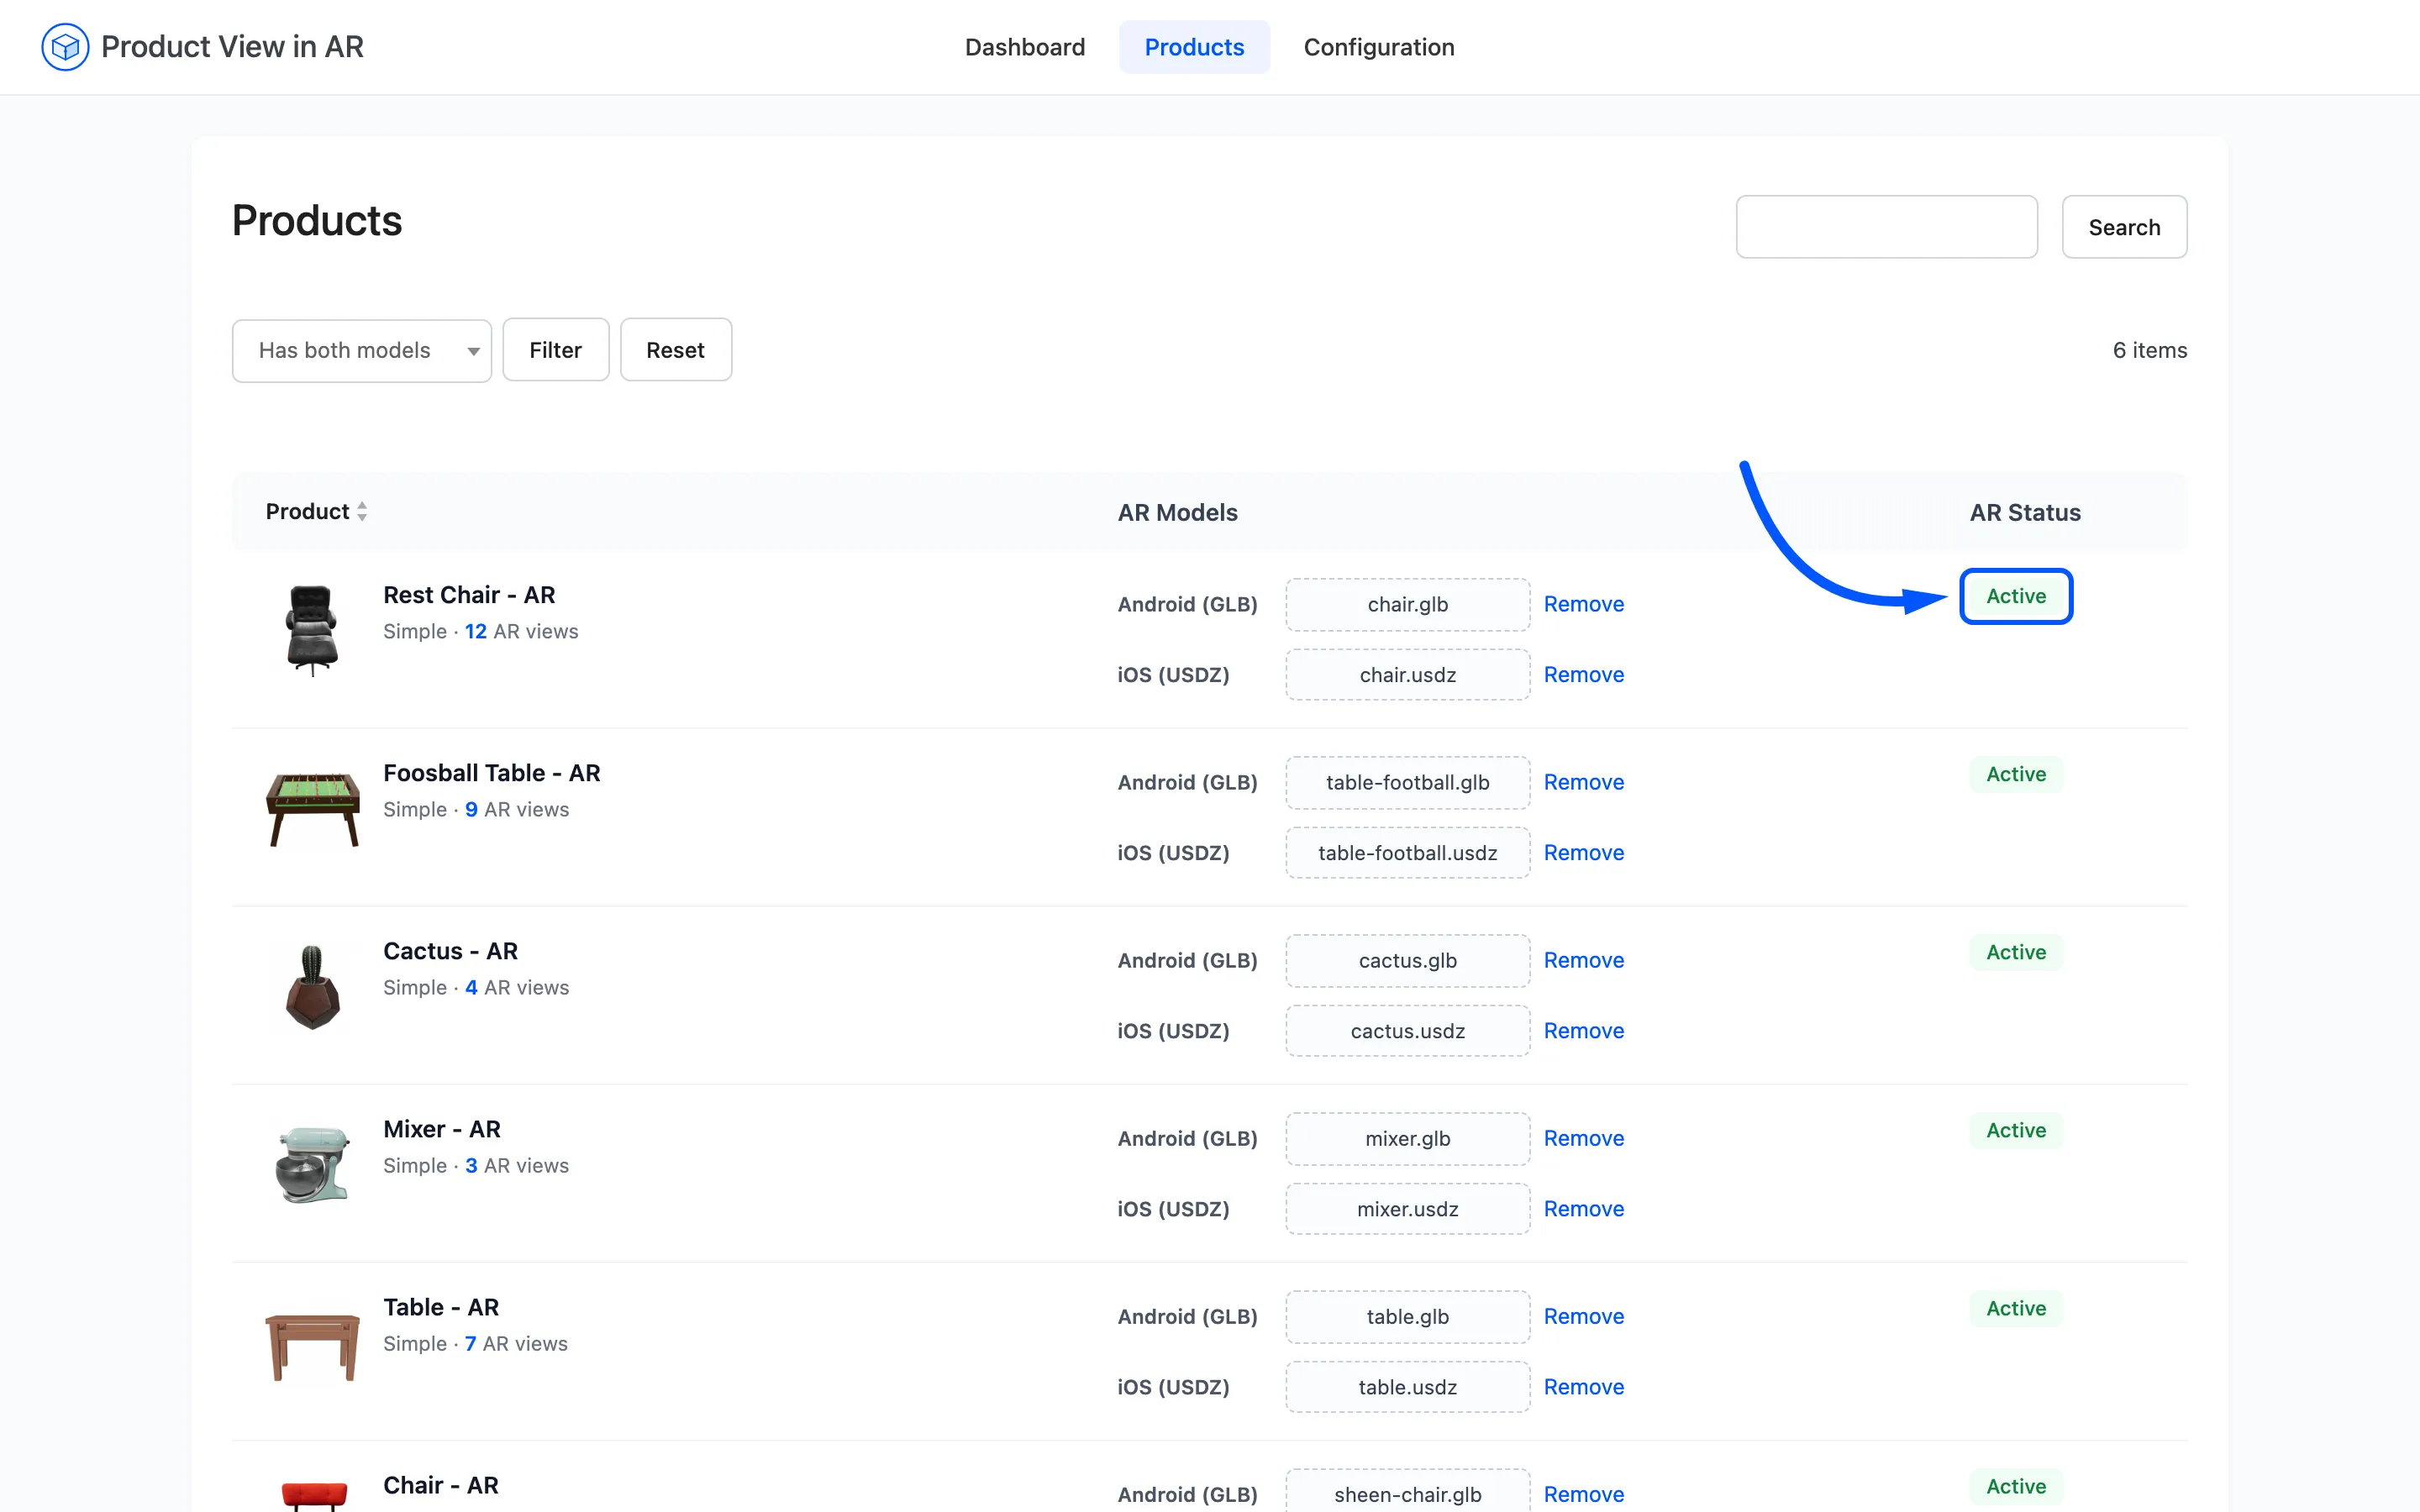
Active does not mean complete. A product with only a .usdz reads Active and still has no 3D
toggle anywhere. The dashboard’s Complete (Both) card is the number that catches that. This badge
answers a simpler question: does the product carry anything at all.
Filtering by coverage
Section titled “Filtering by coverage”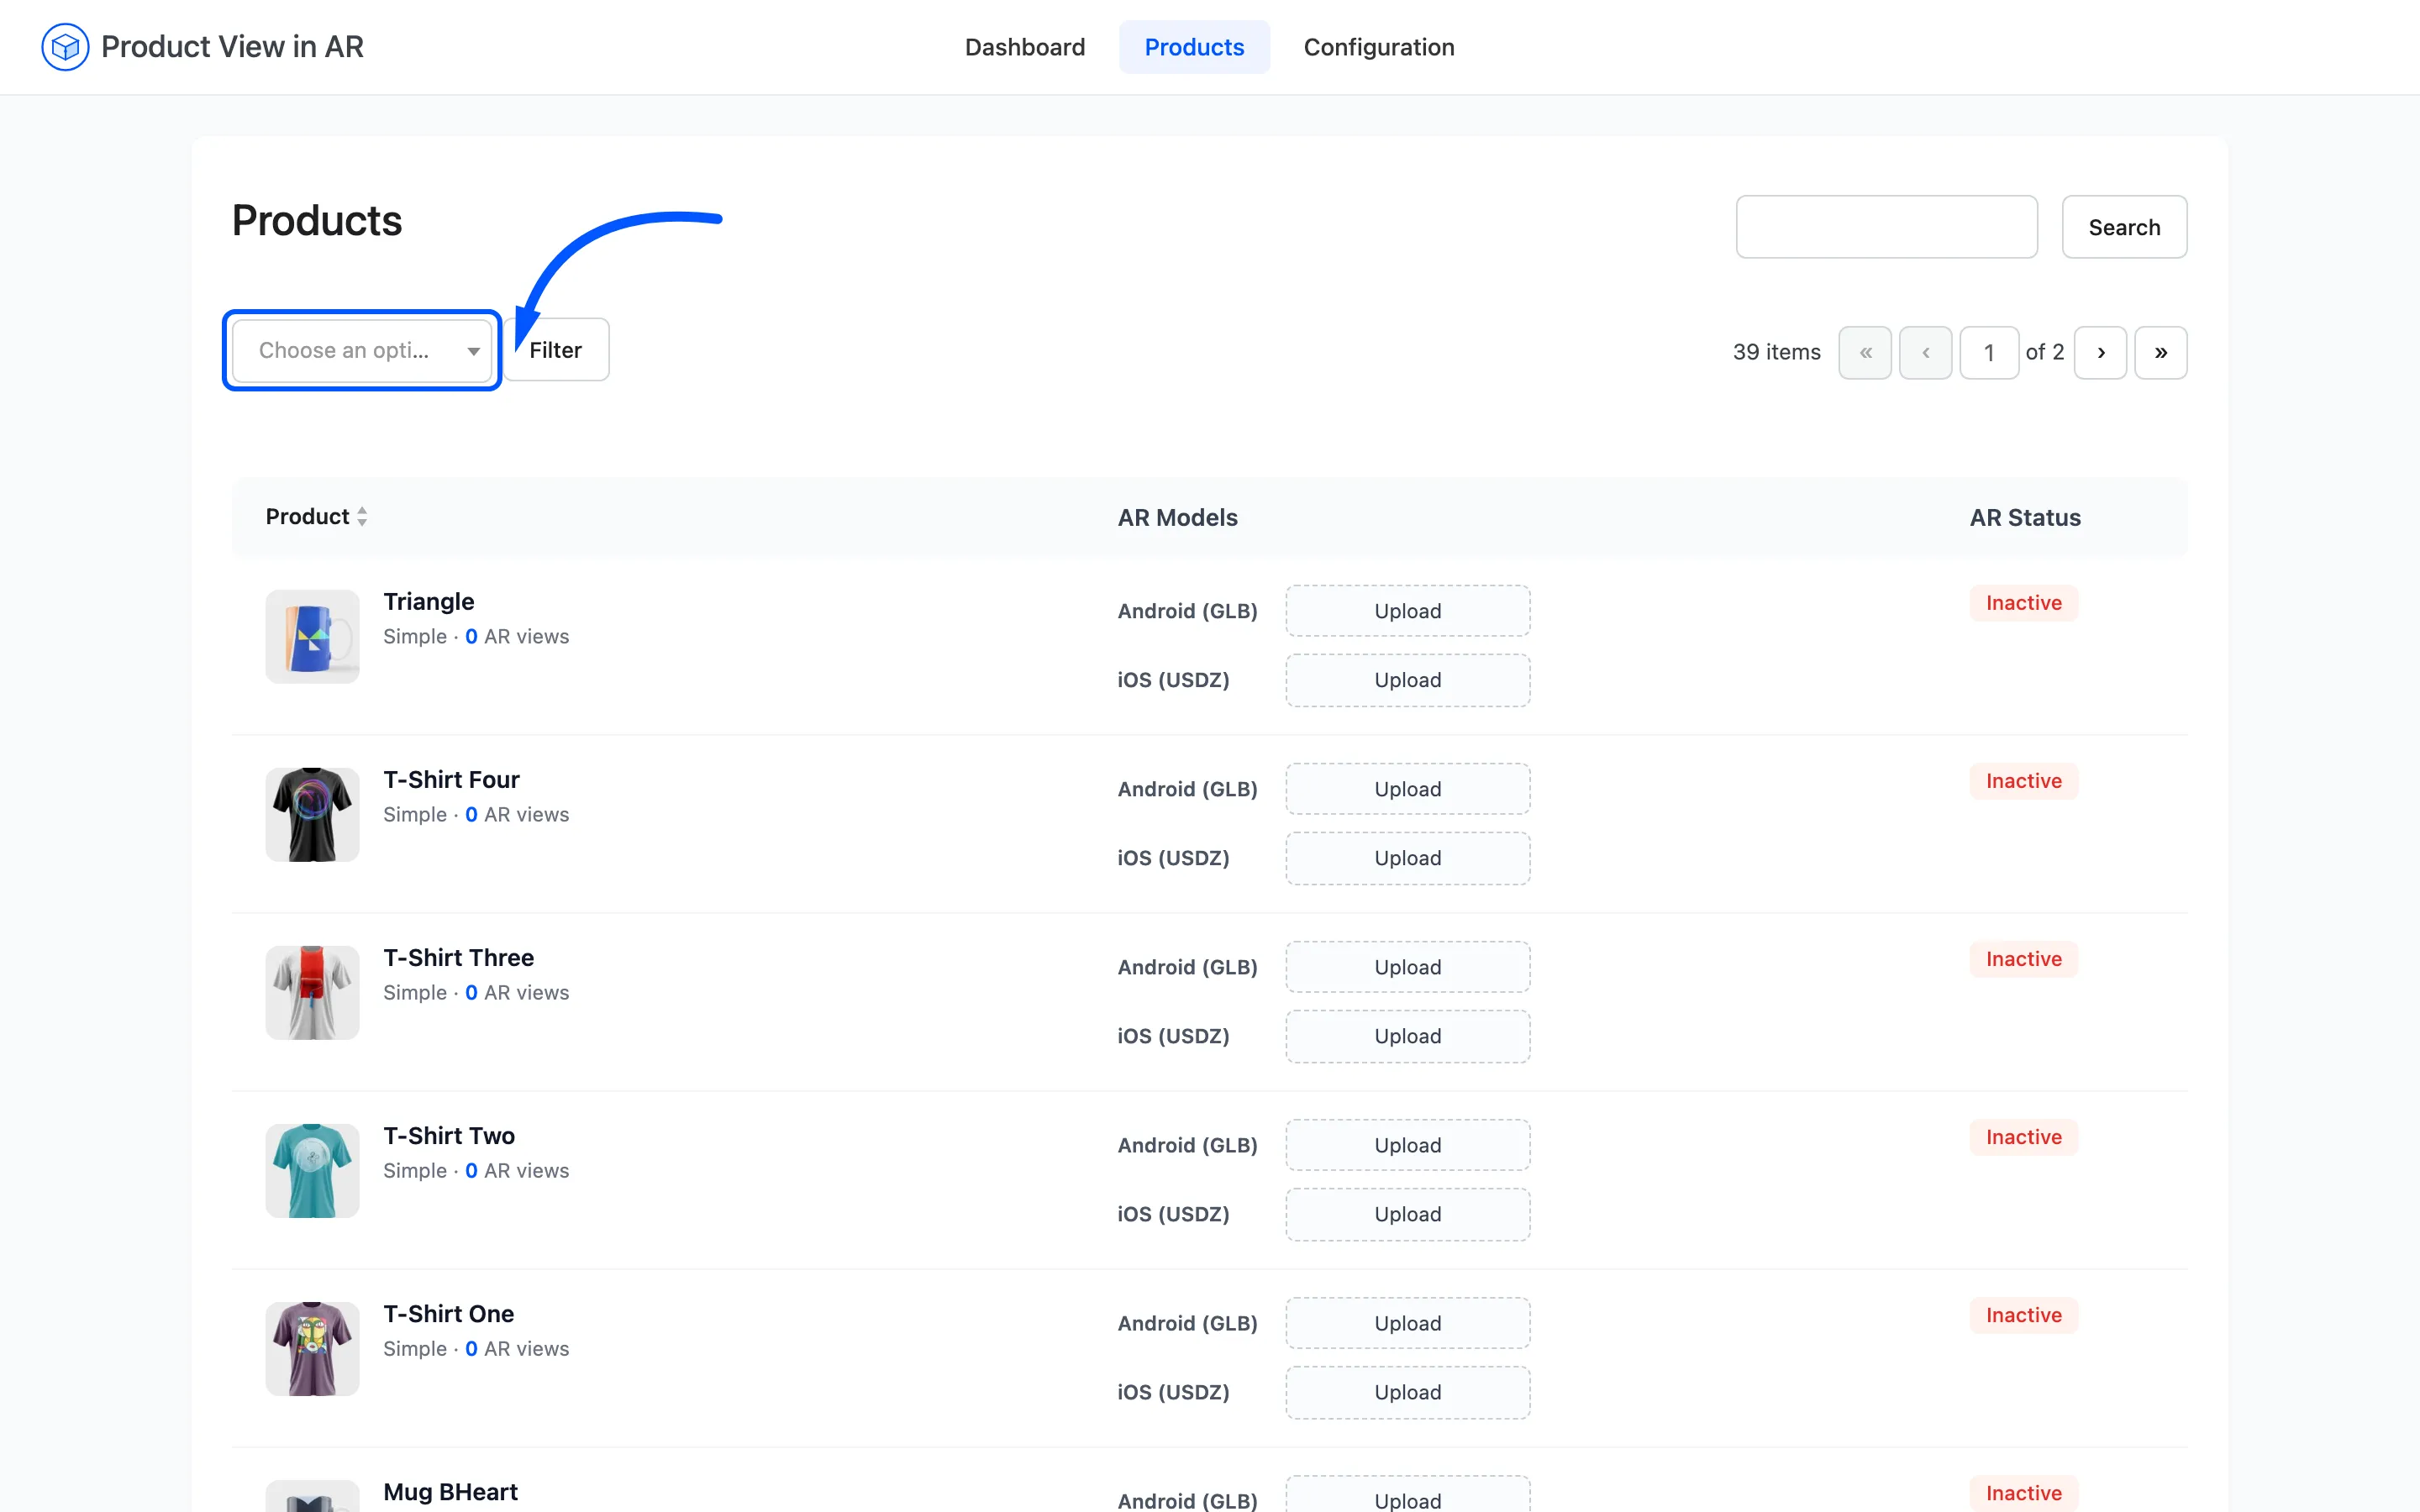
The dropdown above the table narrows the list five ways, and it is the main tool for working through a catalogue.
- All products shows everything published.
- Missing AR model shows products with neither file. This is your to-do list.
- Has Android (GLB) shows products with a
.glb. - Has iOS (USDZ) shows products with a
.usdz. - Has both models shows the finished ones.
Press Filter to apply. A Reset button appears beside it once a filter is active.
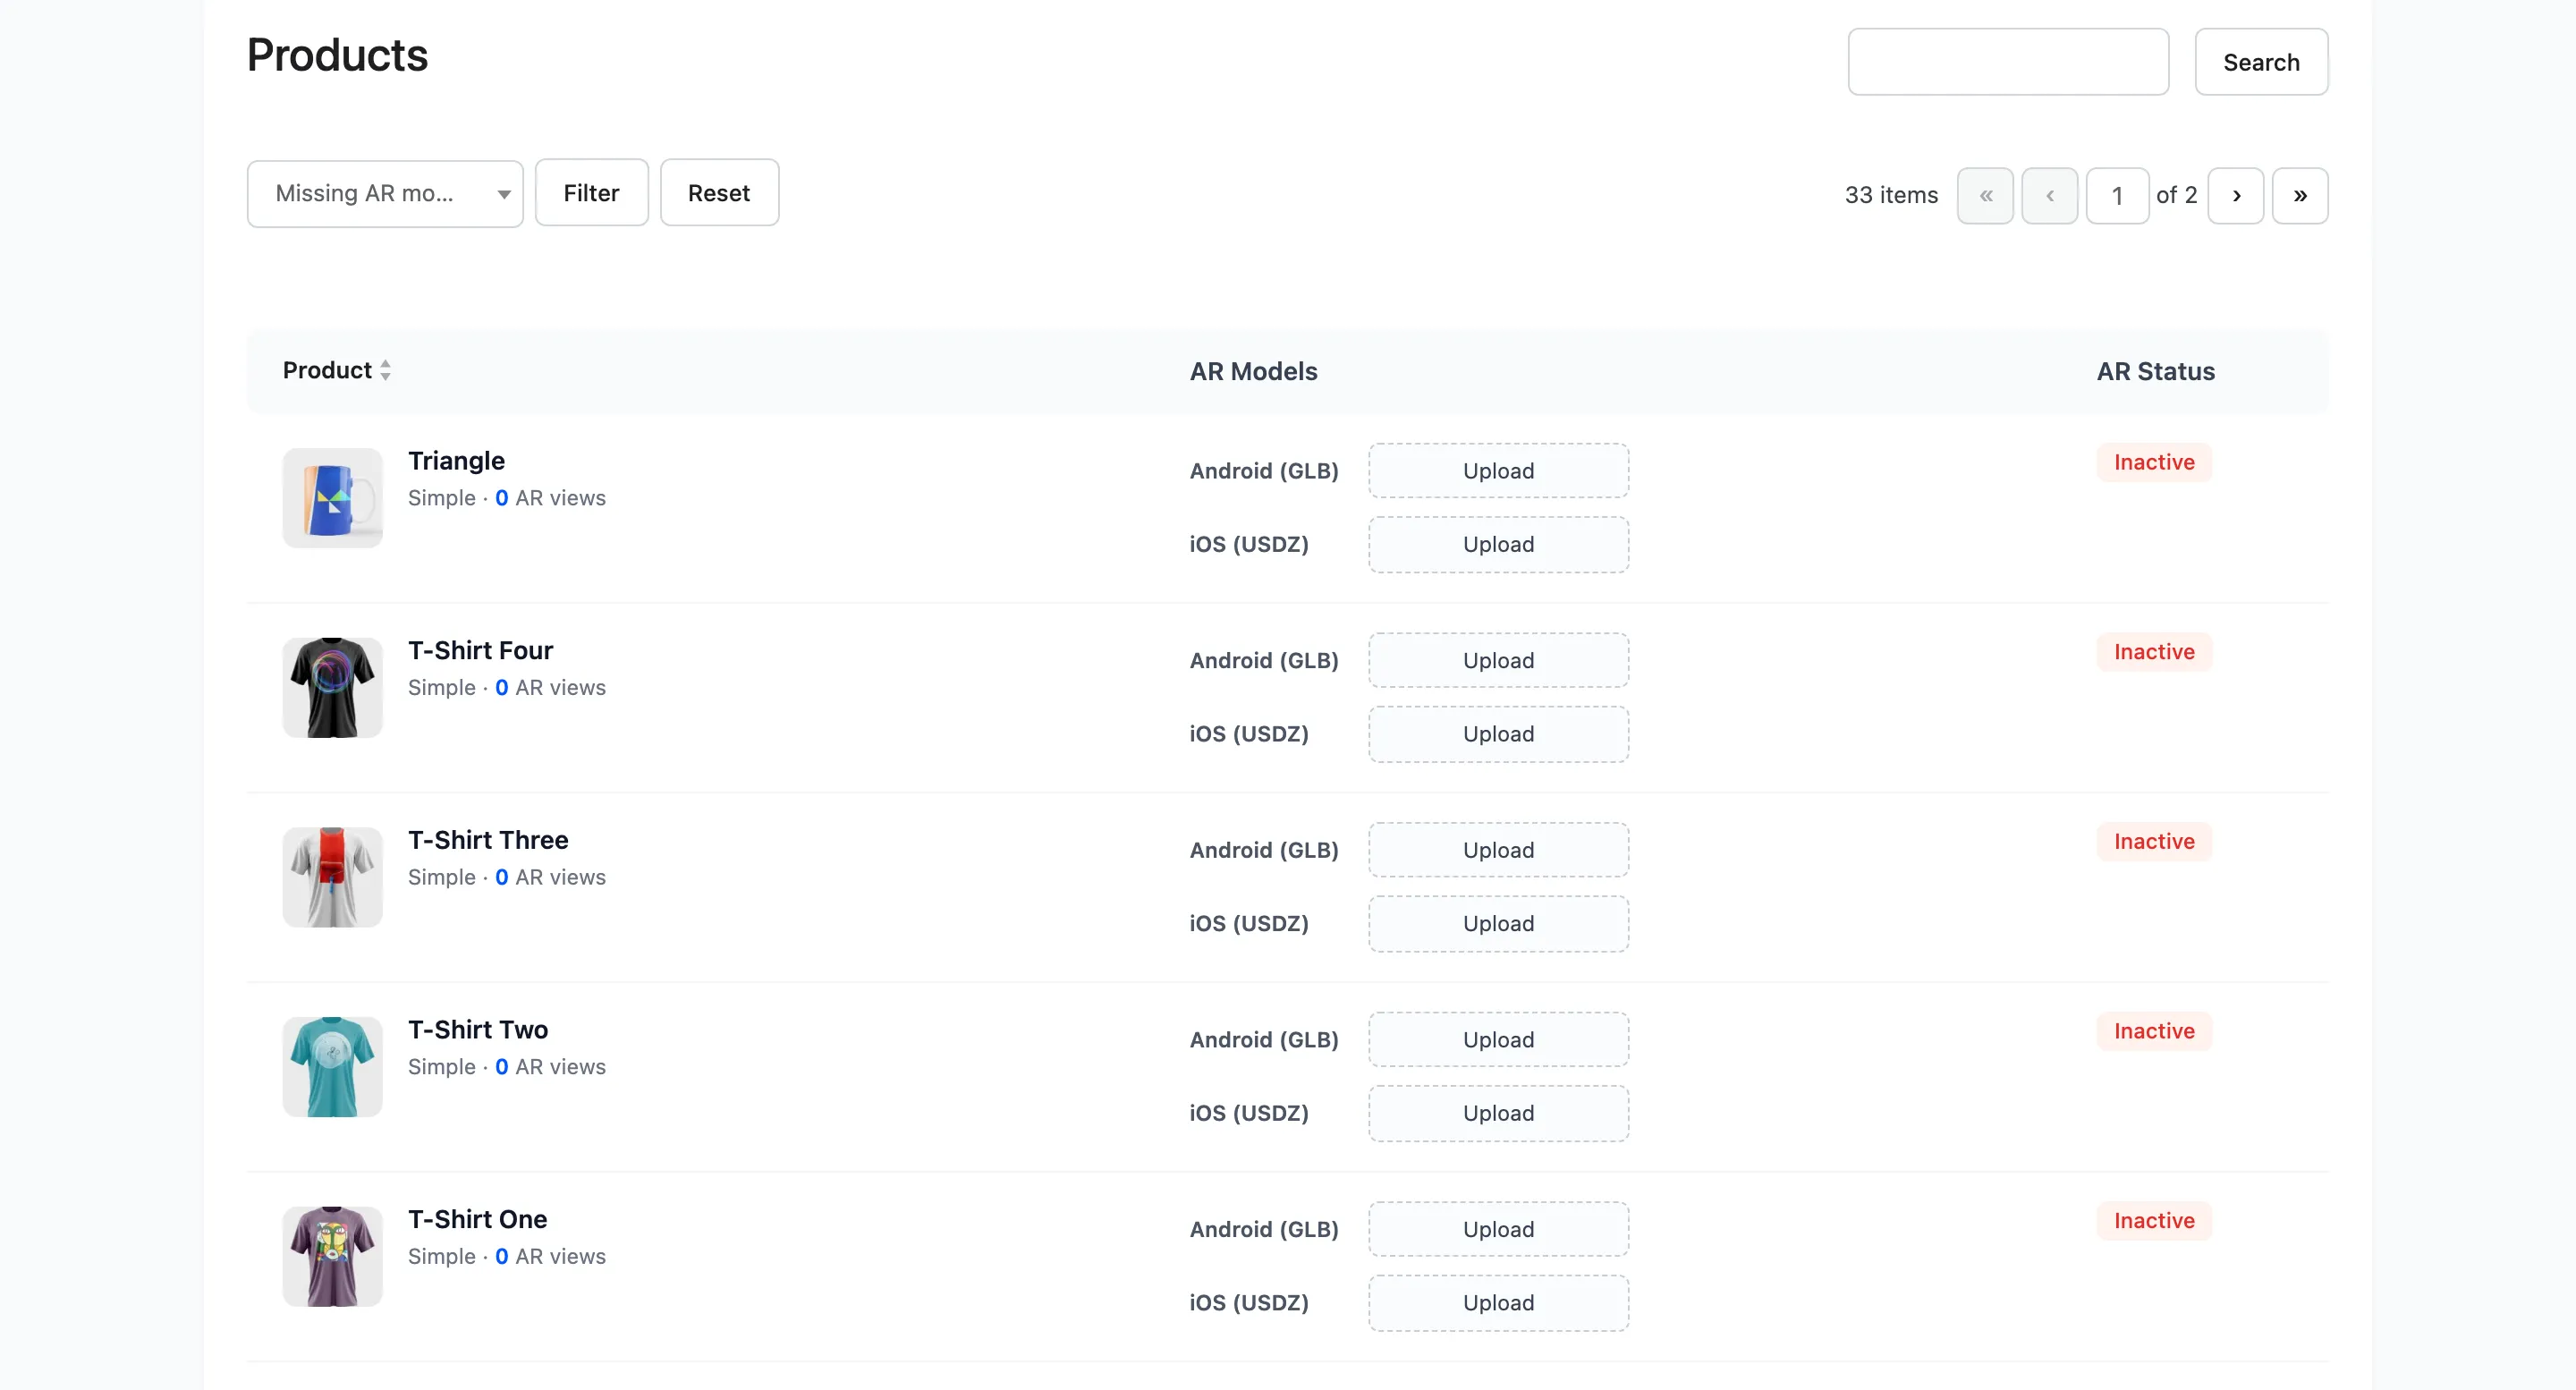
Comparing Has Android with Has iOS is how you find the half-done products: whichever list is longer tells you which format you have been forgetting.
Searching
Section titled “Searching”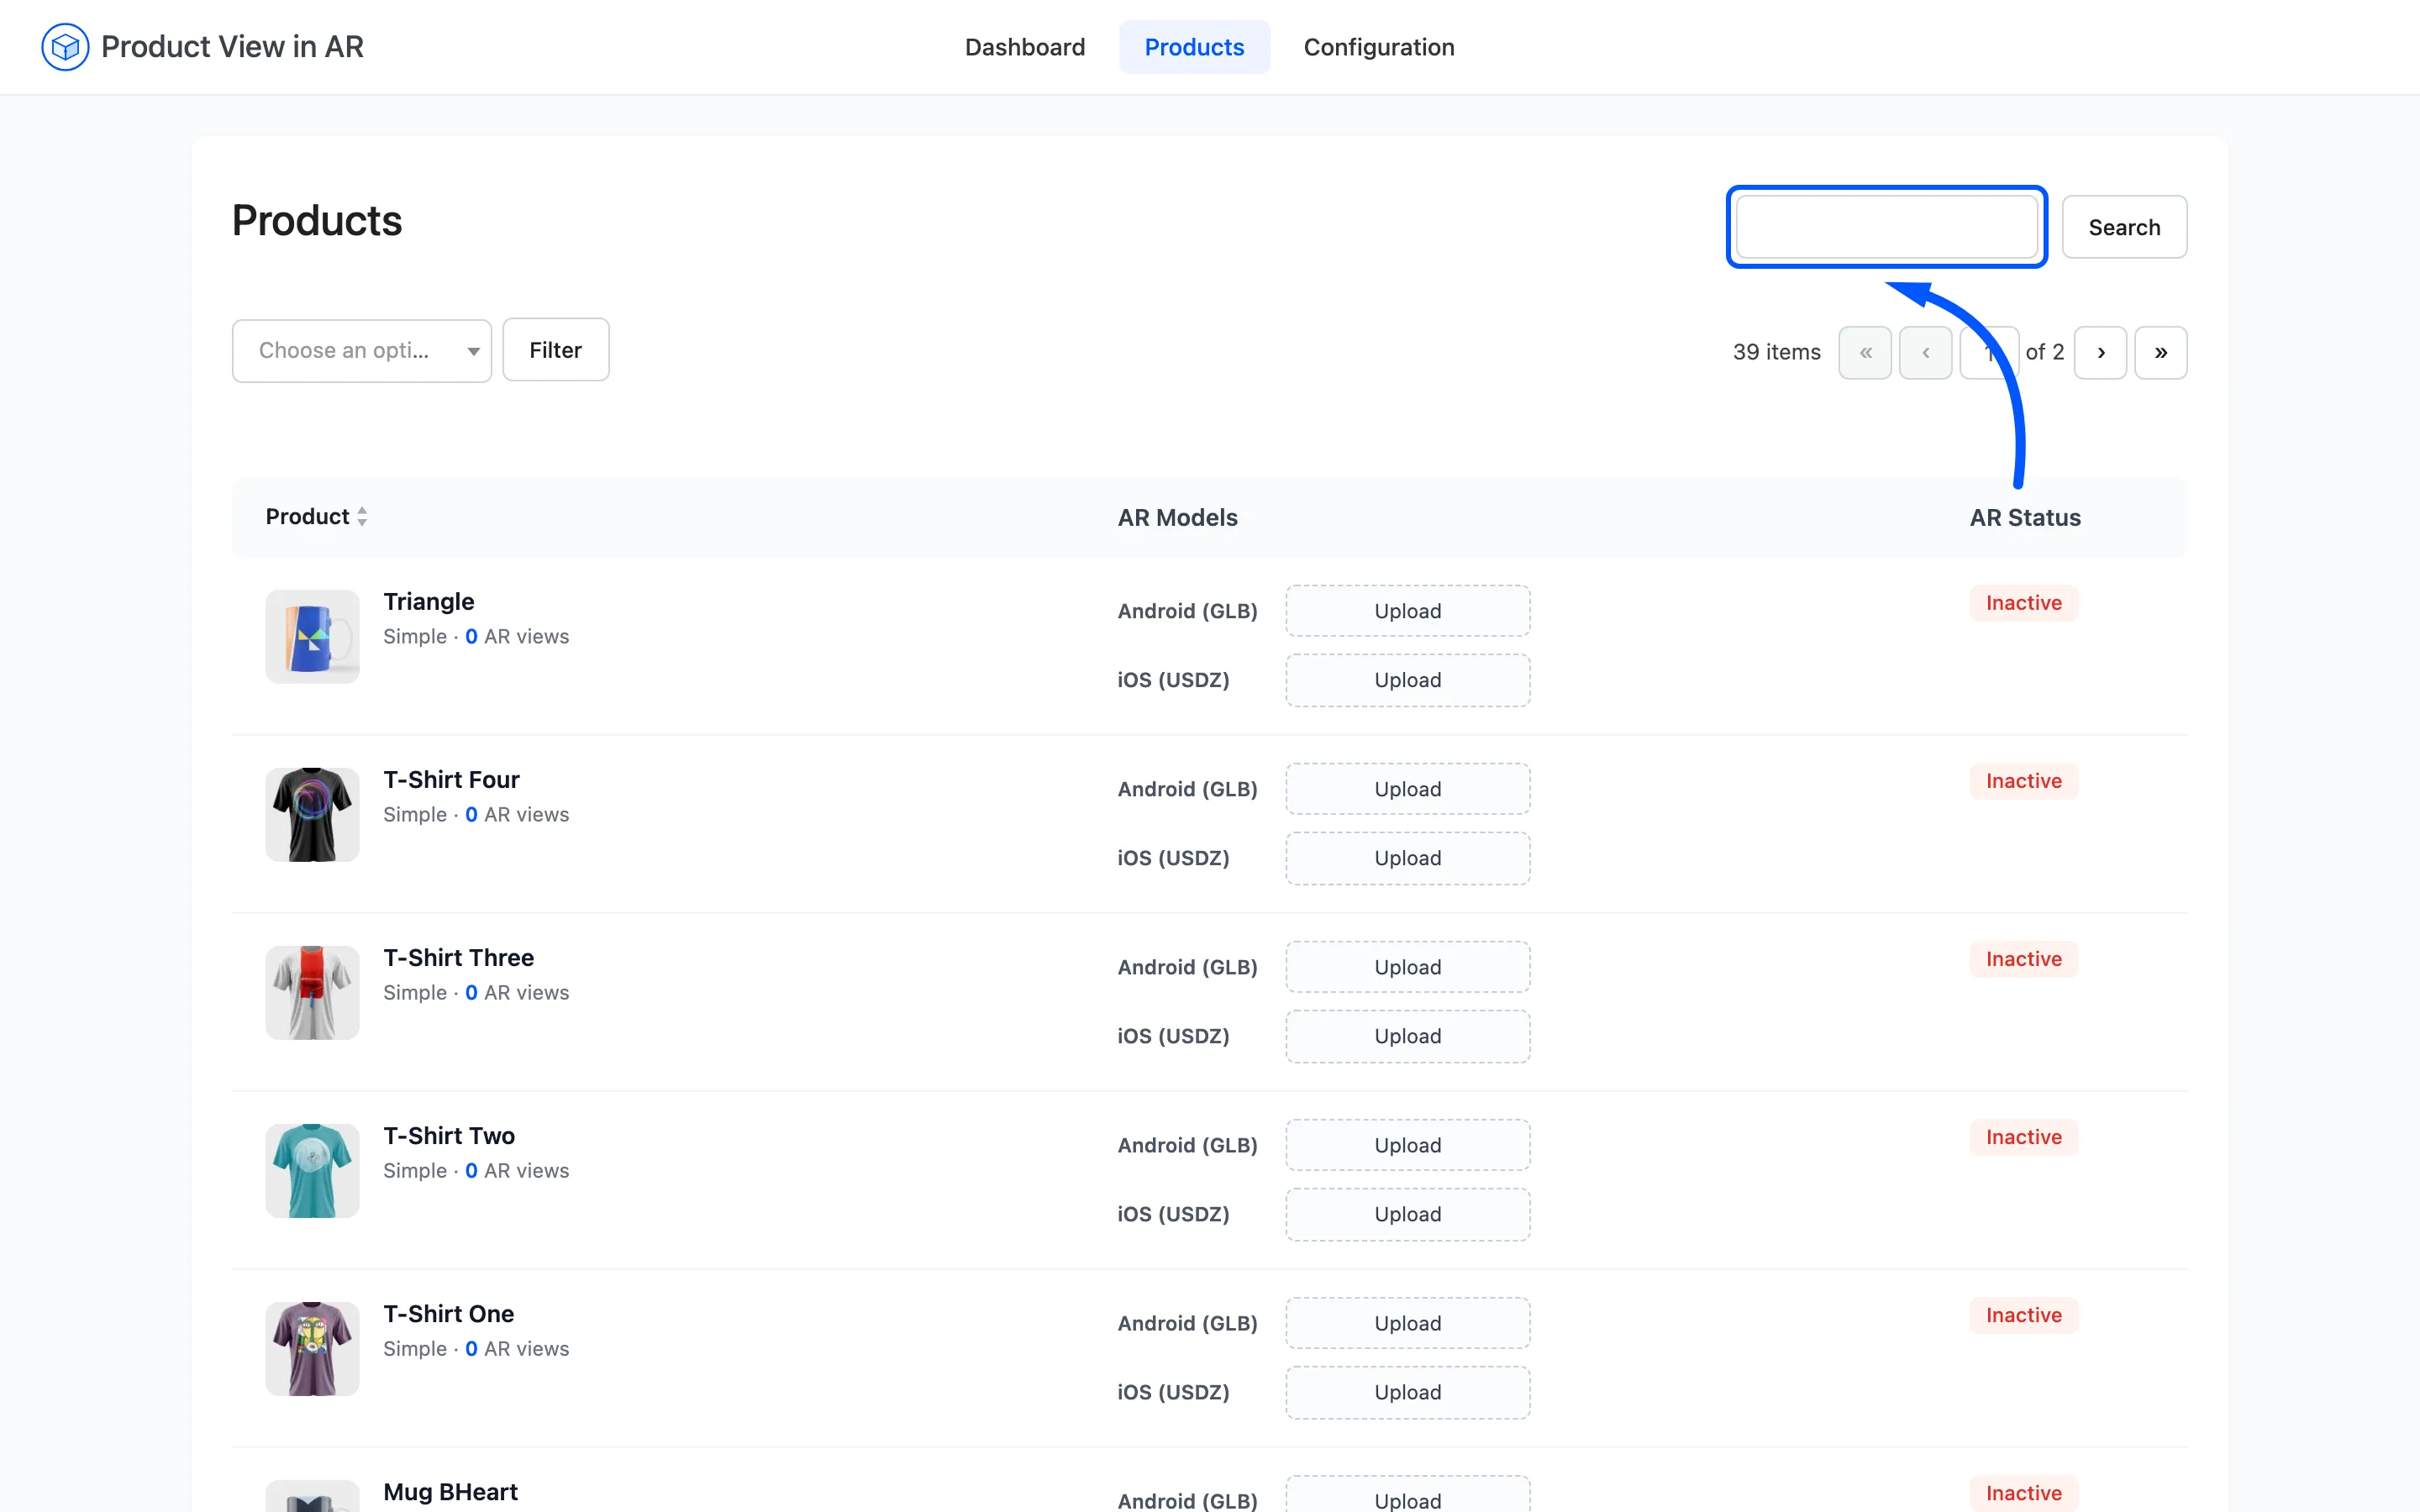
The search box matches product titles. It combines with the coverage filter, so you can search inside “Missing AR model” rather than across everything.
Attaching a model
Section titled “Attaching a model”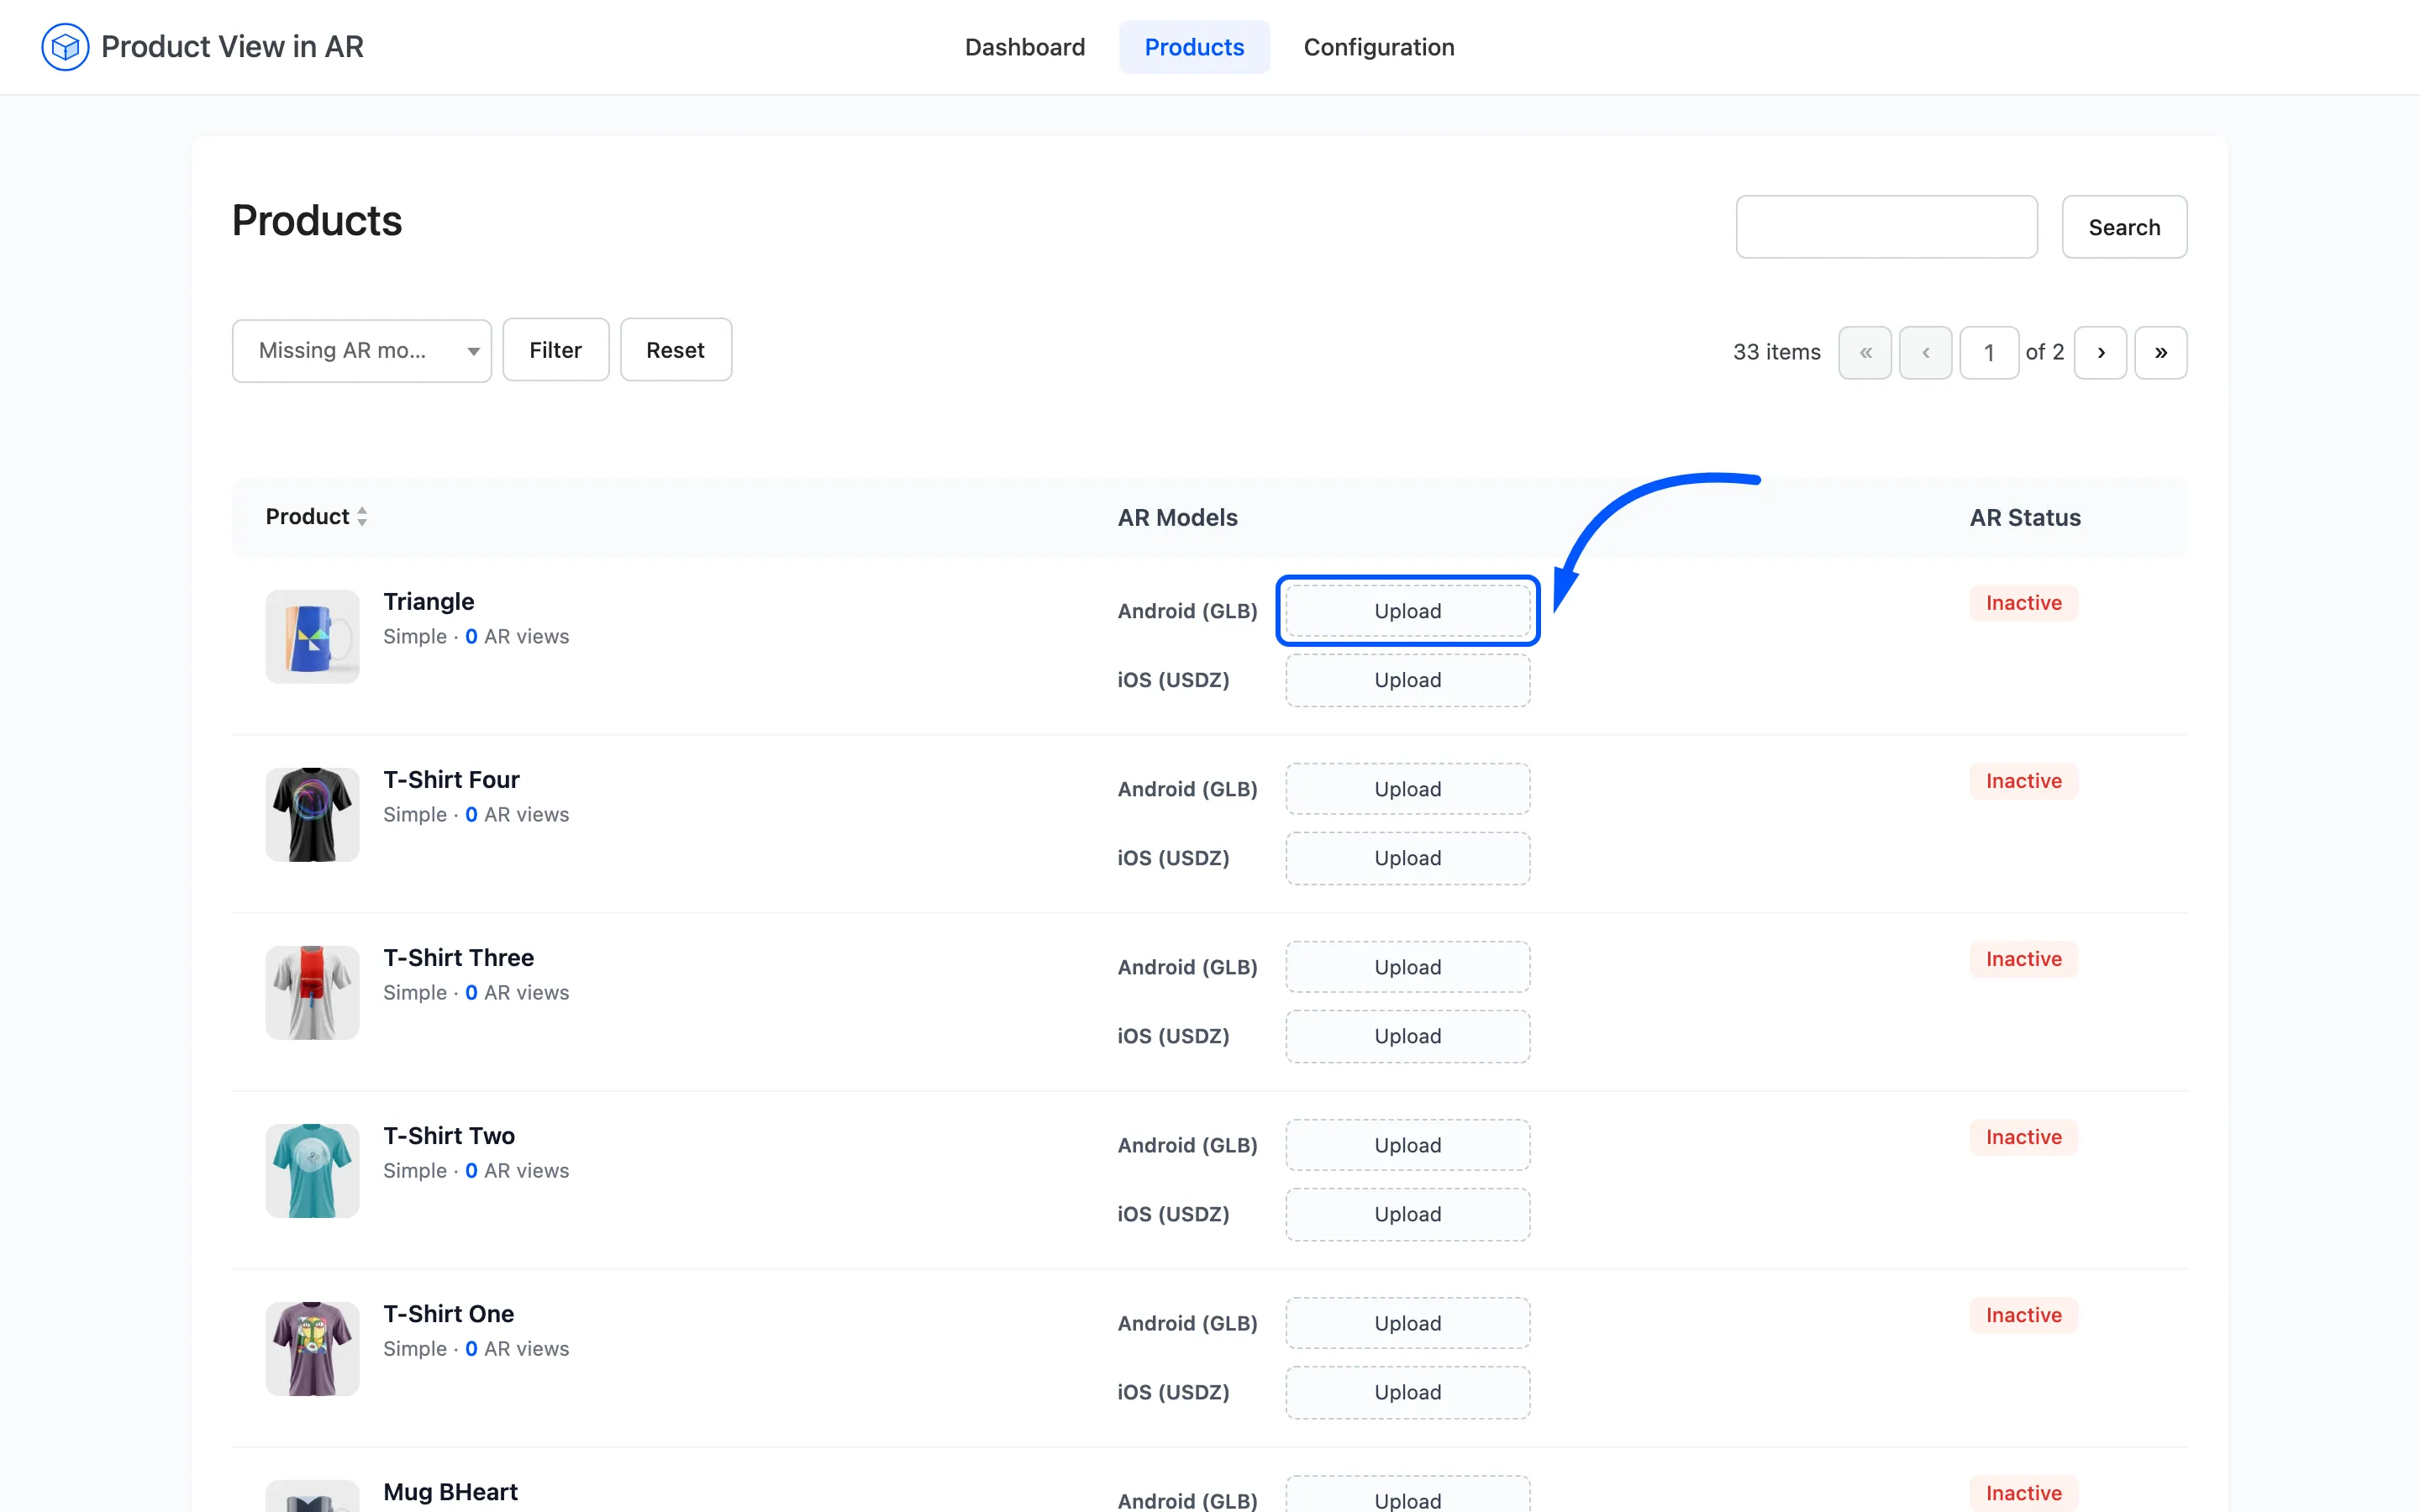
Click Upload on the row and tier you want. The WordPress media library opens, filtered to model files, and choosing one attaches it and saves immediately. There is no separate save button on this screen.
Full walkthrough: How to Add a 3D Model to a Product.
Removing a model
Section titled “Removing a model”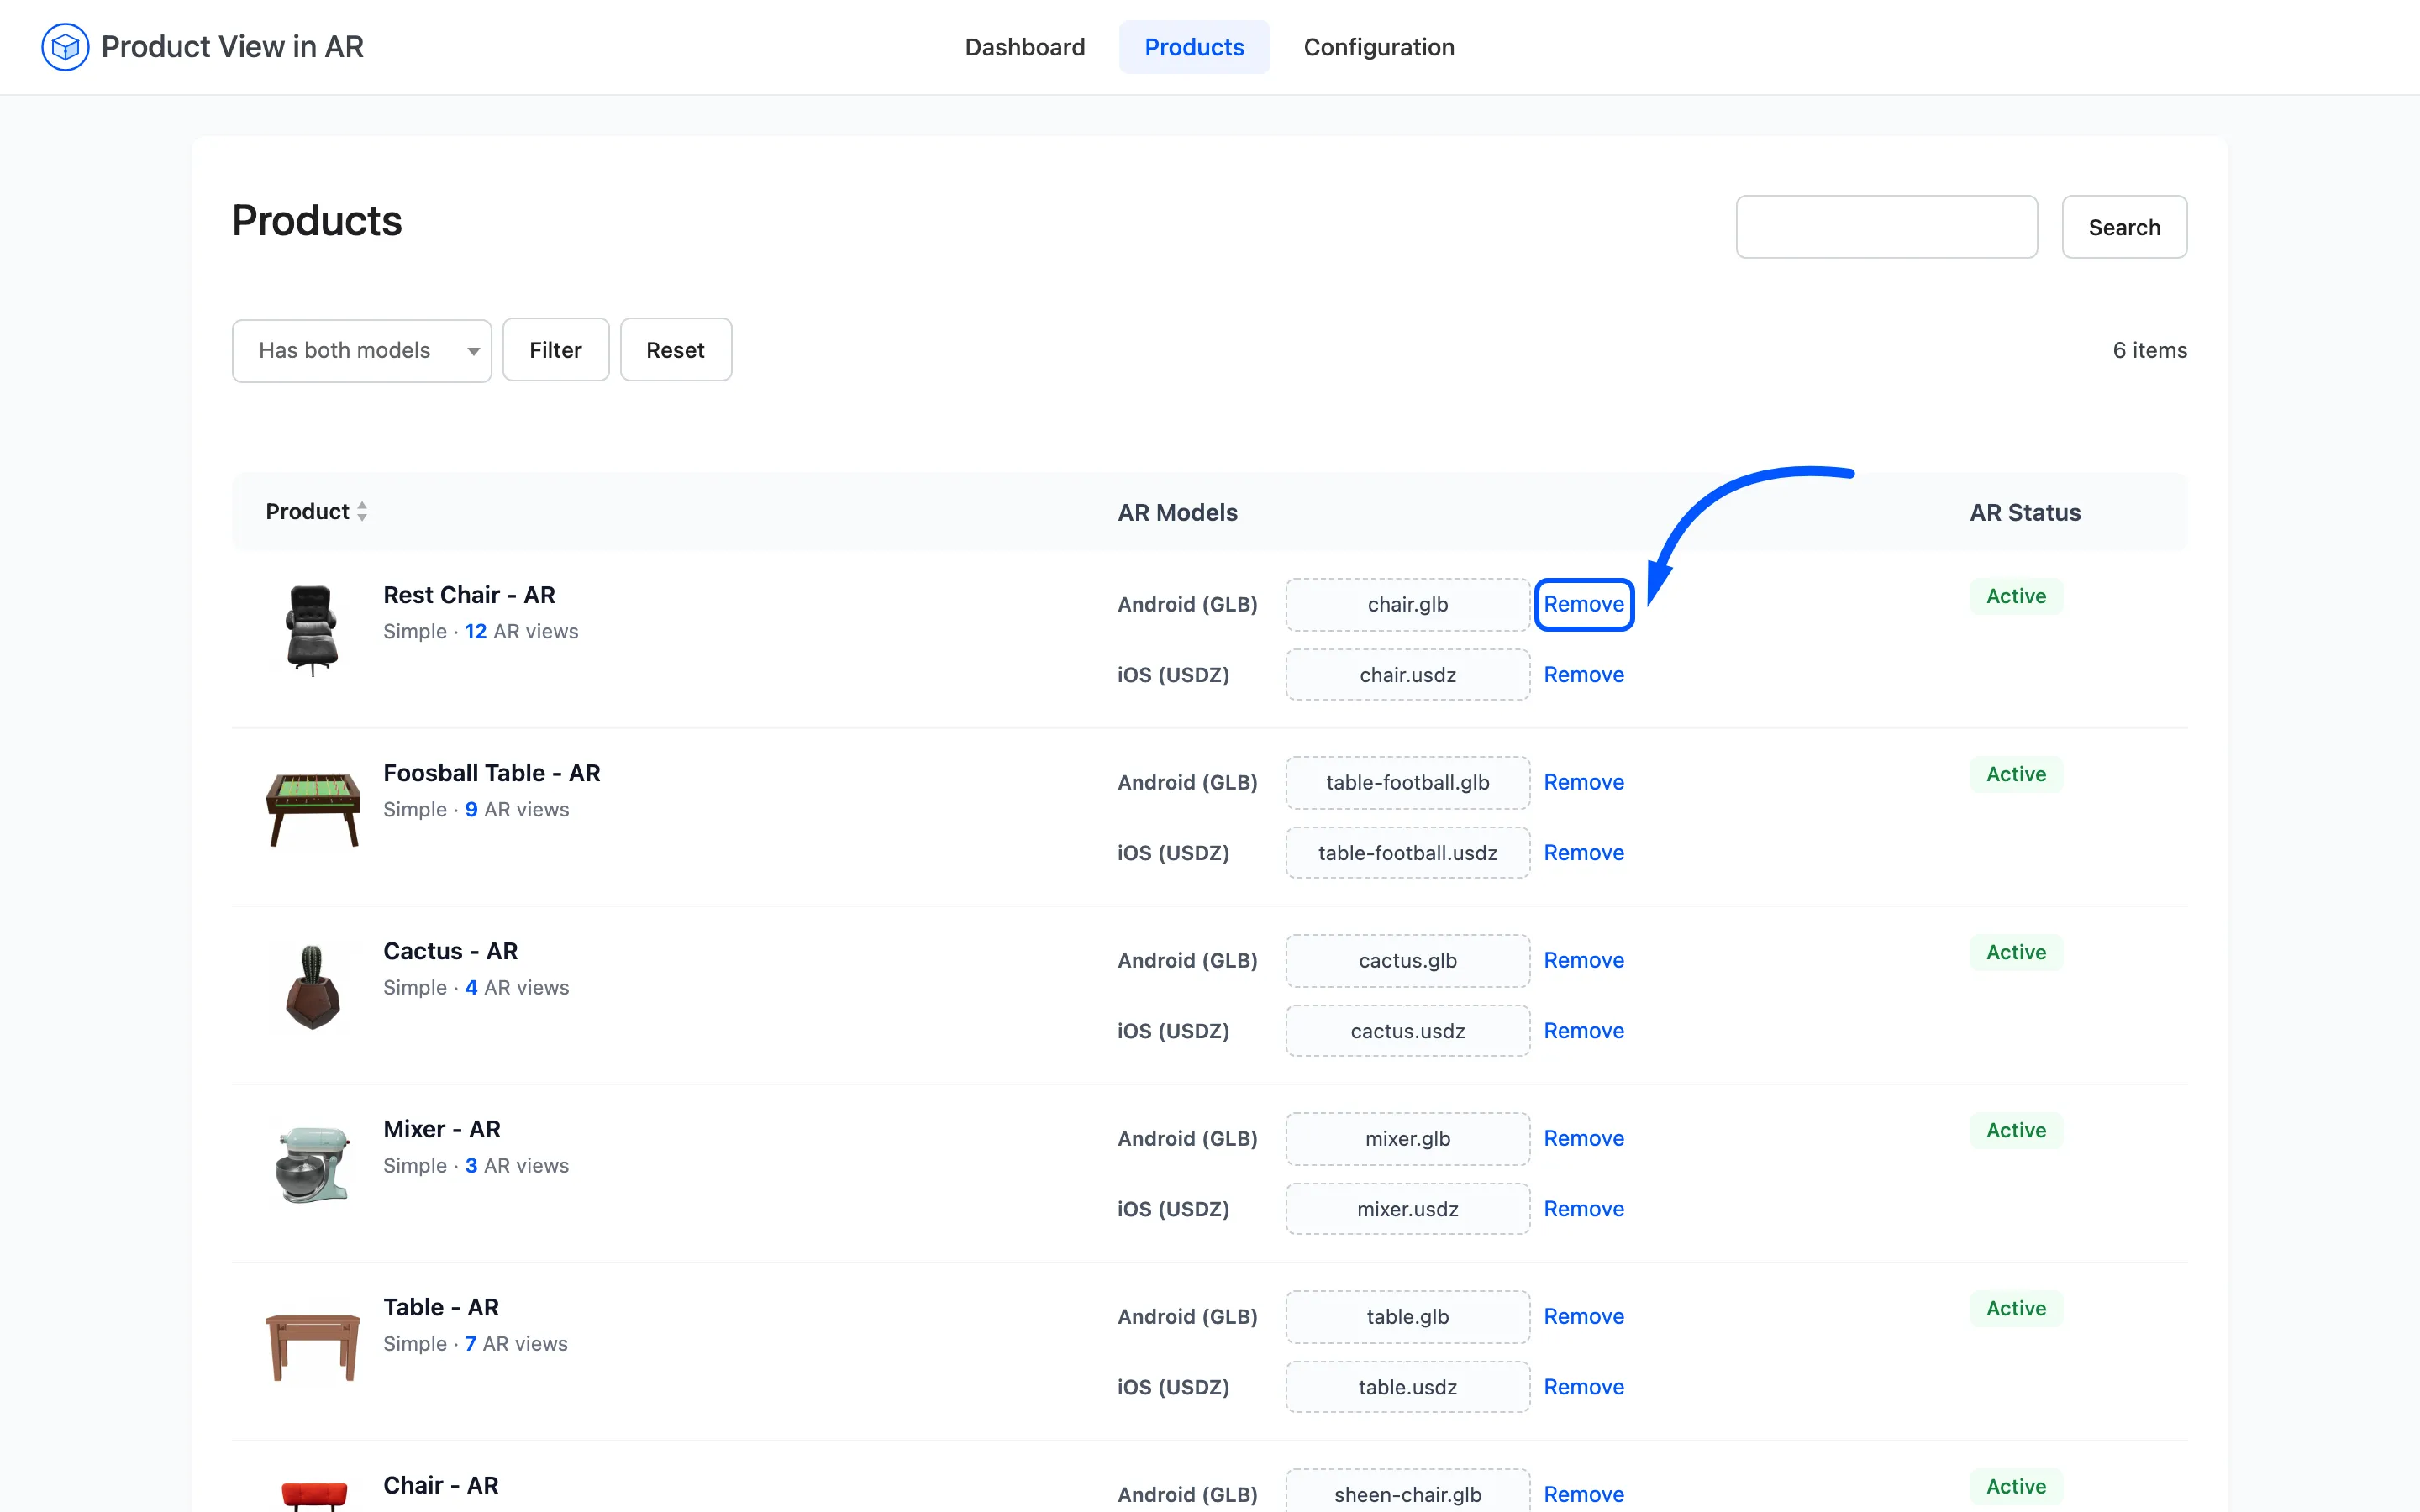
Remove appears only once a file is attached. It asks for confirmation, then detaches the file from that product and turns the control back to Upload.
The file itself stays in your media library, so removing is reversible and costs you nothing. See How to Remove or Replace an AR Model.
Variations
Section titled “Variations”Variable products are not listed as one row. Their variations appear individually, named as the parent plus the attribute, so each can carry its own pair of files.
Rows per page
Section titled “Rows per page”The Screen Options tab at the top right sets how many products the table shows, defaulting to 20. Raise it when you are working through a catalogue in one sitting.