

The Setup Wizard
The wizard runs once on a fresh install and leaves the plugin switched on. It sets four options and nothing else. Every one of them is on the General and QR Code tabs afterwards, so nothing you choose here is locked in.
Reopen it any time from the Setup Wizard link beside the plugin on the Plugins screen.
Step 1: Welcome
Section titled “Step 1: Welcome”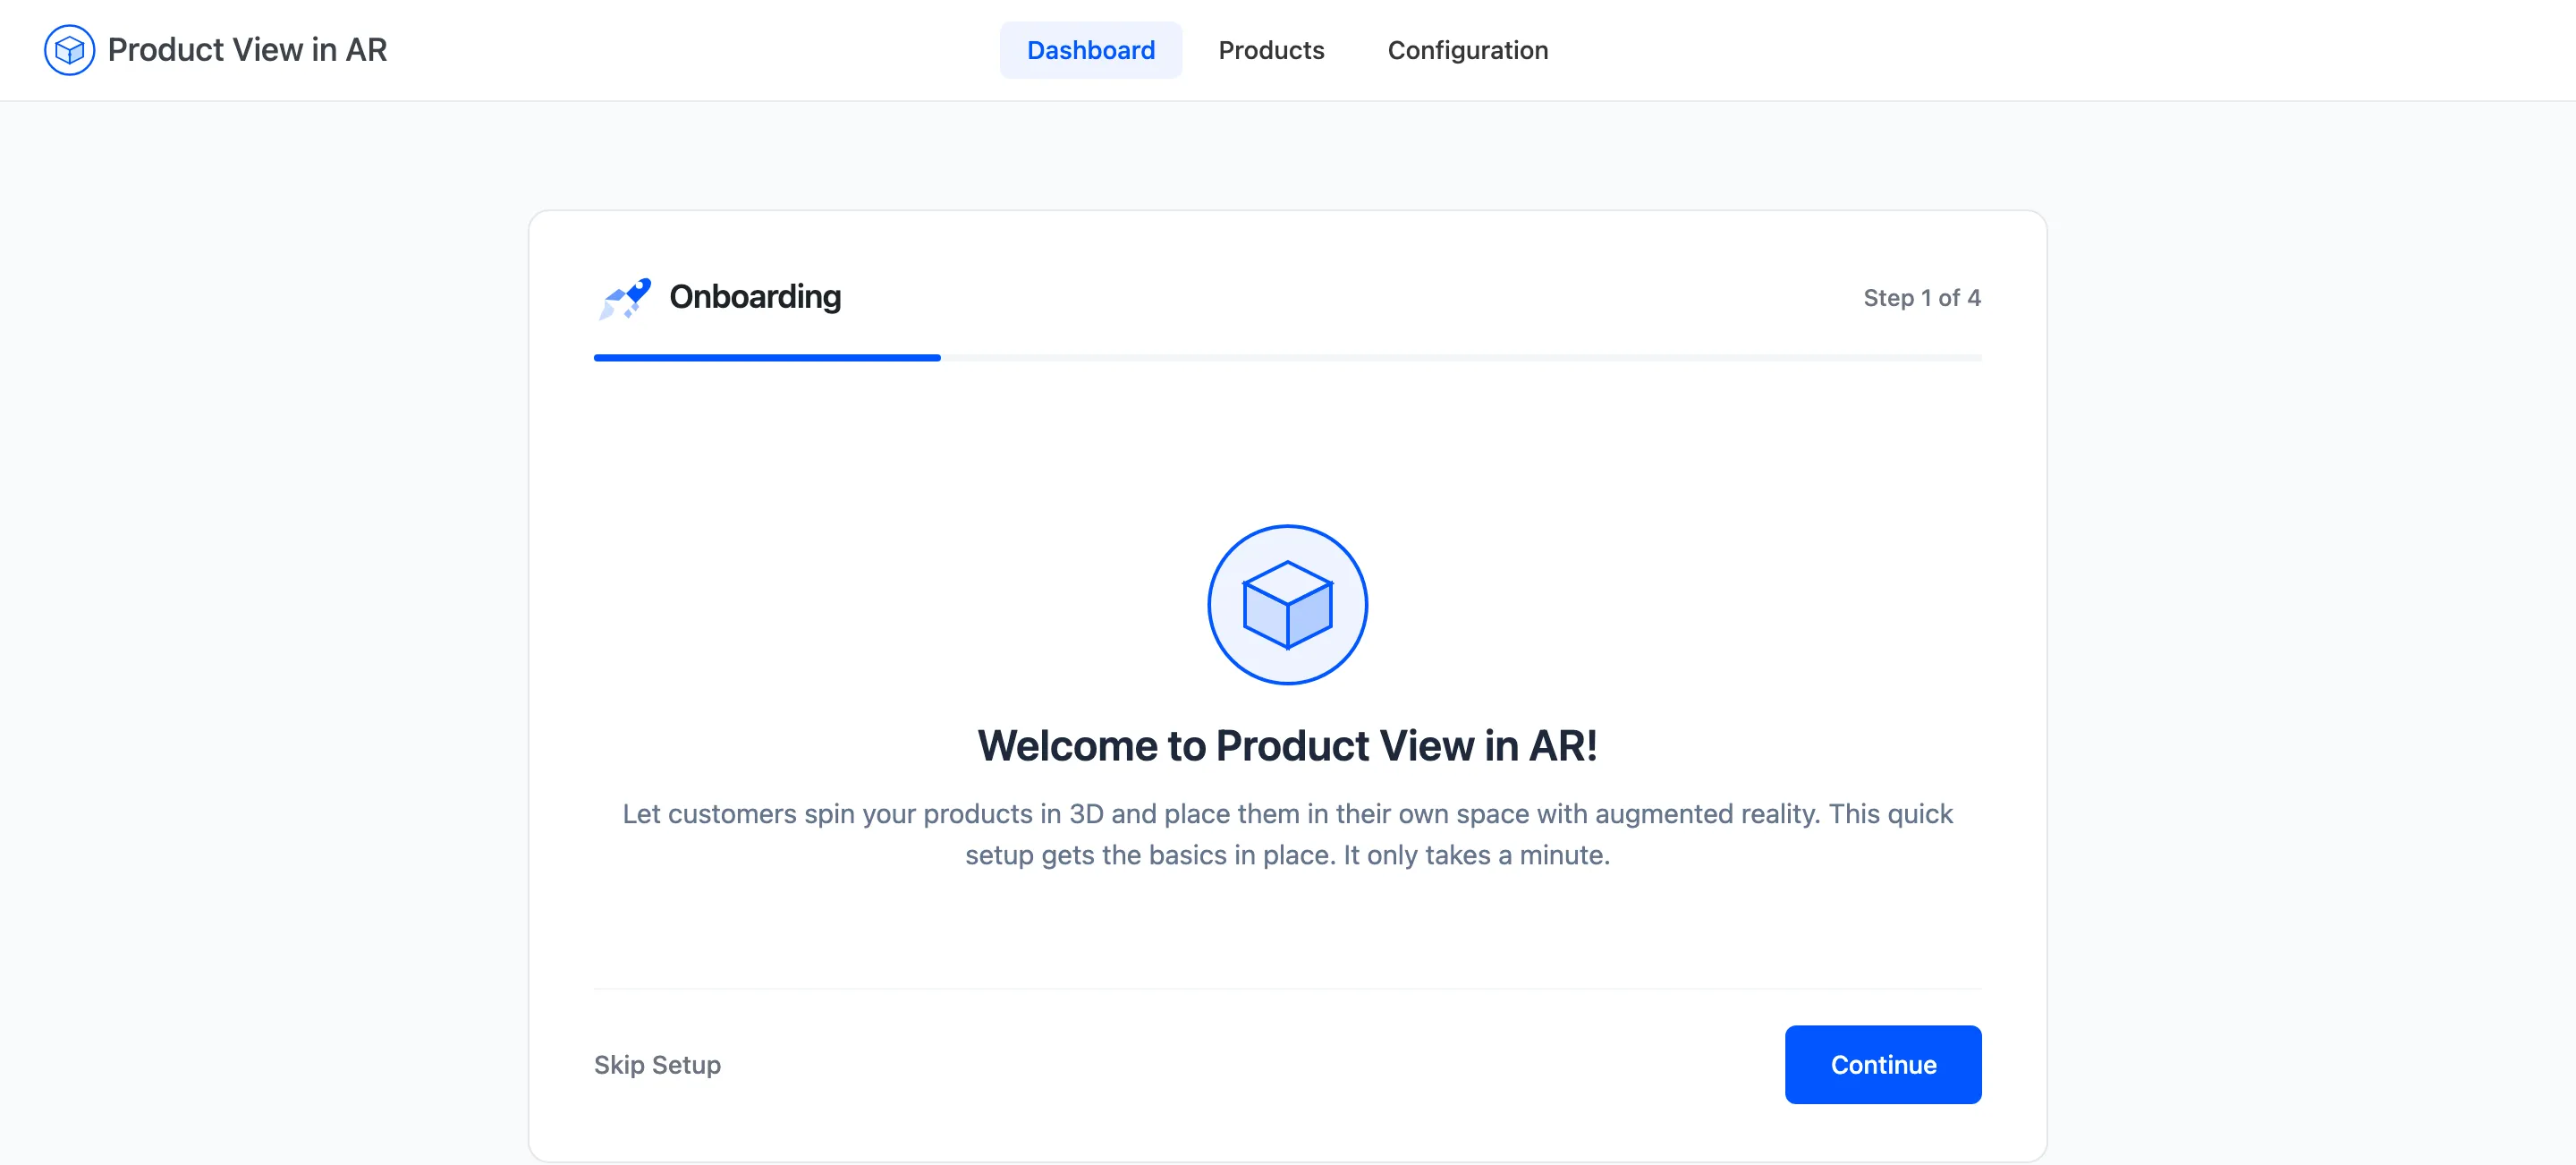
Nothing to fill in. Press Continue.
Step 2: License
Section titled “Step 2: License”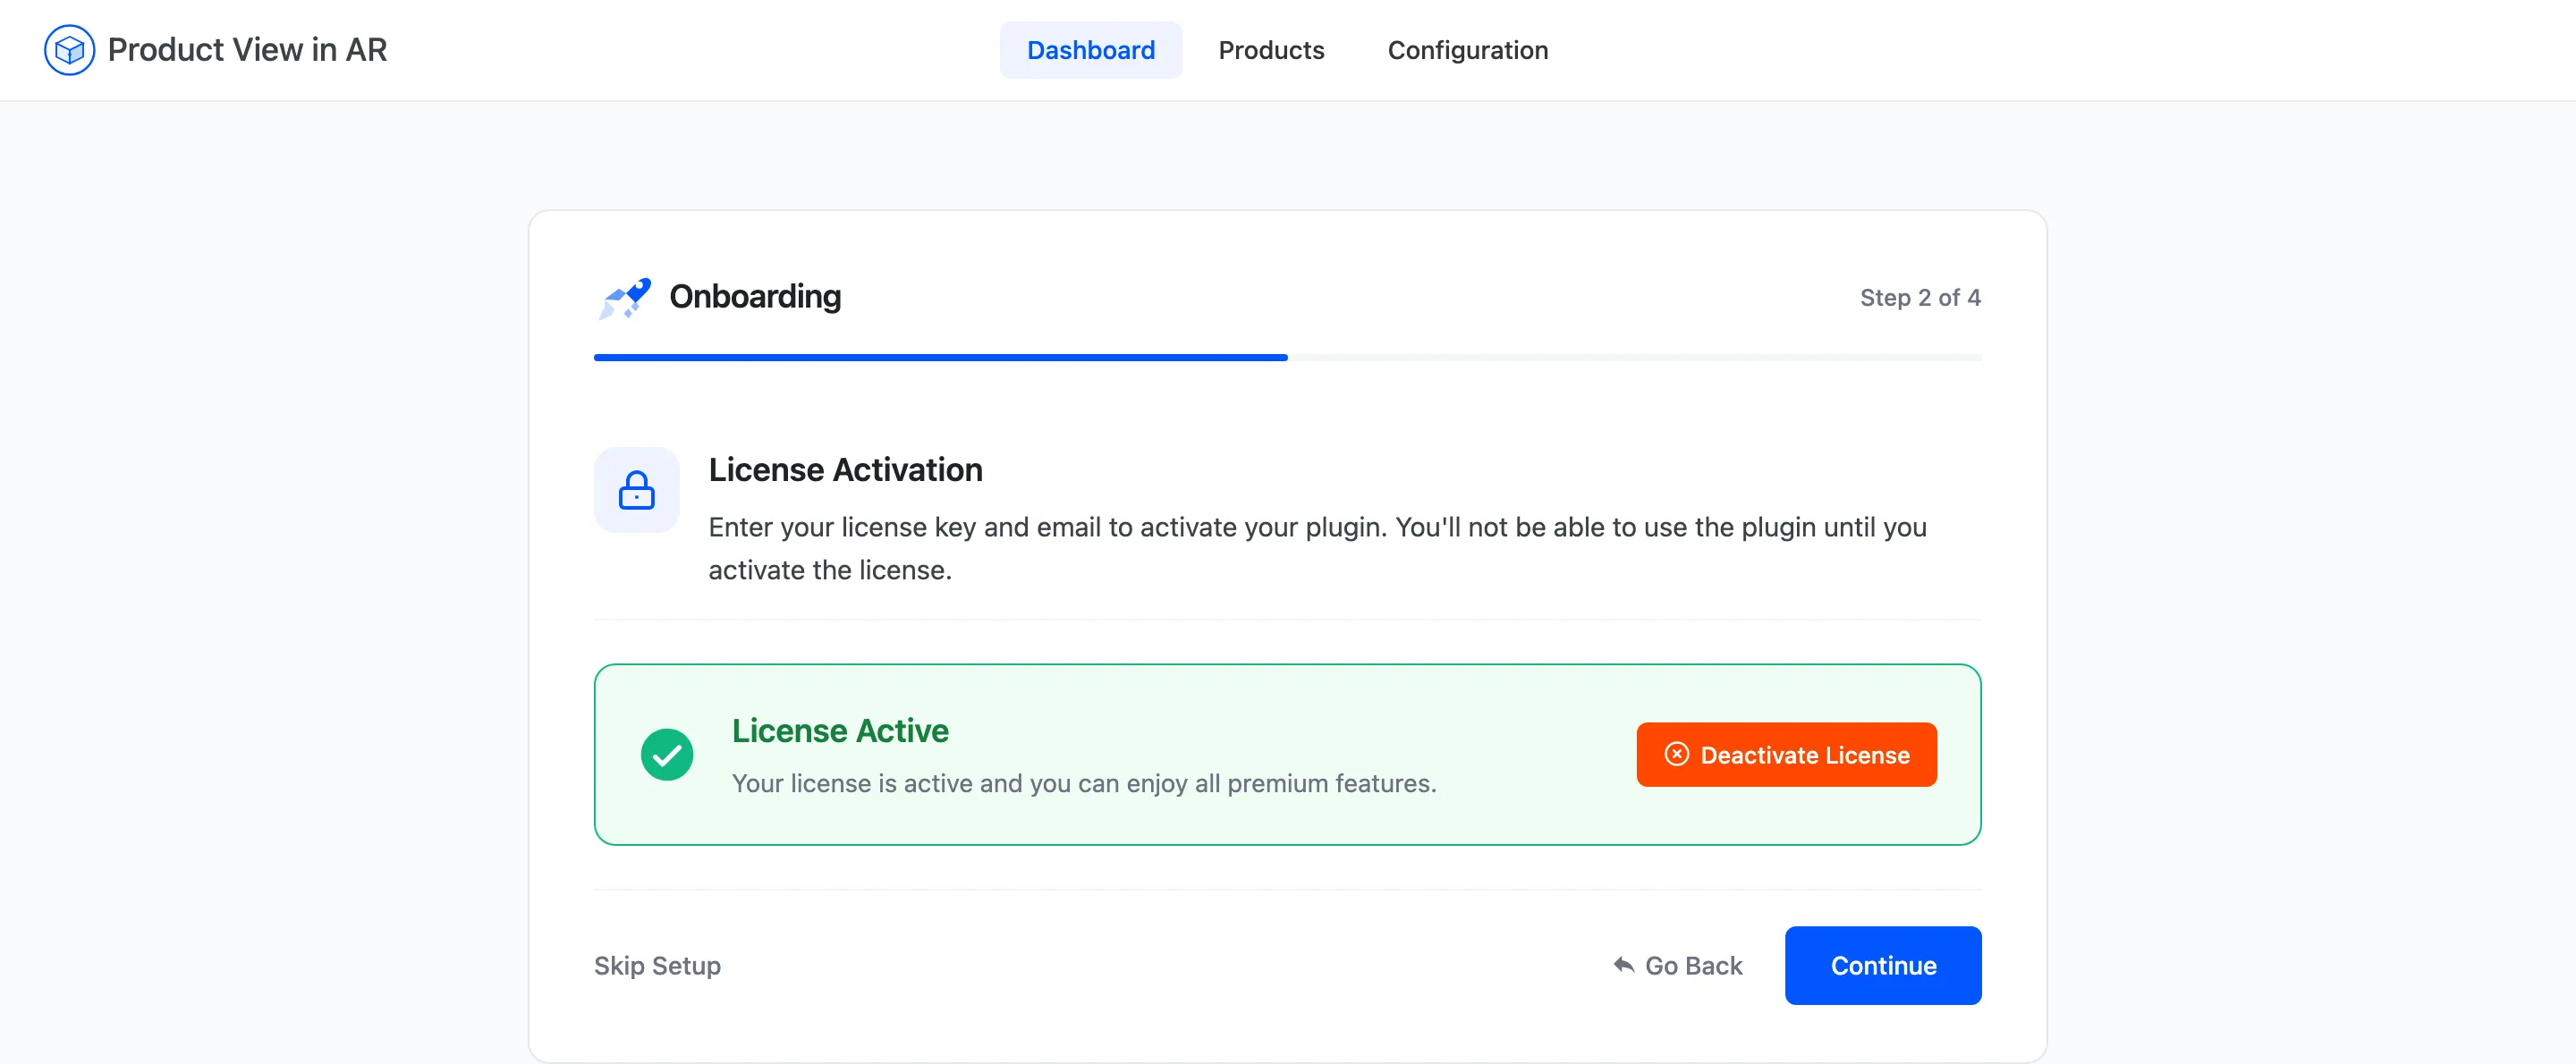
Enter the purchase code and email from your order. The wizard will not move past this step until the license activates, and that is deliberate. Without it the storefront loads none of the plugin’s assets. Finishing the rest of the wizard would leave you with settings that do nothing.
Step 3: AR Settings
Section titled “Step 3: AR Settings”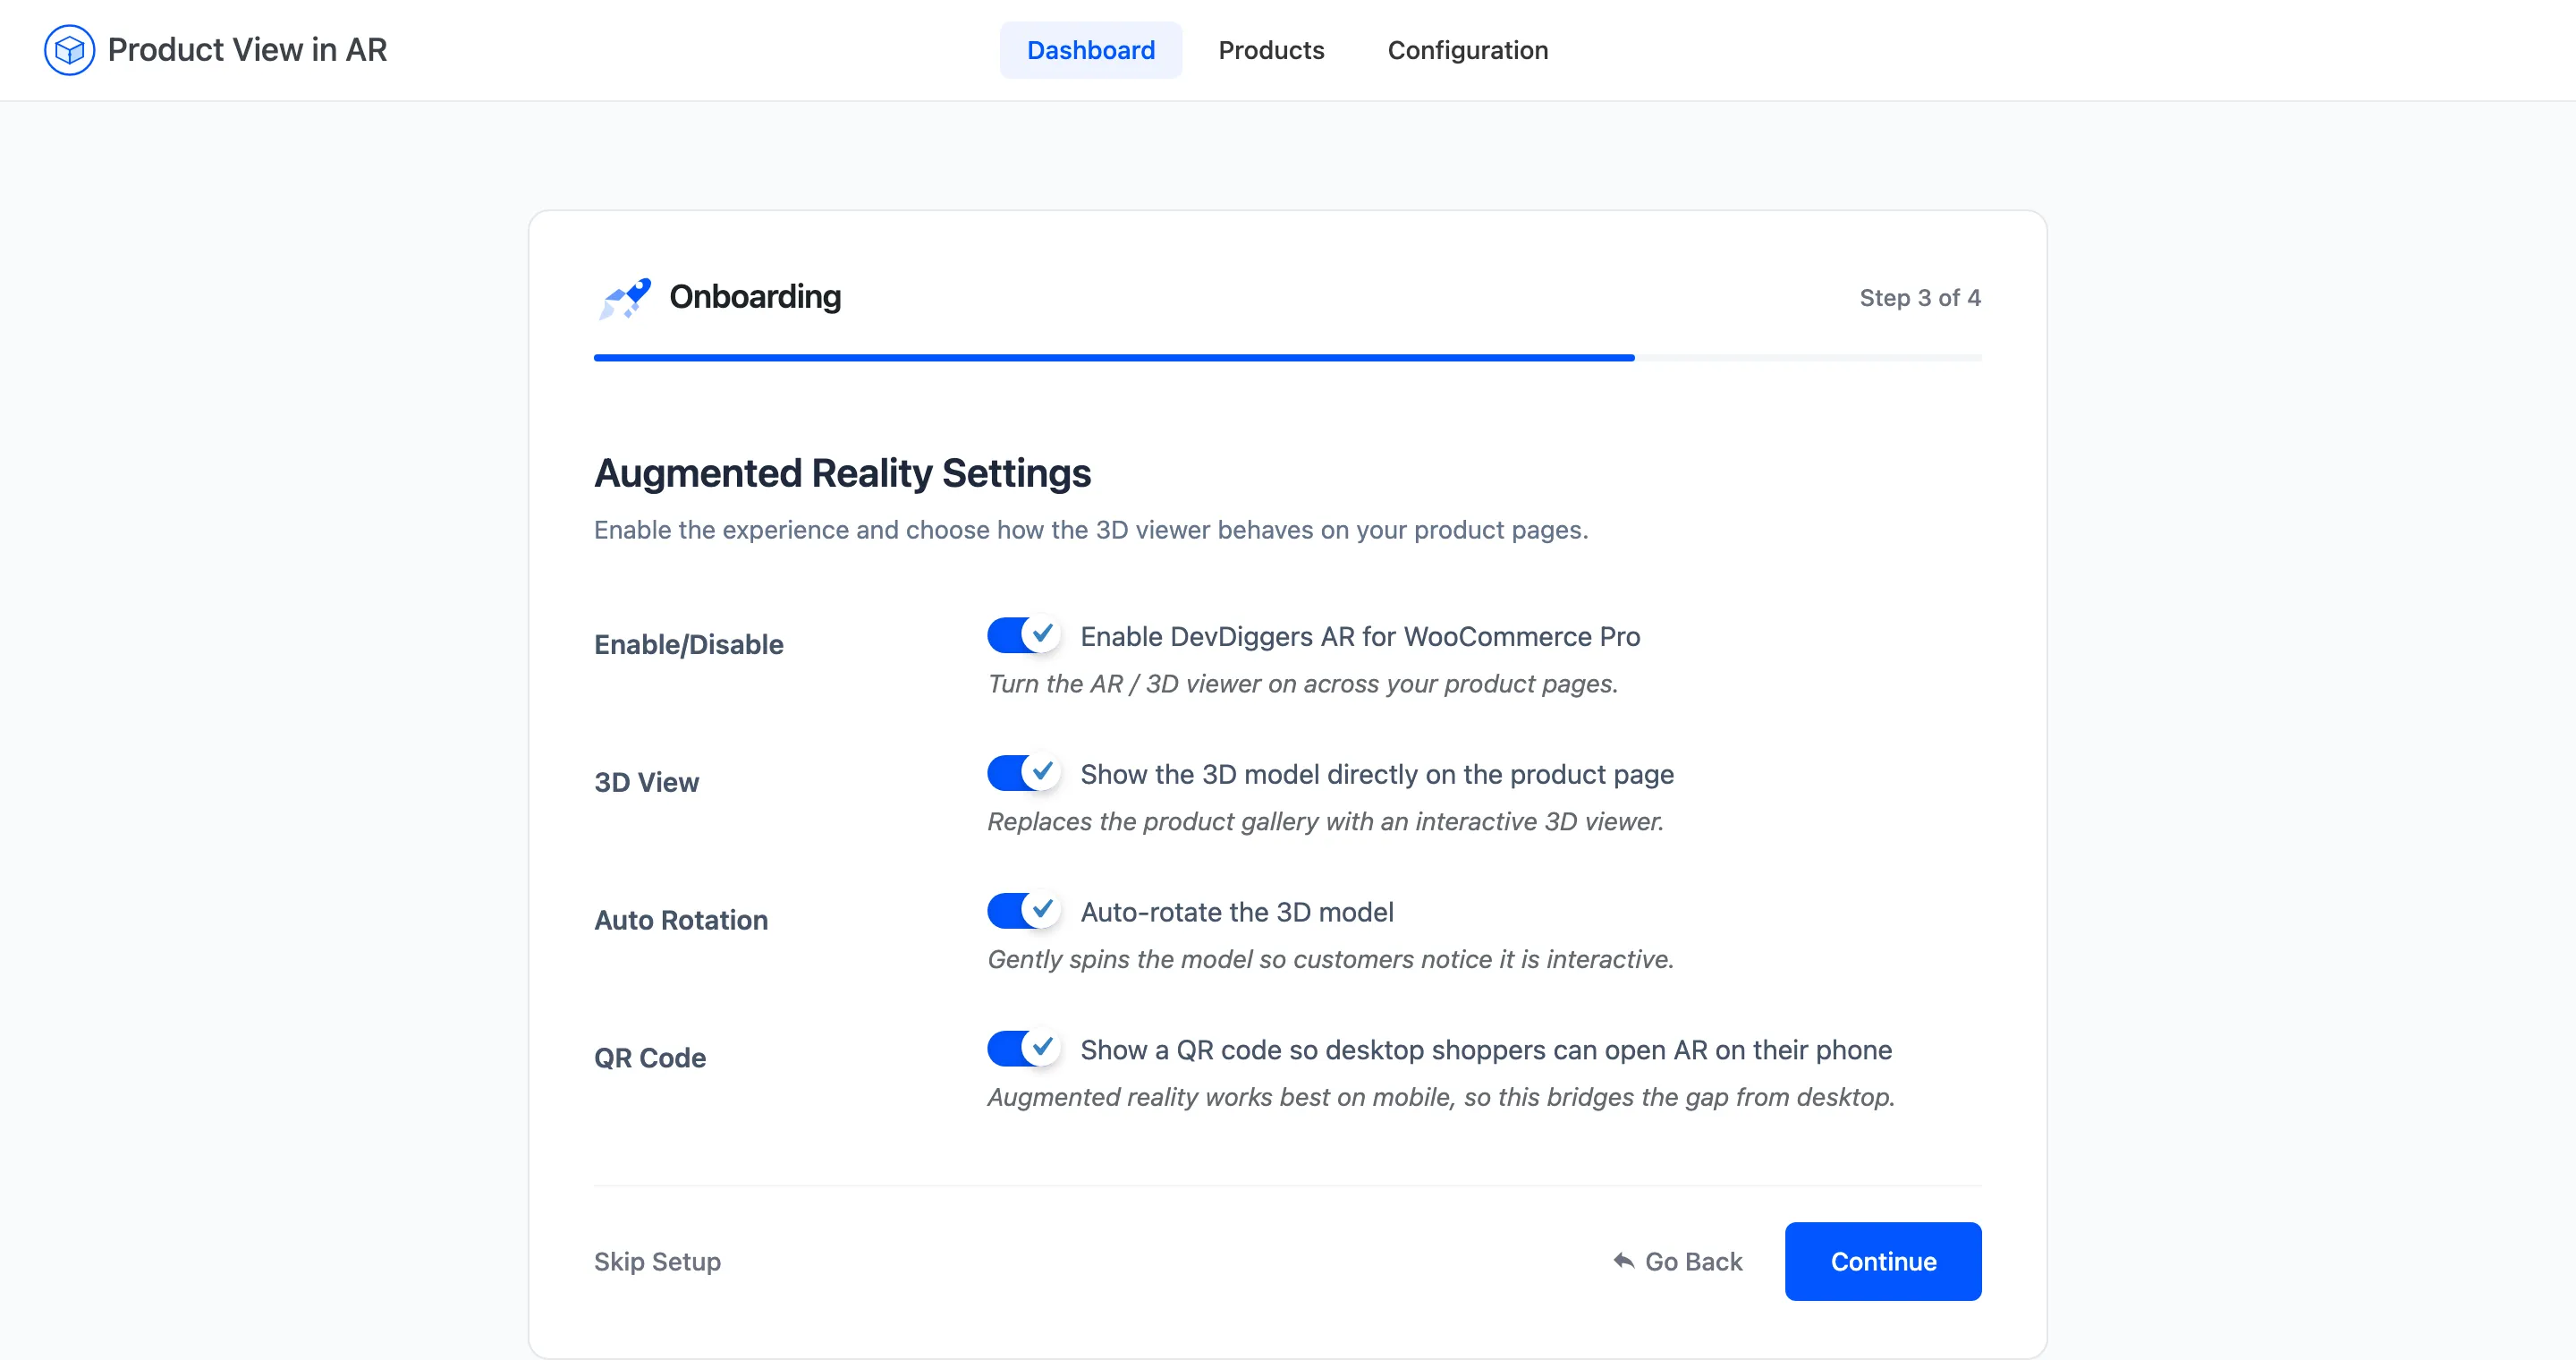
Four checkboxes, all on by default.
- Enable/Disable turns the AR and 3D viewer on across your product pages. This is the same master switch as the one on the General tab.
- 3D View shows the 3D model on the product page, behind the Photos / 3D toggle.
- Auto Rotation spins the model gently so a shopper notices it is interactive.
- QR Code shows a QR code to desktop shoppers so they can open AR on their phone.
The free version’s wizard shows the first two only, because auto-rotation and the QR hand-off are Pro.
Step 4: Ready
Section titled “Step 4: Ready”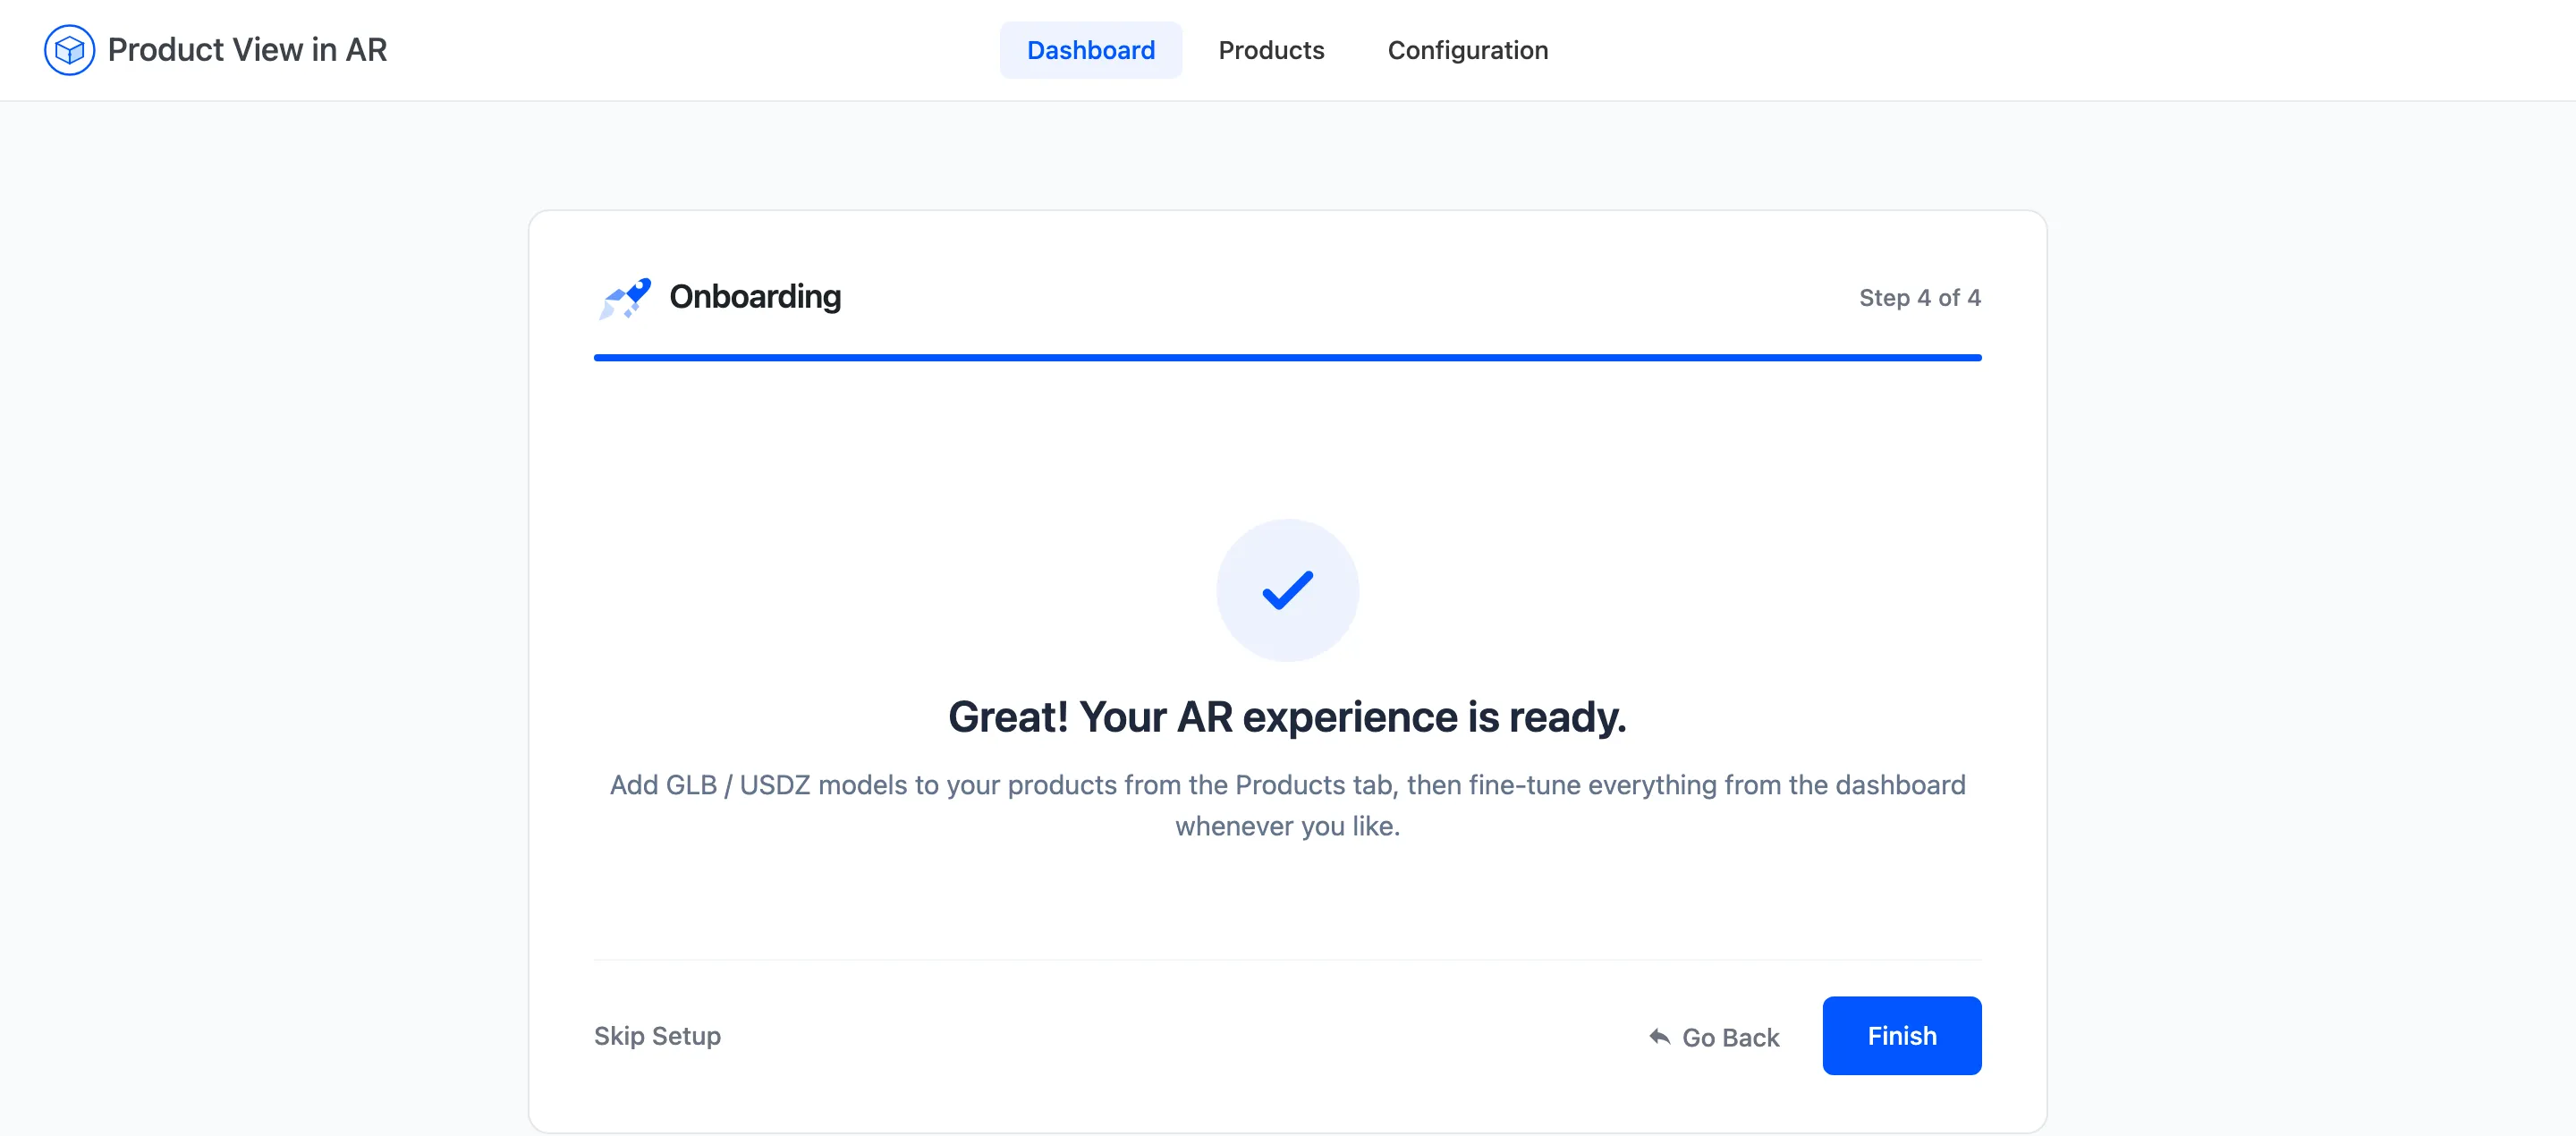
The wizard is finished and the plugin is live. Nothing appears on the storefront yet, because no product has a model attached: that is the next job, on the Products screen.
What the wizard does not cover
Section titled “What the wizard does not cover”Everything about how the AR button and the toggle LOOK. The wizard sets behaviour; appearance lives on the AR Button tab, and the QR code’s caption on the QR Code tab. Both ship with sensible defaults, so you can leave them until you have a model to look at.