

Installing and Activating Product View in AR
Product View in AR installs like any other WordPress plugin. WooCommerce has to be active first, because every screen the plugin adds hangs off a WooCommerce product.
Step 1: Upload the plugin
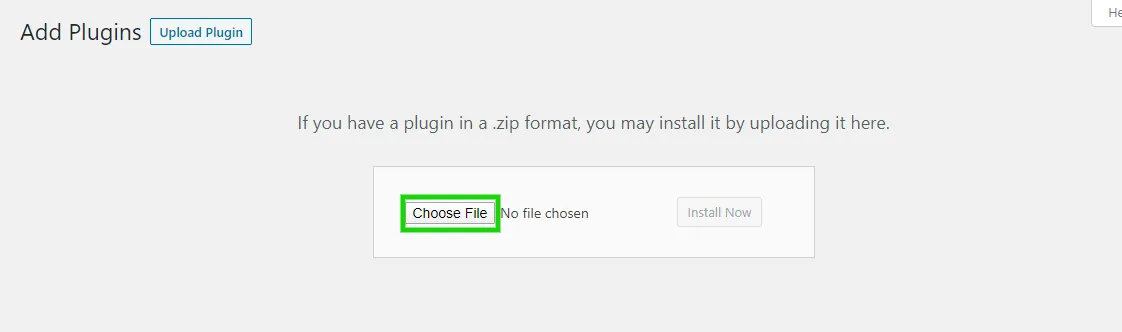
Section titled “Step 1: Upload the plugin”Go to Plugins → Add New and press Upload Plugin.

Press Choose File and pick the zip you downloaded.
Step 2: Install and activate
Section titled “Step 2: Install and activate”Press Install Now and wait for WordPress to unpack the zip.
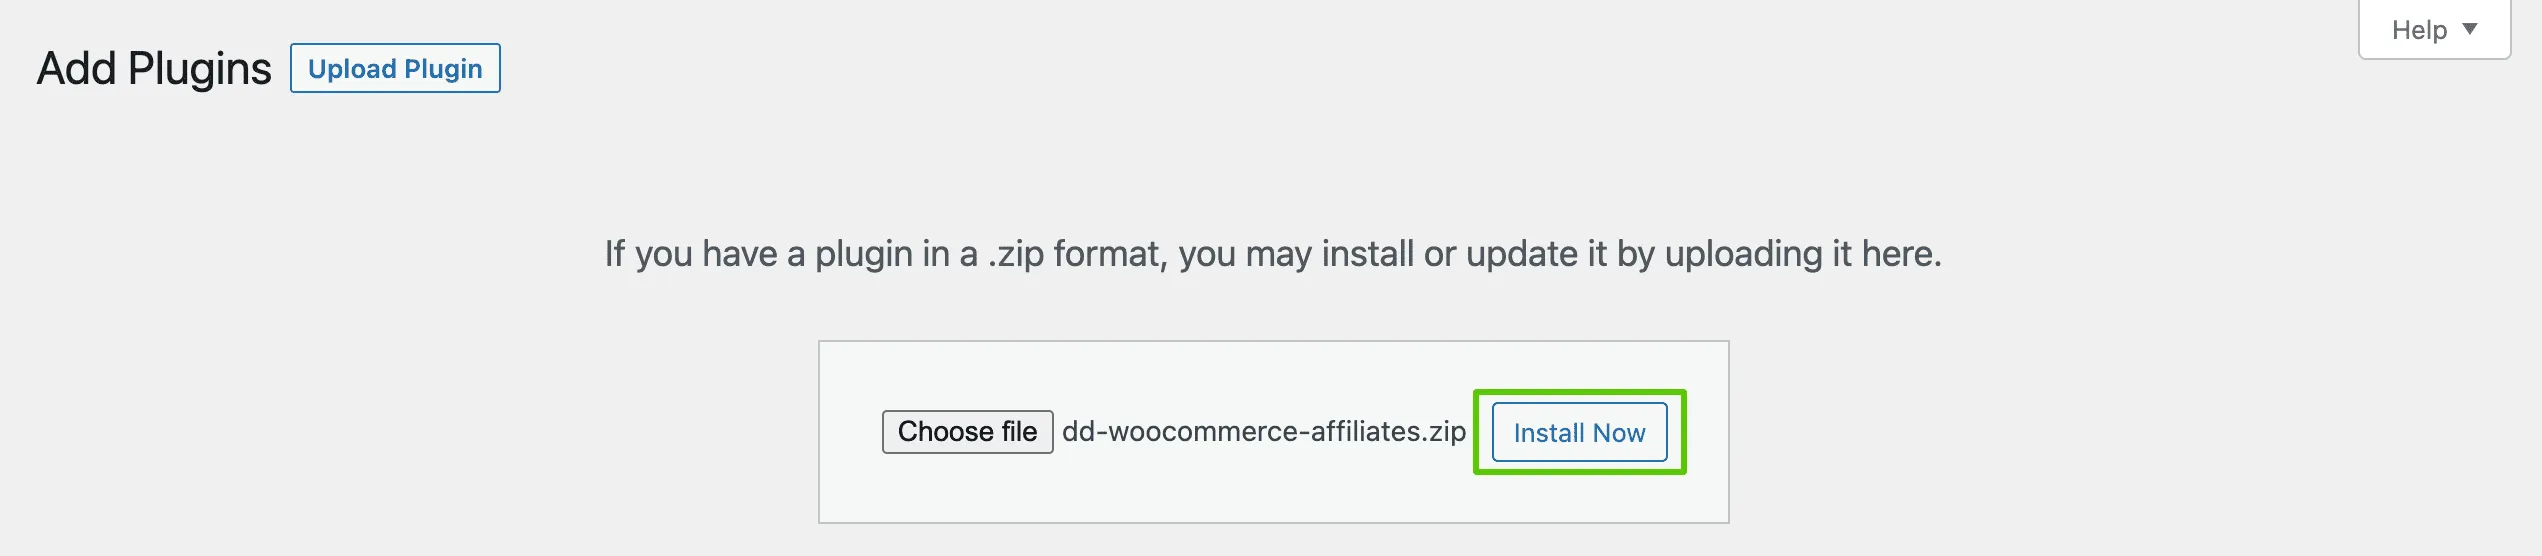
Then press Activate Plugin.

A Product View in AR entry appears under DevDiggers Plugins in the admin menu.
Step 3: Activate your license
Section titled “Step 3: Activate your license”Go to DevDiggers Plugins → Product View in AR → Configuration → License and enter the purchase code and email from your order.
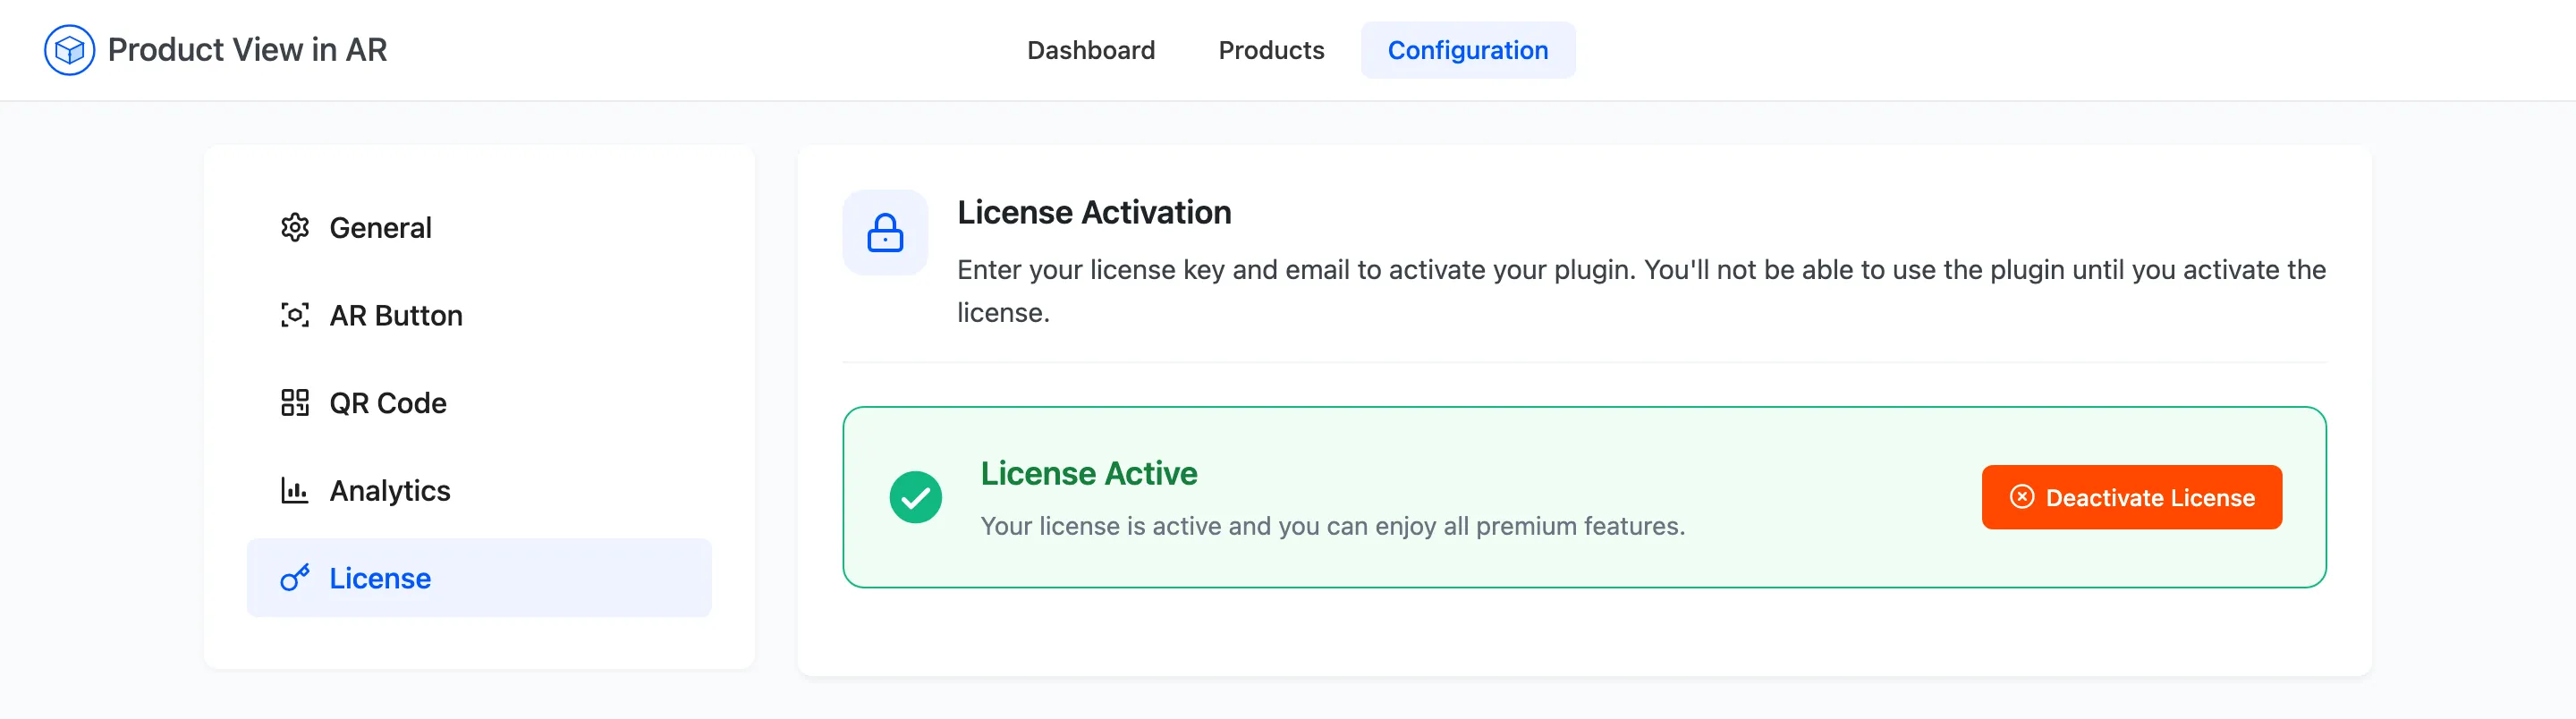
This step is not optional on the Pro version. Until the license is active the plugin loads nothing on the storefront. No 3D toggle, no AR button and no QR code, on any product, however many models are attached. The admin screens all keep working, which is what makes it confusing. If your settings look right and a product page still shows a plain gallery, check this tab before anything else.
Step 4: Finish the setup wizard
Section titled “Step 4: Finish the setup wizard”On a fresh install the wizard opens on its own. It is four short steps and it ends with the viewer switched on.
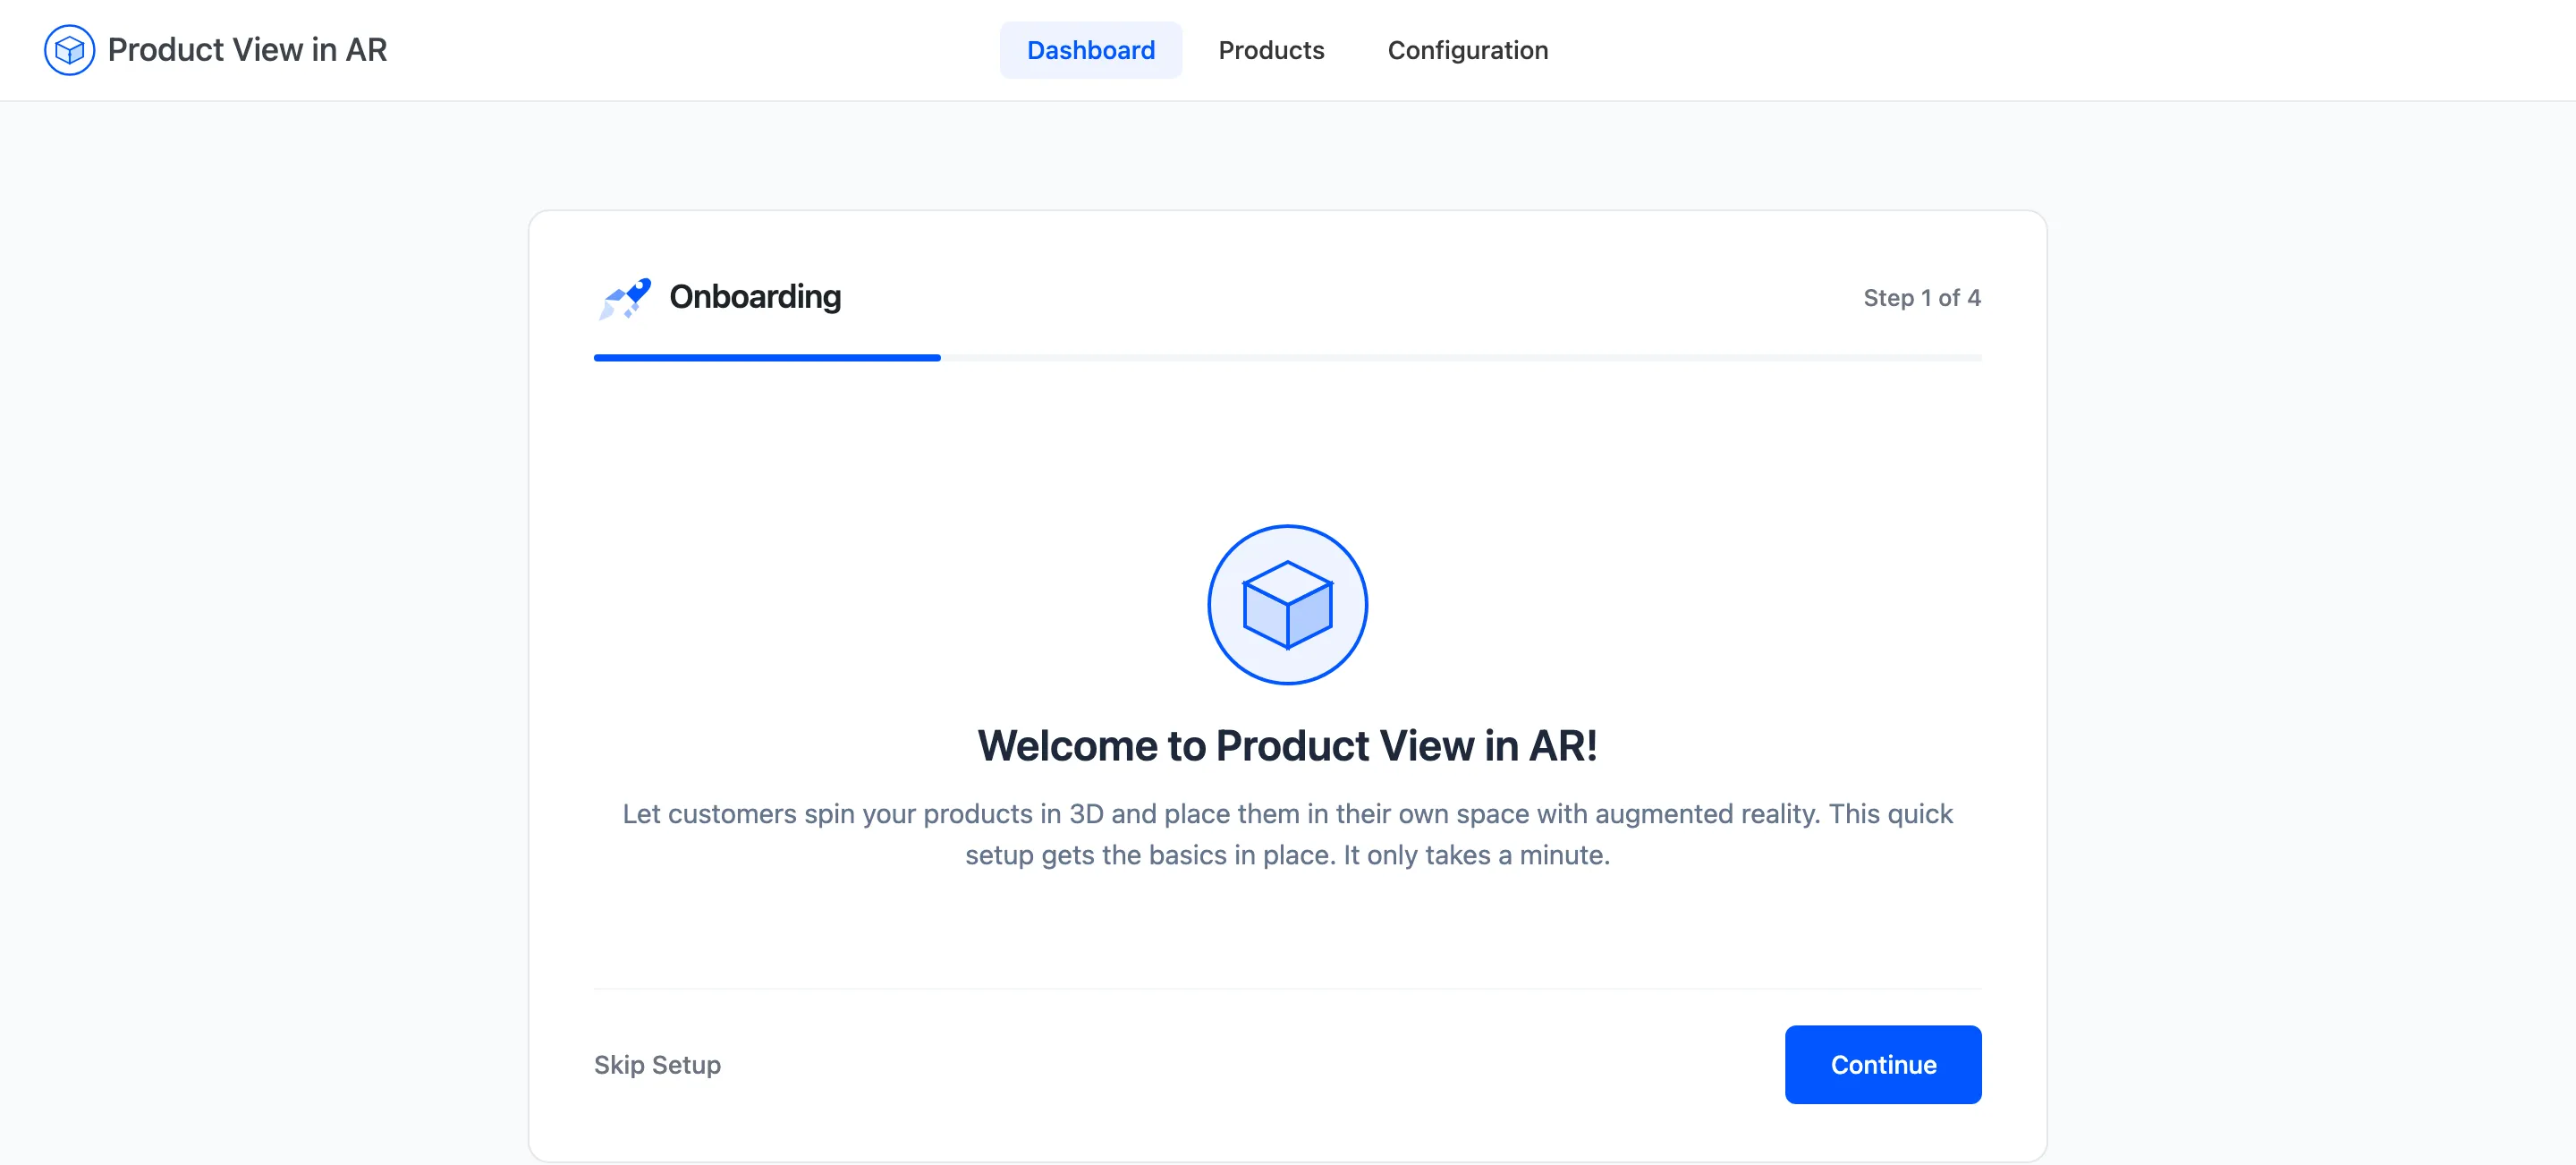
You can reopen it at any time from the Setup Wizard link beside the plugin on the Plugins screen. The Setup Wizard covers what each step sets.
What to do next
Section titled “What to do next”Activating the plugin changes nothing a shopper can see, because no product has a model yet. Go to
Products, attach a .glb and a .usdz to your first product, and the viewer appears on that
product page straight away.