

How to Add a 3D Model to a Product
This is the one job that makes the plugin do anything. Everything else is appearance and reporting. A product with a model gets the viewer; a product without one is untouched.
Have both files ready first: a .glb for the 3D viewer and Android AR, and a .usdz for AR on
iPhone and iPad. If you have neither yet, the Products screen links a sample of each, and they
work on any product.
Step 1: Open the Products screen
Section titled “Step 1: Open the Products screen”Go to DevDiggers Plugins → Product View in AR → Products.
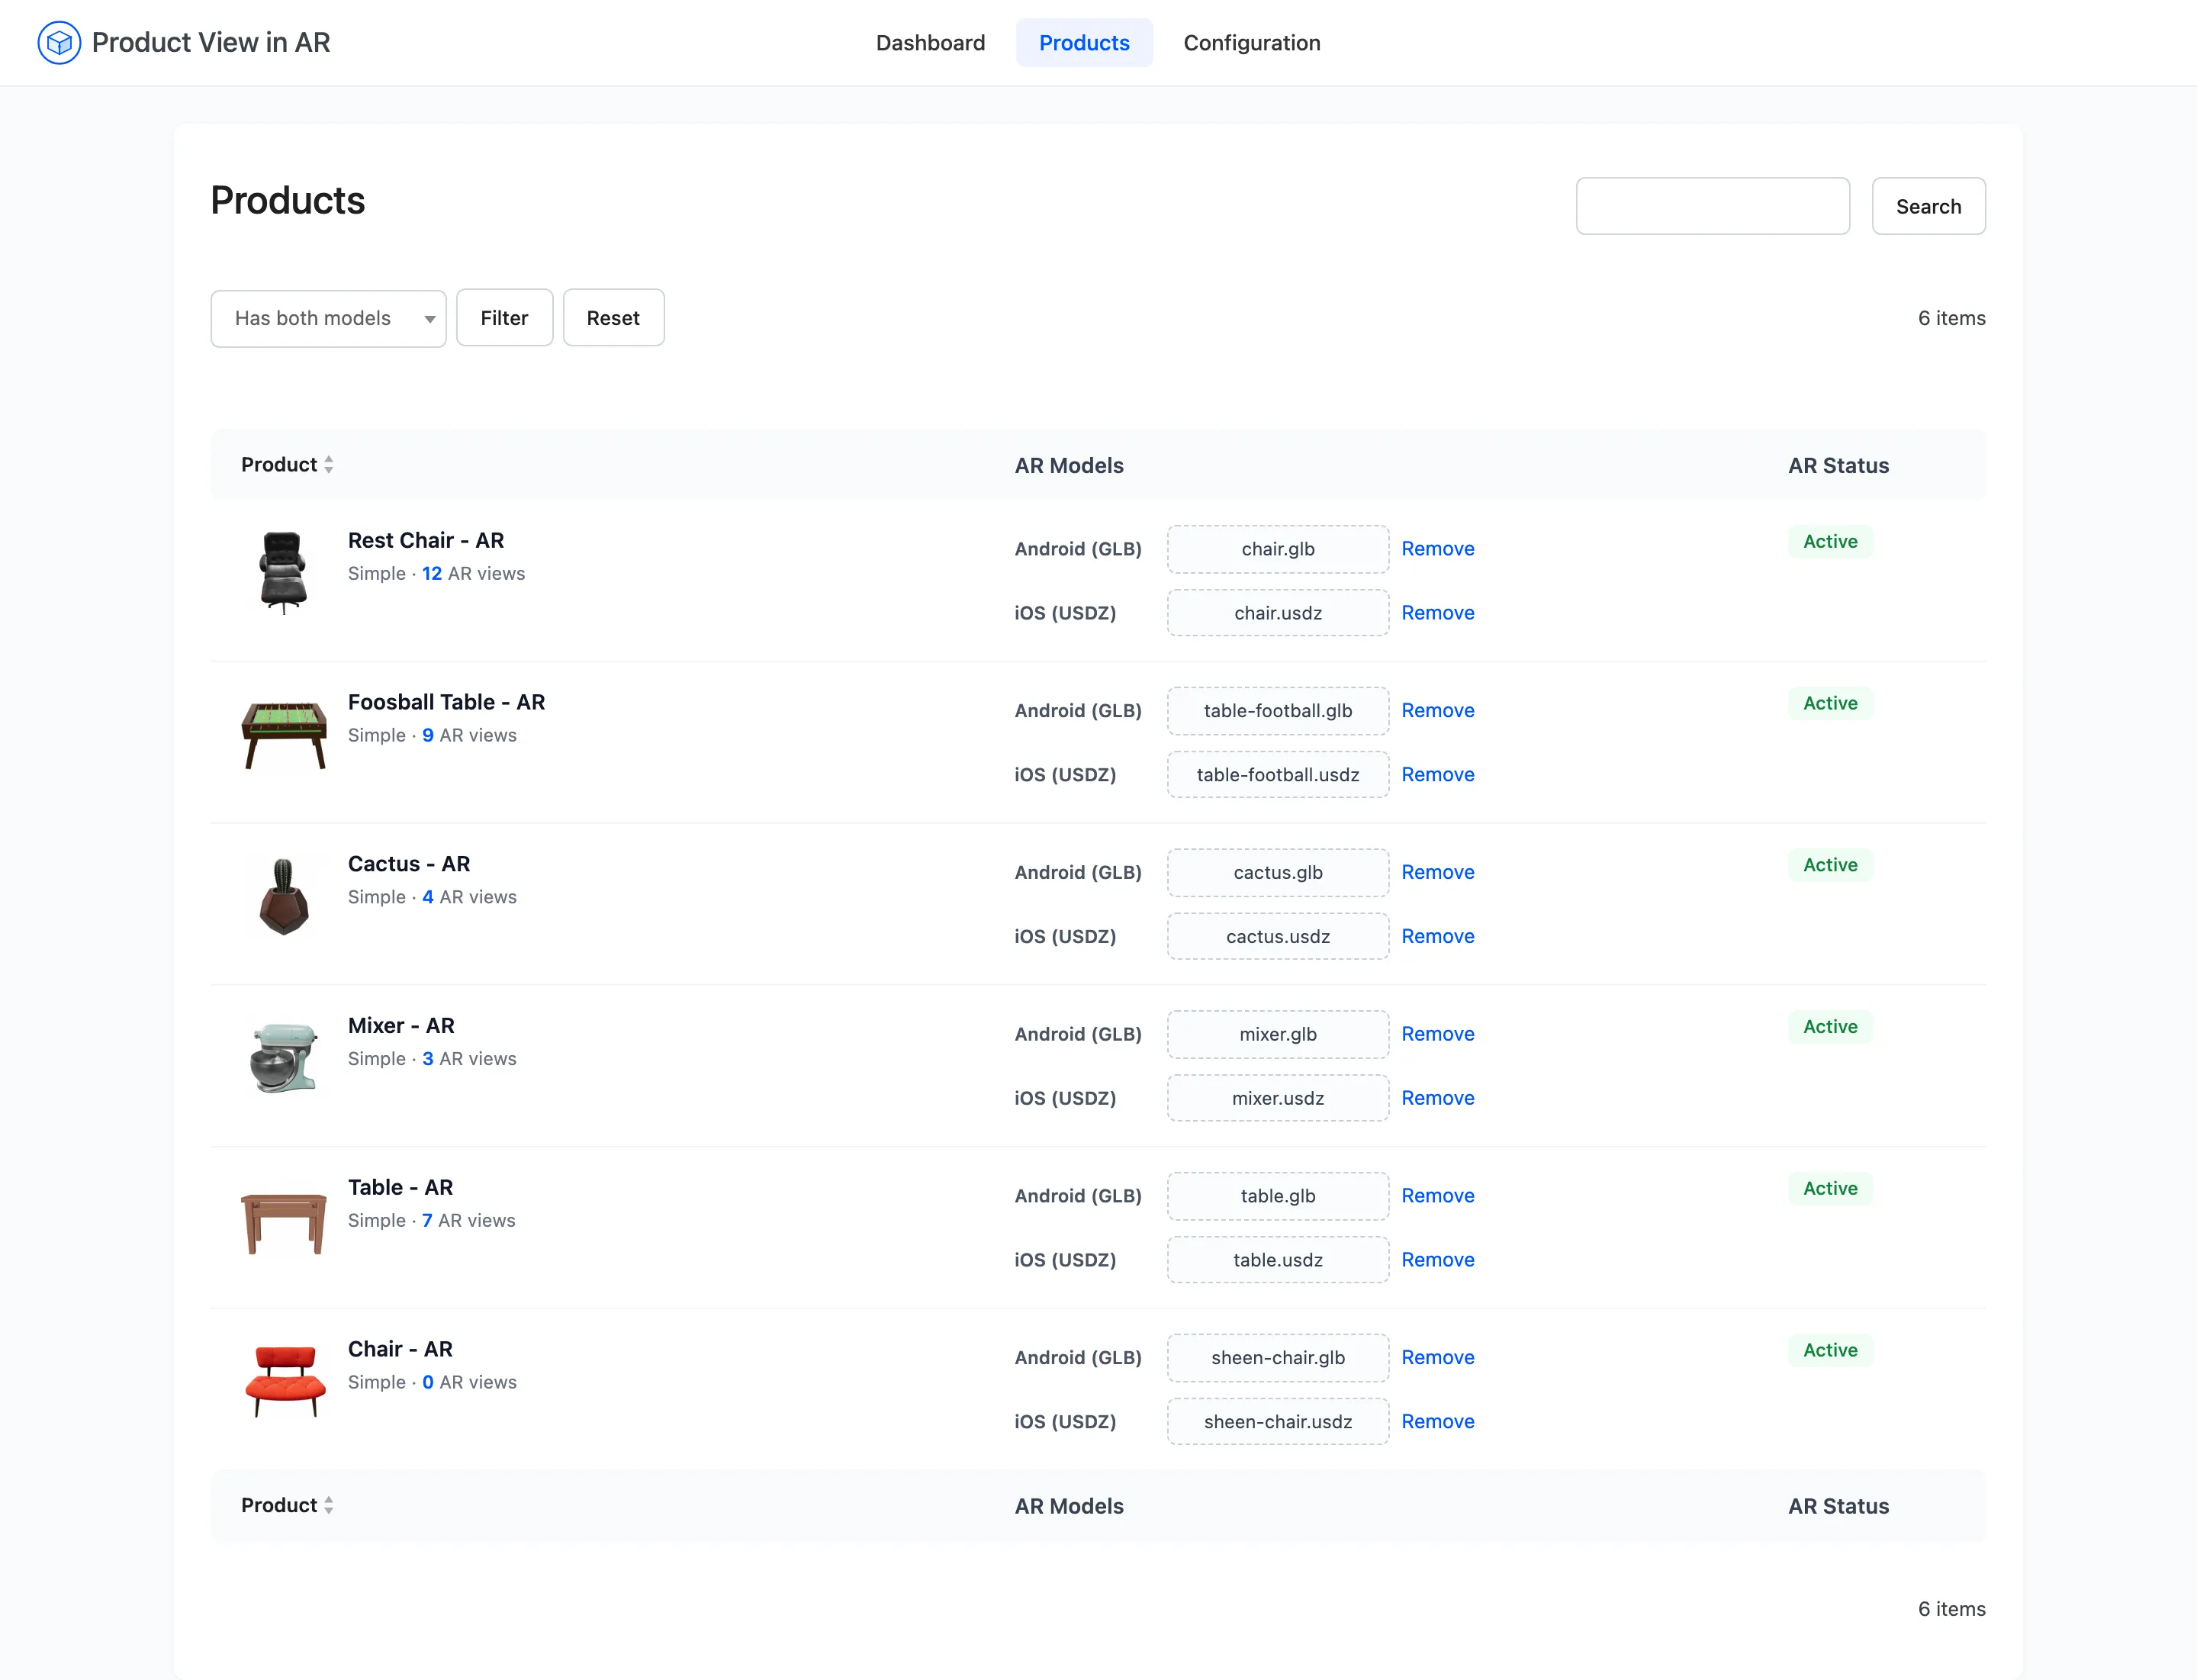
Every published product is listed with two upload controls and a status badge. You never need to open the WooCommerce product editor for this.
Step 2: Find the product
Section titled “Step 2: Find the product”Set the filter above the table to Missing AR model and press Filter.
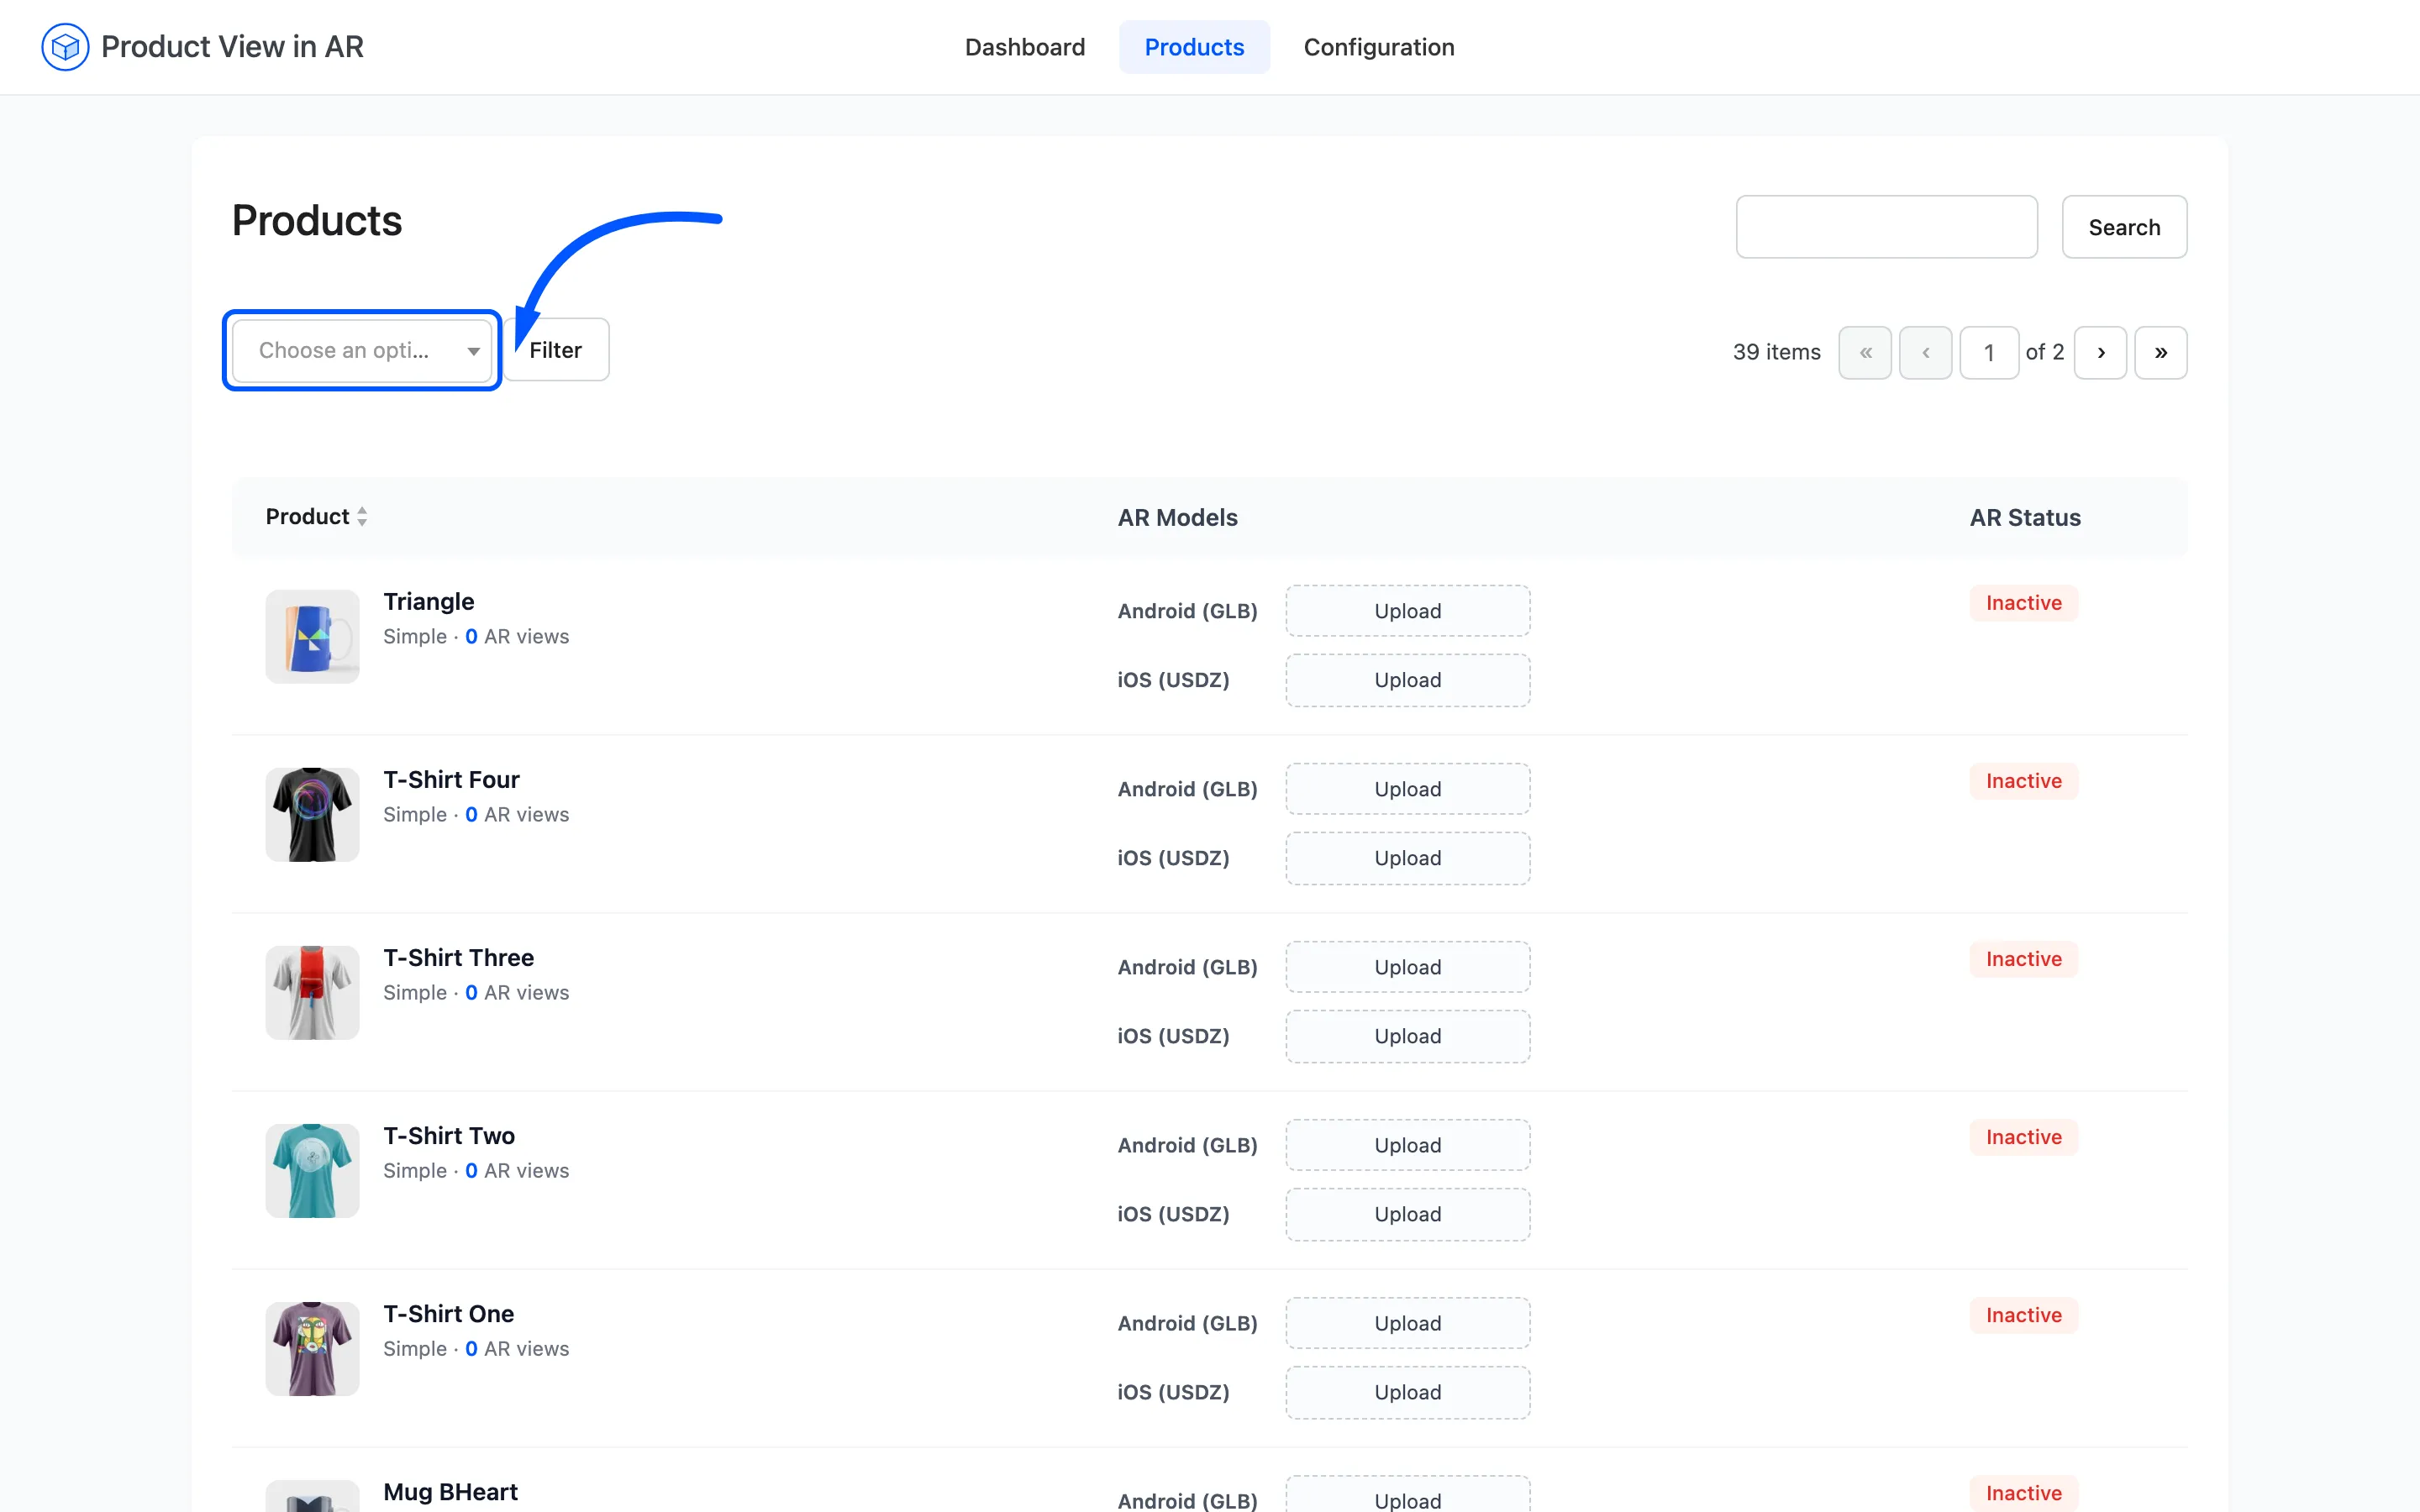
That narrows the list to products with no model at all, which is the list you are working through.
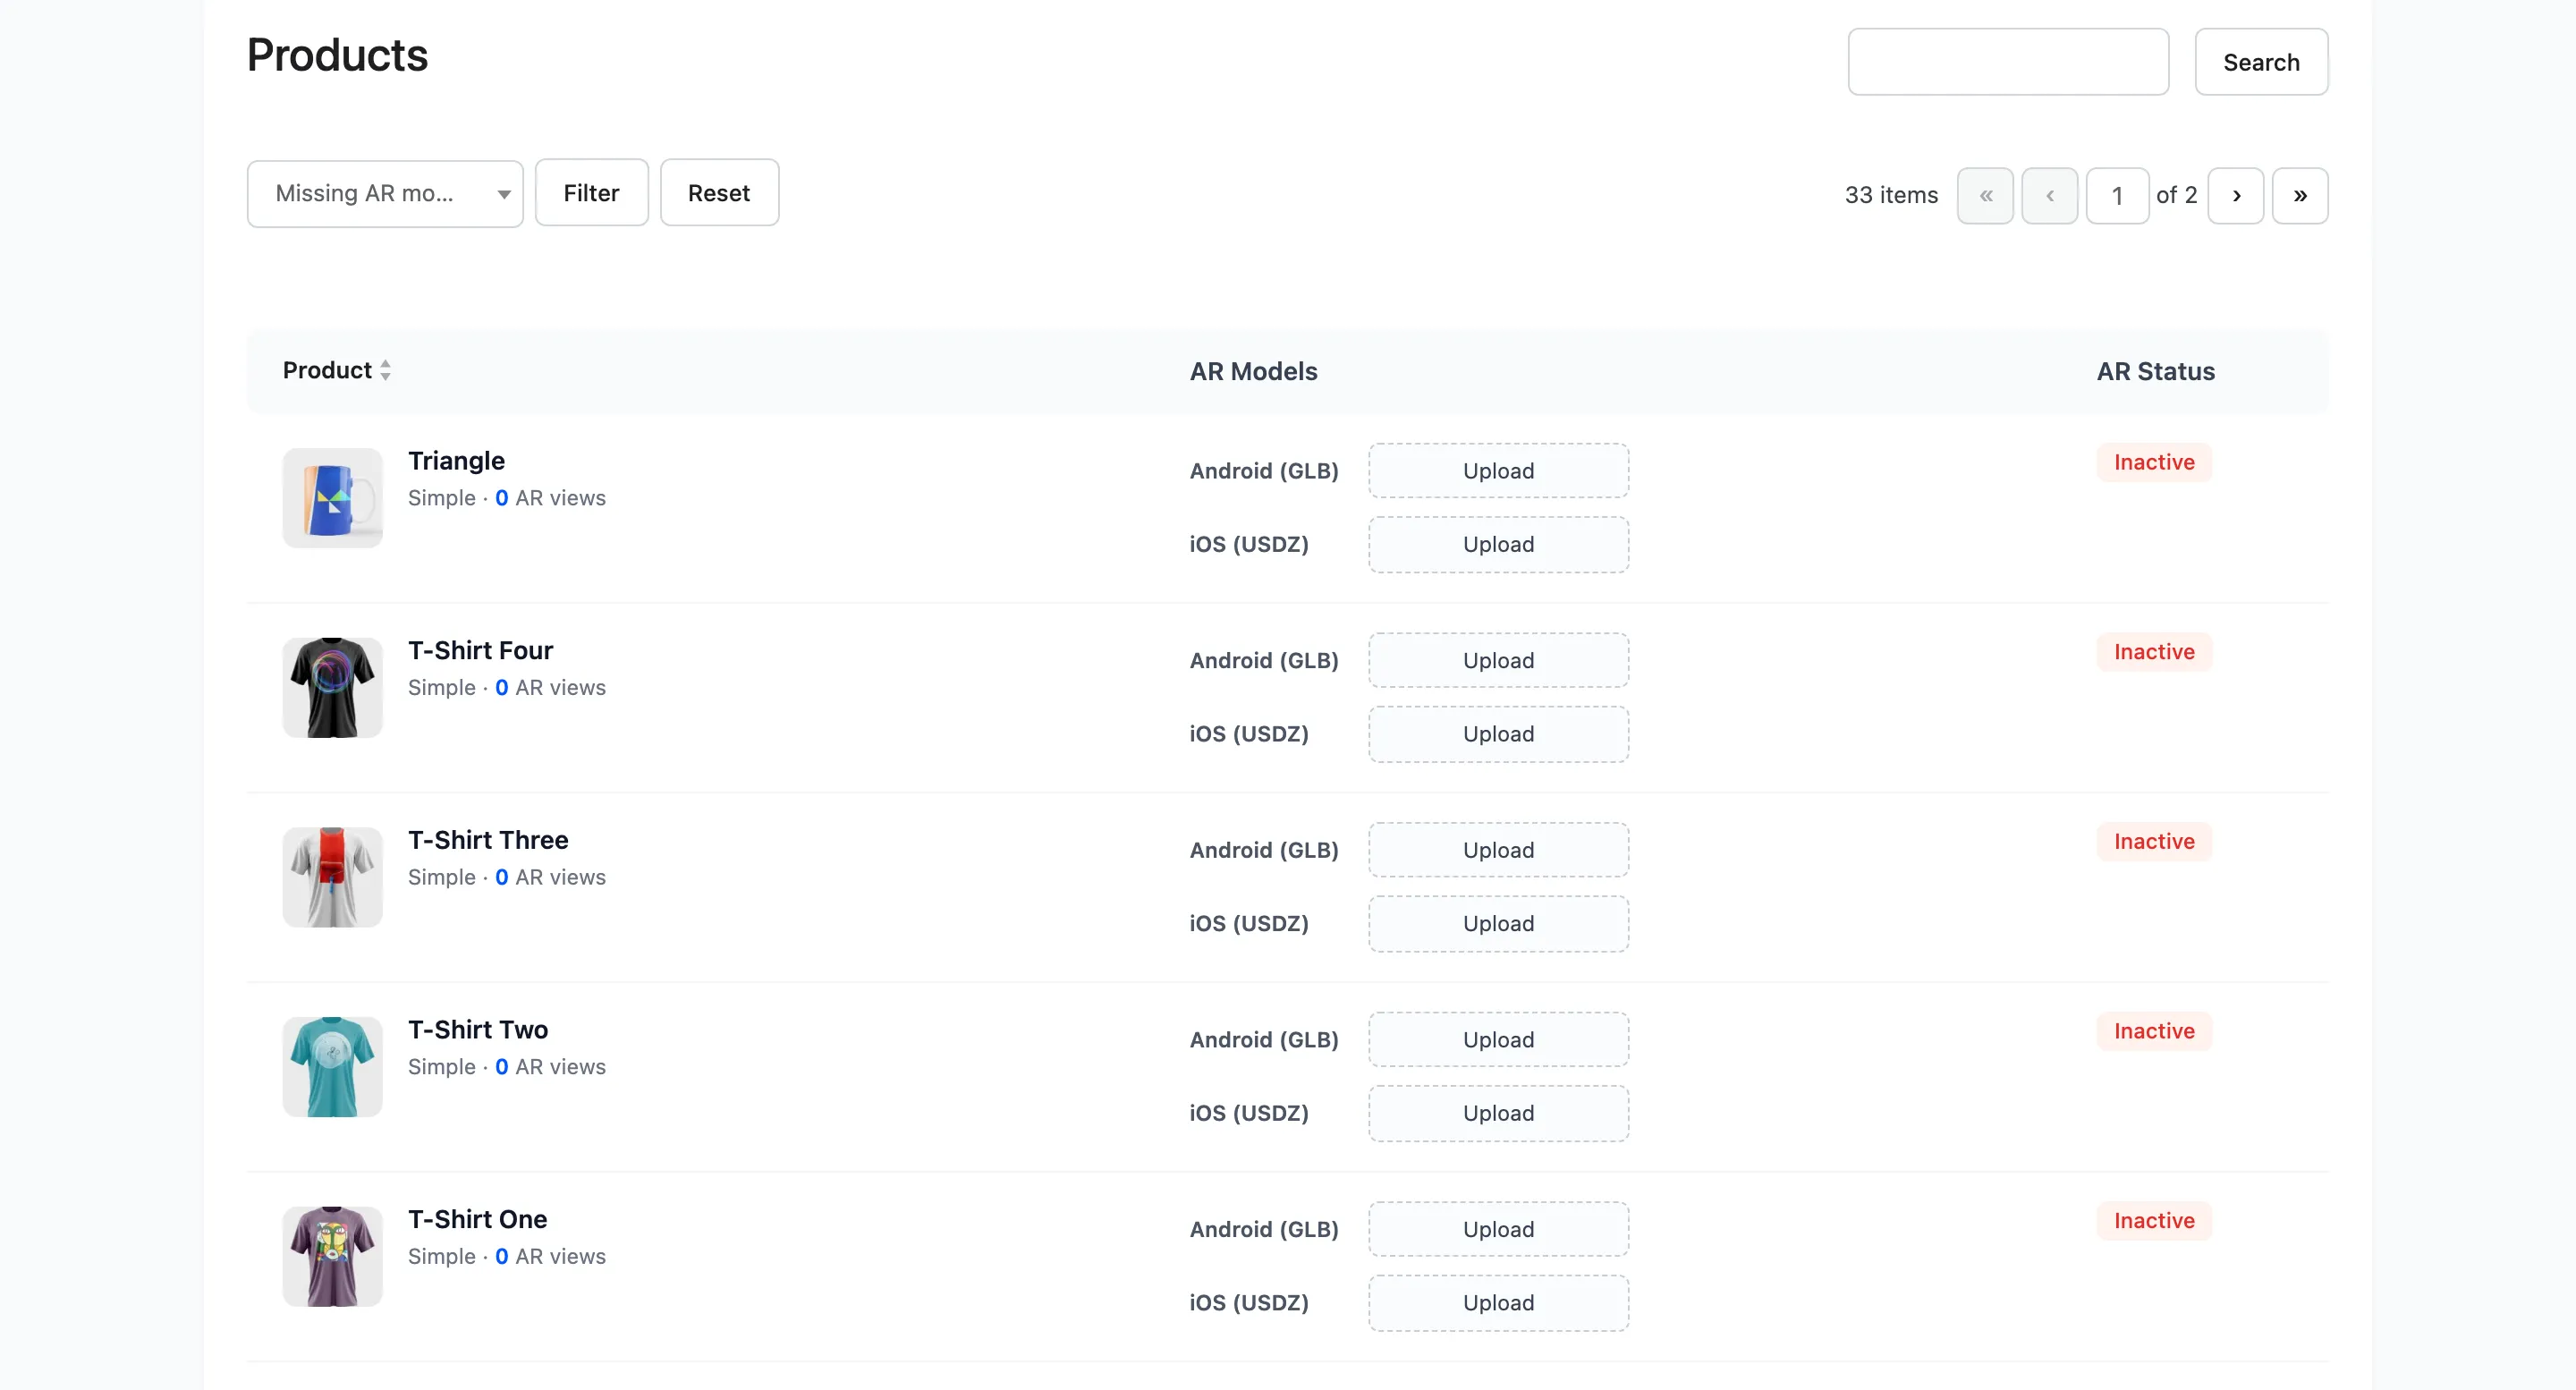
For one specific product, use the search box instead. It matches product titles and combines with the filter.
Step 3: Upload the Android model
Section titled “Step 3: Upload the Android model”In the AR Models column, click Upload under Android (GLB).
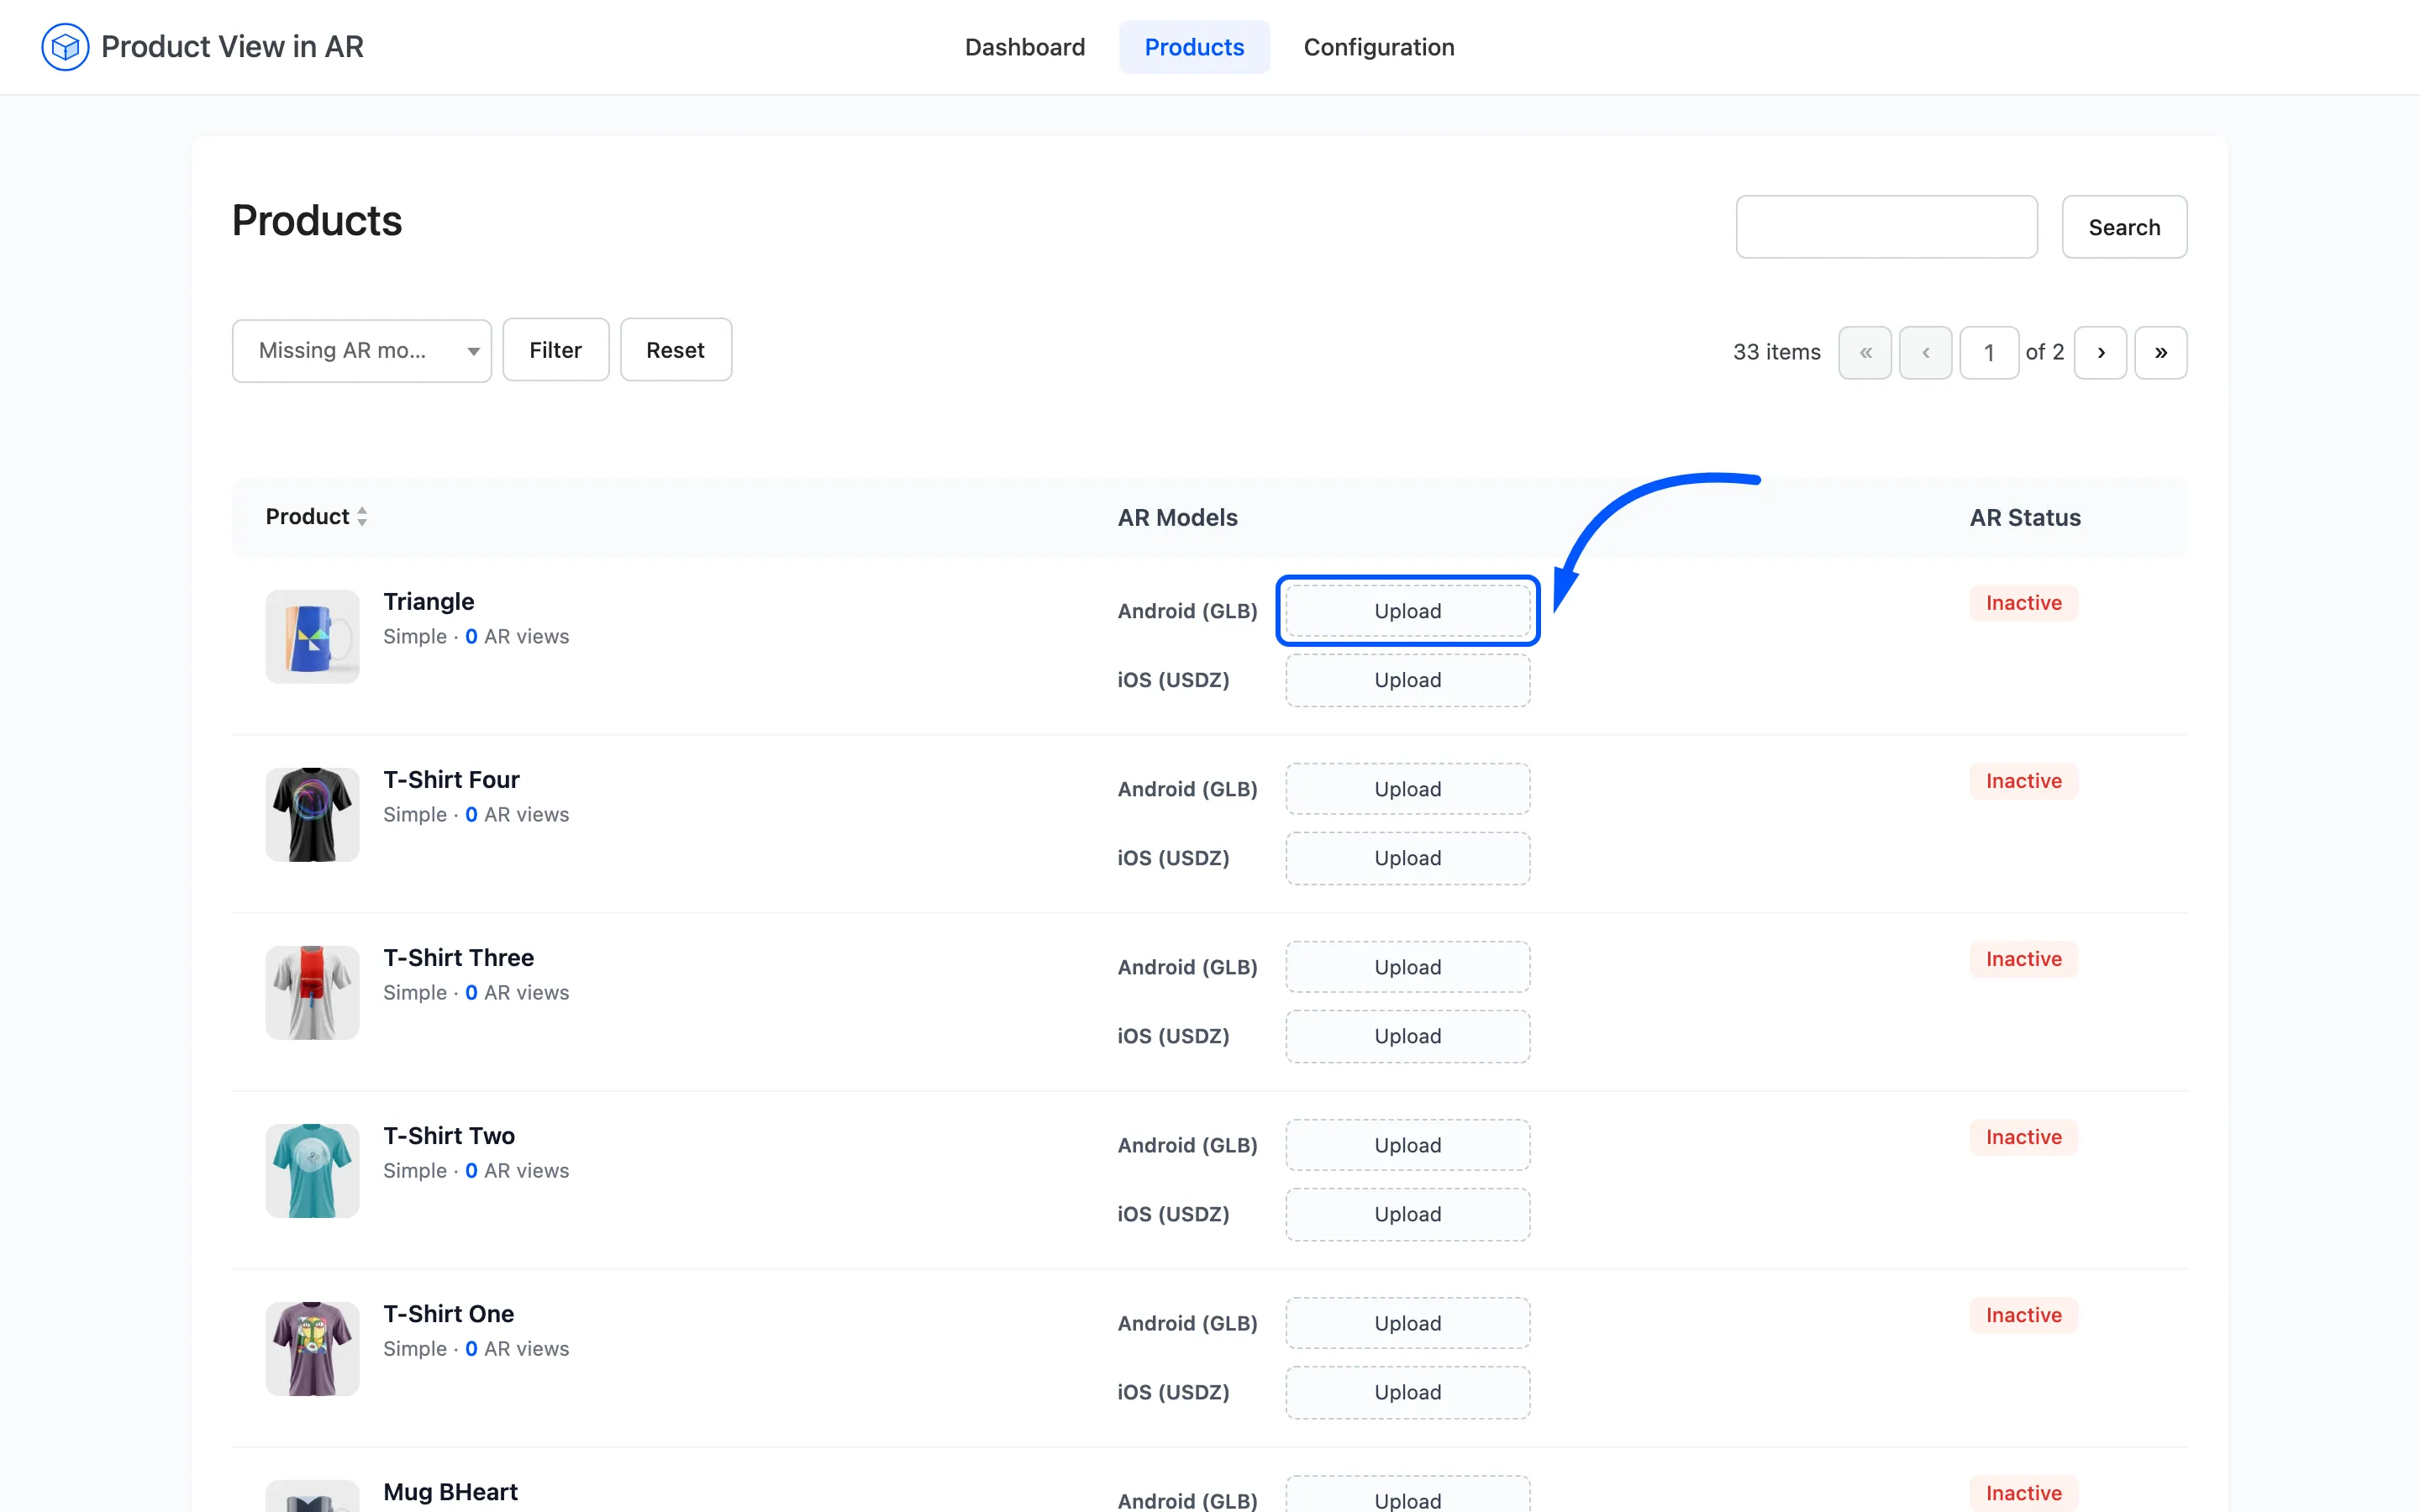
The WordPress media library opens, filtered to model files so nothing else can be picked by mistake.
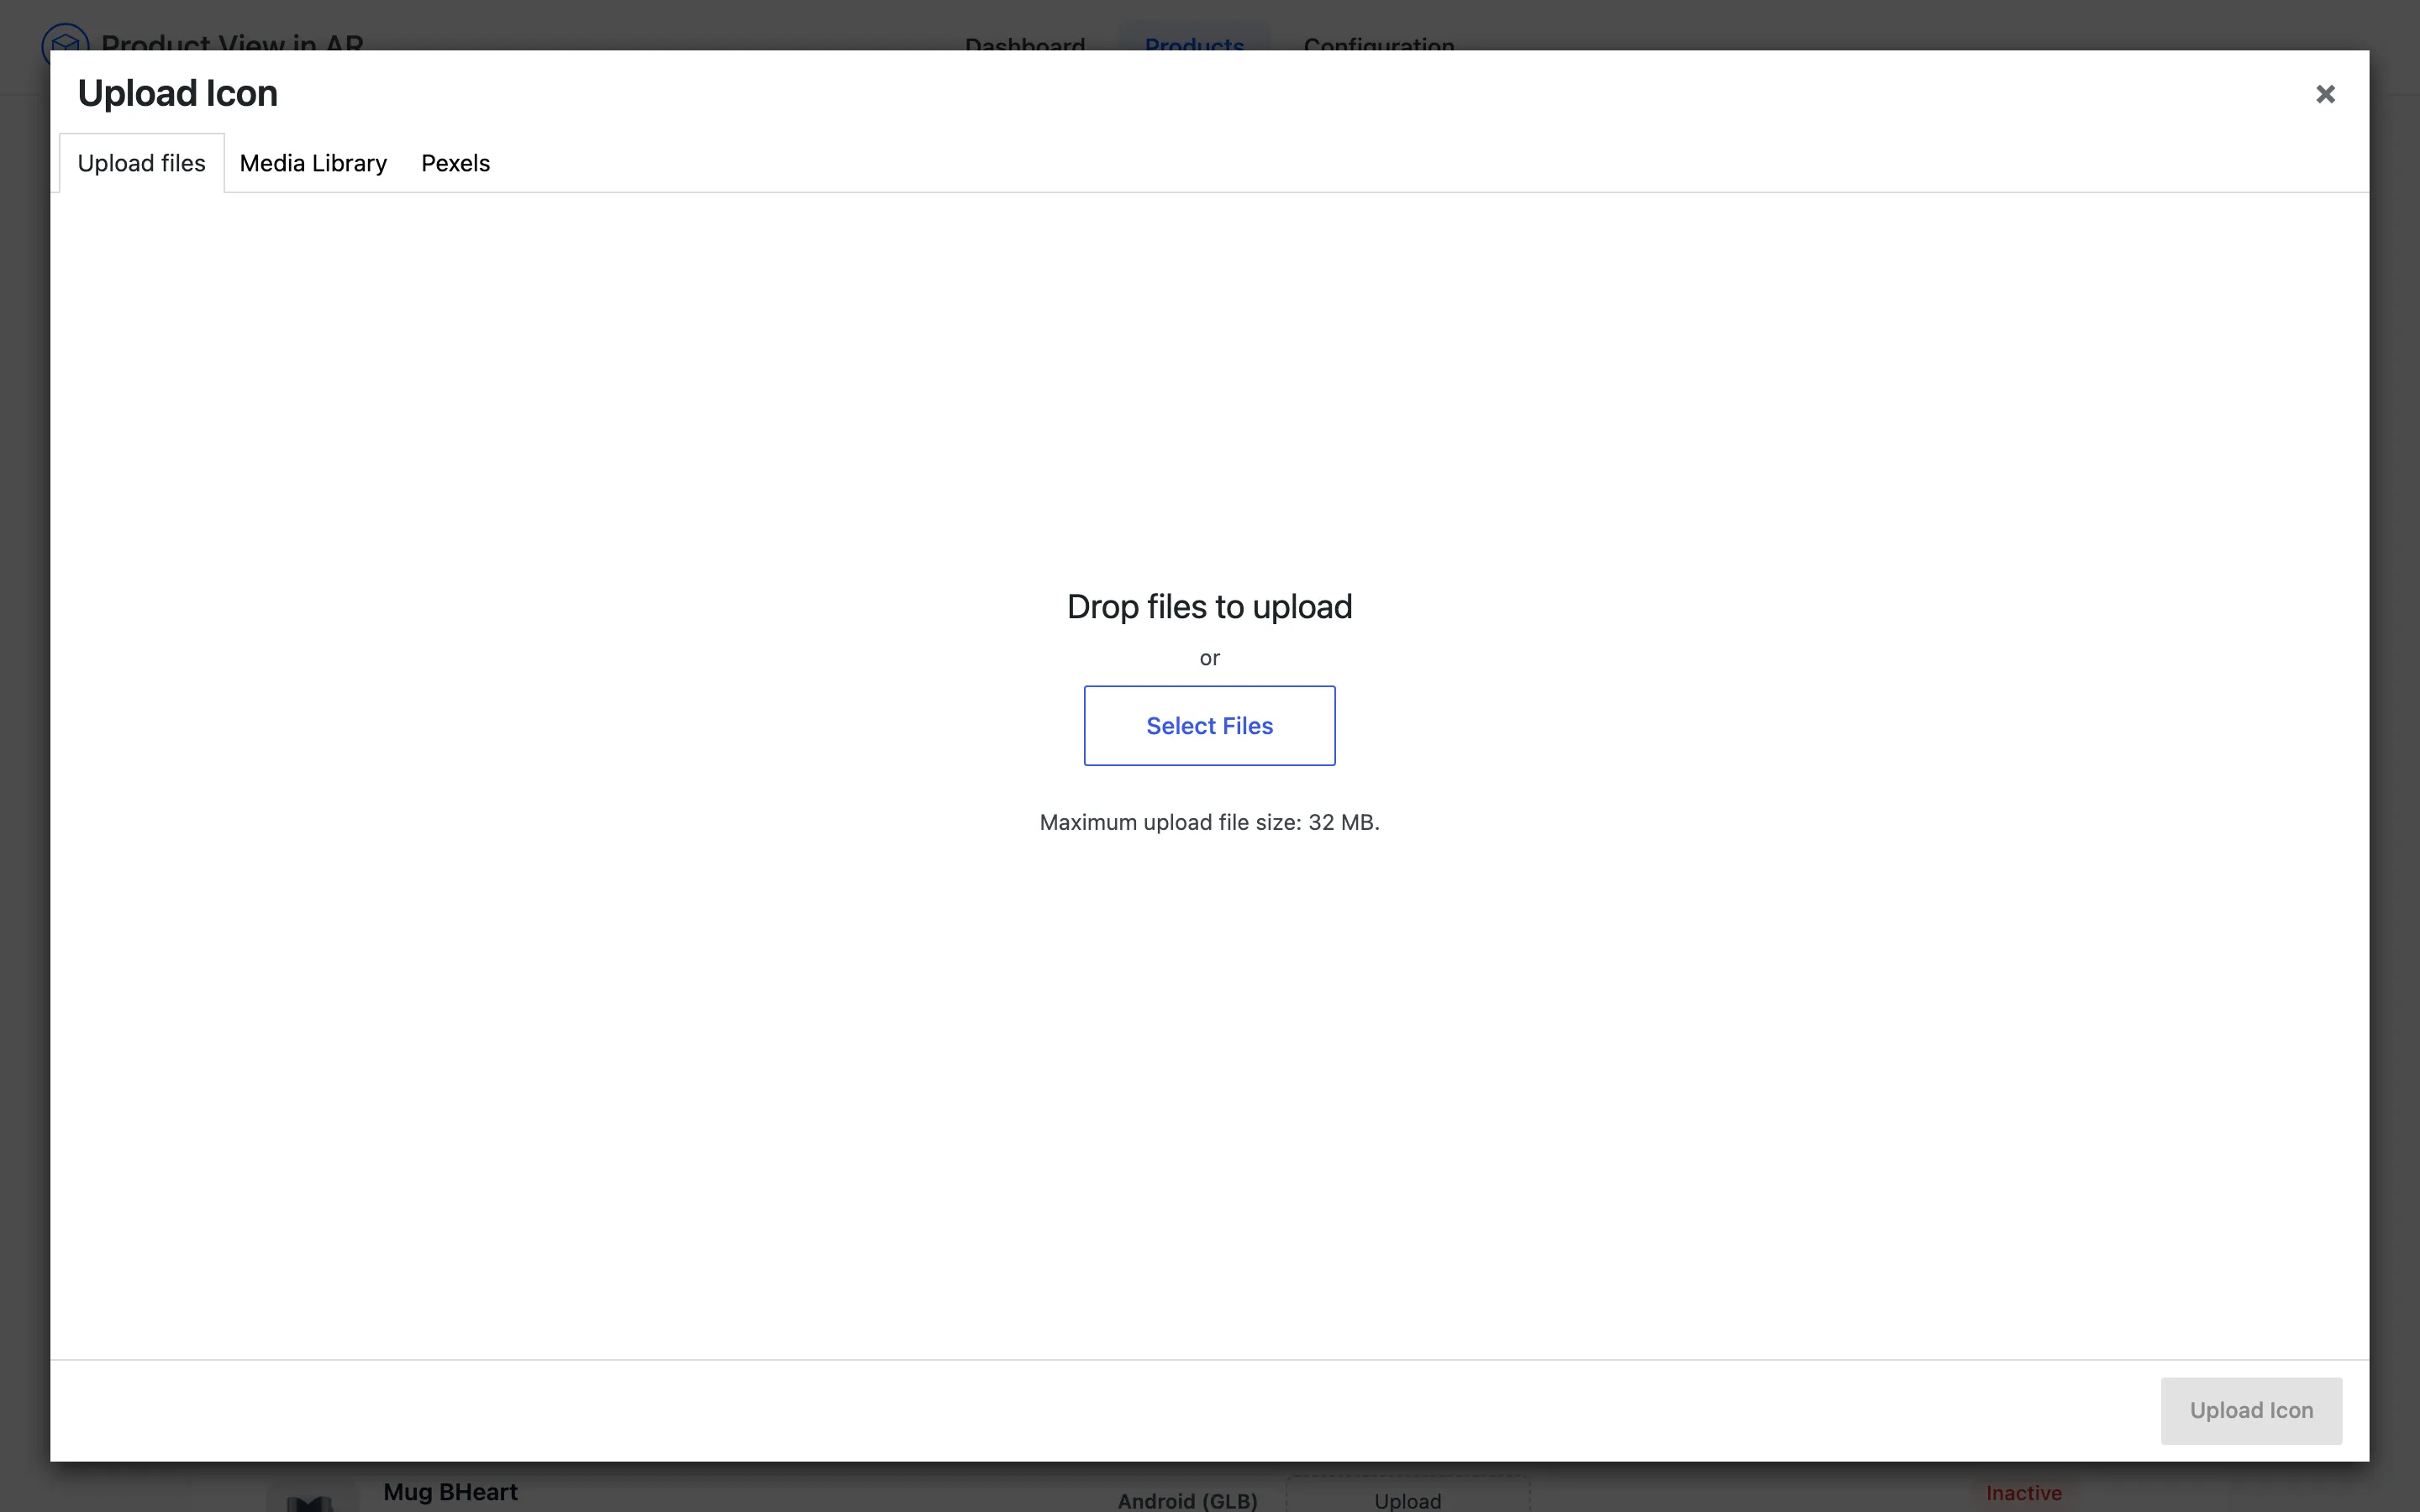
Drop your .glb on the Upload files tab, or pick one already in the library, and press the select
button. The control saves straight away and the word Upload becomes the filename. There is no
Save Changes button on this screen, which catches people out in the other direction: there is
nothing left to press.
If WordPress refuses the file type, the plugin is not active. It is what adds .glb and .usdz to
the allowed uploads list.
Step 4: Upload the iOS model
Section titled “Step 4: Upload the iOS model”Do the same under iOS (USDZ) with your .usdz file.
Both tiers now show a filename with a Remove link, and the AR Status badge on that row reads Active.
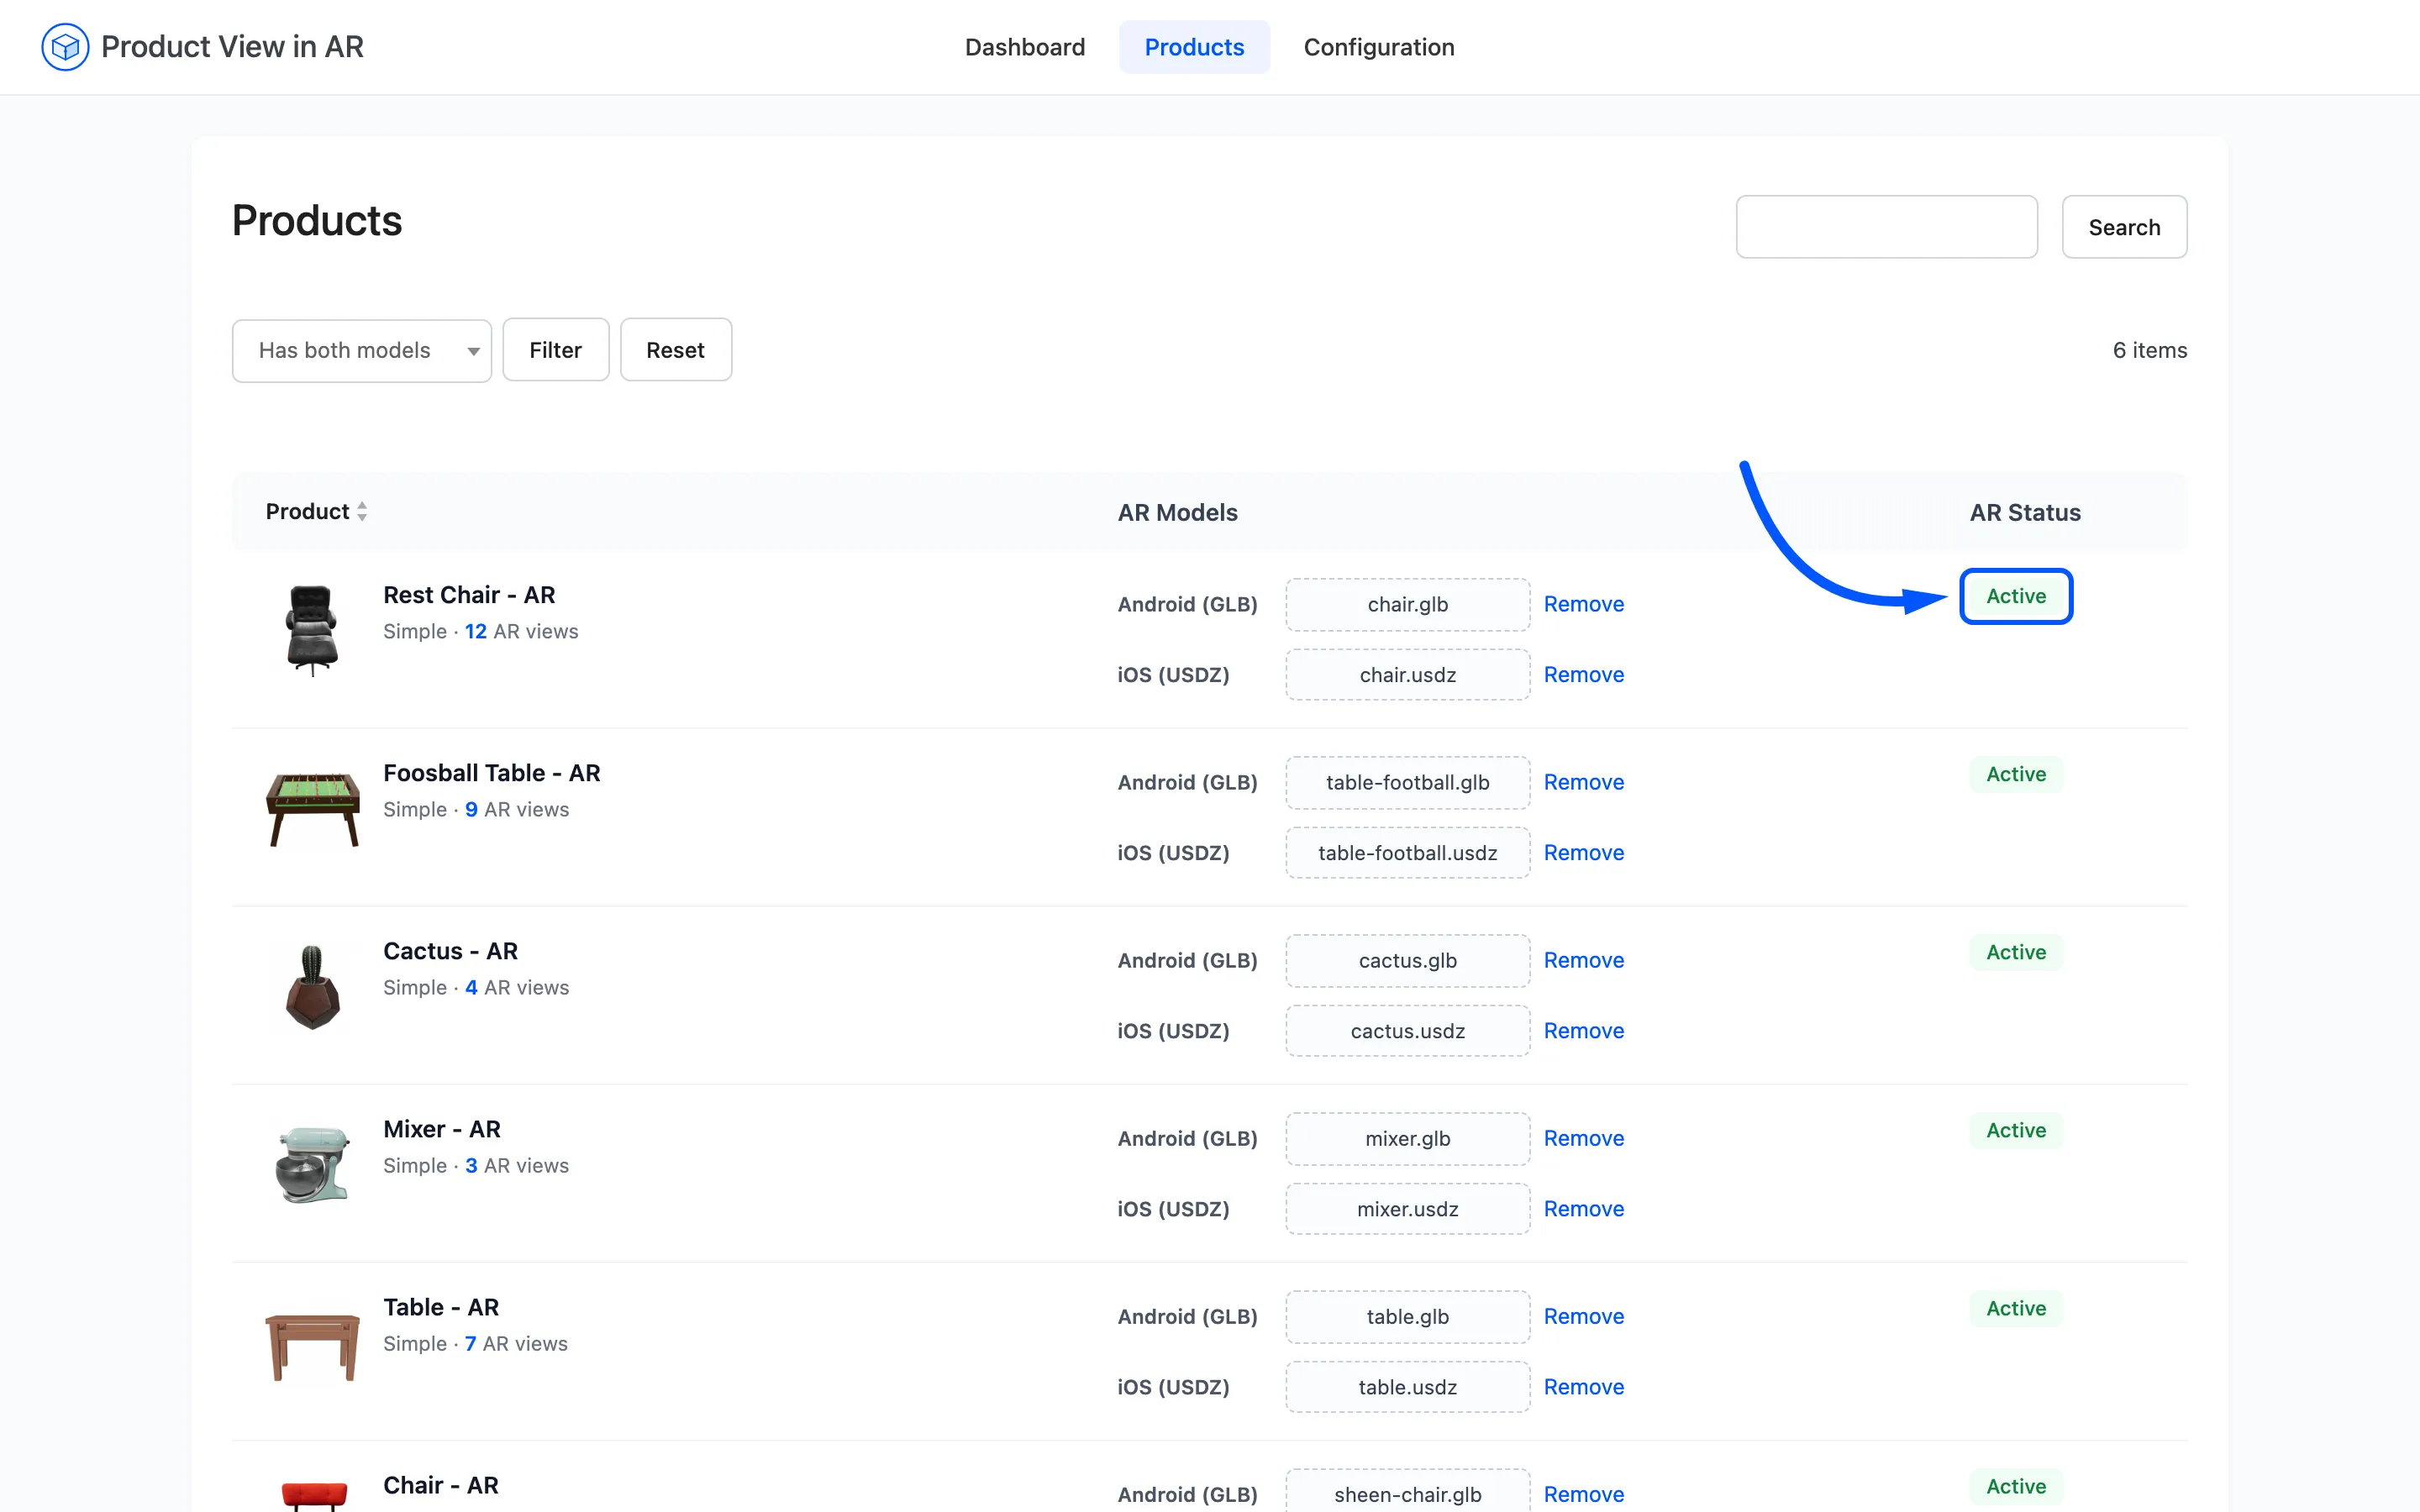
Do not stop at one file. With only a .glb, iPhone shoppers get the 3D viewer and no AR. With
only a .usdz, nobody gets the on-page 3D viewer at all, because it renders GLB. The badge reads
Active either way, so it will not warn you.
Step 5: Check the product page
Section titled “Step 5: Check the product page”Open the product on the storefront. Hover the row and click View, or visit the URL directly.
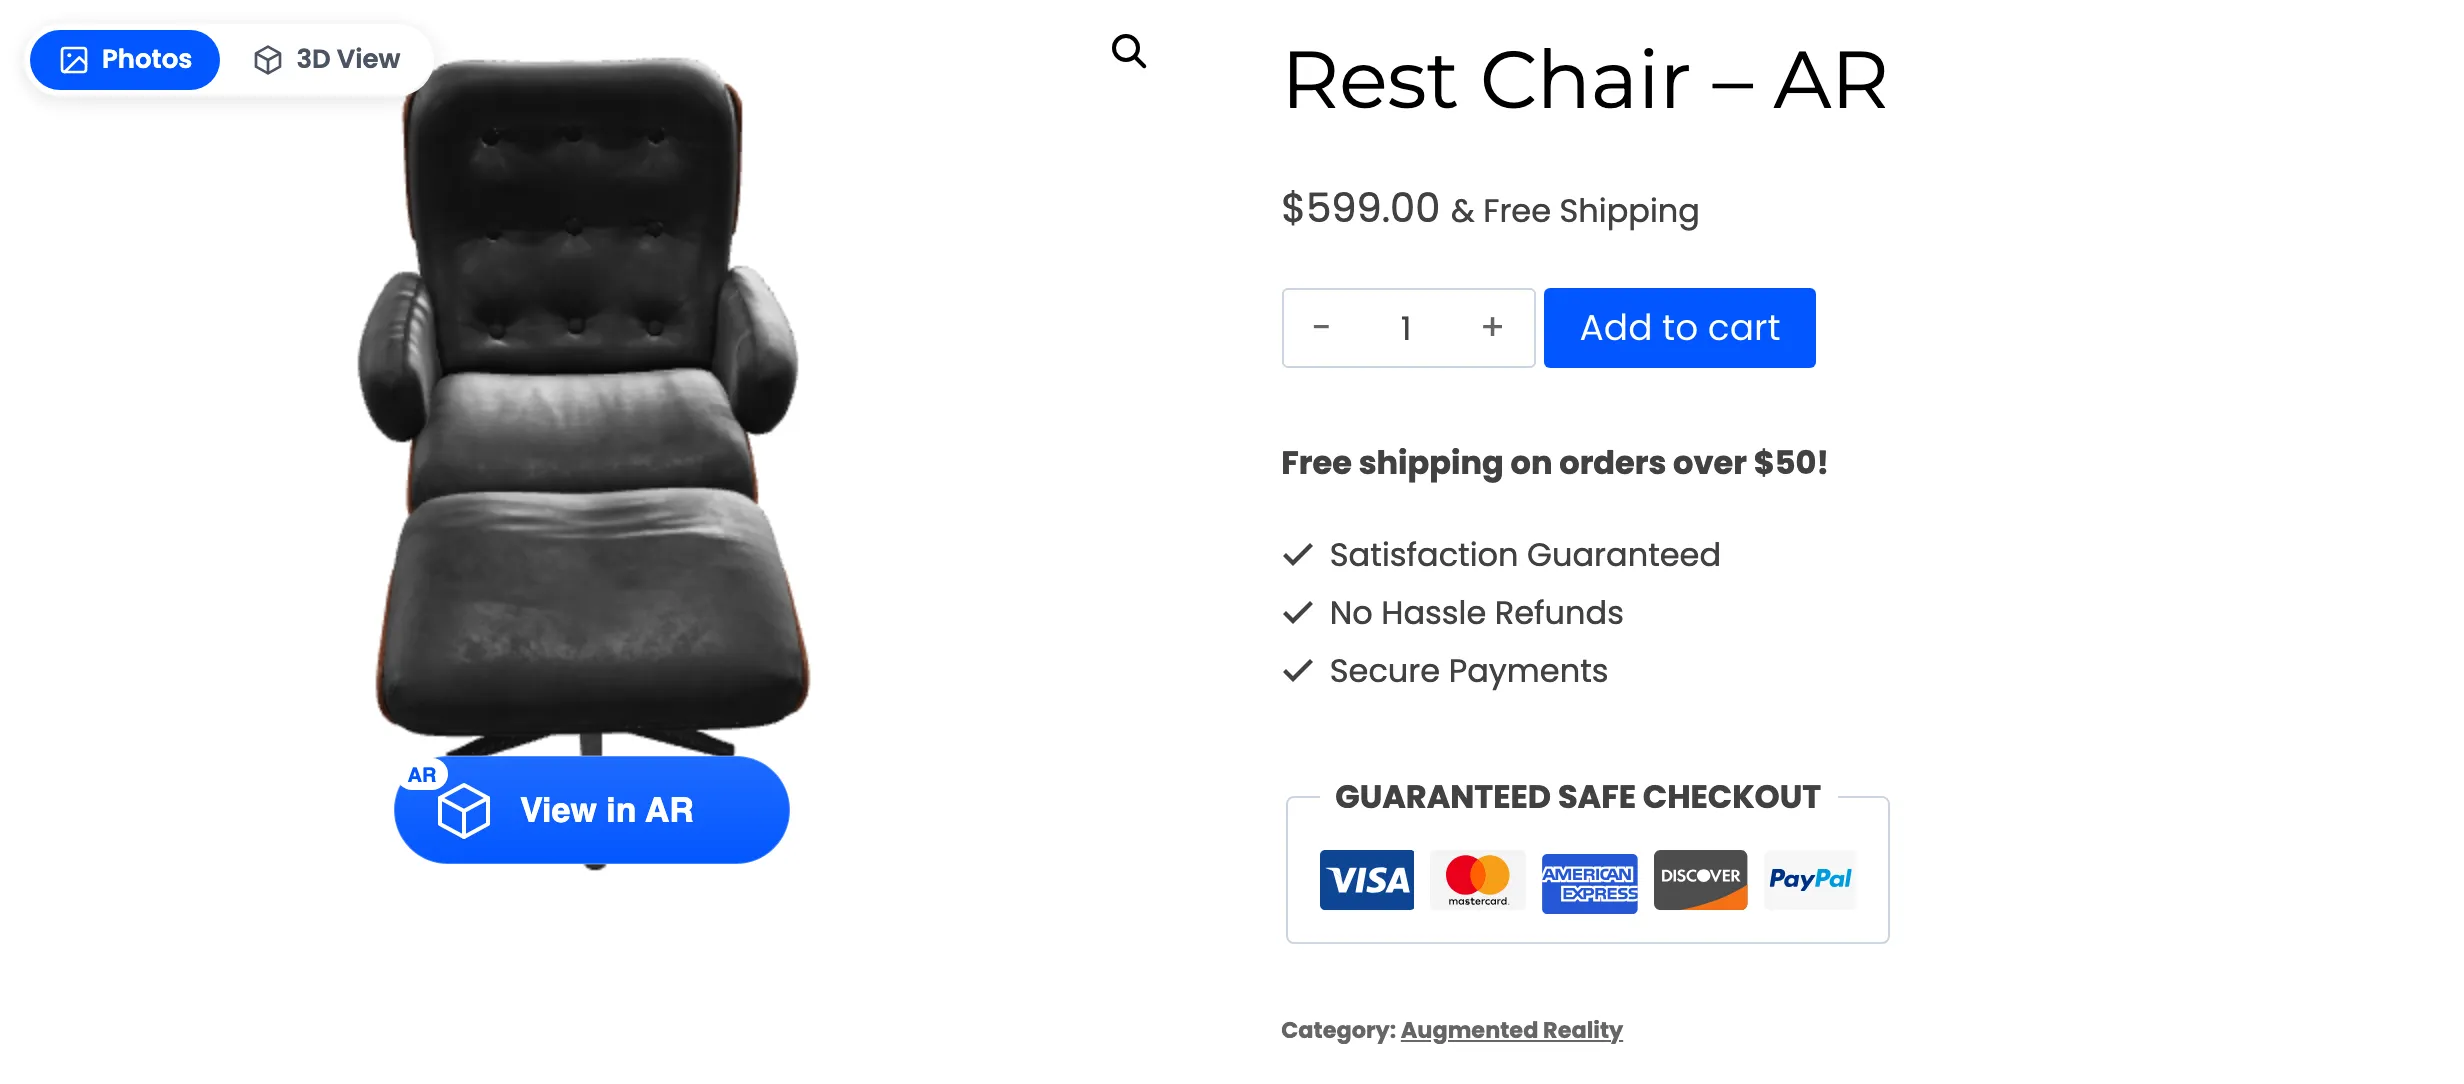
Three things should be there. The Photos / 3D View toggle over the gallery, the View in AR button, and the gallery still opening on photos.
Press 3D View and give the model a few seconds. It is a multi-megabyte download, so the product’s own photo sits in its place until it is ready.
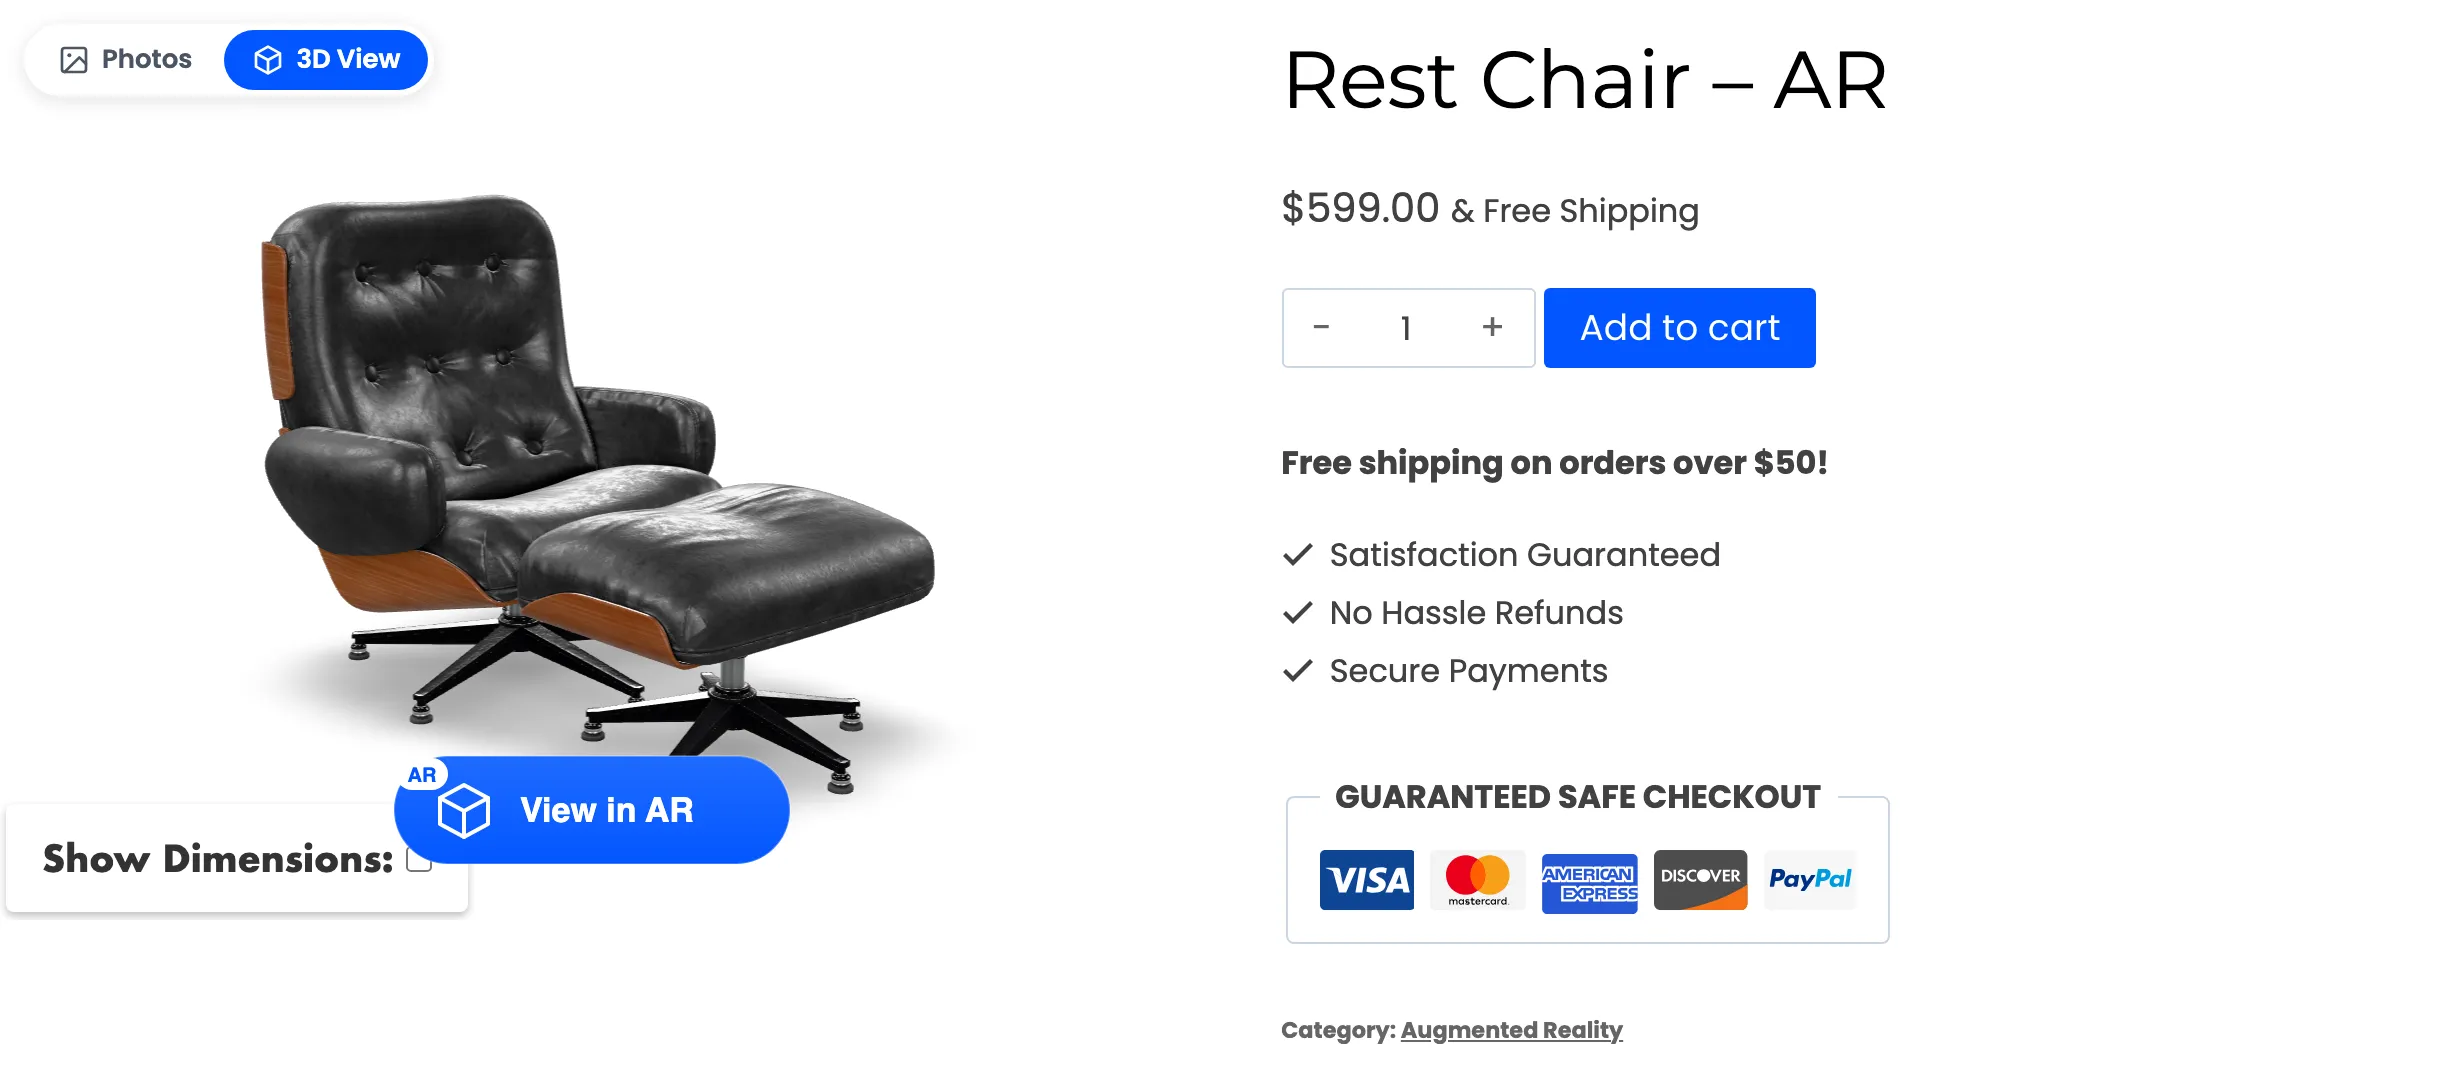
Drag to spin it. If the model appears at the wrong size, upside down or facing away, the file is wrong. No setting in the plugin will correct it.
Step 6: Check it on a phone
Section titled “Step 6: Check it on a phone”The AR half only exists on a phone or tablet, so this step needs a real device.
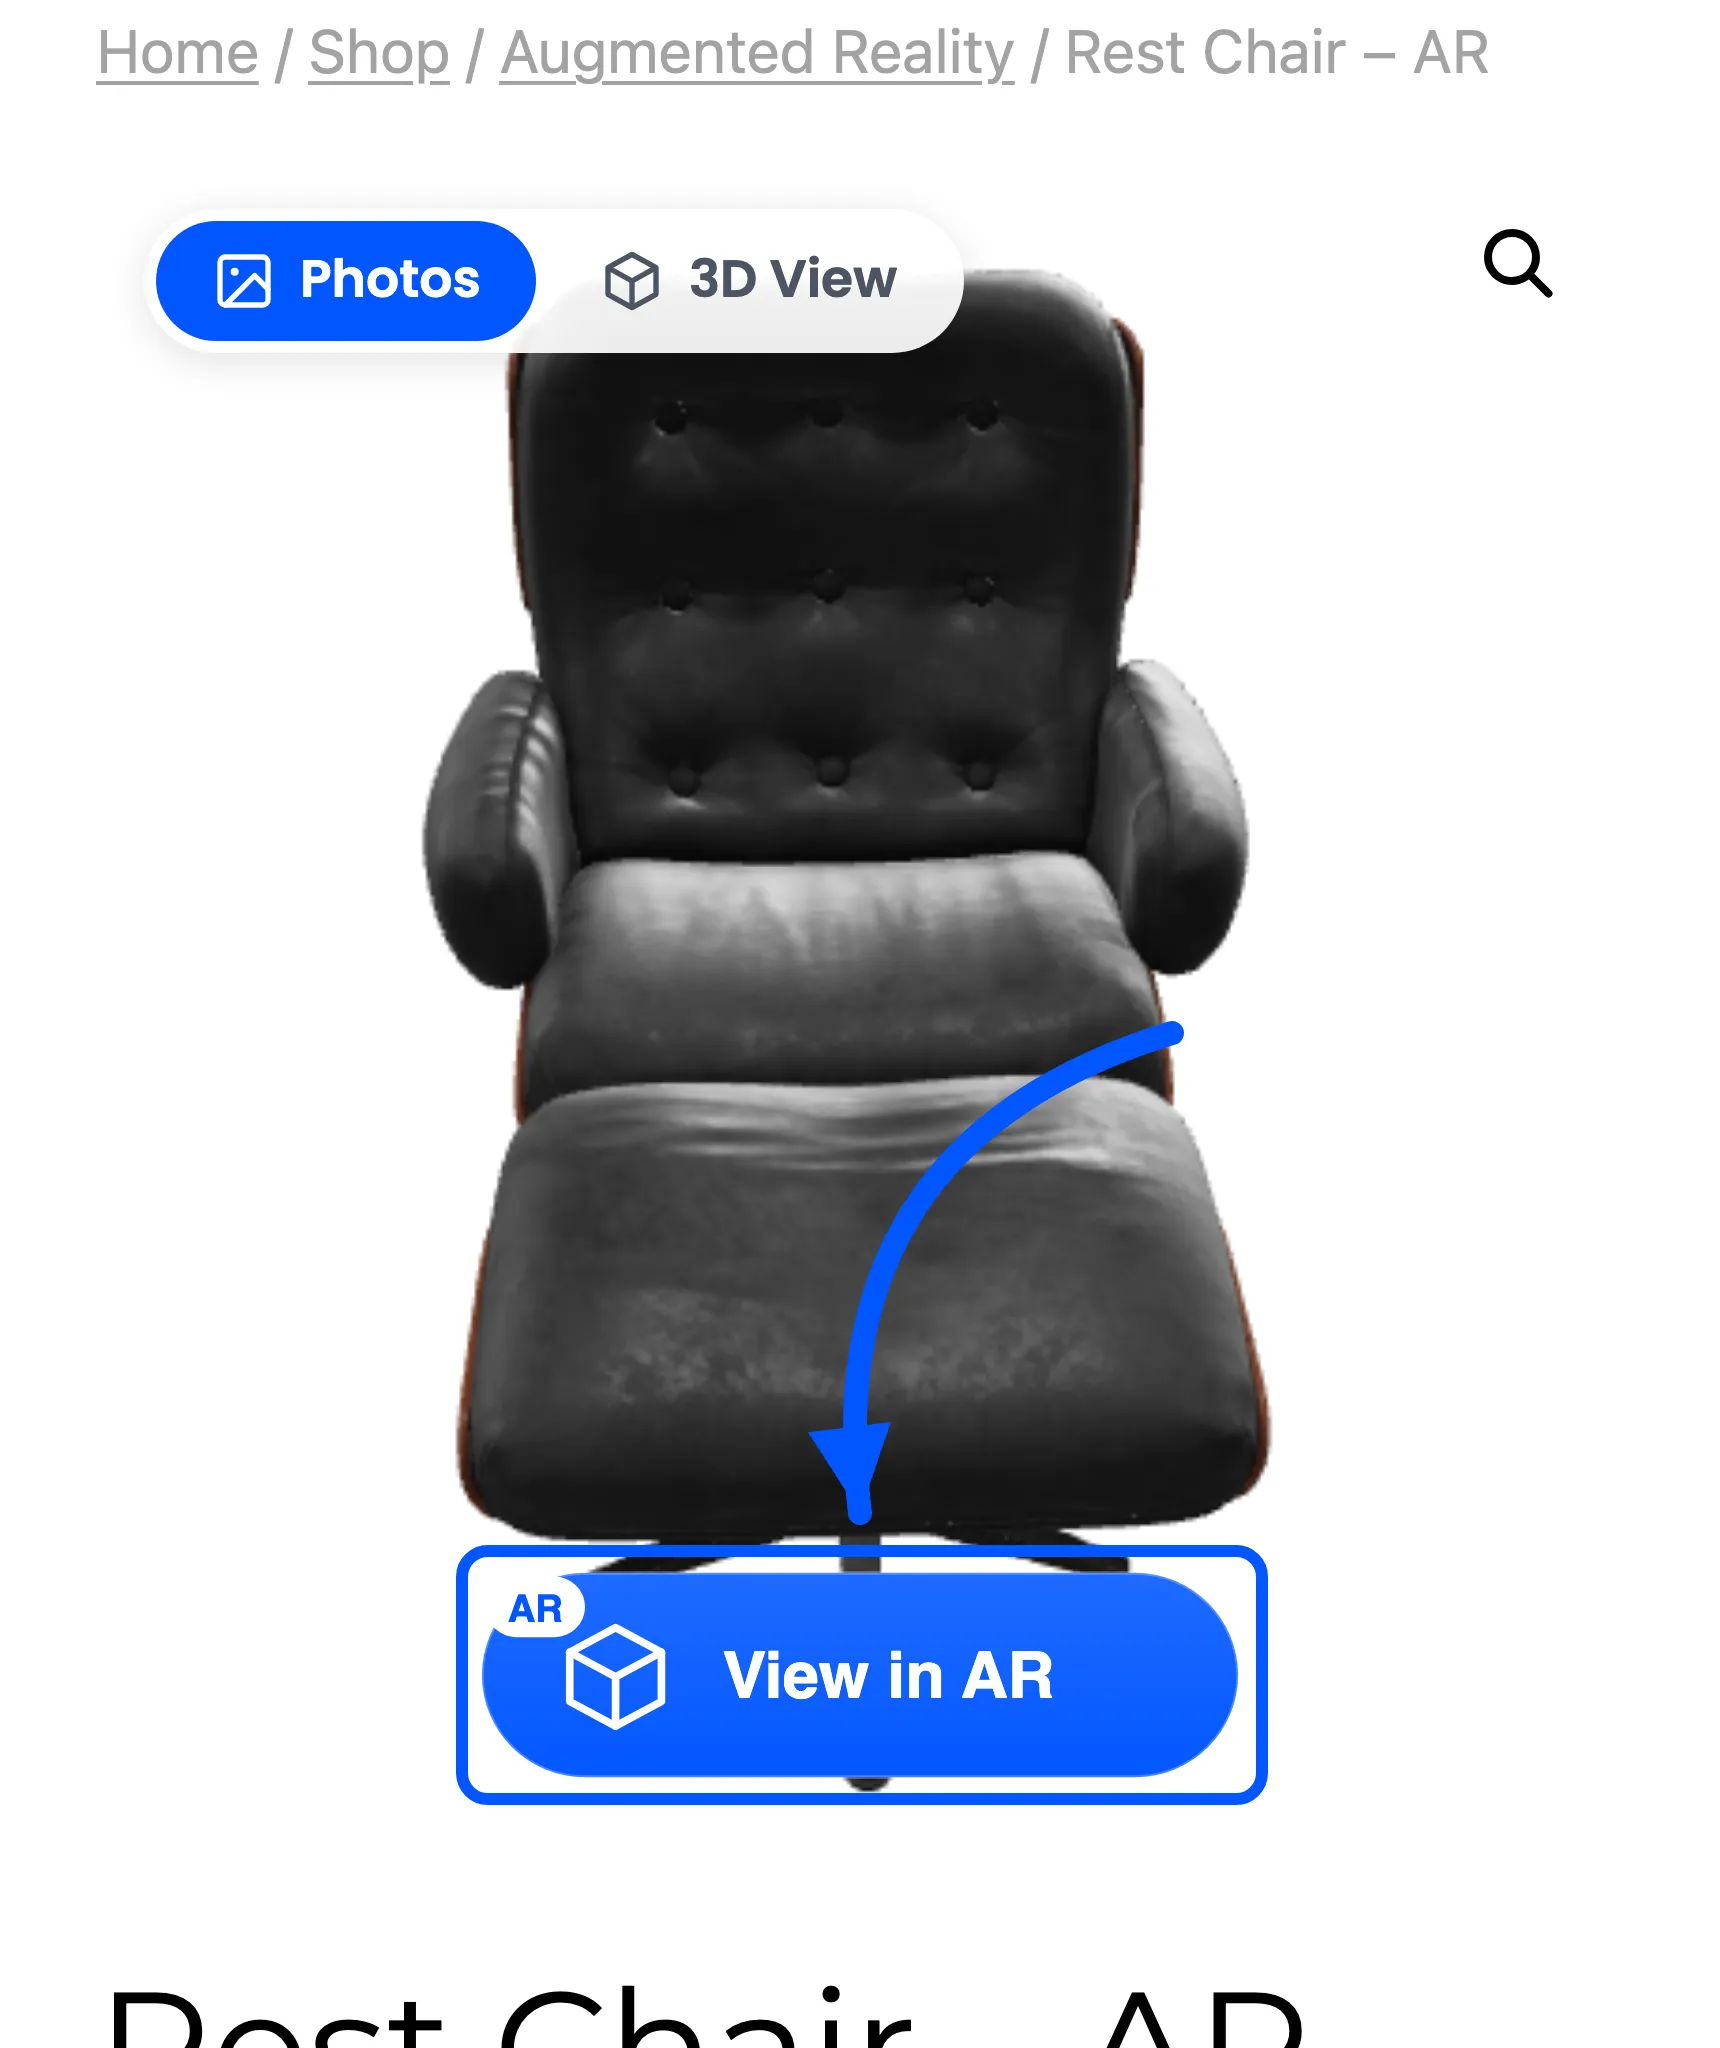
Press View in AR and the phone’s own AR viewer opens: Scene Viewer on Android, AR Quick Look on iPhone and iPad. Point the camera at the floor and the product appears at real size.
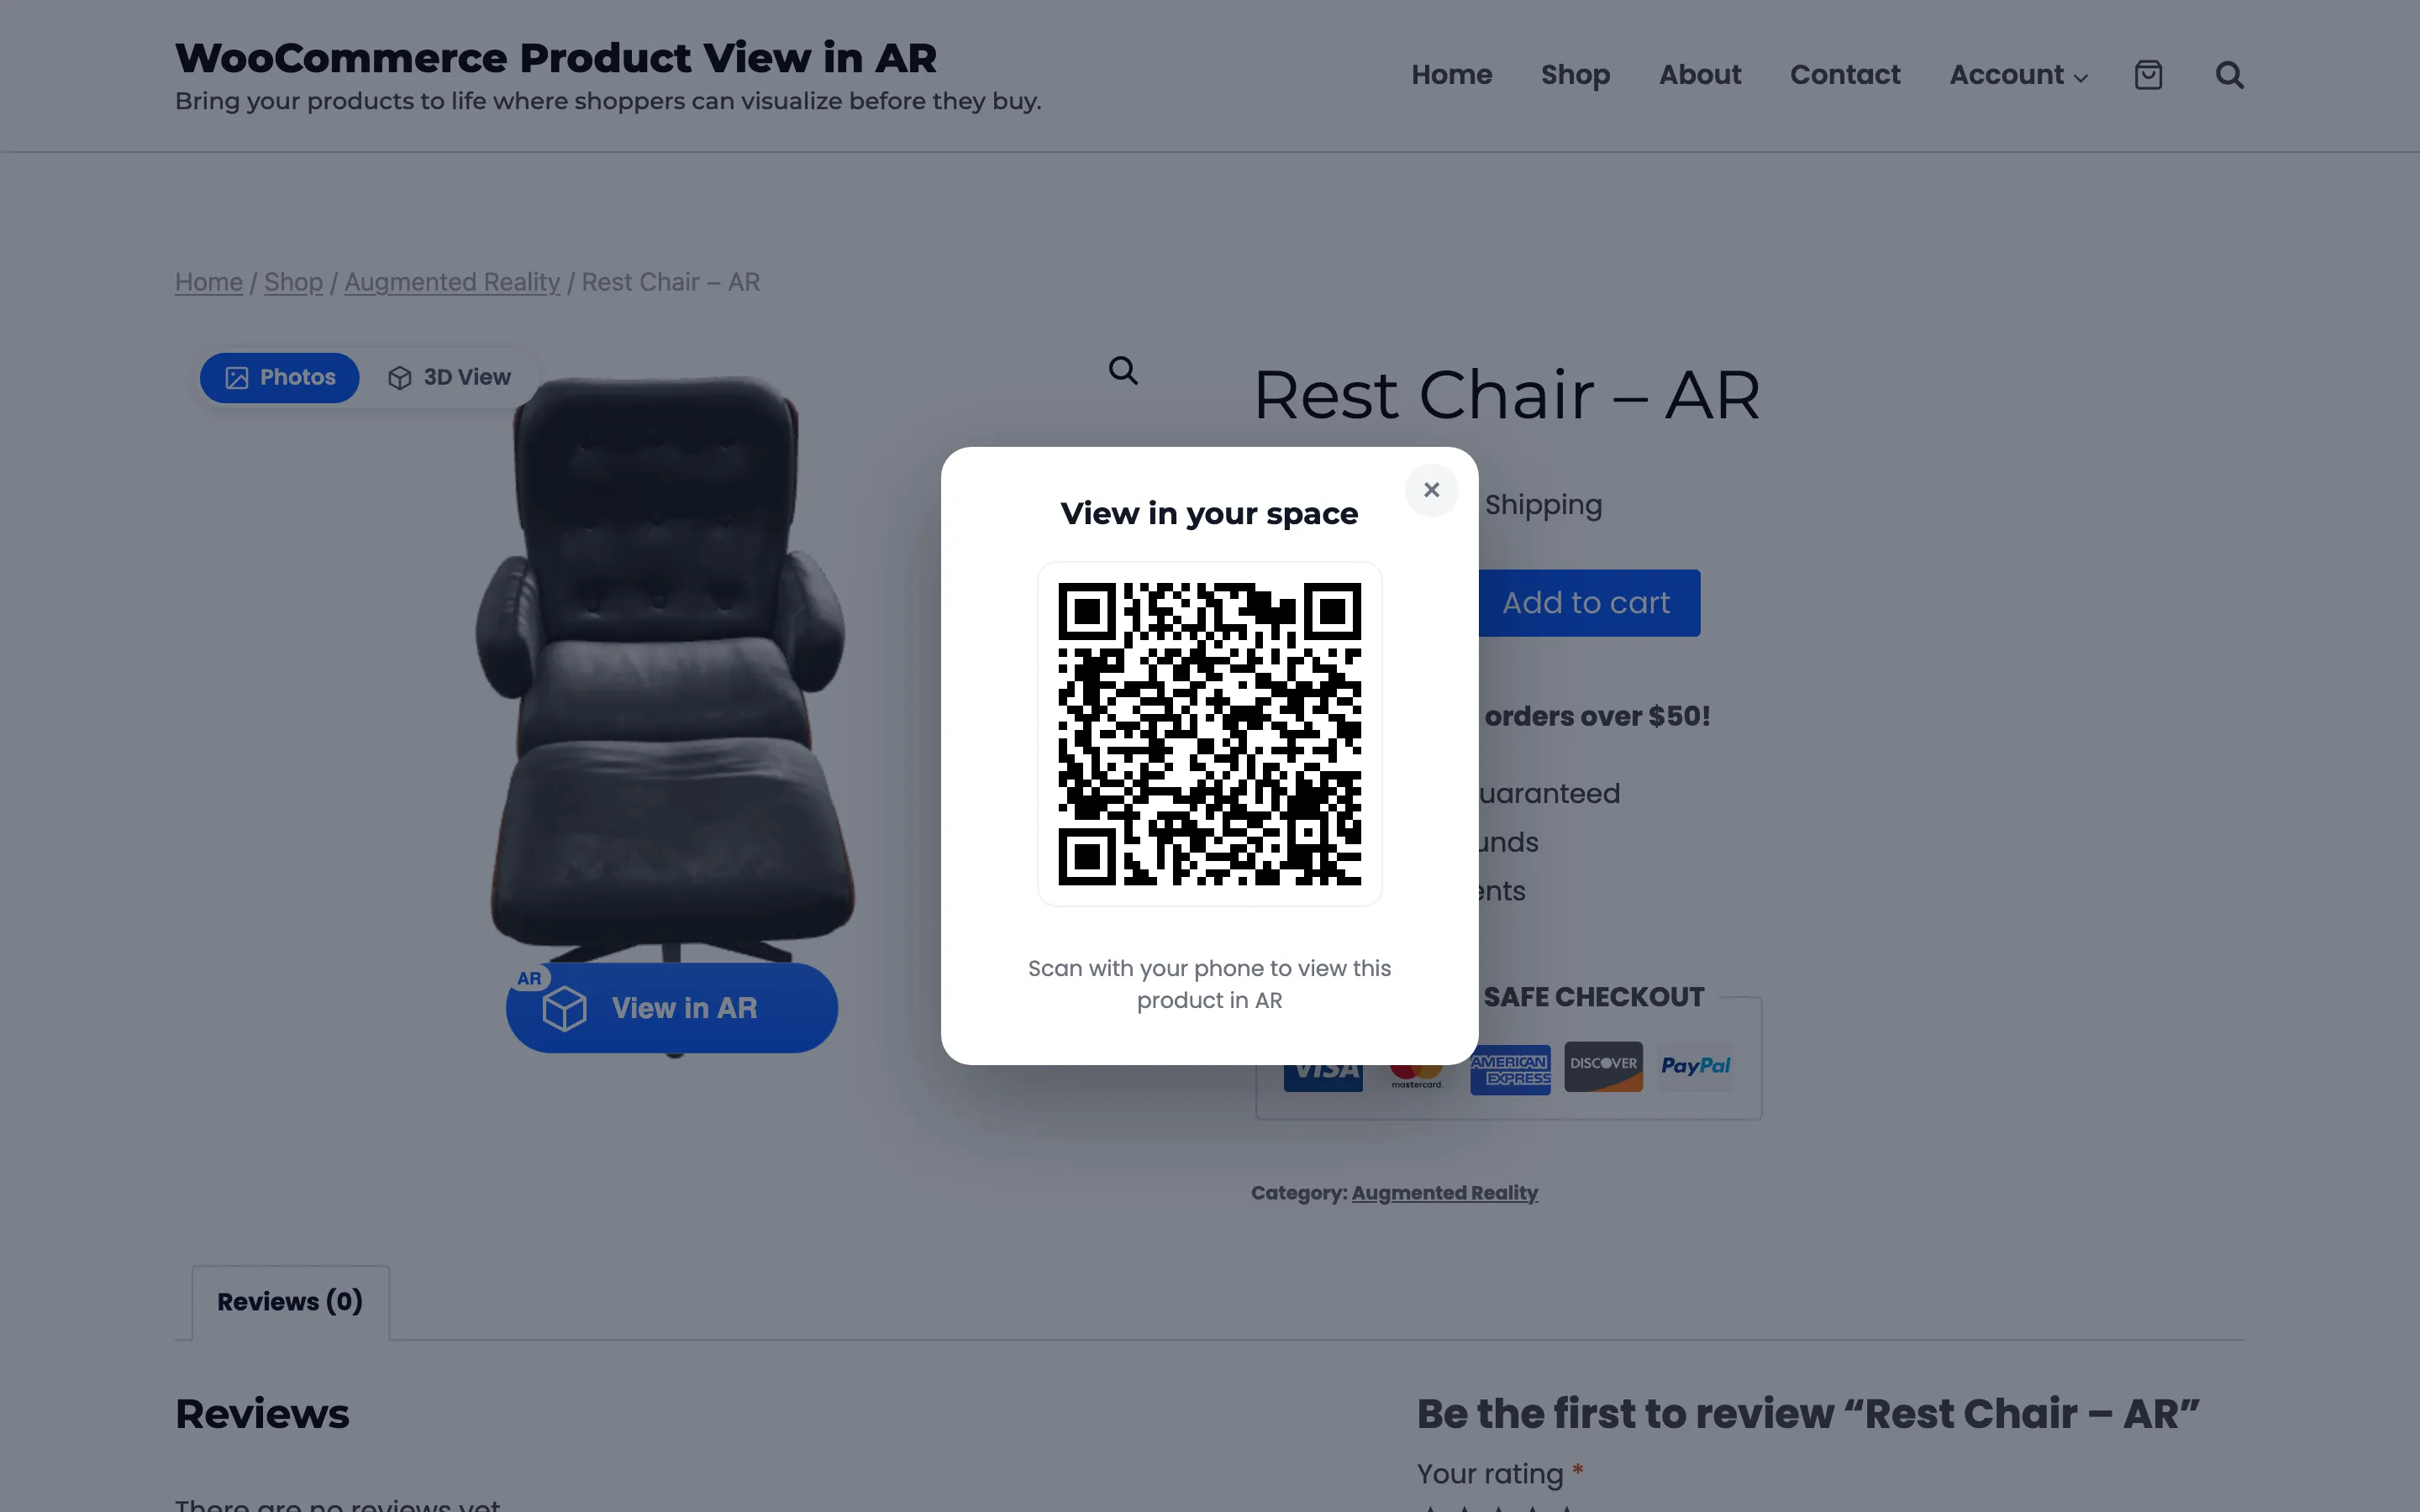
From a desktop the same button opens a QR code instead. That is the fastest way to get the page onto your phone for this check.
If nothing appears
Section titled “If nothing appears”Work down this list in order. The first two account for almost every case.
- The license is not active. The Pro version loads no storefront assets until it is. Check Configuration → License.
- The plugin is switched off. Check Enable/Disable on Configuration → General.
- The toggle is missing but the AR button is there. The product has a
.usdzand no.glb. Or 3D View is off on the General tab. - You are looking at a variation. On a variable product each variation carries its own model. One with none removes both controls until the shopper picks a variation that has one.