

How to Set Up Image Search
Setting up image search is four fields and one test. The test is the part people skip, and it is the only part that proves anything.
Step 1: Activate the license
Section titled “Step 1: Activate the license”Go to DevDiggers Plugins → Product Search By Image AI → Configuration → License and enter the purchase code and email from your order.
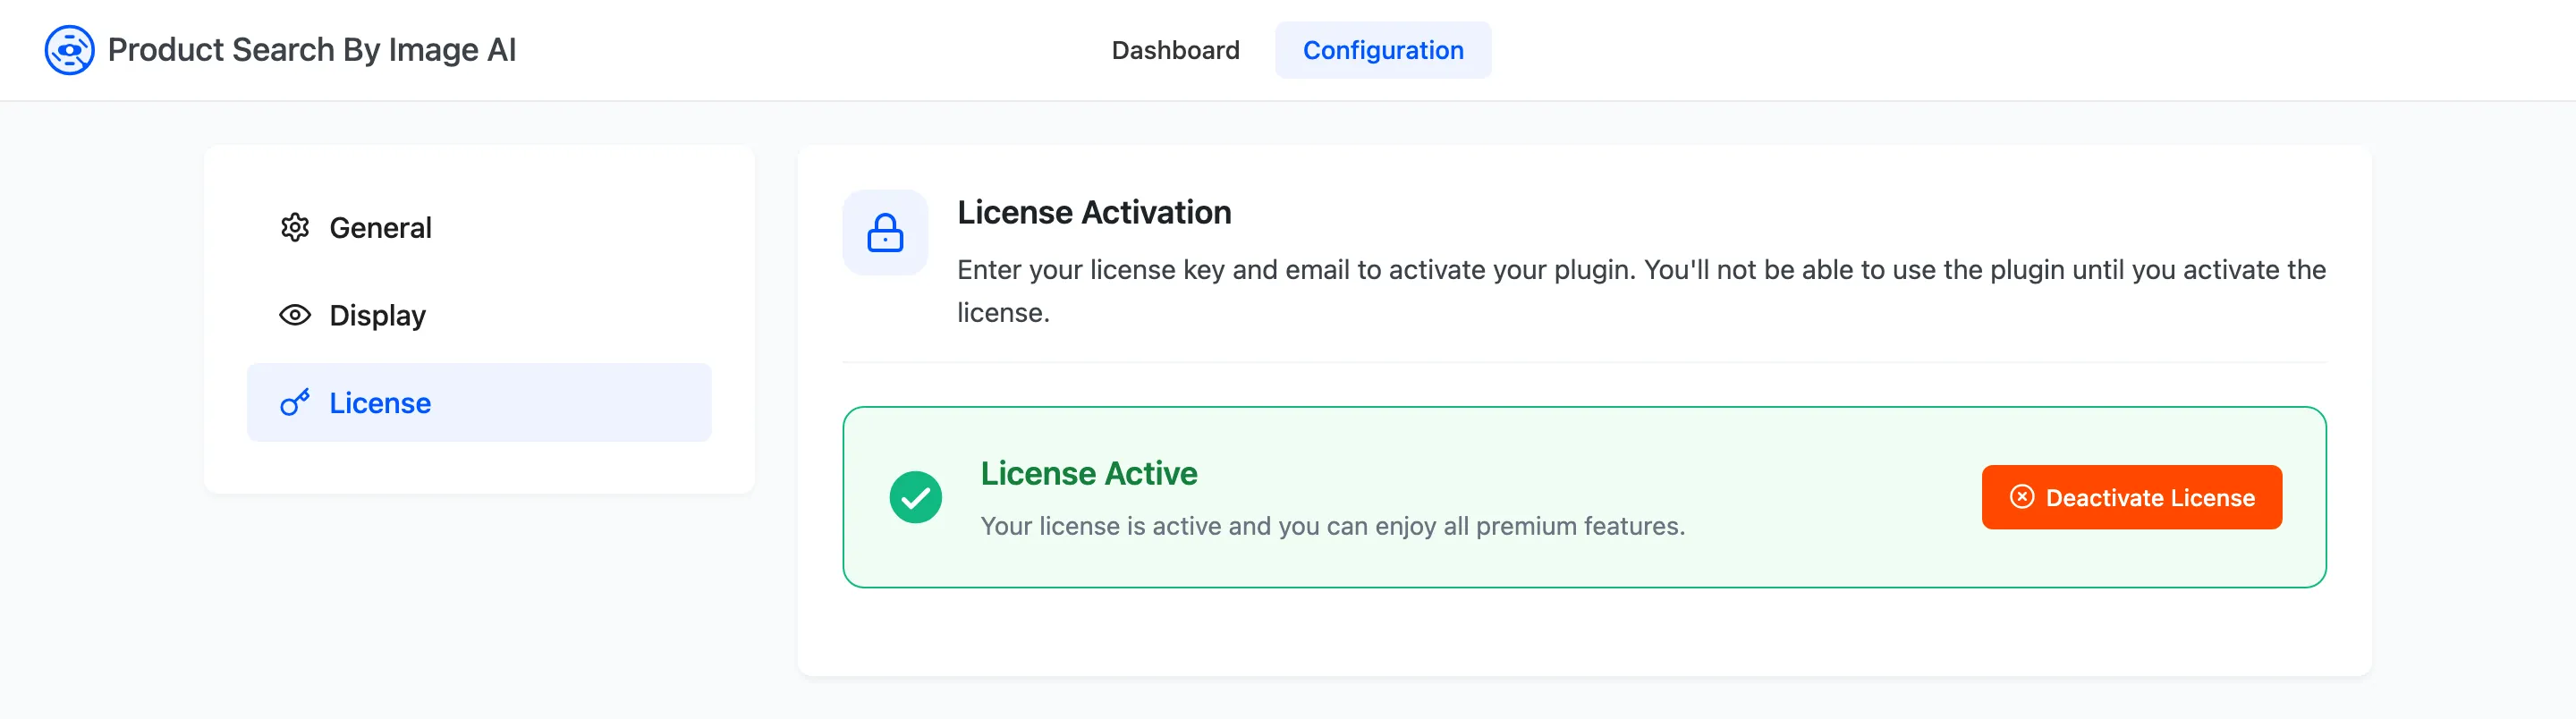
Until this reads License Active the storefront loads nothing. Every step below would then leave you looking at a search box with no icon in it.
Step 2: Enable image search
Section titled “Step 2: Enable image search”Go to Configuration → General and tick Enable WooCommerce Product Search By Image AI.
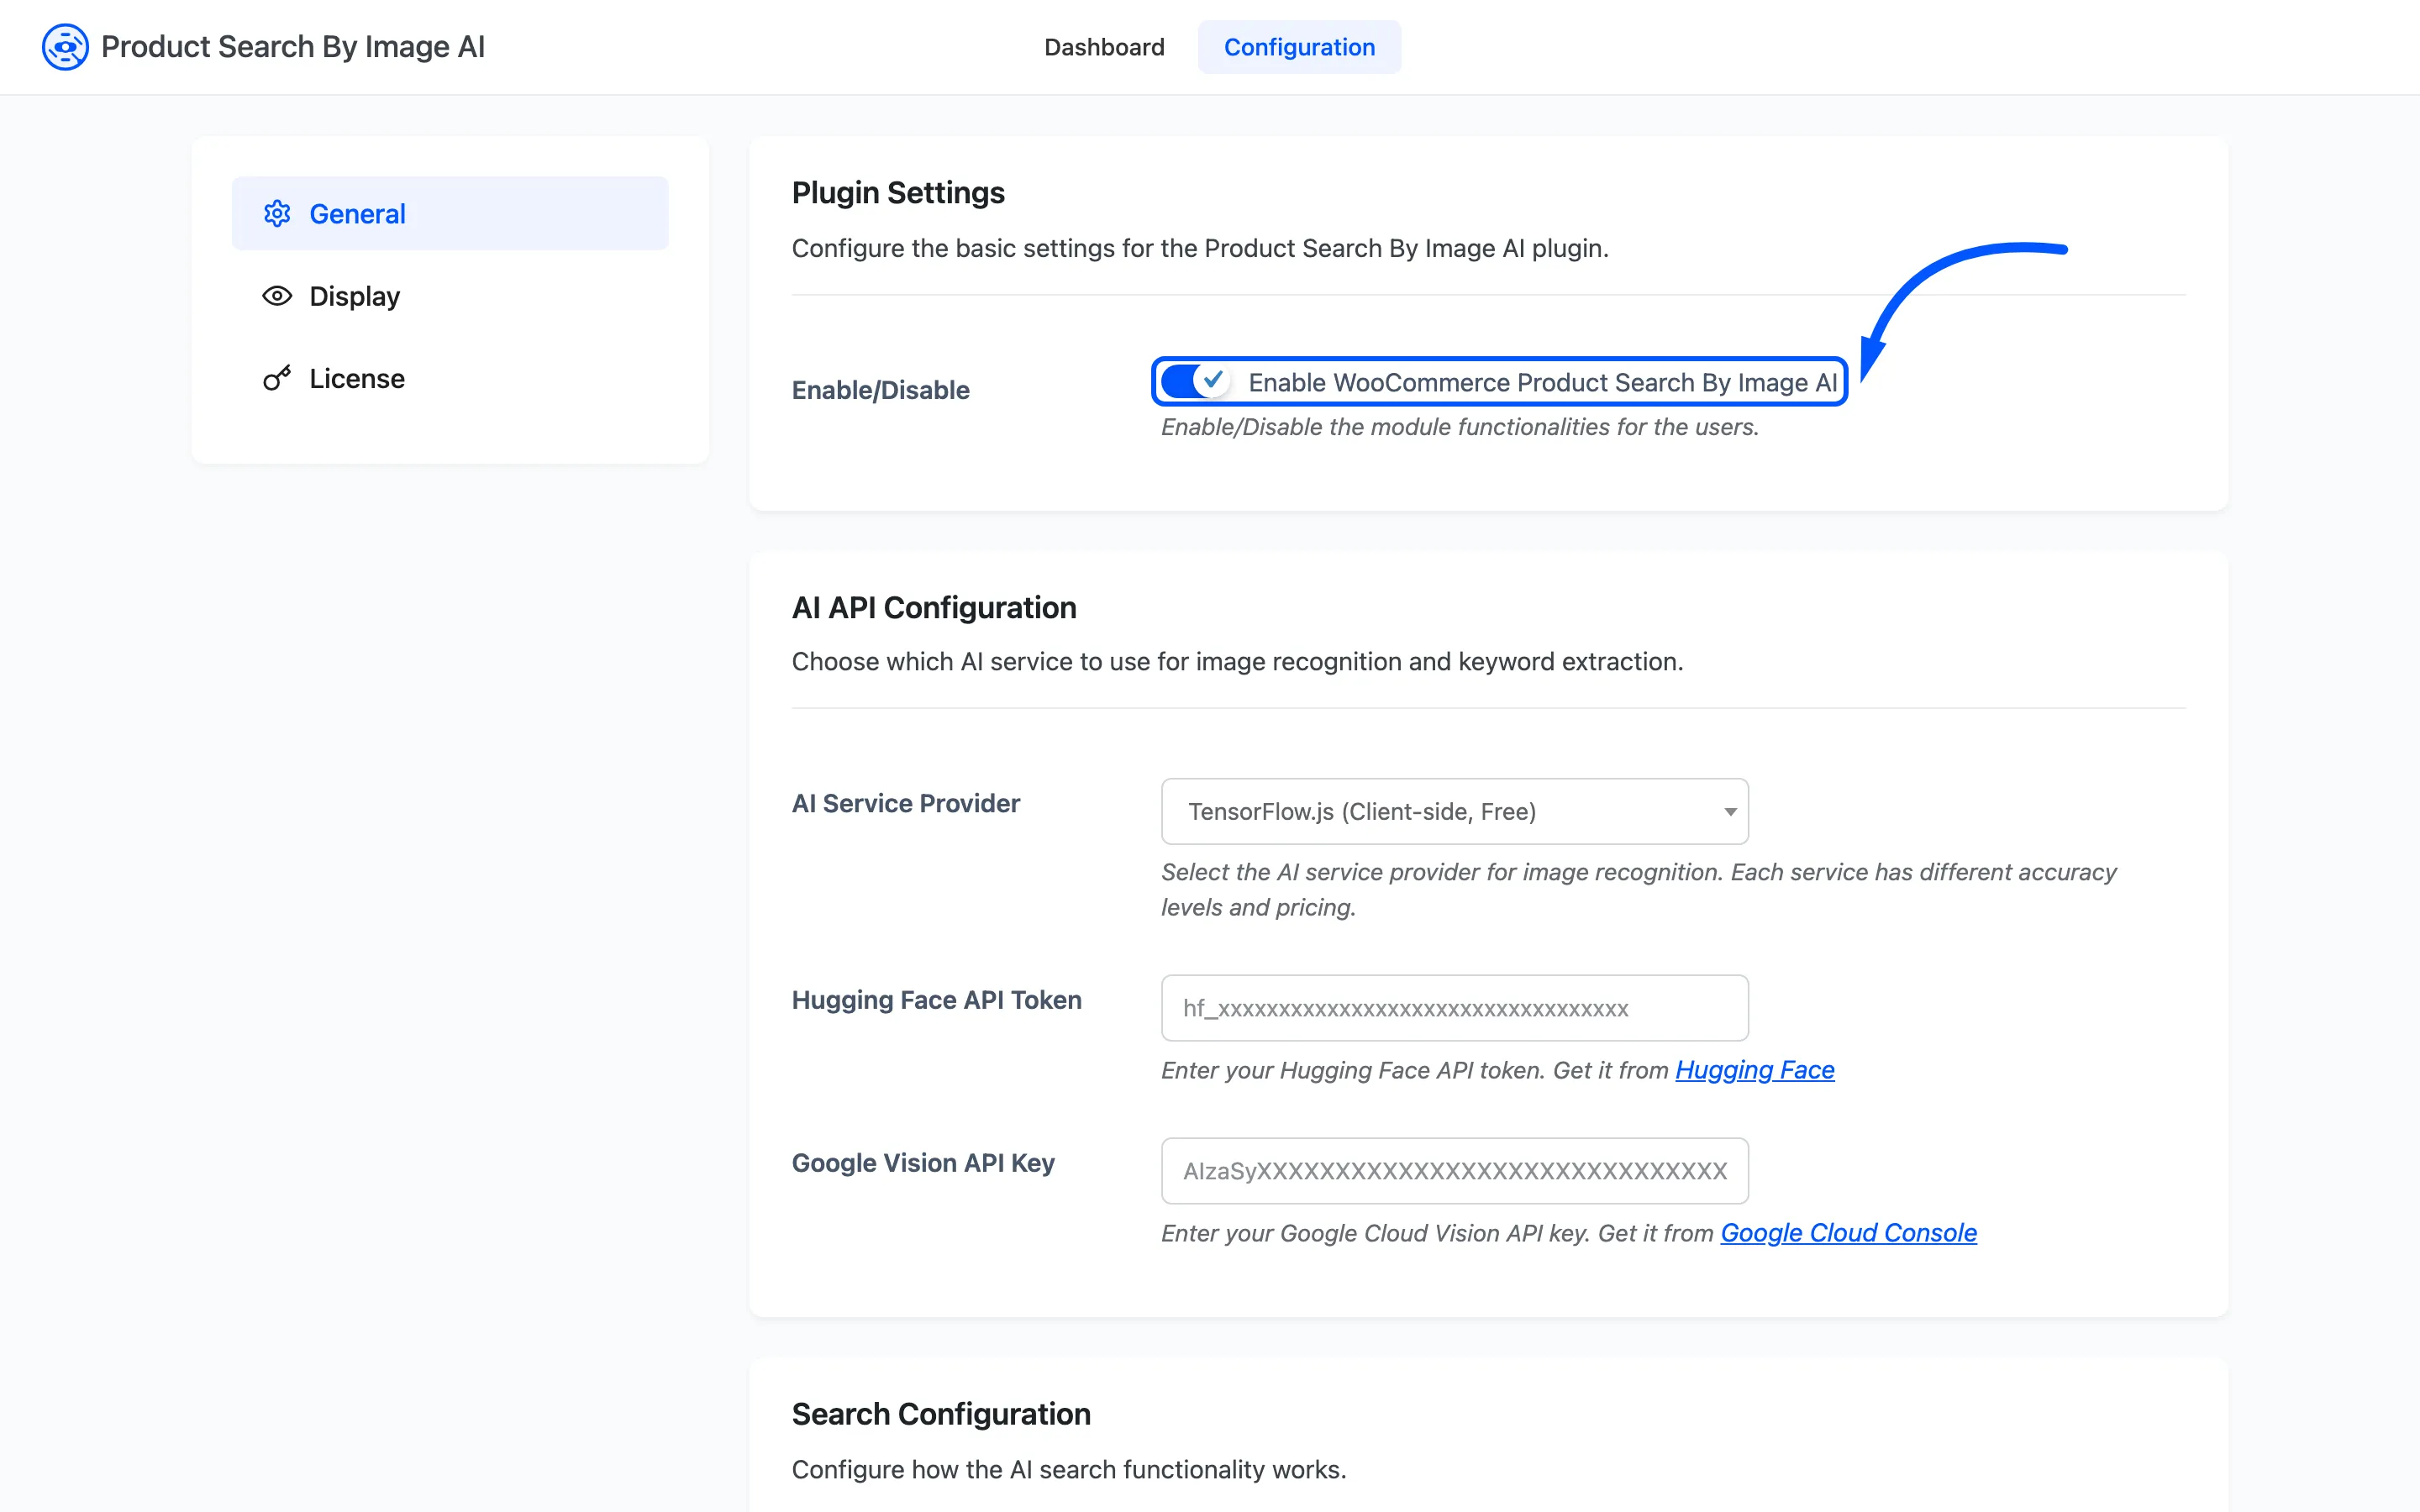
This is off on a fresh install, so nothing has appeared on your storefront up to now.
Step 3: Leave the AI service on TensorFlow.js
Section titled “Step 3: Leave the AI service on TensorFlow.js”The AI Service Provider field ships on TensorFlow.js (Client-side, Free), which needs no account and no key.
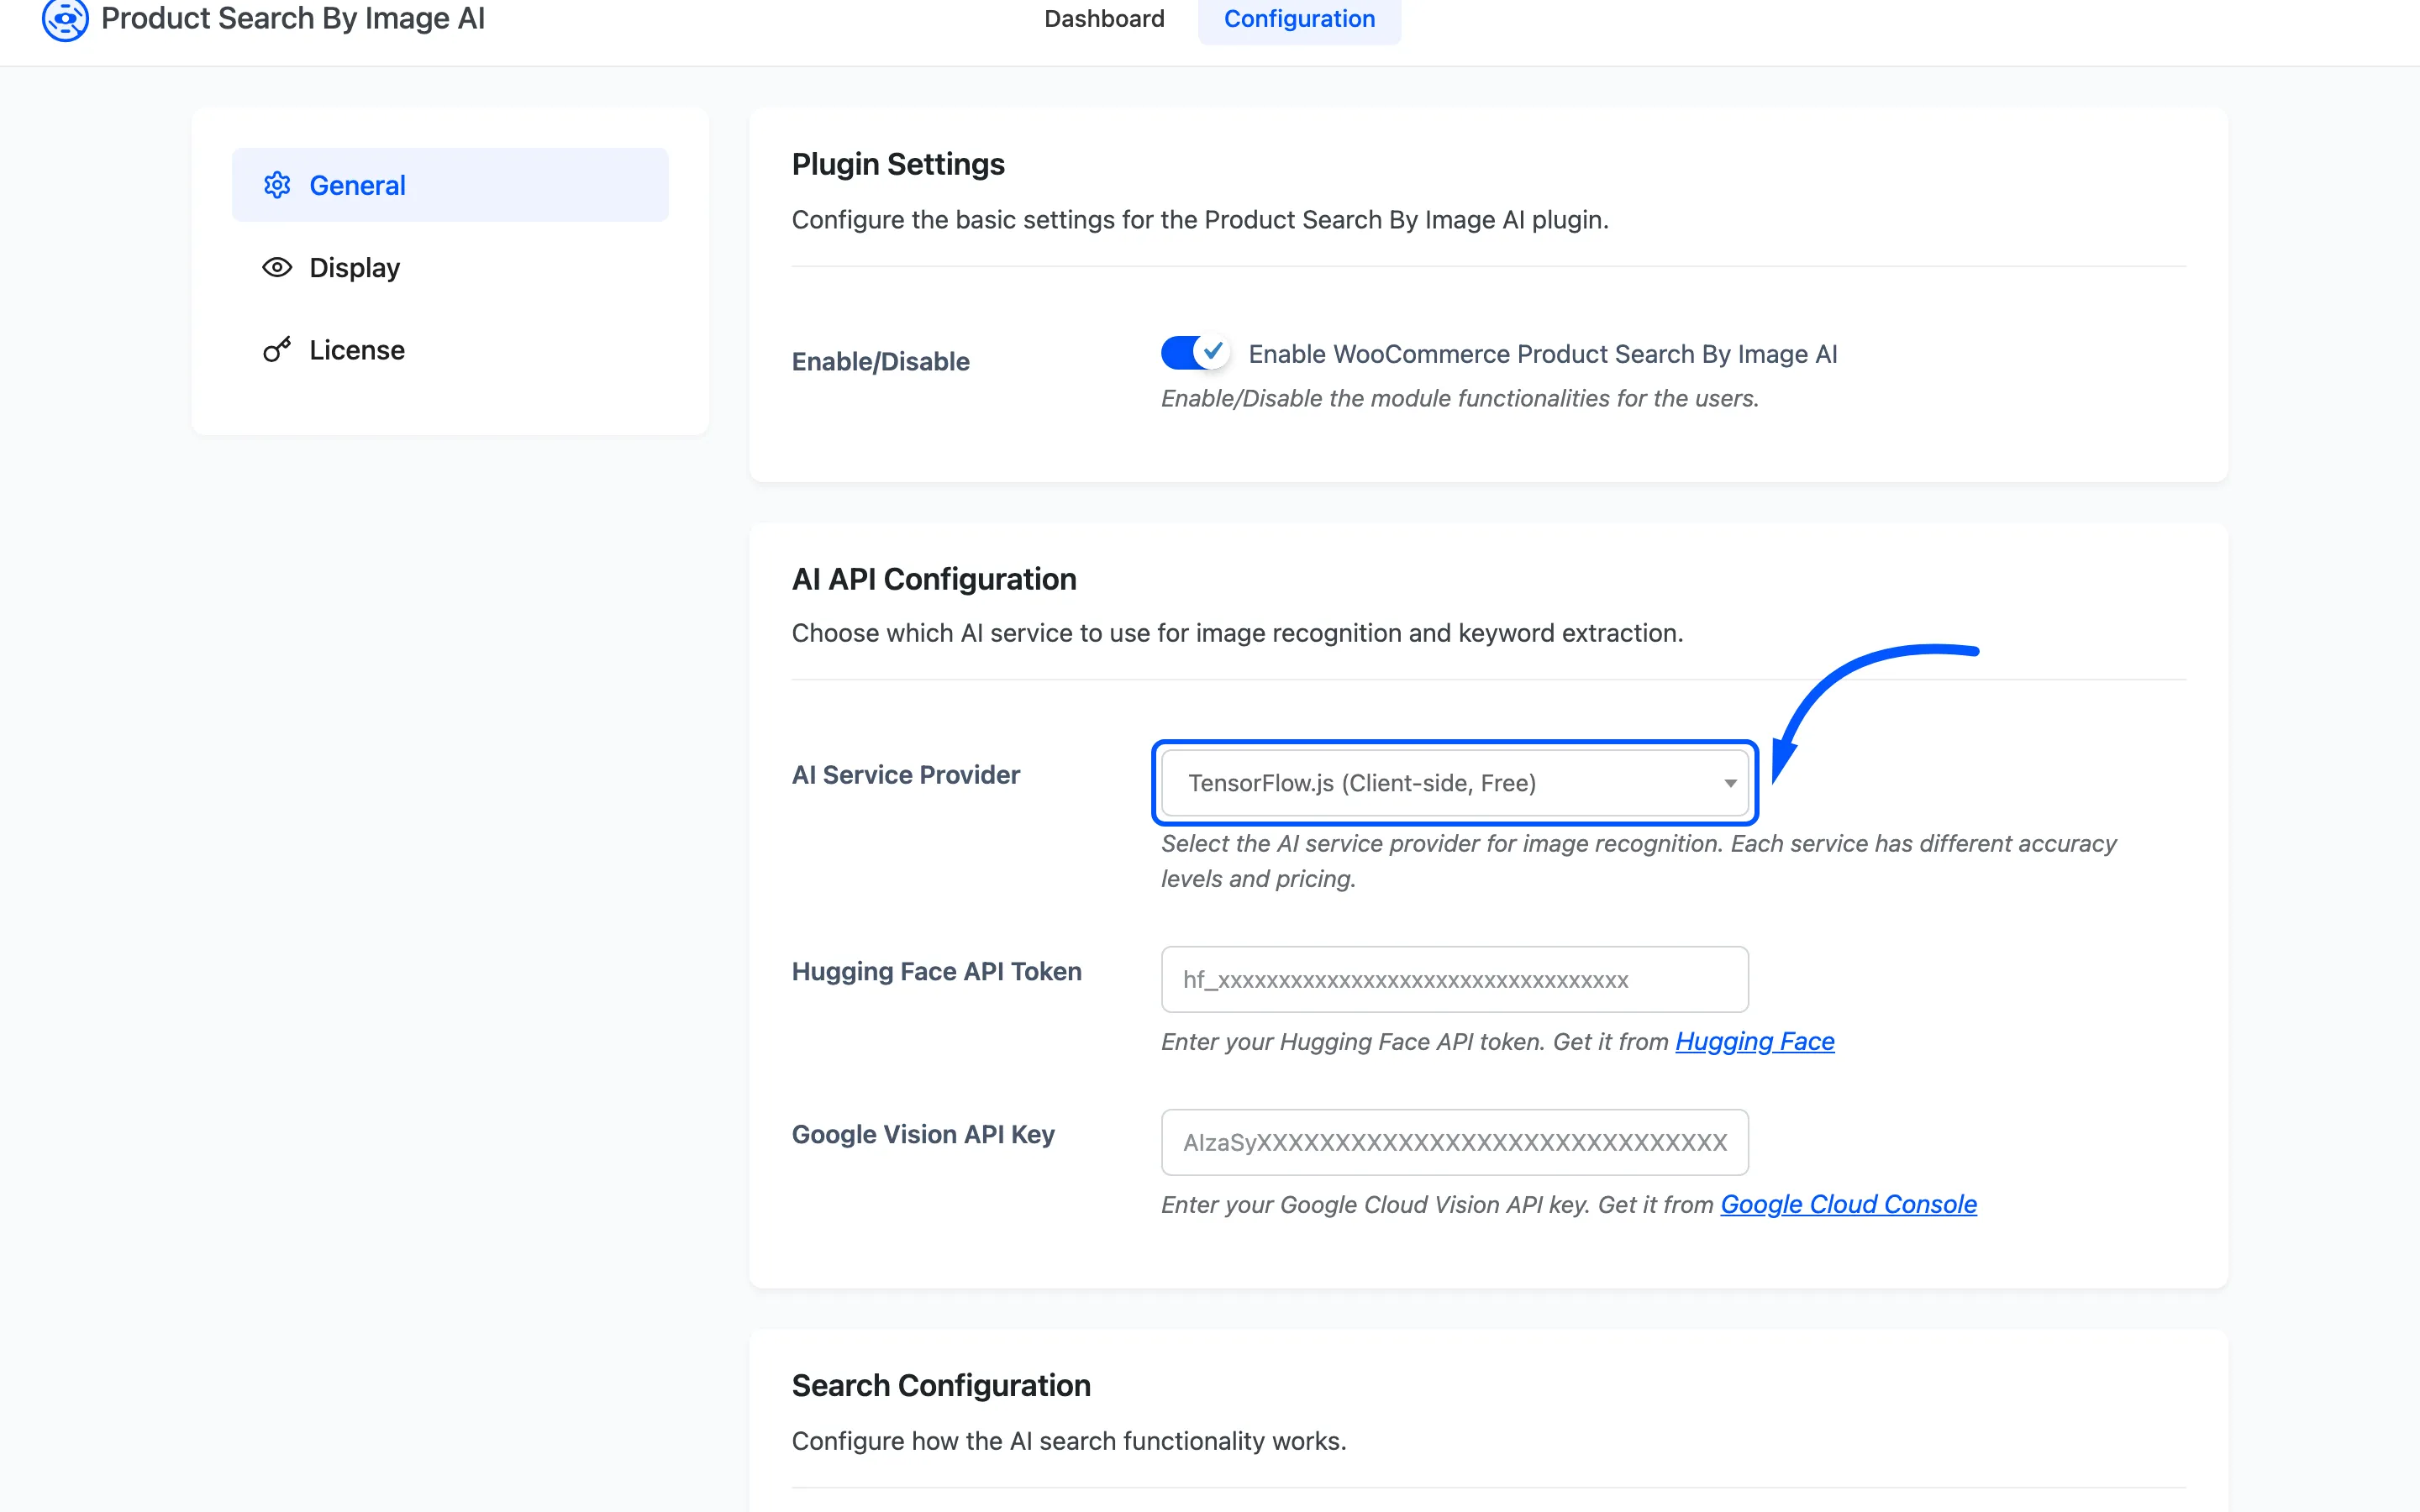
Start here. It costs nothing per search and the photo never leaves the shopper’s device, so it is the option to rule out before paying for another. How to Choose an AI Service Provider covers when the other two are worth it.
Step 4: Change Search Type to Both
Section titled “Step 4: Change Search Type to Both”Set Search Type to Products Title & Image Tags Both.
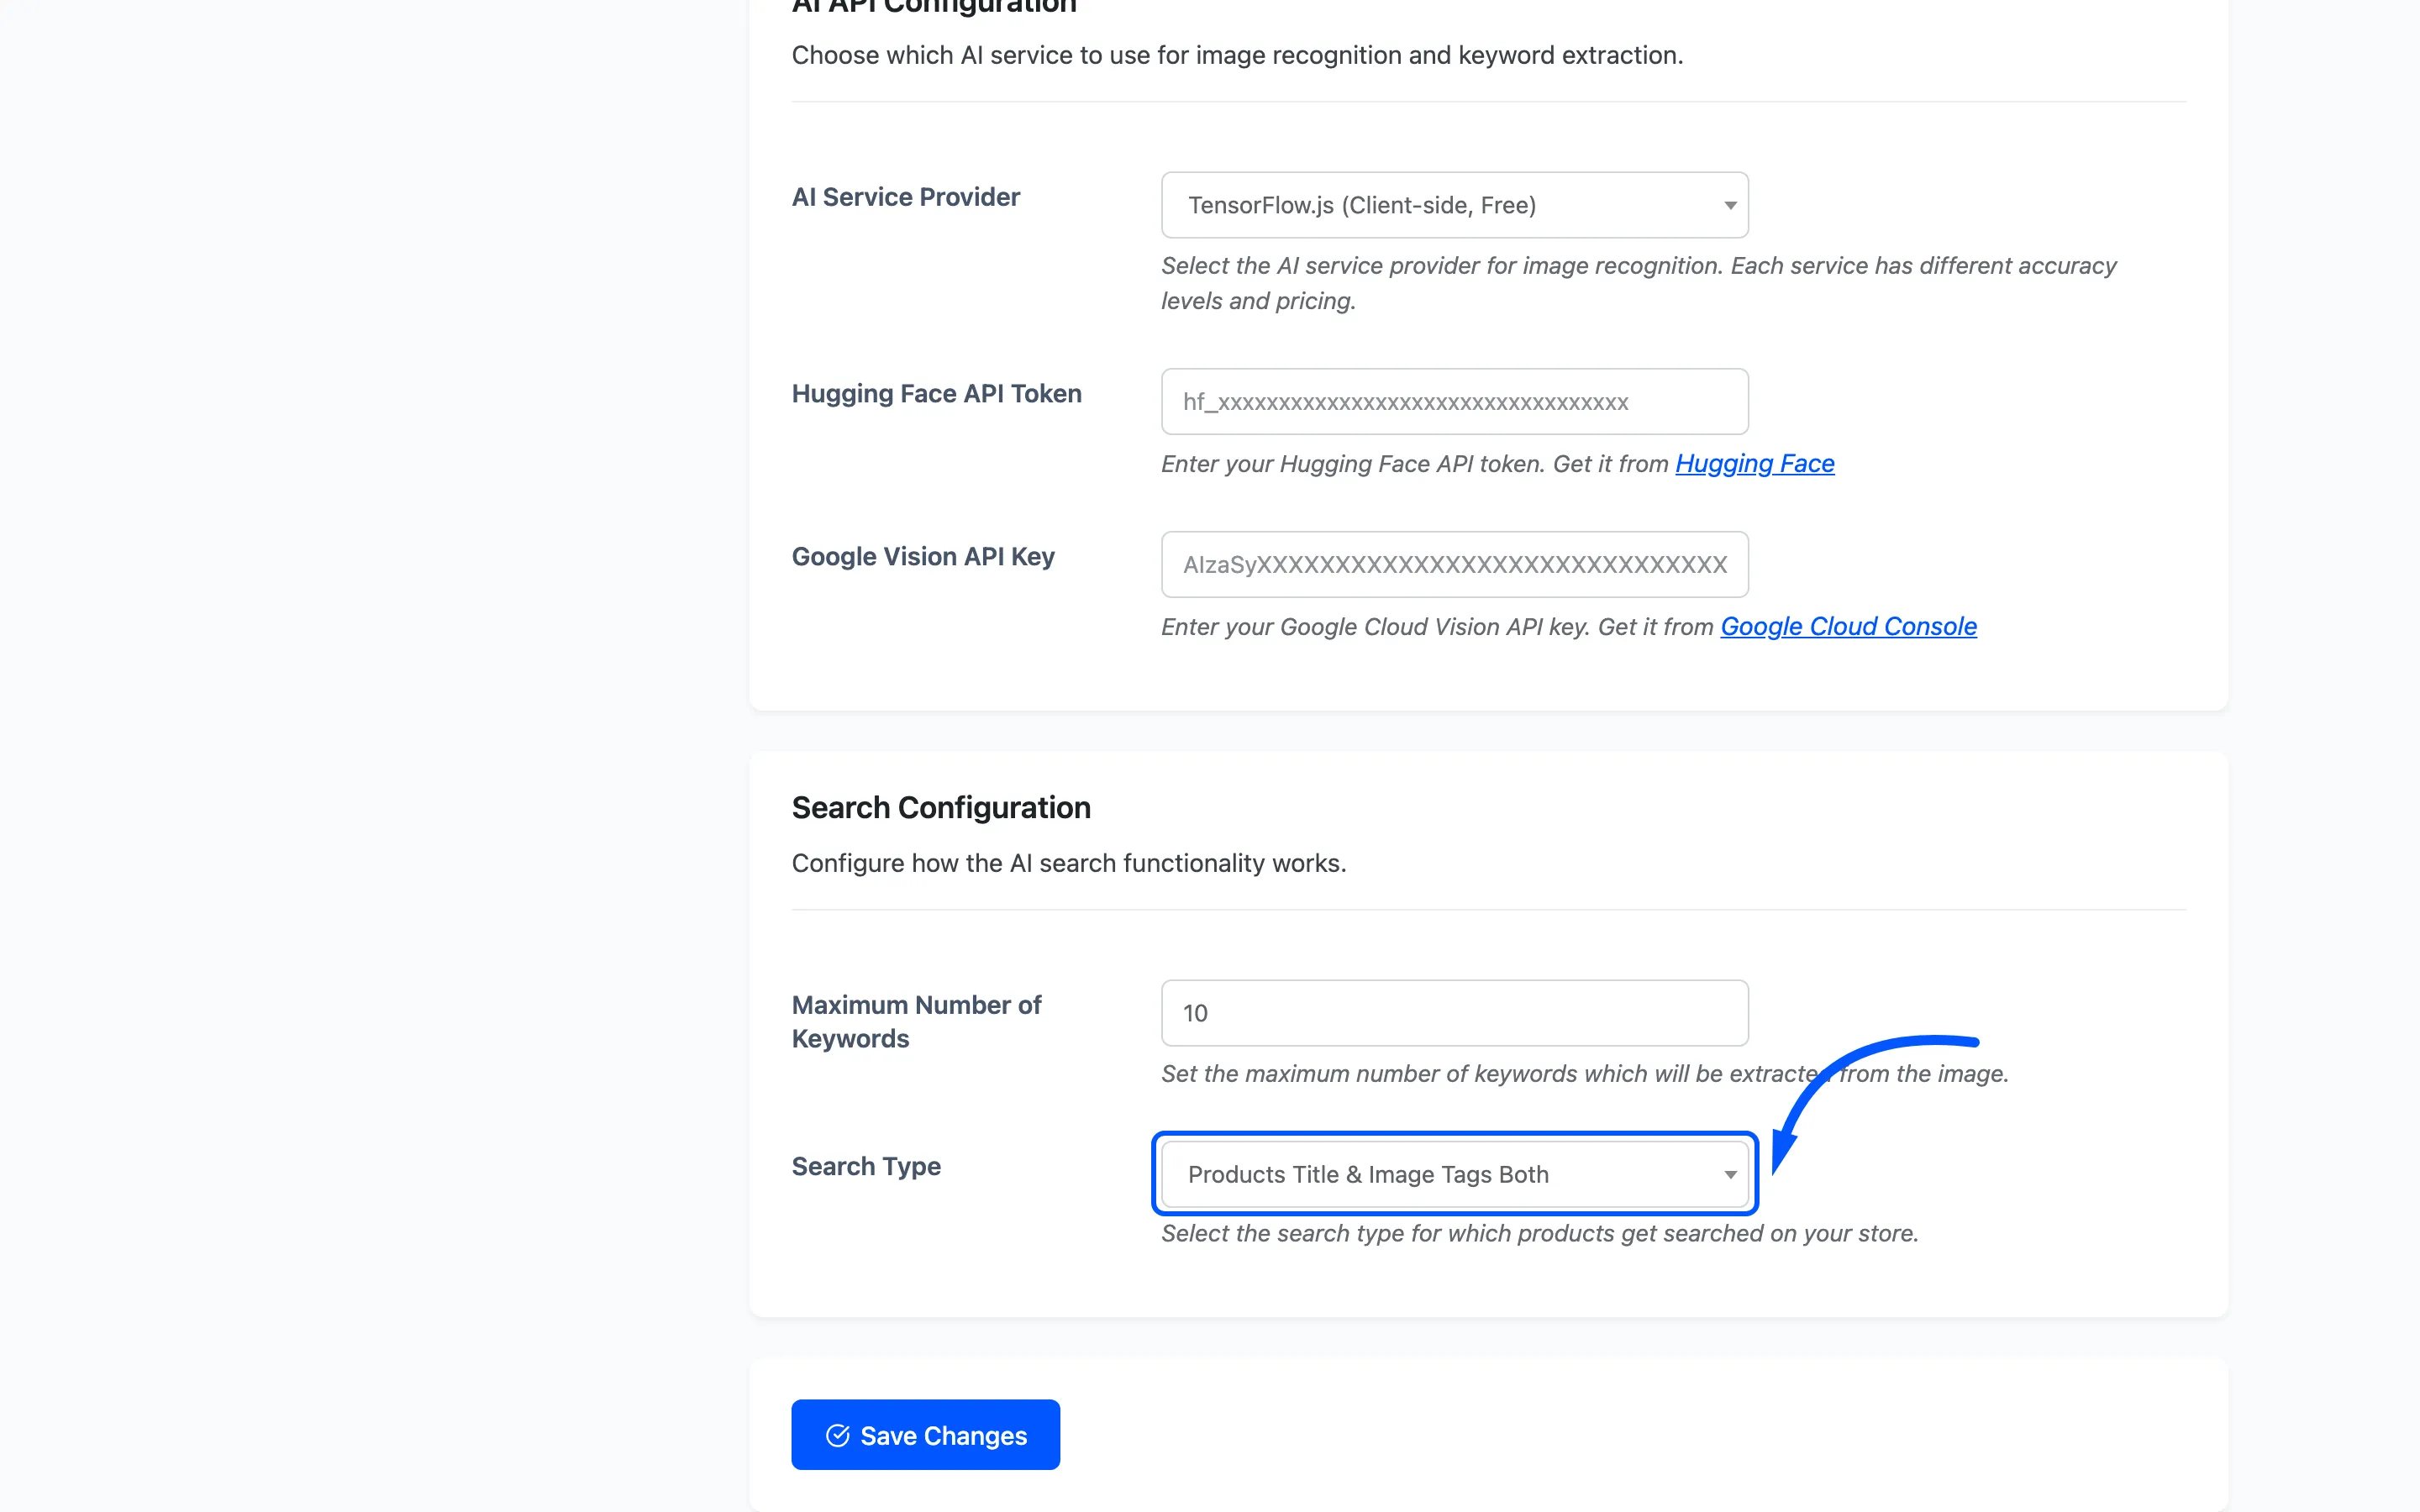
This is the setting that decides whether image search finds anything. The shipped default, Products Title, runs an ordinary WordPress search for the whole list of extracted words, and WordPress requires every one of them to match. A photo produces up to ten words, so that search usually returns nothing. Both matches a product when any single keyword matches its title or its image tags.
Press Save Changes.
Step 5: Find the camera icon
Section titled “Step 5: Find the camera icon”Open your shop page and look inside the product search box. A small camera icon sits at the right-hand end of the field.
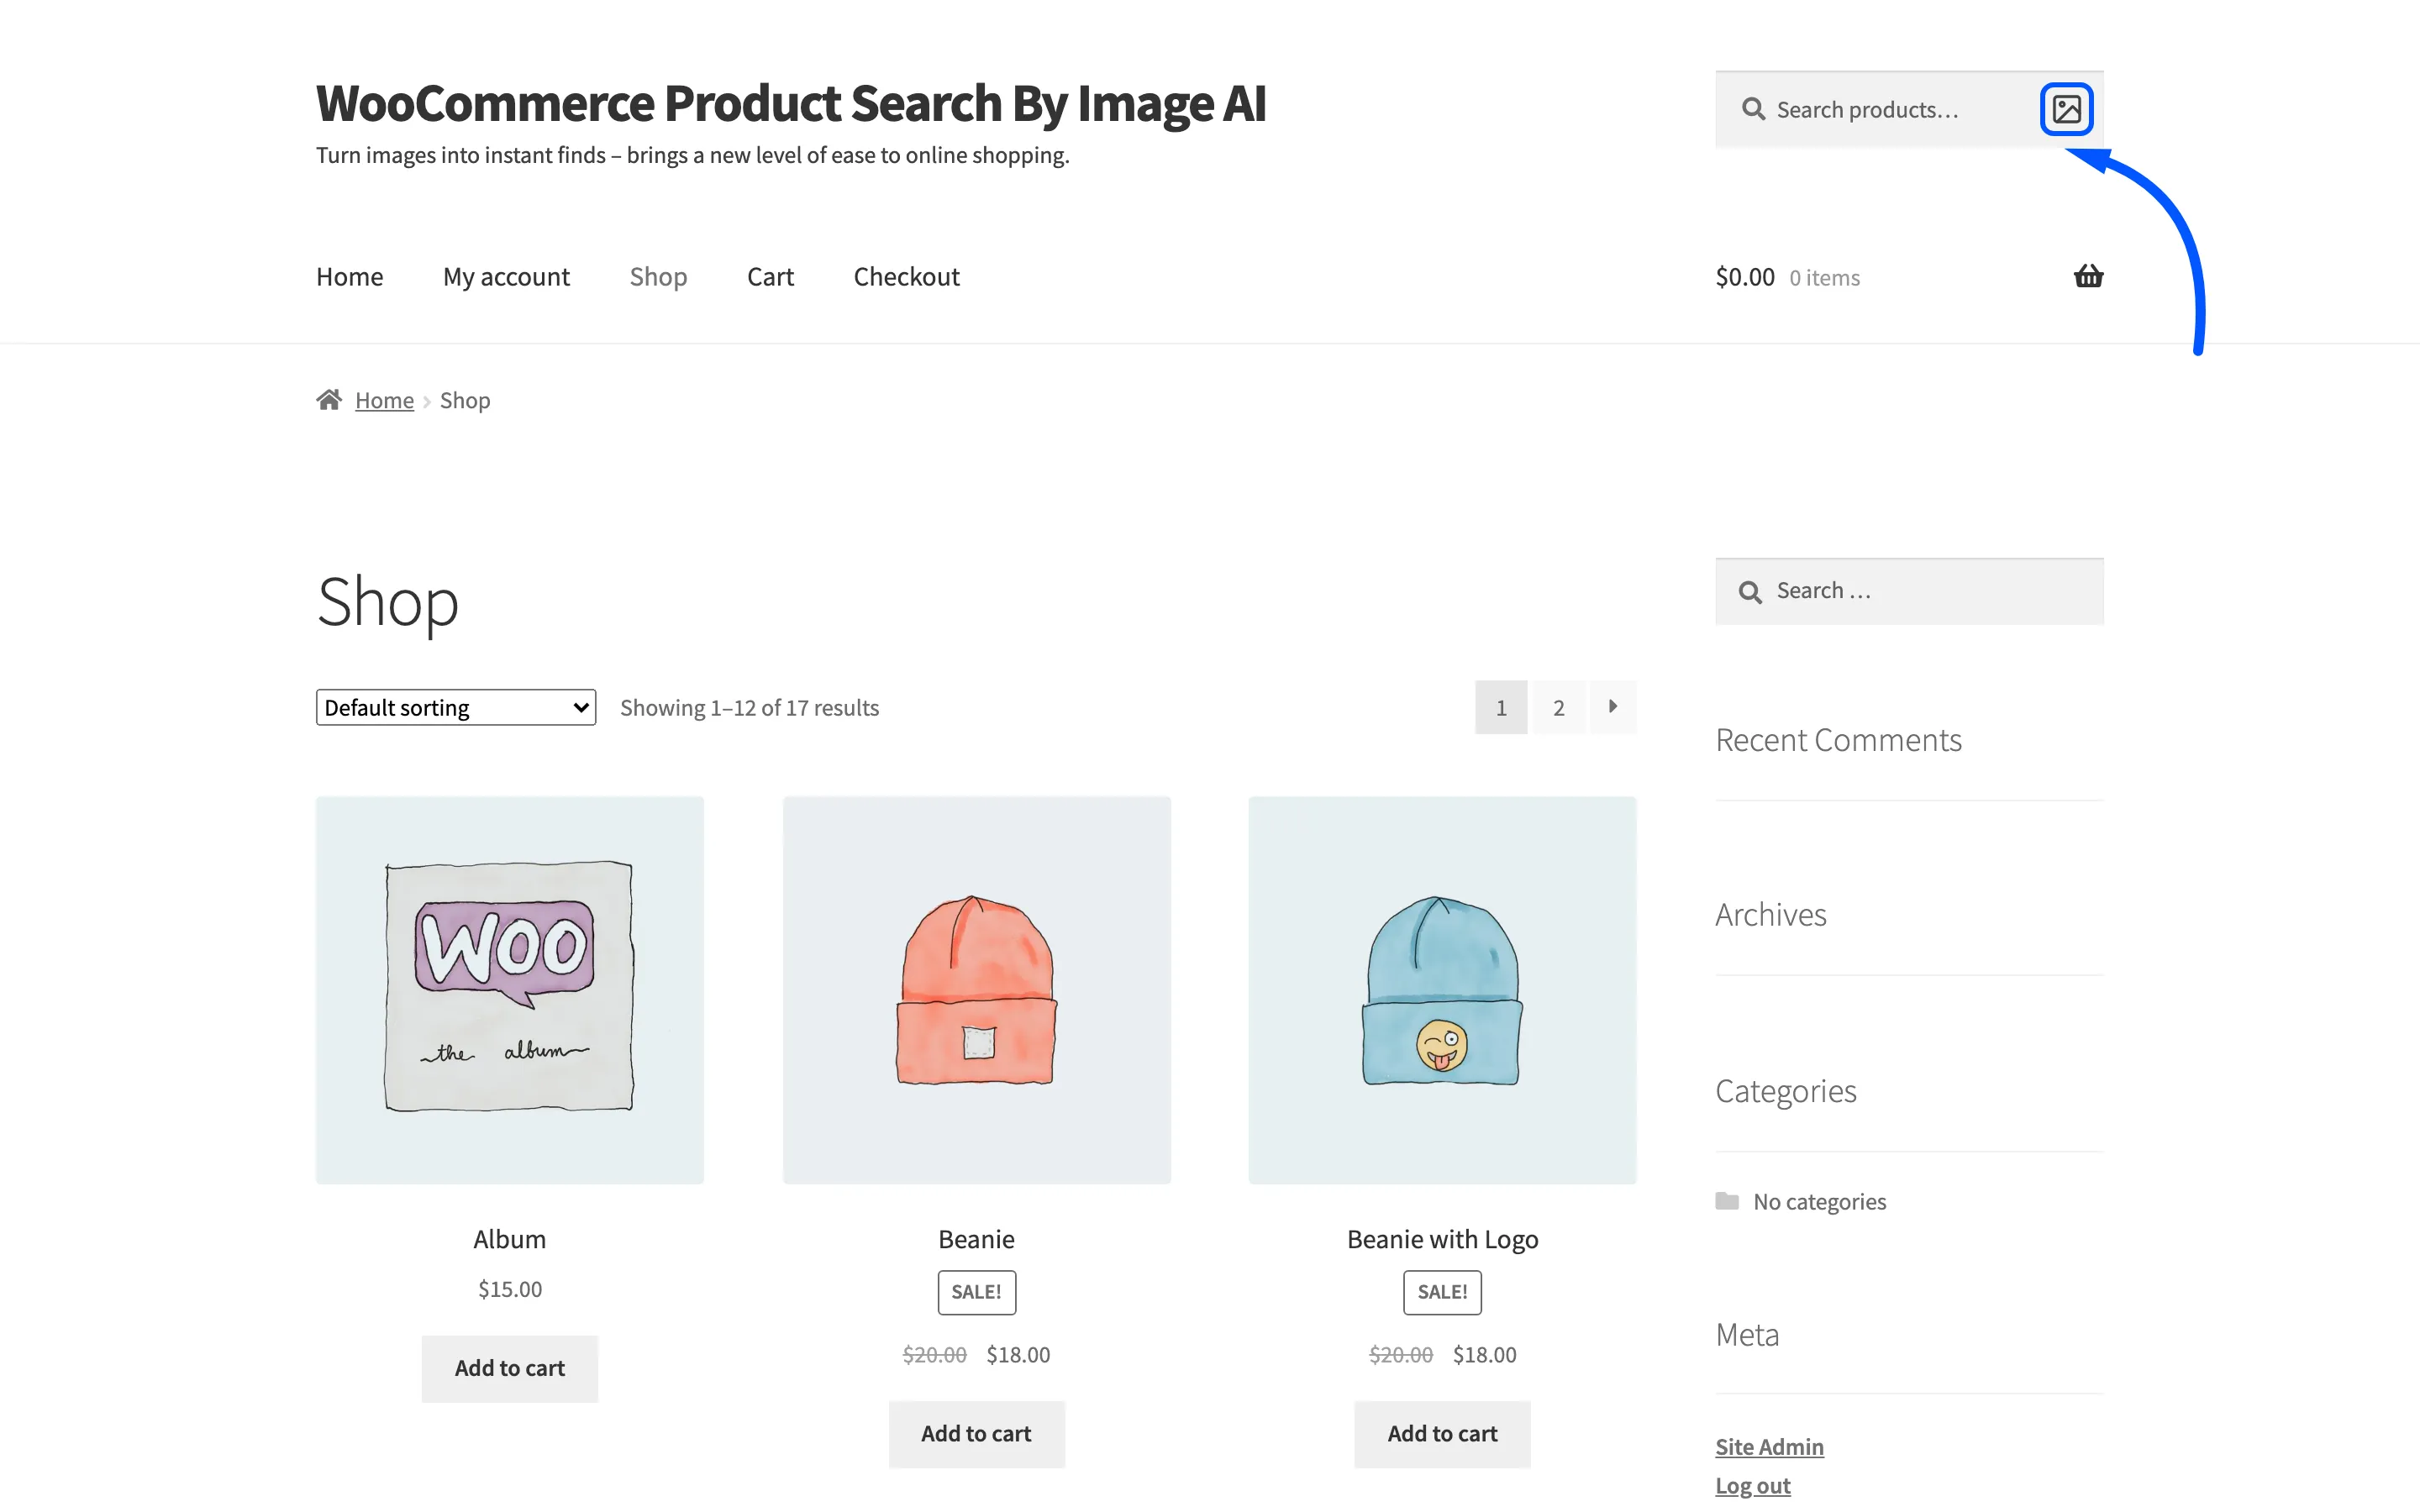
No icon means one of three things: the license is not active, Enable is not ticked, or the box you are looking at is not a WooCommerce product search form. A theme’s plain search widget is a different form and never gets the icon.
Step 6: Run a real search
Section titled “Step 6: Run a real search”Press the icon and pick a photo of something you actually sell. The page dims and the loader appears.
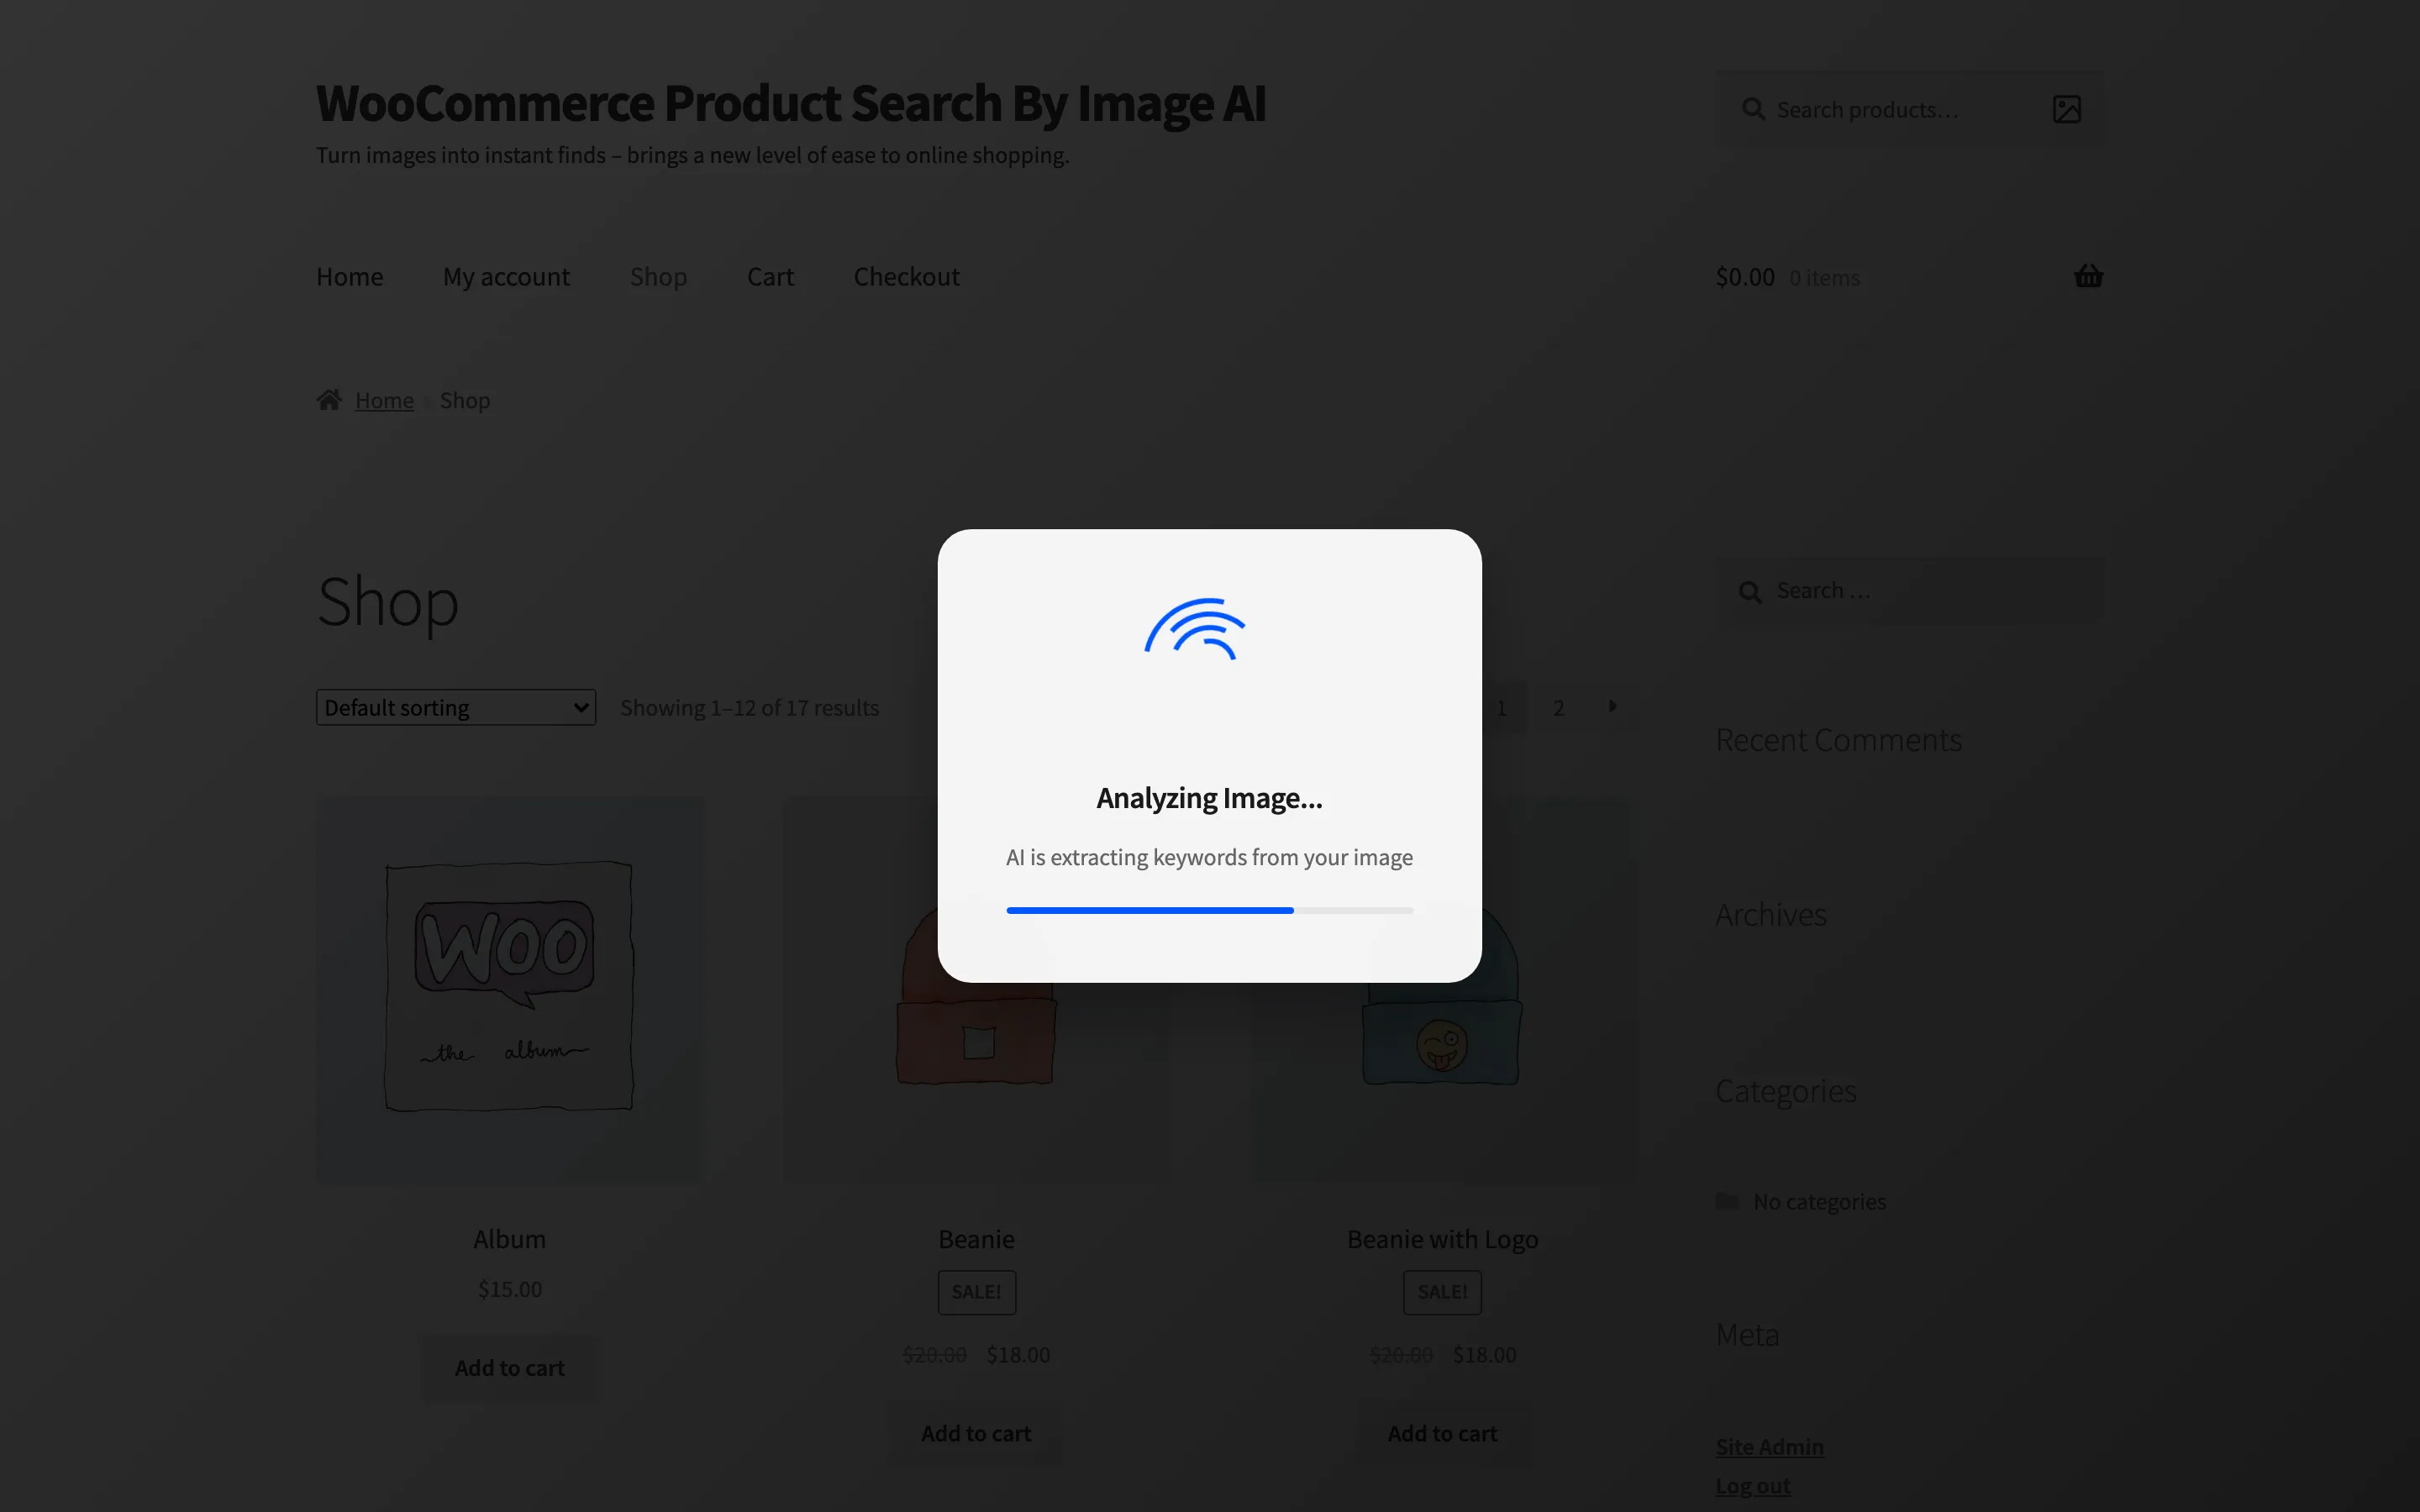
On the first search TensorFlow.js also downloads its model, so give it longer than you expect. Later searches on the same device are quicker.
Step 7: Read what came back
Section titled “Step 7: Read what came back”The store lands on its own search results with the keywords box above the products.
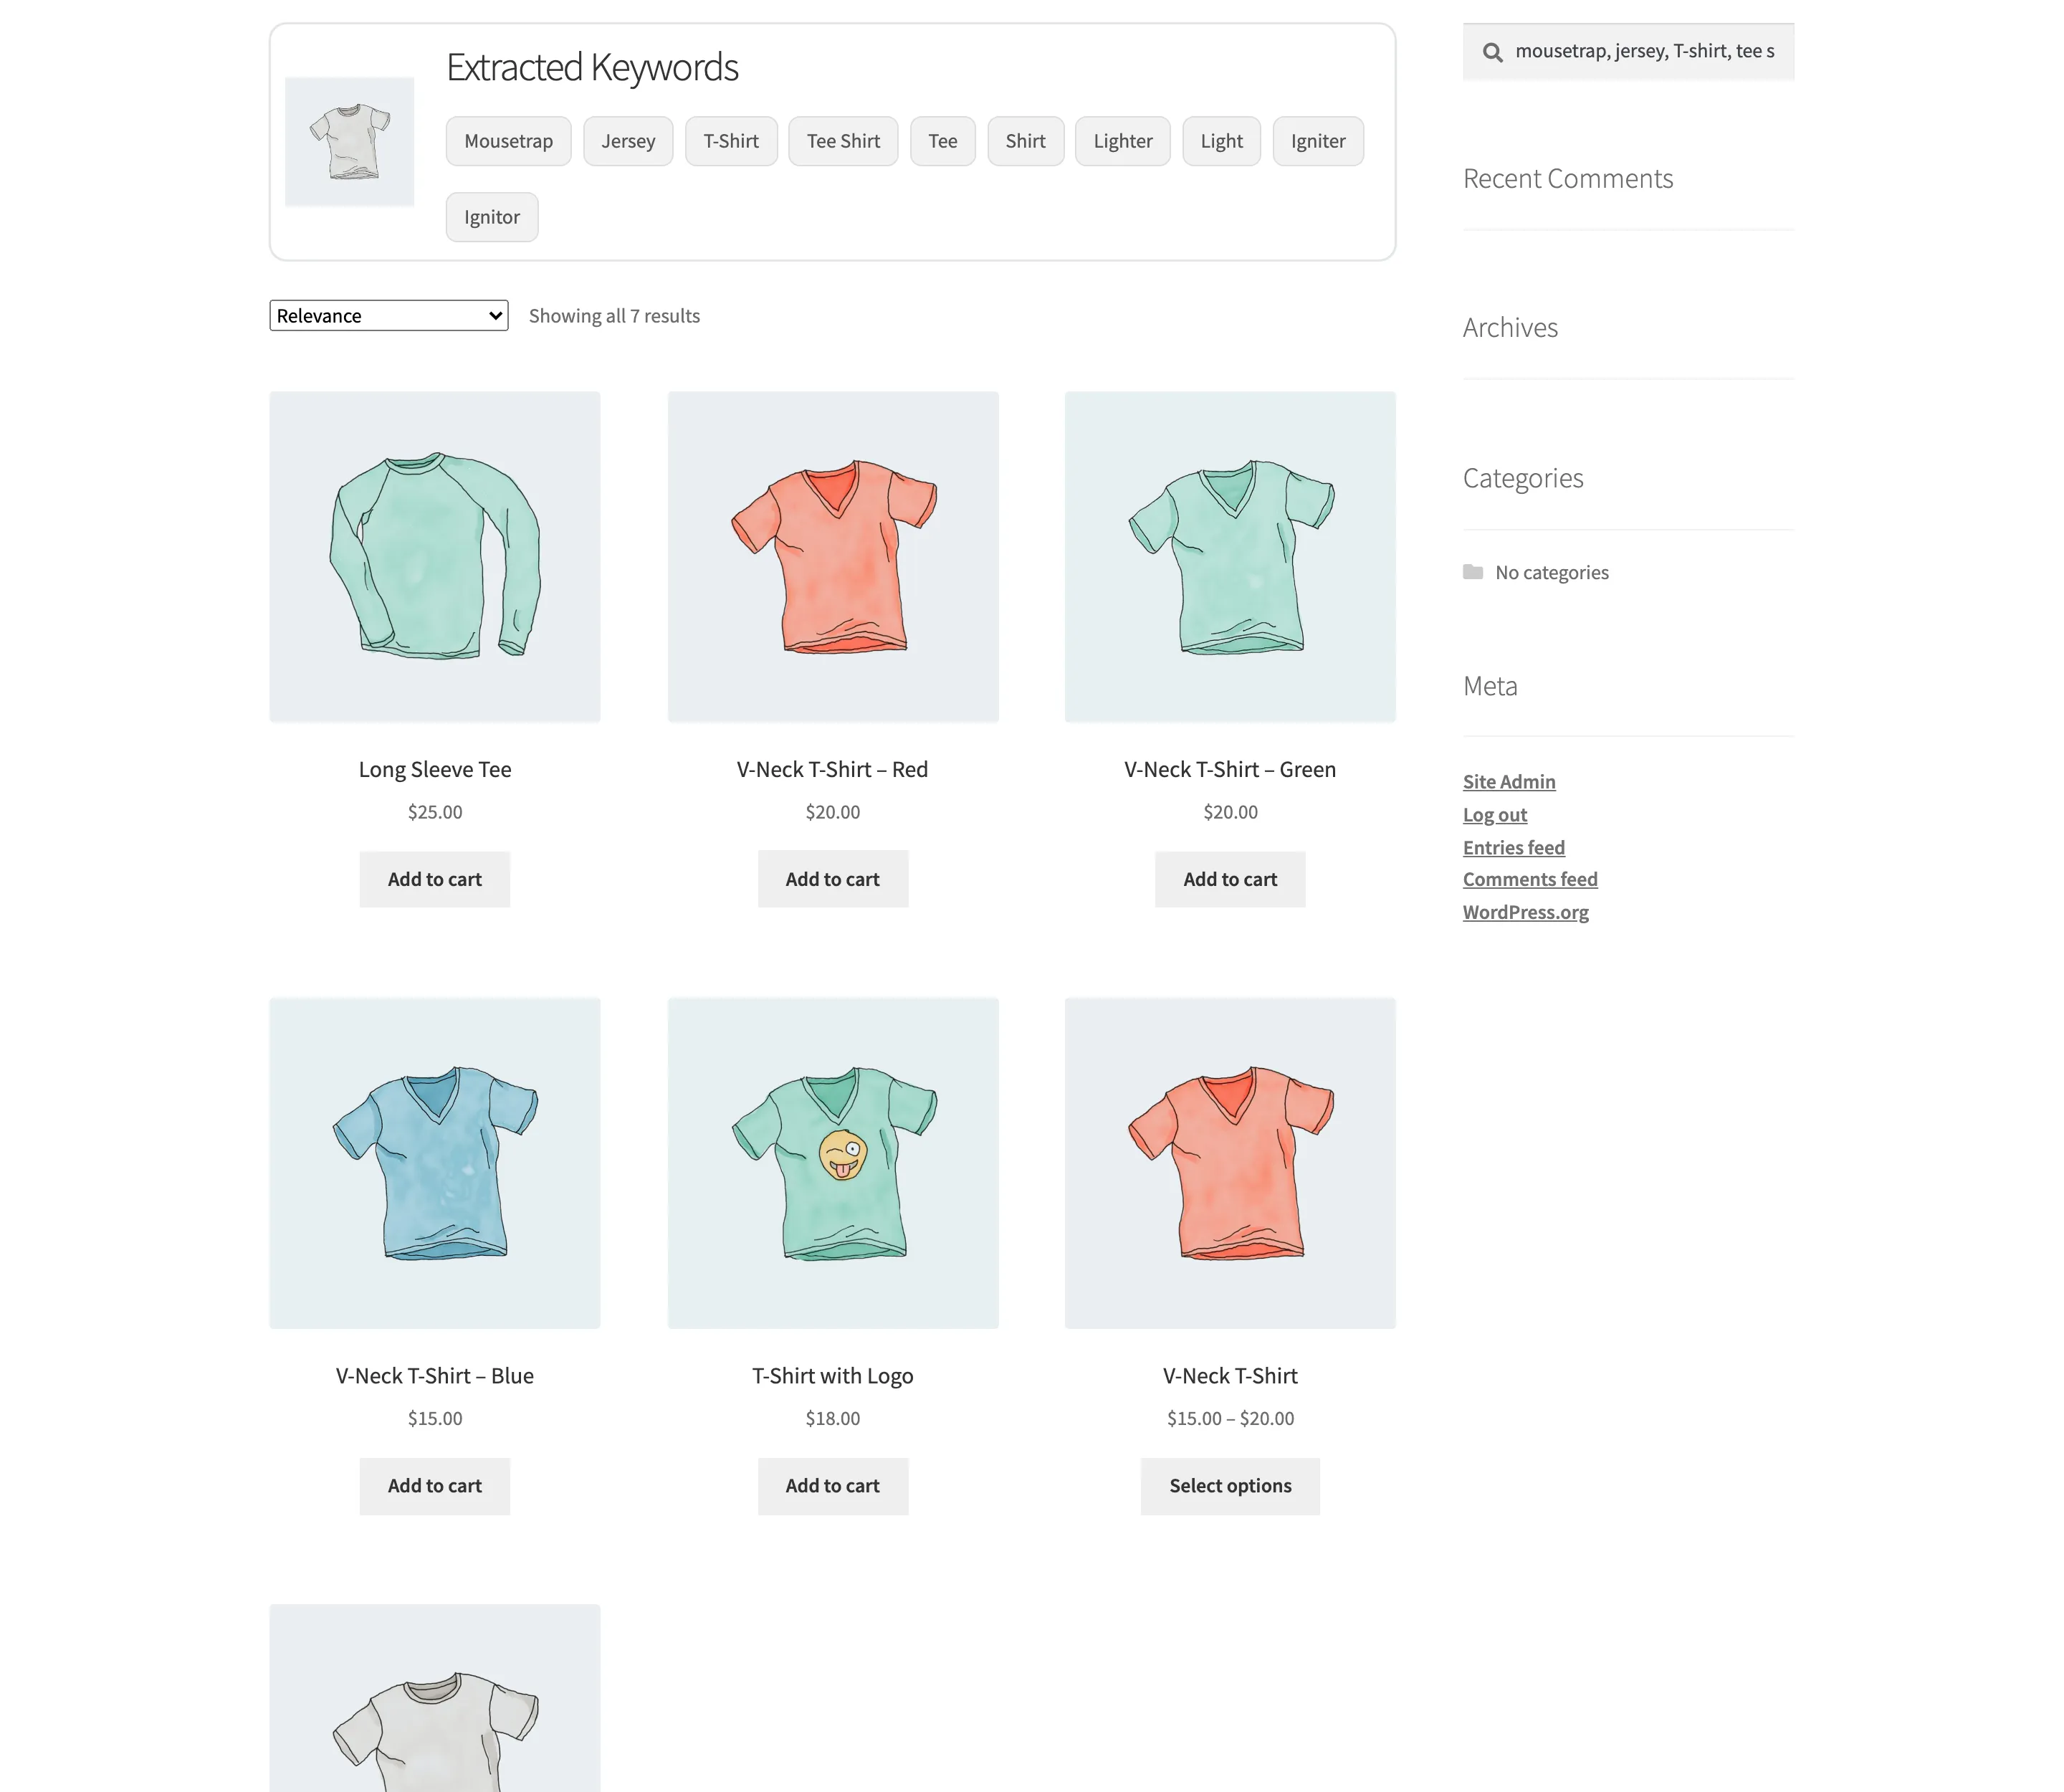
Two things to judge here, and they are separate.
- The chips: These are the words the service read out of your photo. Some will be wrong. That is normal, and it is why every chip is a link the shopper can use to drop the rest.
- The products: If sensible chips came back and no products did, your catalogue does not use those words. That is what image tags fix.
Step 8: Check it was counted
Section titled “Step 8: Check it was counted”Go back to Dashboard. Your test shows up as one more Total Search, and as a Successful Search if any keyword came out.
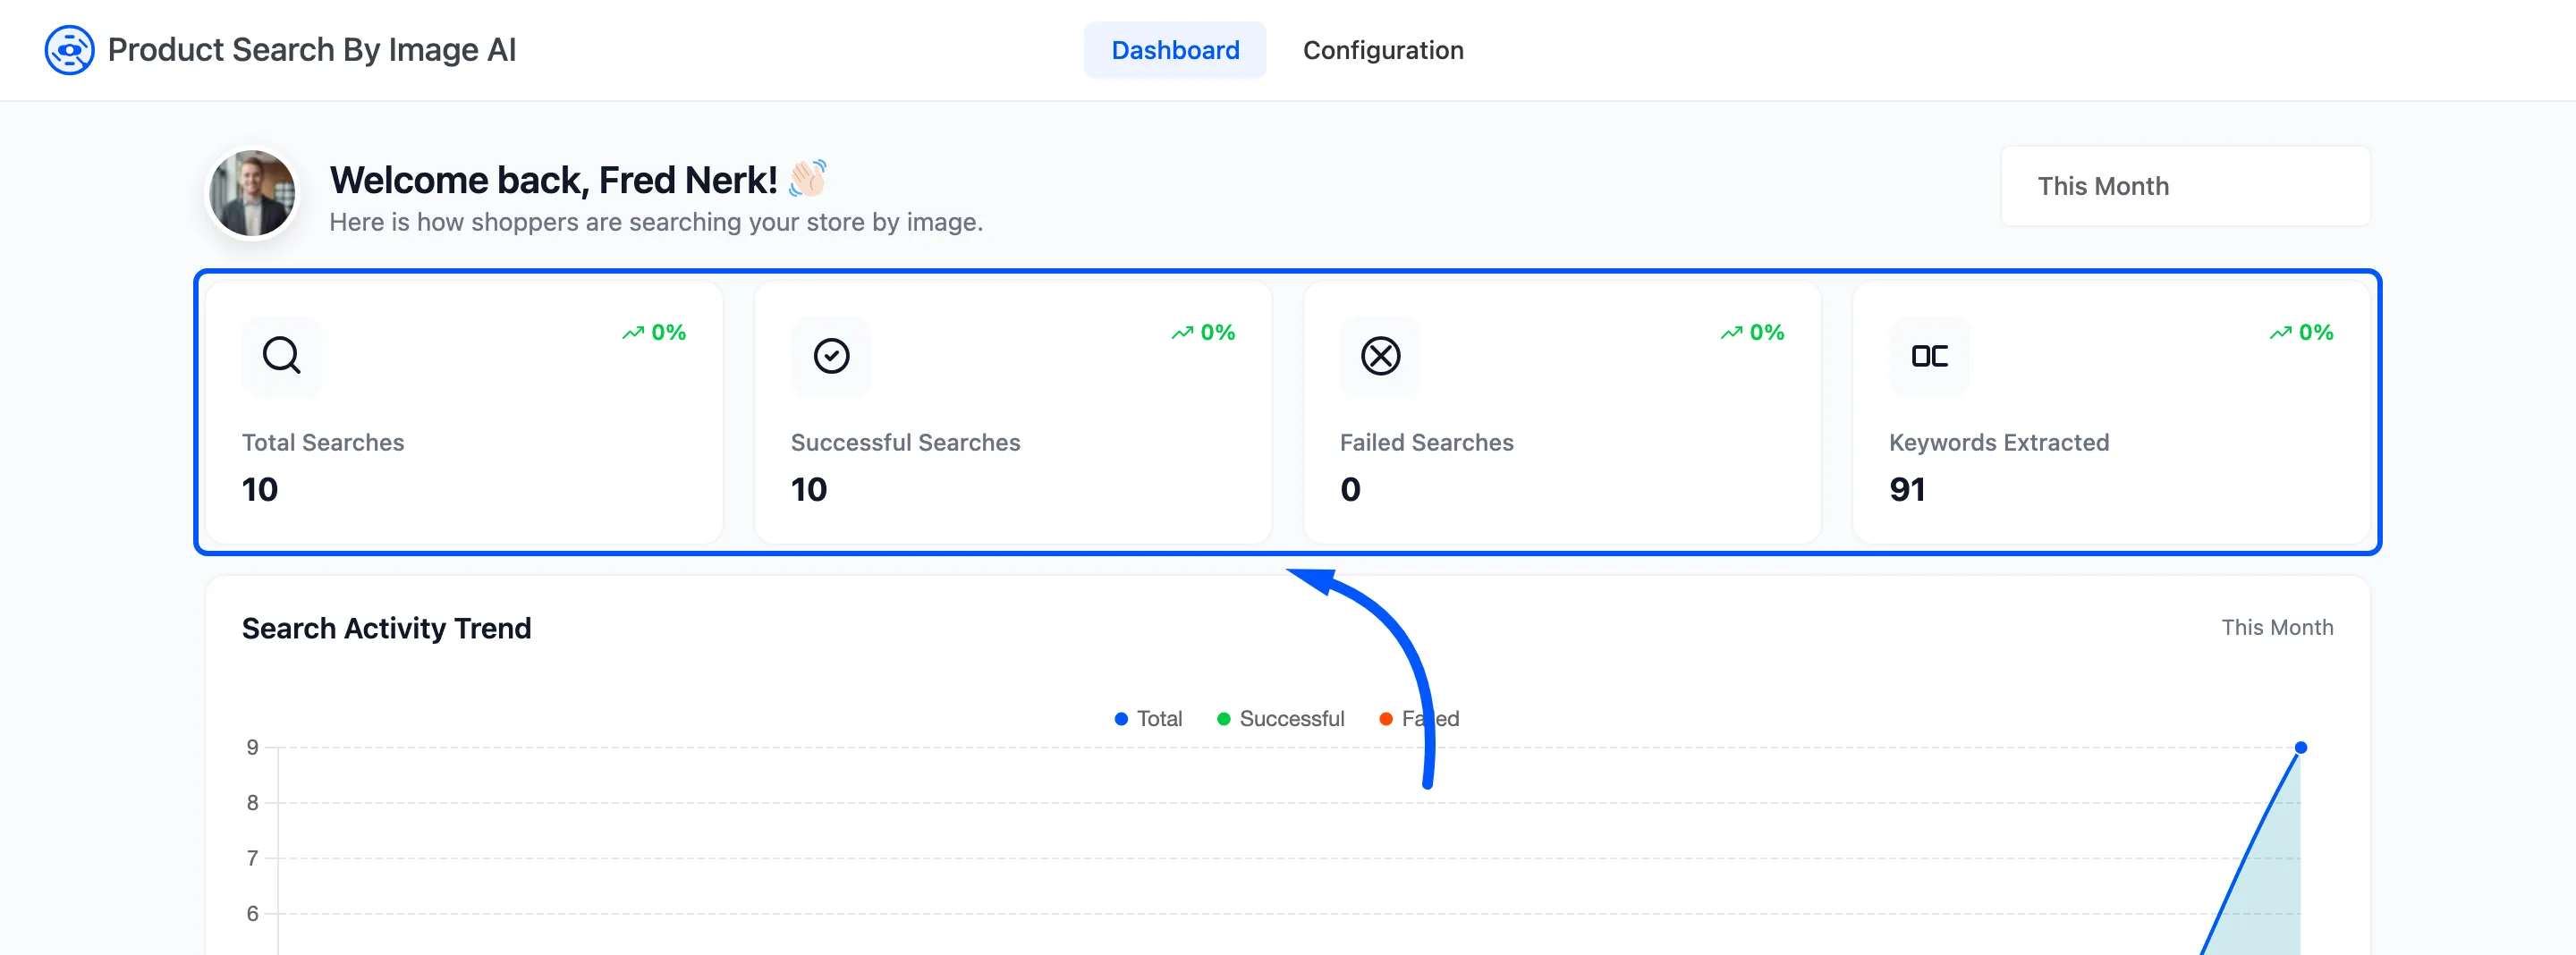
The counters are cached for a few minutes, so give it a moment if the number has not moved yet.