

General Settings
The General tab is three sections: the switch that makes the feature exist, the AI service that reads the photos, and how the resulting search behaves.
Go to DevDiggers Plugins → Product Search By Image AI → Configuration → General.
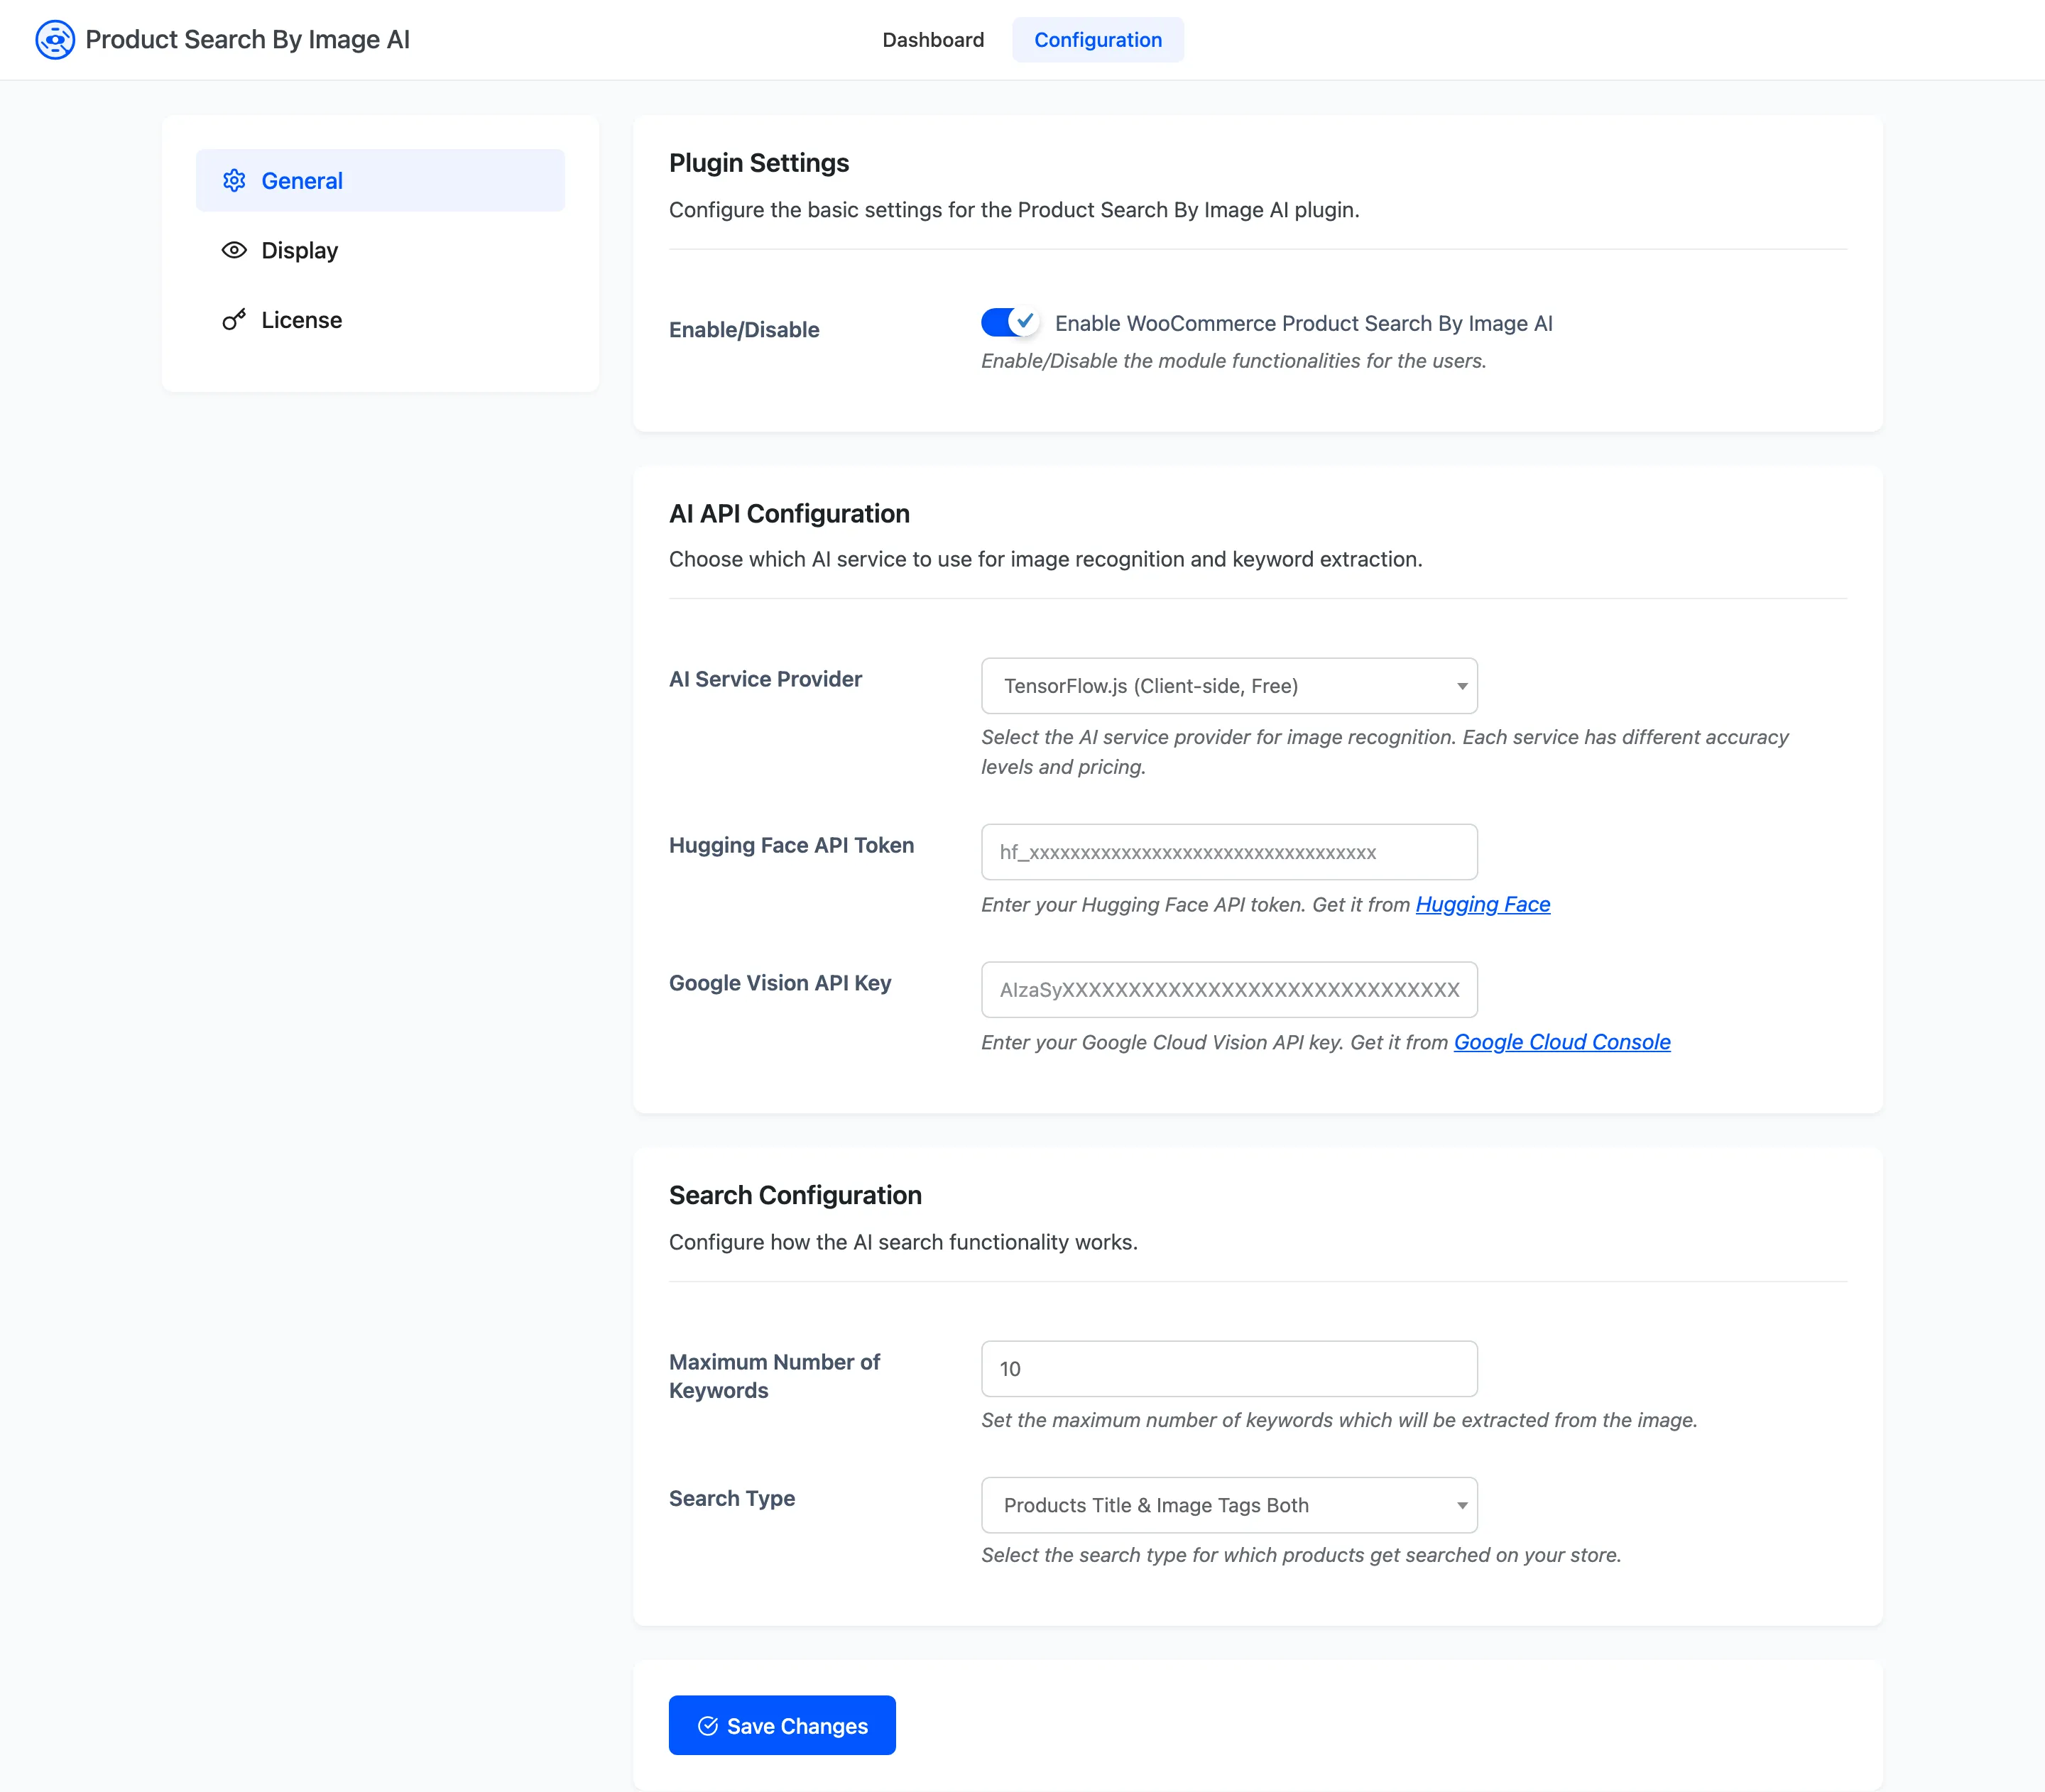
The three tabs sit in the rail on the left.
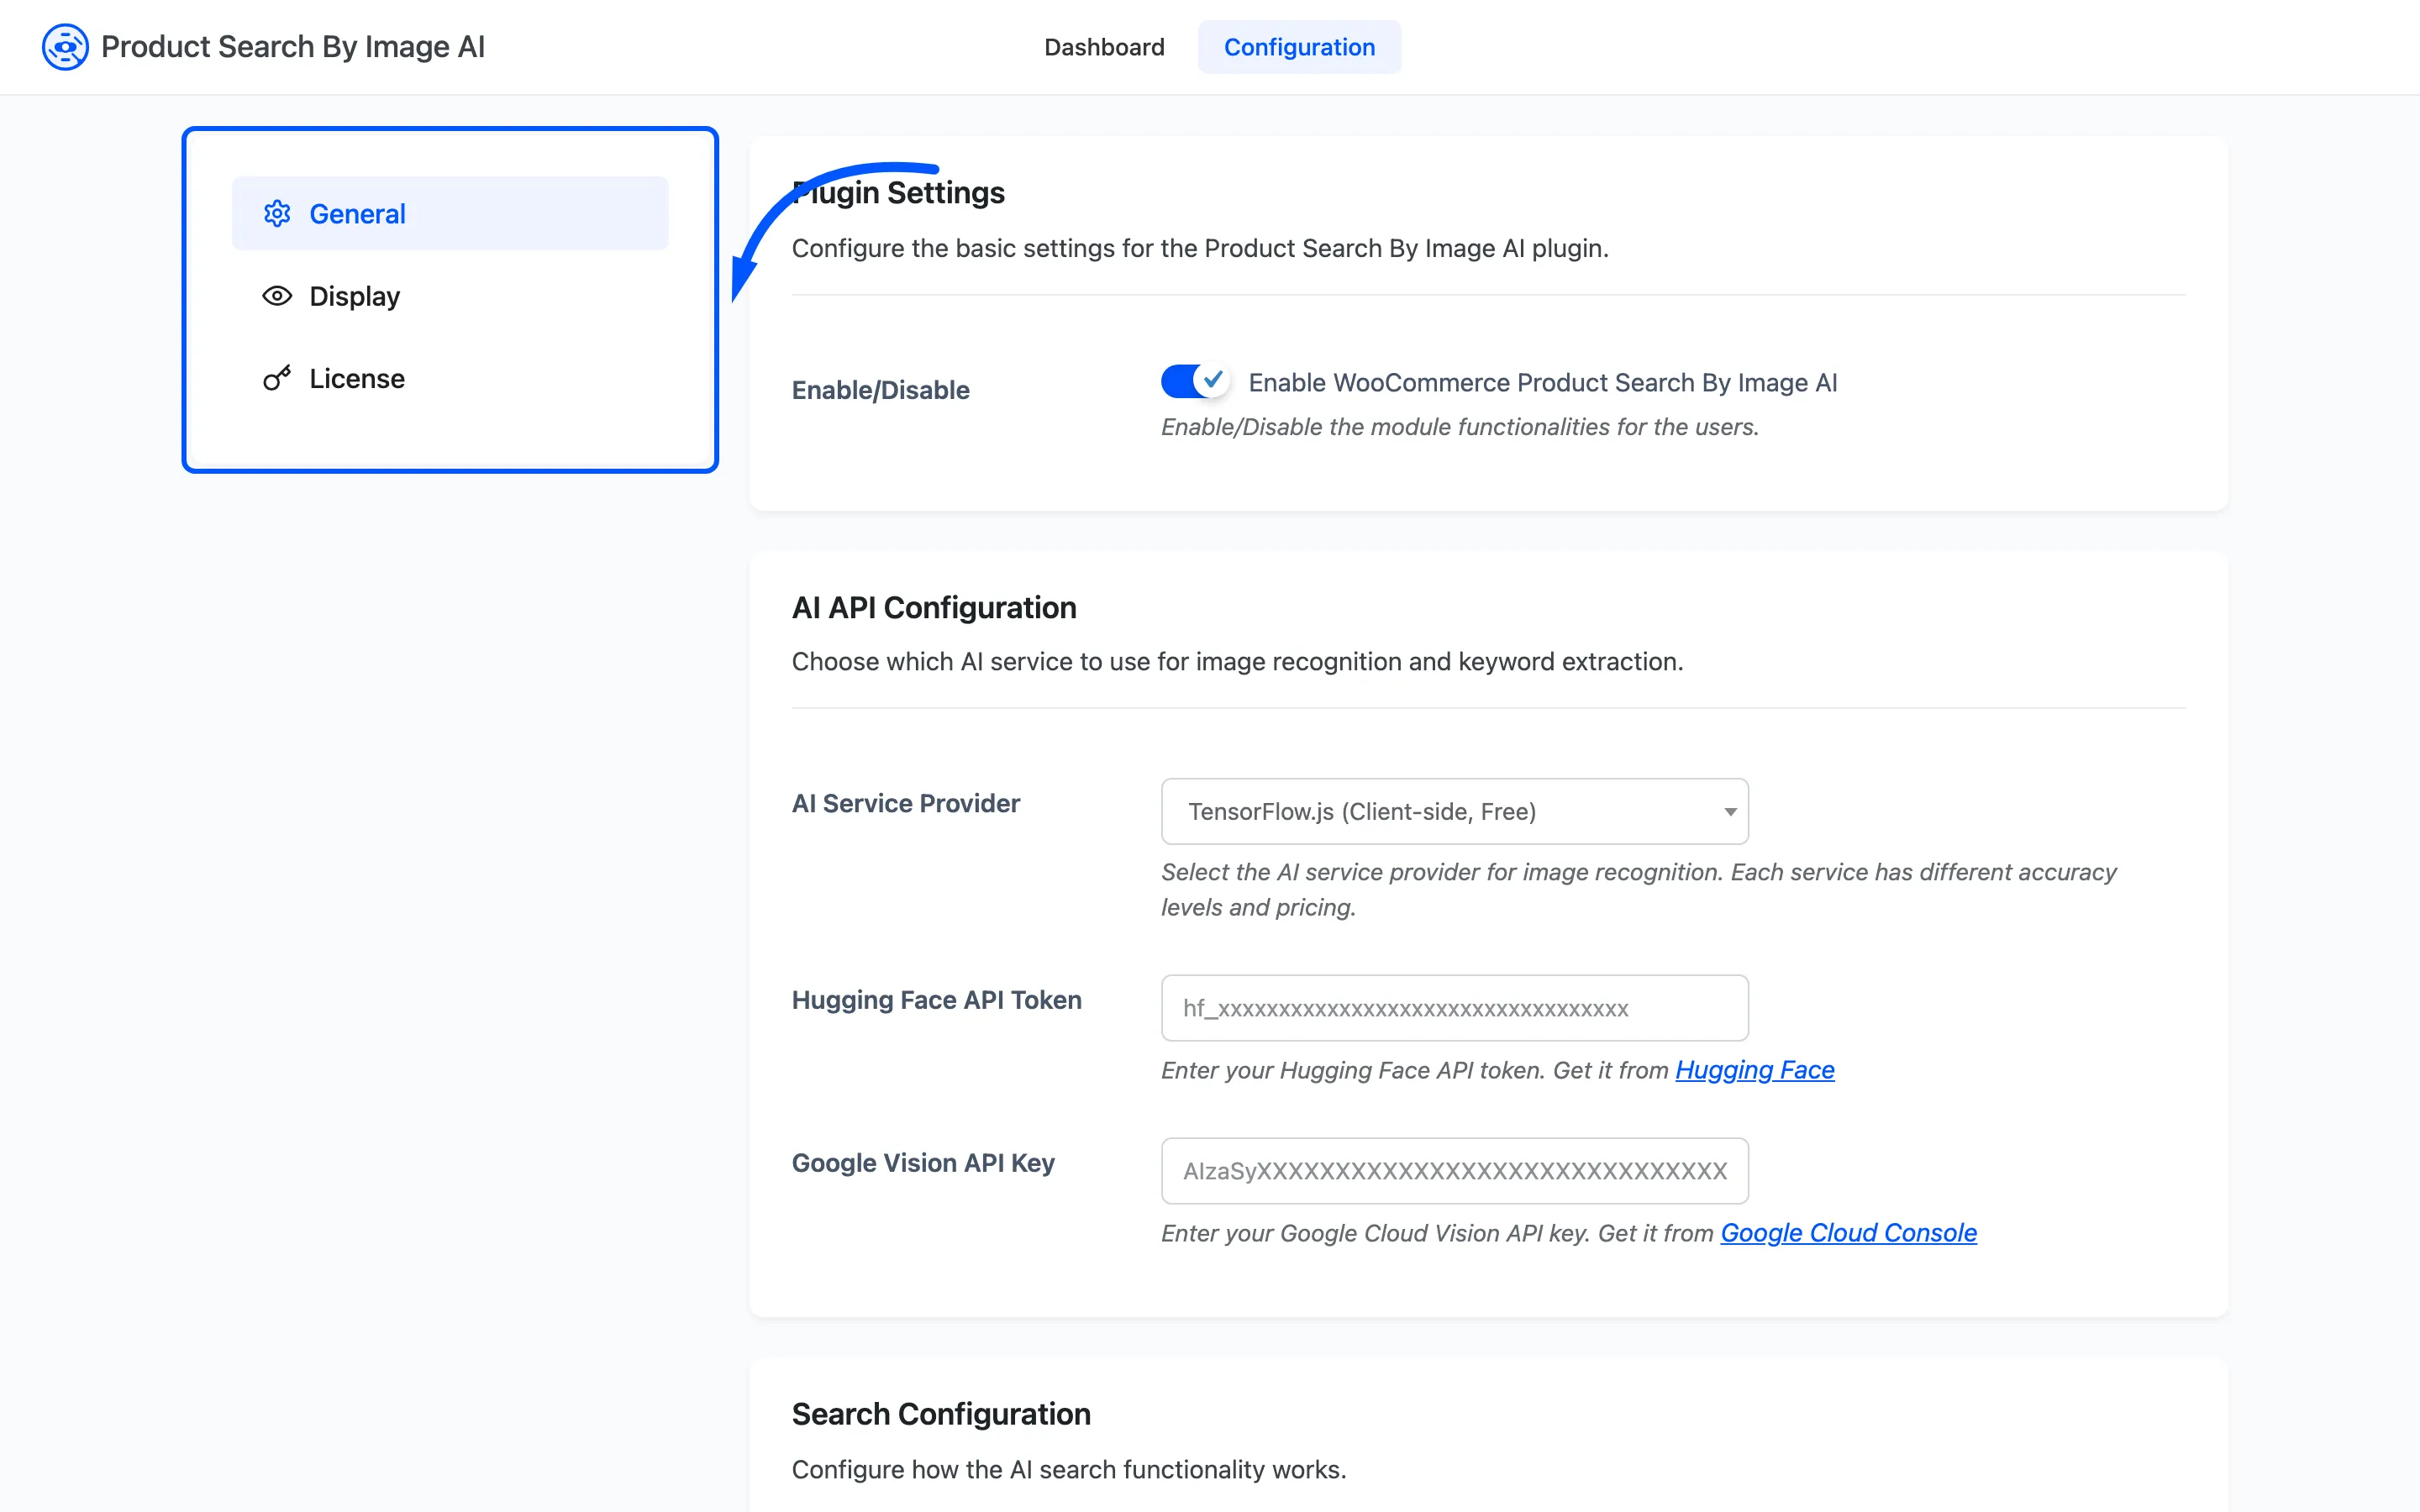
Plugin Settings
Section titled “Plugin Settings”Enable/Disable
Section titled “Enable/Disable”Enable WooCommerce Product Search By Image AI: The master switch. Off, and the plugin adds nothing to the storefront: no camera icon in the search box, no loader and no keywords box. Default off, so a fresh install adds nothing until you turn it on.
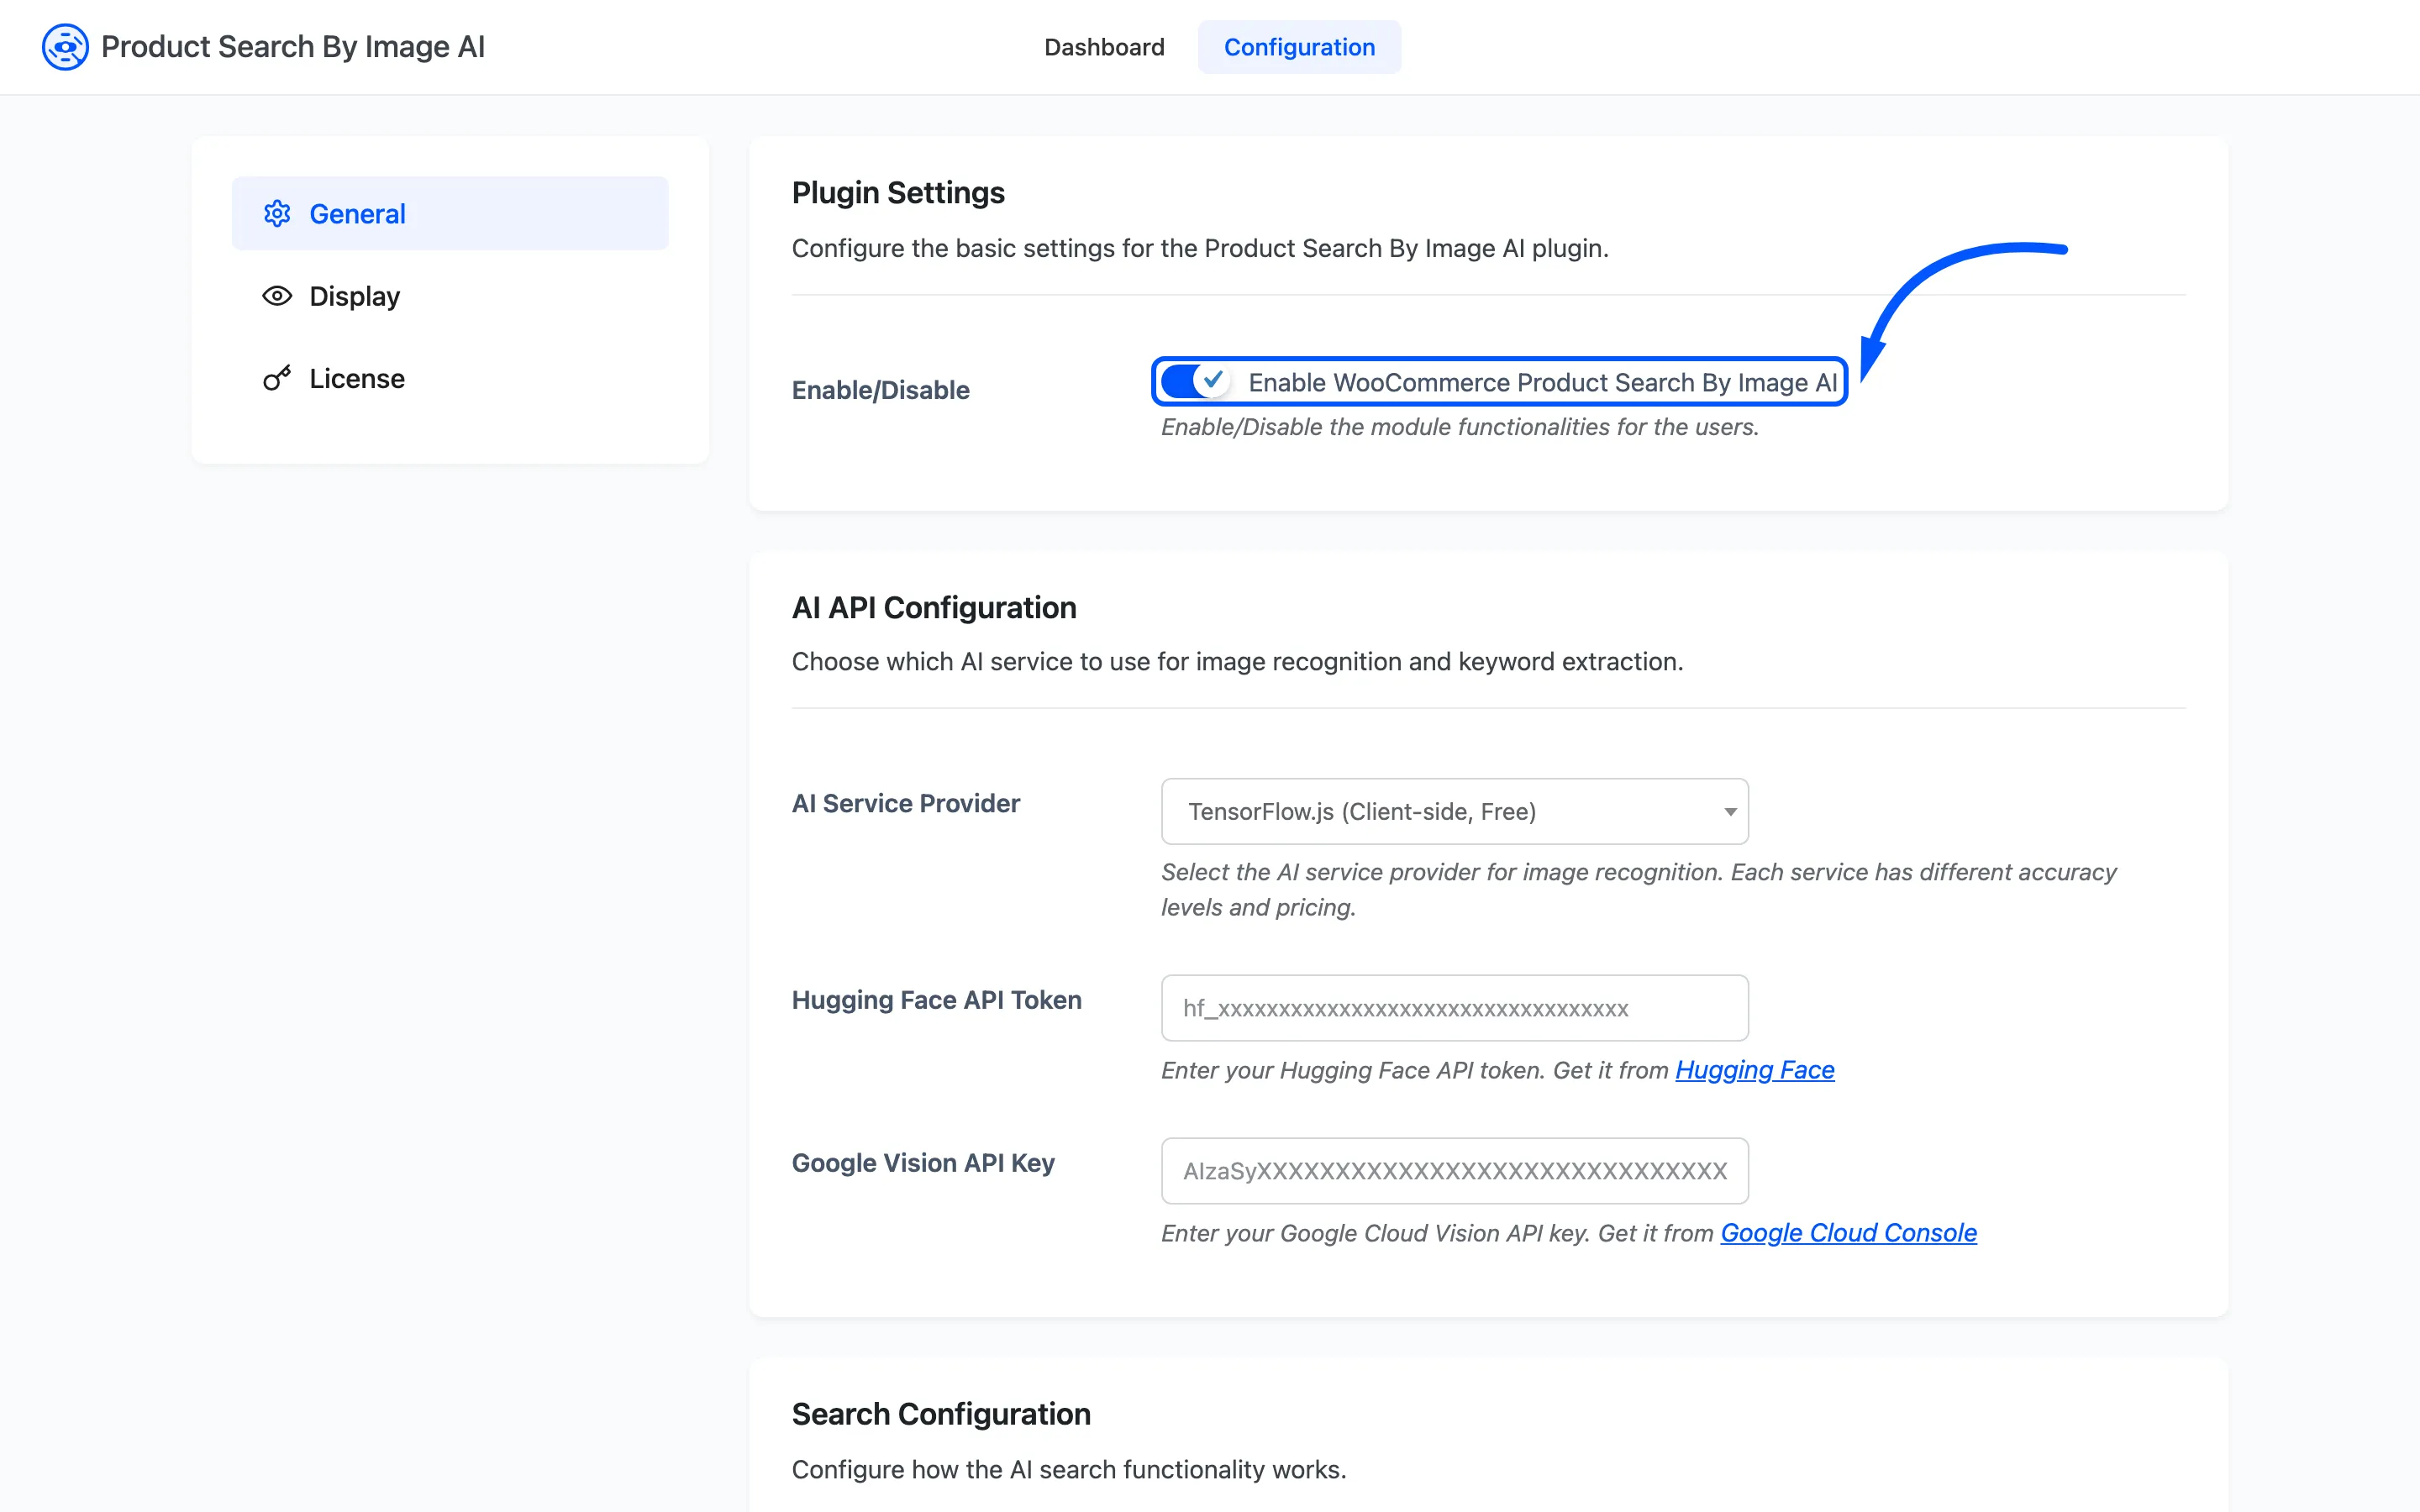
Turning it off is the clean way to pull image search for a while without deactivating the plugin. Your settings, your image tags and your analytics all stay where they are.
An active license is the other half of this switch. With the license inactive the storefront loads nothing even with this ticked. See License Activation.
AI API Configuration
Section titled “AI API Configuration”AI Service Provider
Section titled “AI Service Provider”Which service reads the photo. Three options, and the choice changes where the work happens as much as how good the answer is. Default TensorFlow.js (Client-side, Free).
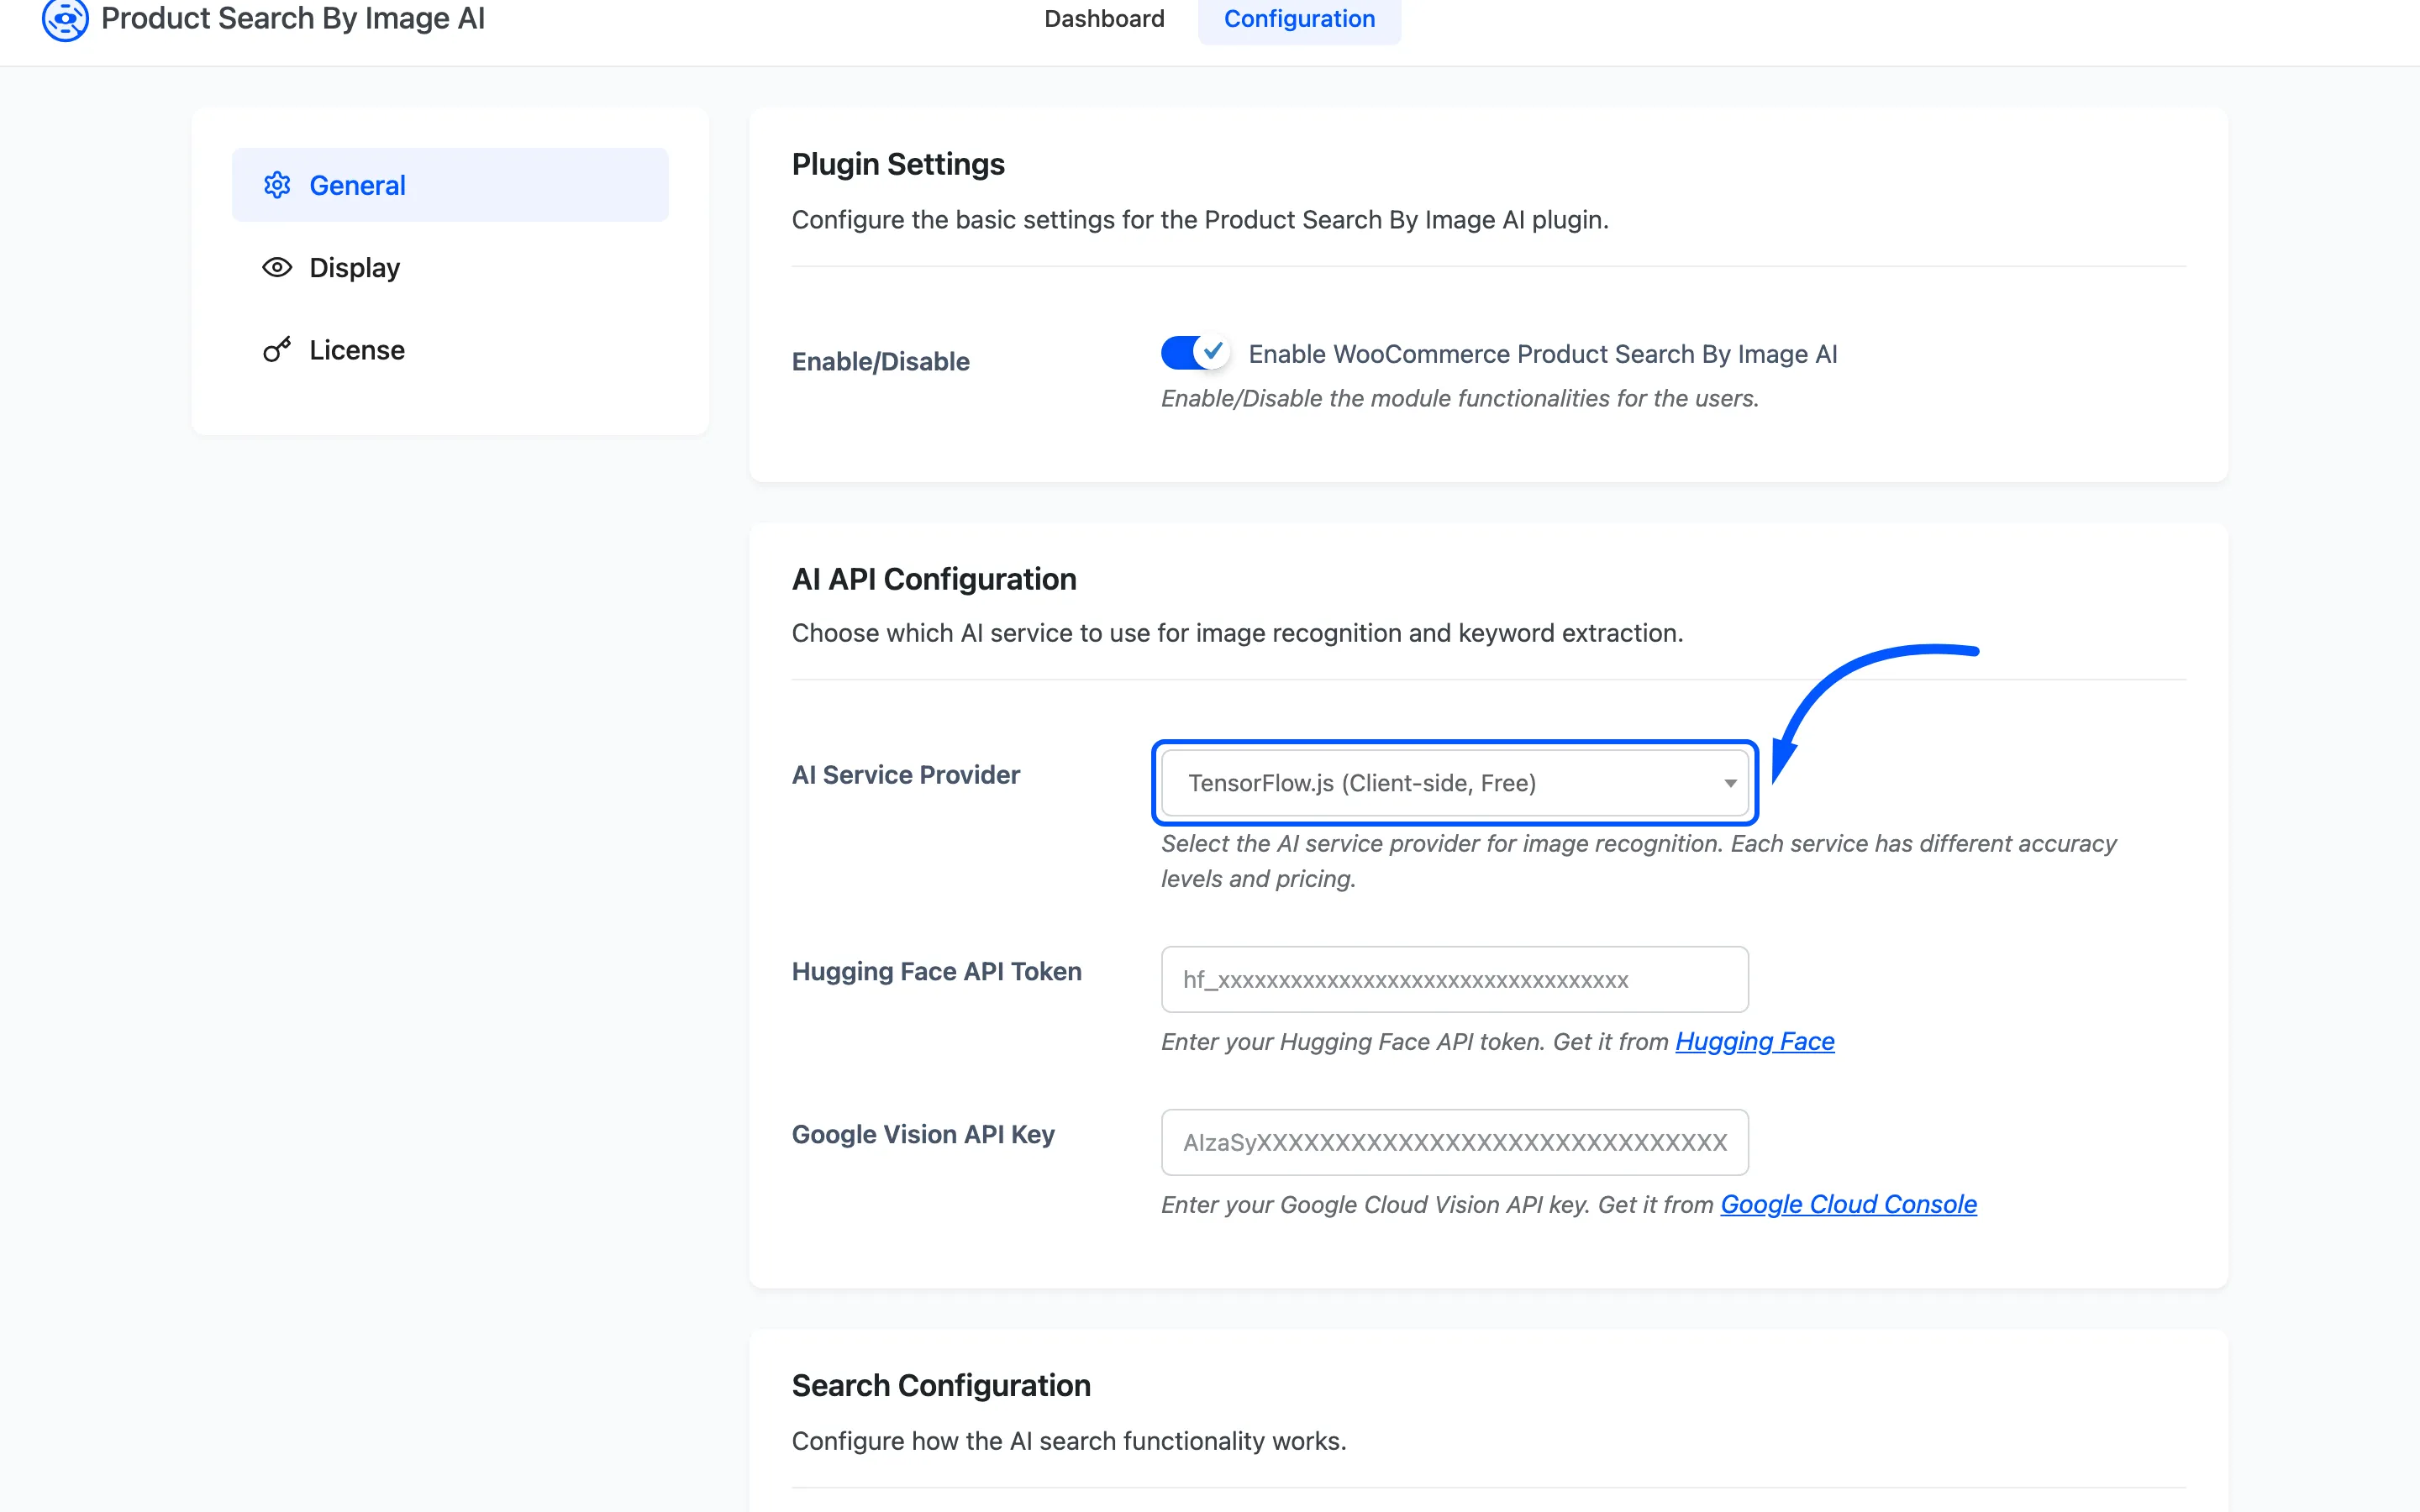
- TensorFlow.js (Client-side, Free). The model runs in the shopper’s browser. No account, no key, no per-search cost, and the photo never leaves their device.
- Hugging Face (1,000 free requests/month). Your server sends the photo to a hosted image model.
- Google Vision API (1,000 free requests/month). Your server sends the photo to Google’s label detection.
How to Choose an AI Service Provider compares them on accuracy, speed and cost.
Hugging Face API Token
Section titled “Hugging Face API Token”The token for the Hugging Face option: Empty by default. The field carries a link to the page on
Hugging Face where tokens are issued. The placeholder shows the hf_ prefix a real token starts with.
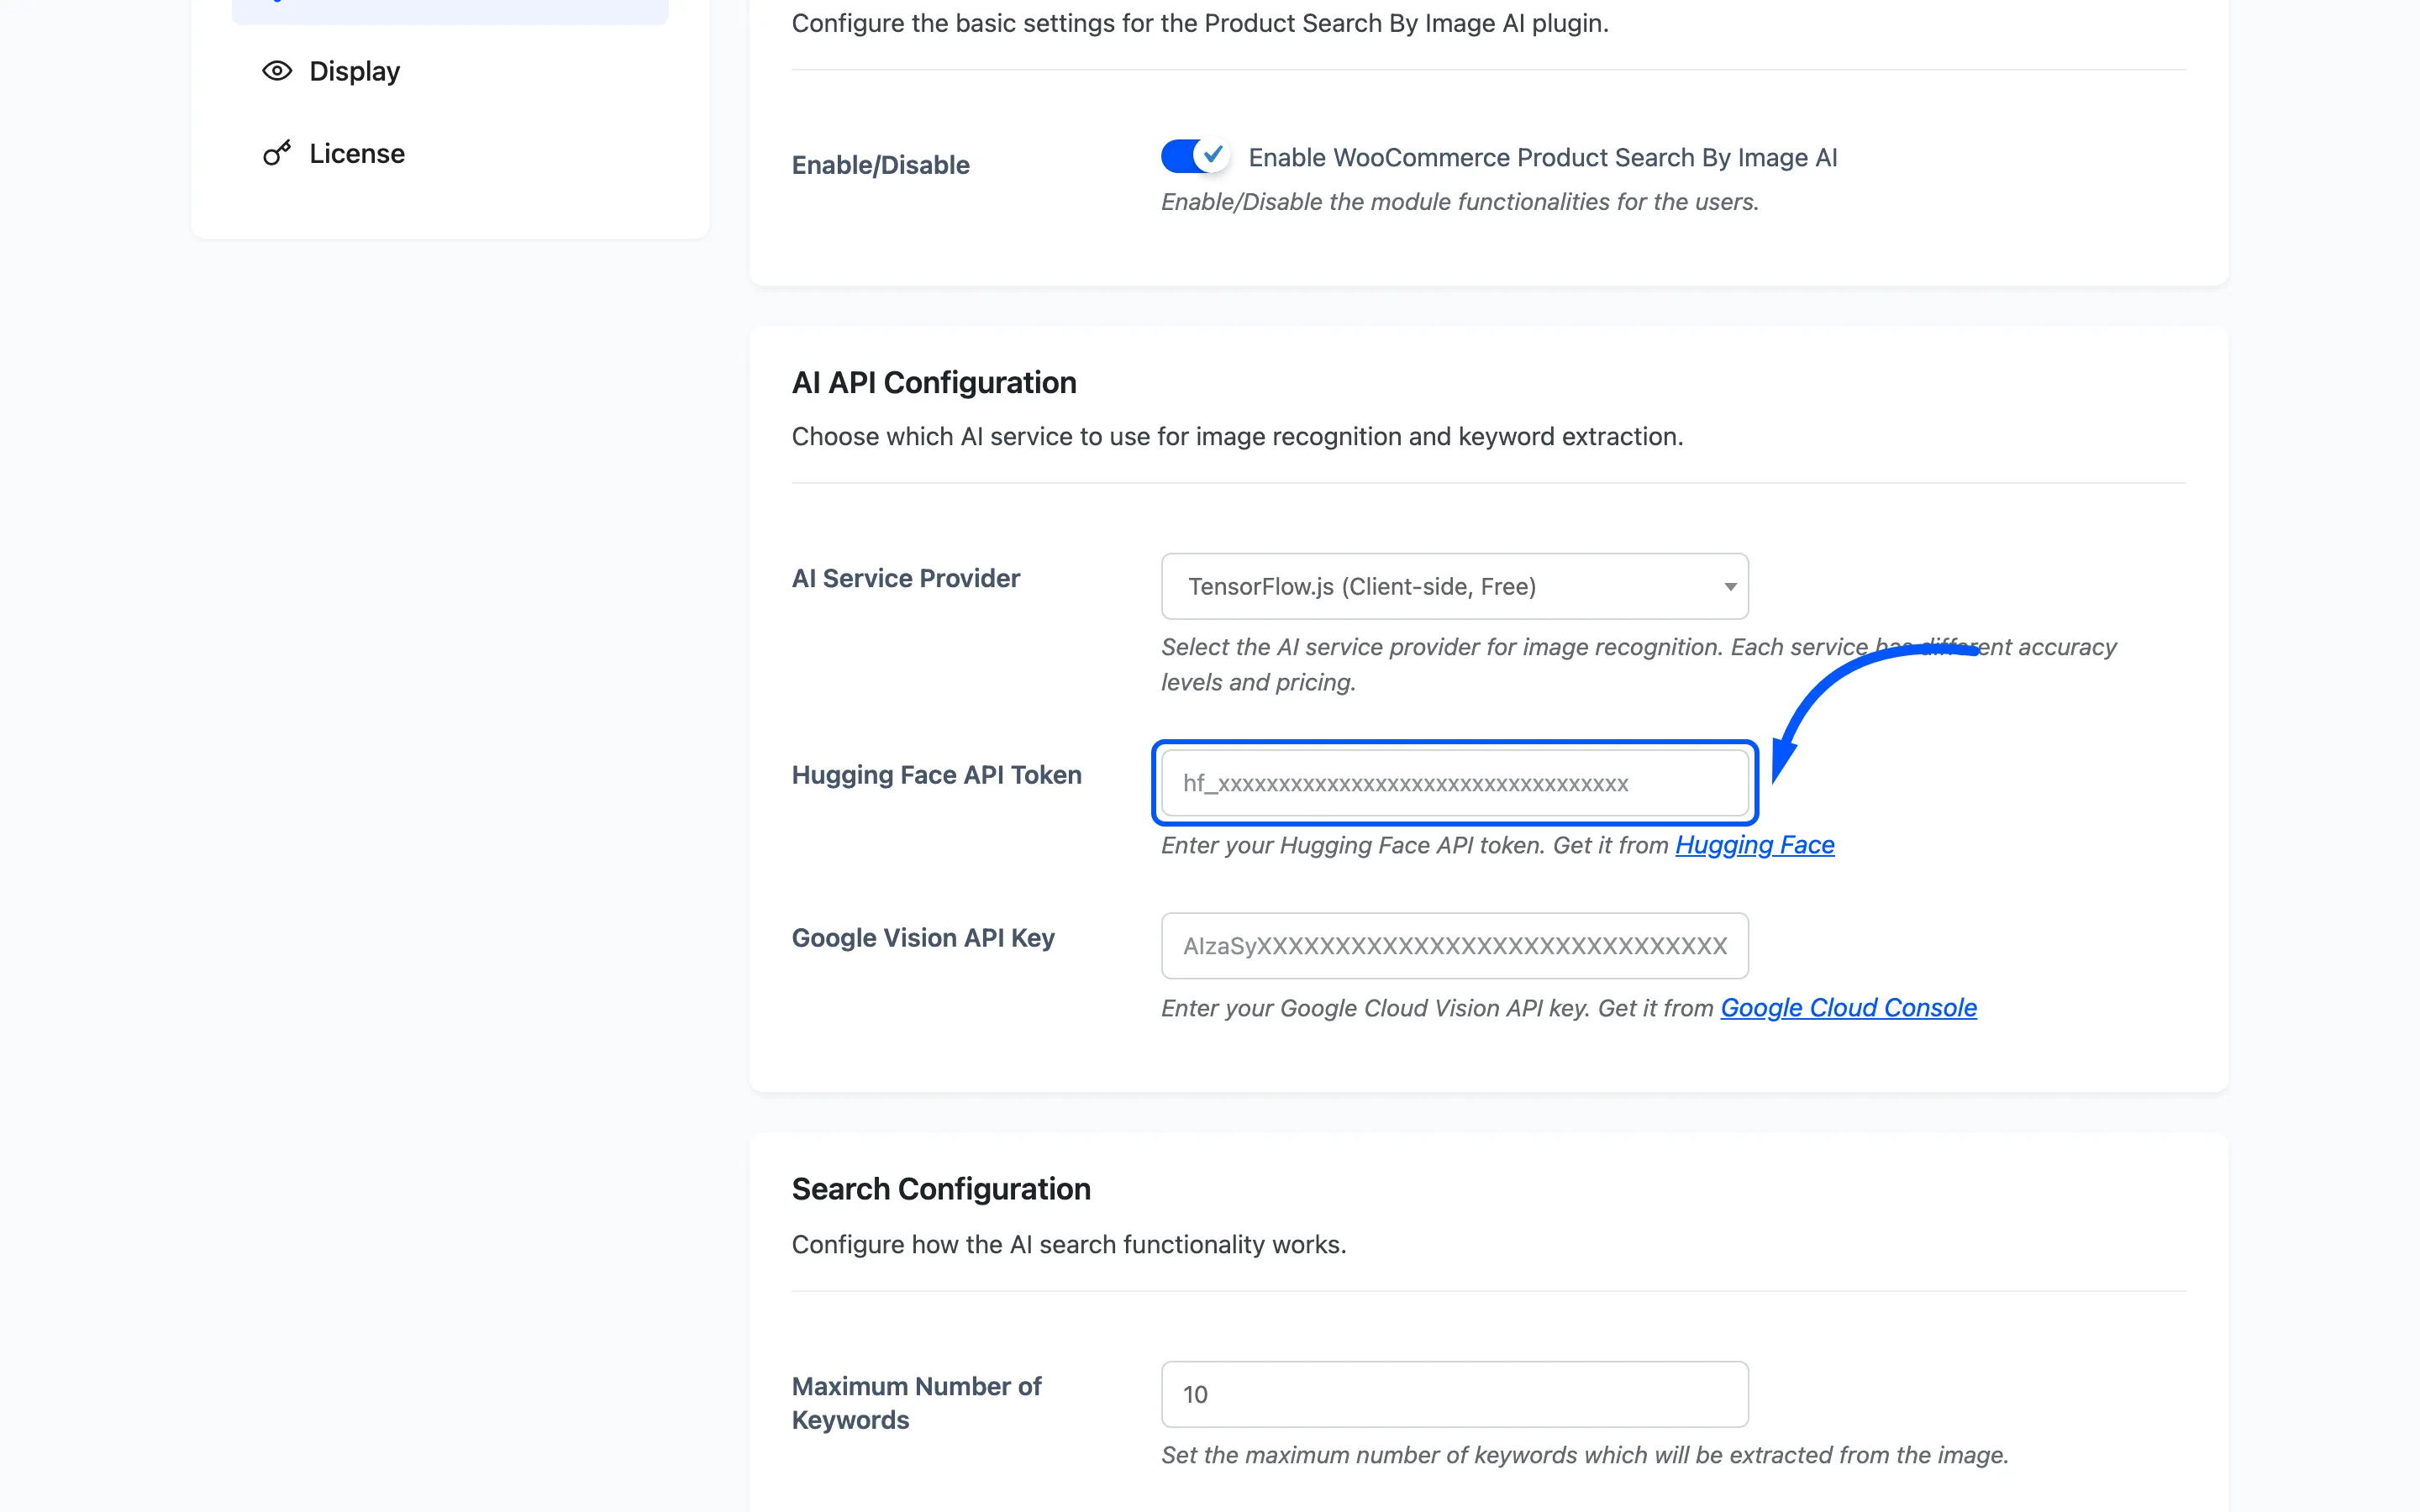
It is only read when the provider above is set to Hugging Face. Leave it empty otherwise. With Hugging Face selected and no token here, every search fails and the dashboard’s Failed line climbs.
Google Vision API Key
Section titled “Google Vision API Key”The key for the Google Vision option: Empty by default, with a link to the Google Cloud Console page that issues keys.
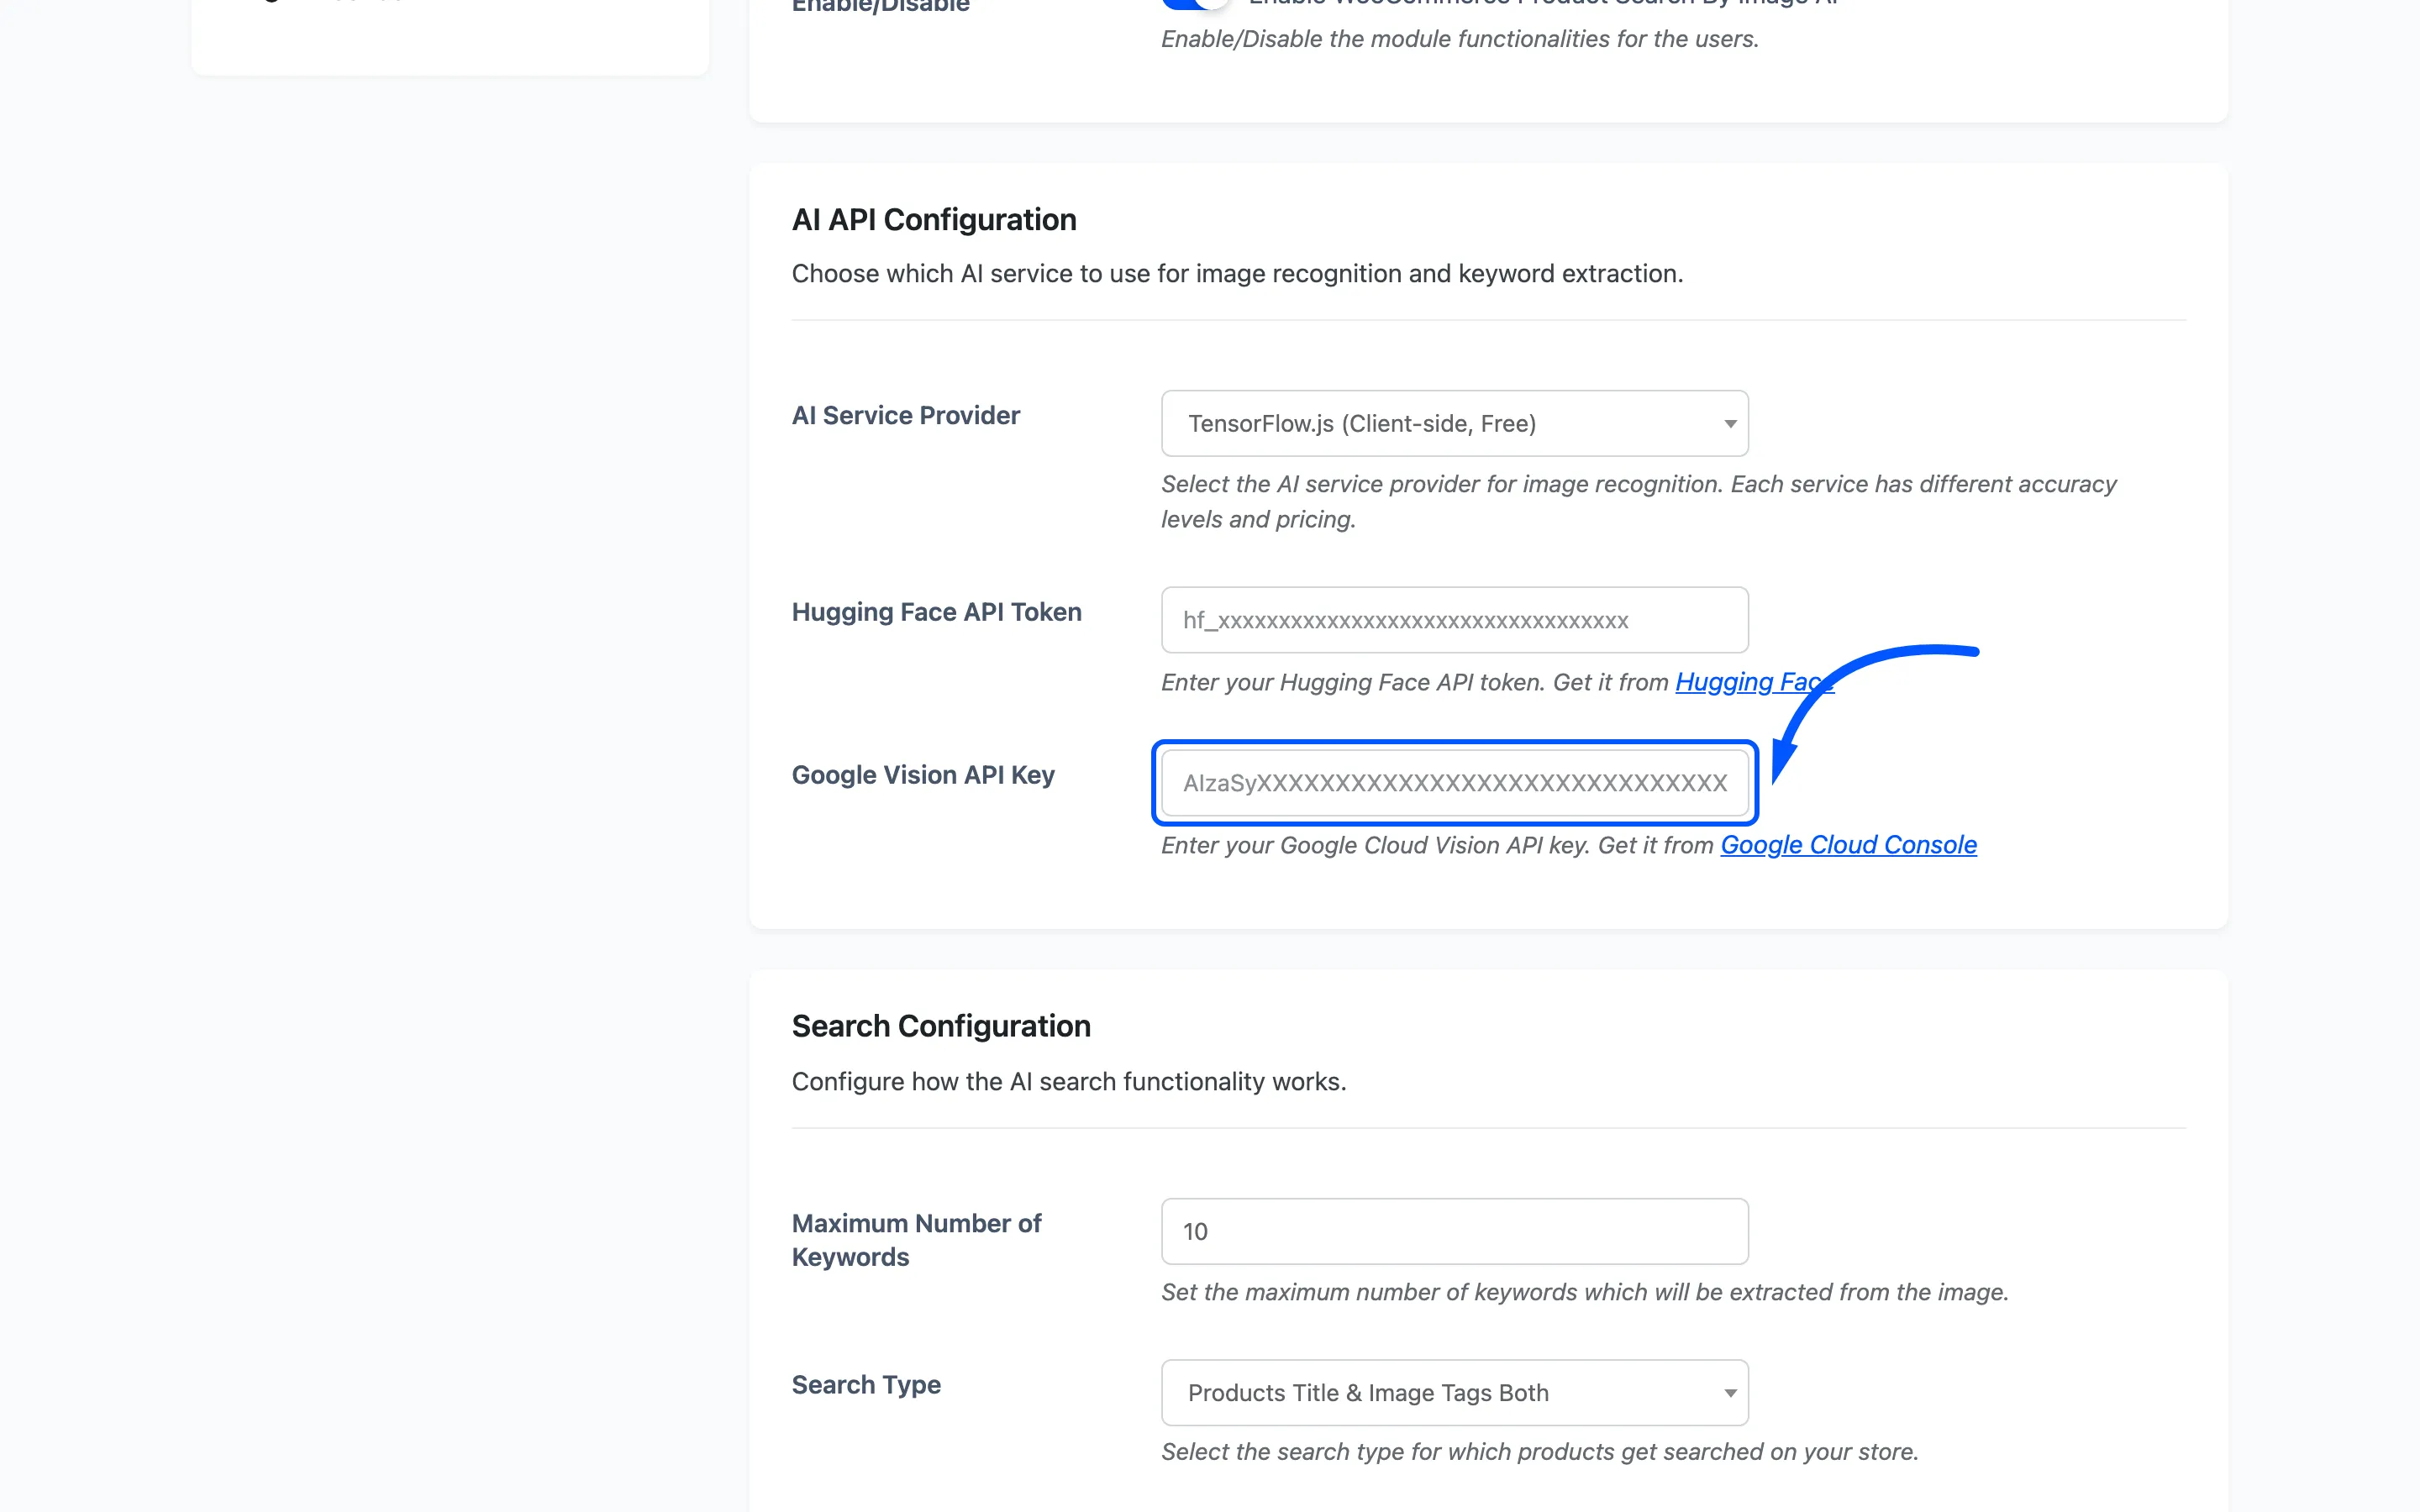
Same rule as the token above: read only when Google Vision is the selected provider, and a missing key there means every search fails.
Both key fields are always on screen, whichever provider is selected. Only the one belonging to the selected service is used, so an old key sitting in the other field changes nothing.
Search Configuration
Section titled “Search Configuration”Maximum Number of Keywords
Section titled “Maximum Number of Keywords”How many words to keep out of the service’s answer. Default 10, and the field accepts 1 to 50.
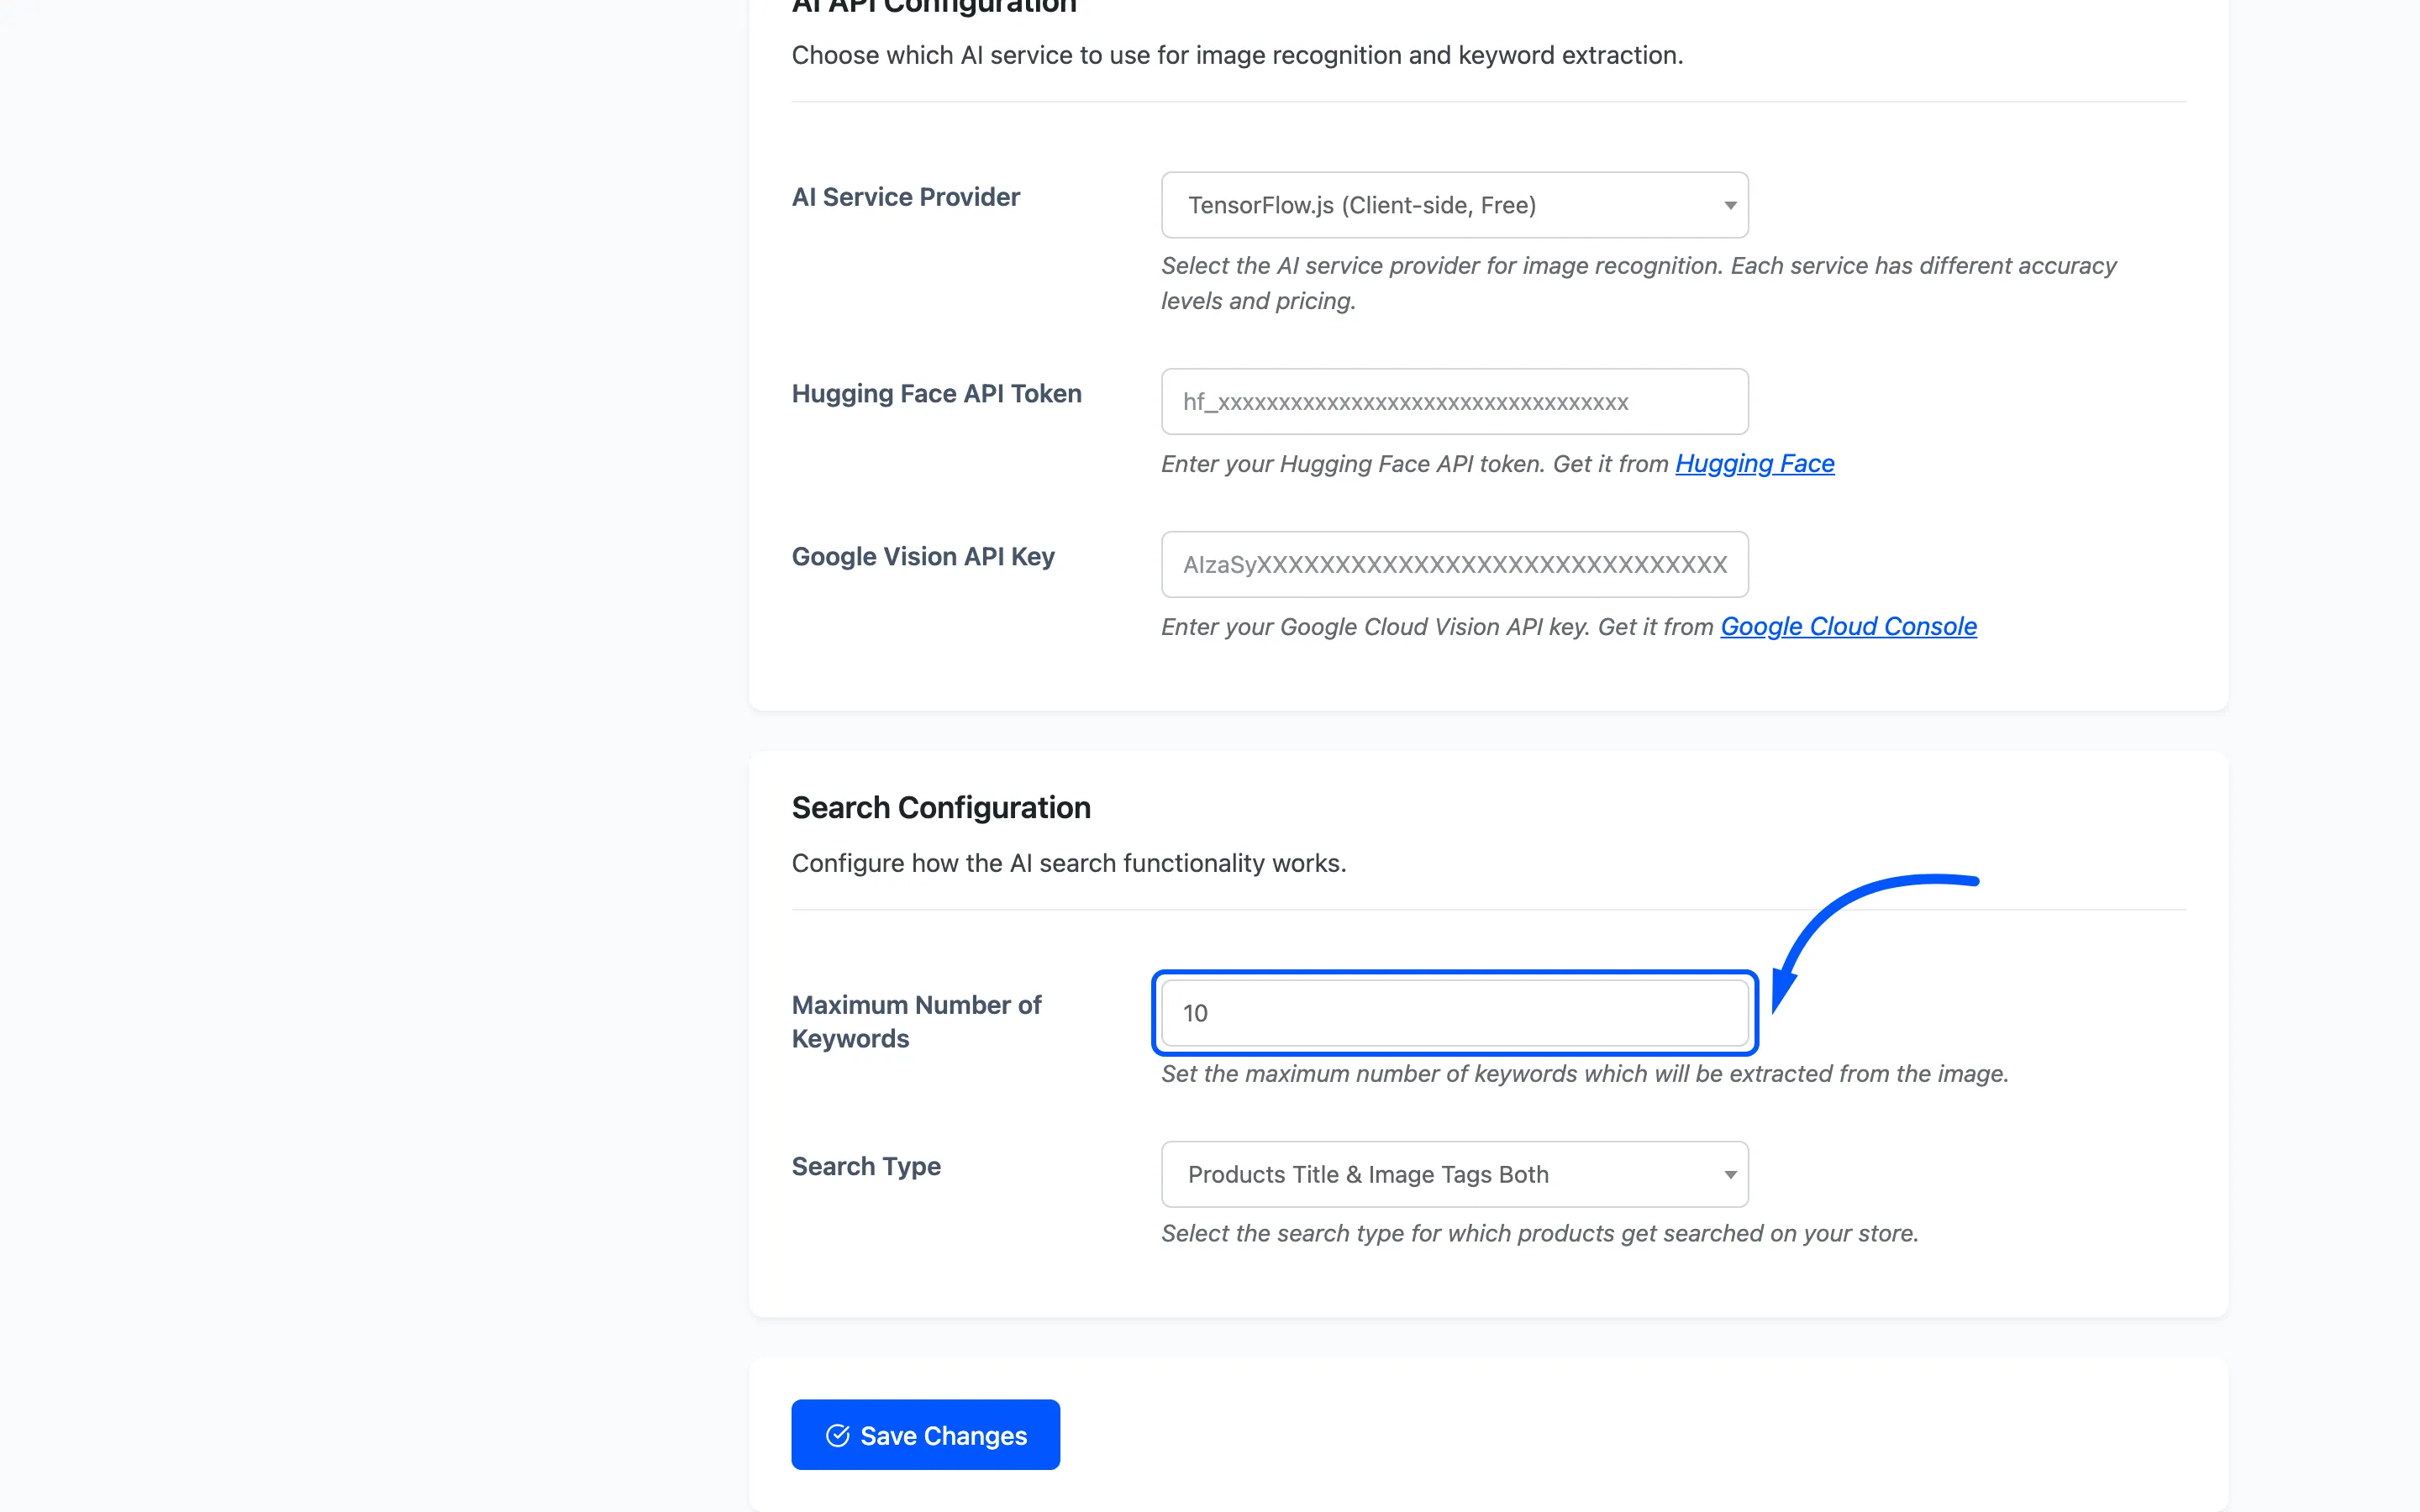
A higher number widens the search and pulls in more loosely related products. A lower number keeps only the service’s most confident words, which is usually the better trade. See How to Control What the Search Matches.
Search Type
Section titled “Search Type”What the keywords are matched against. Default Products Title.
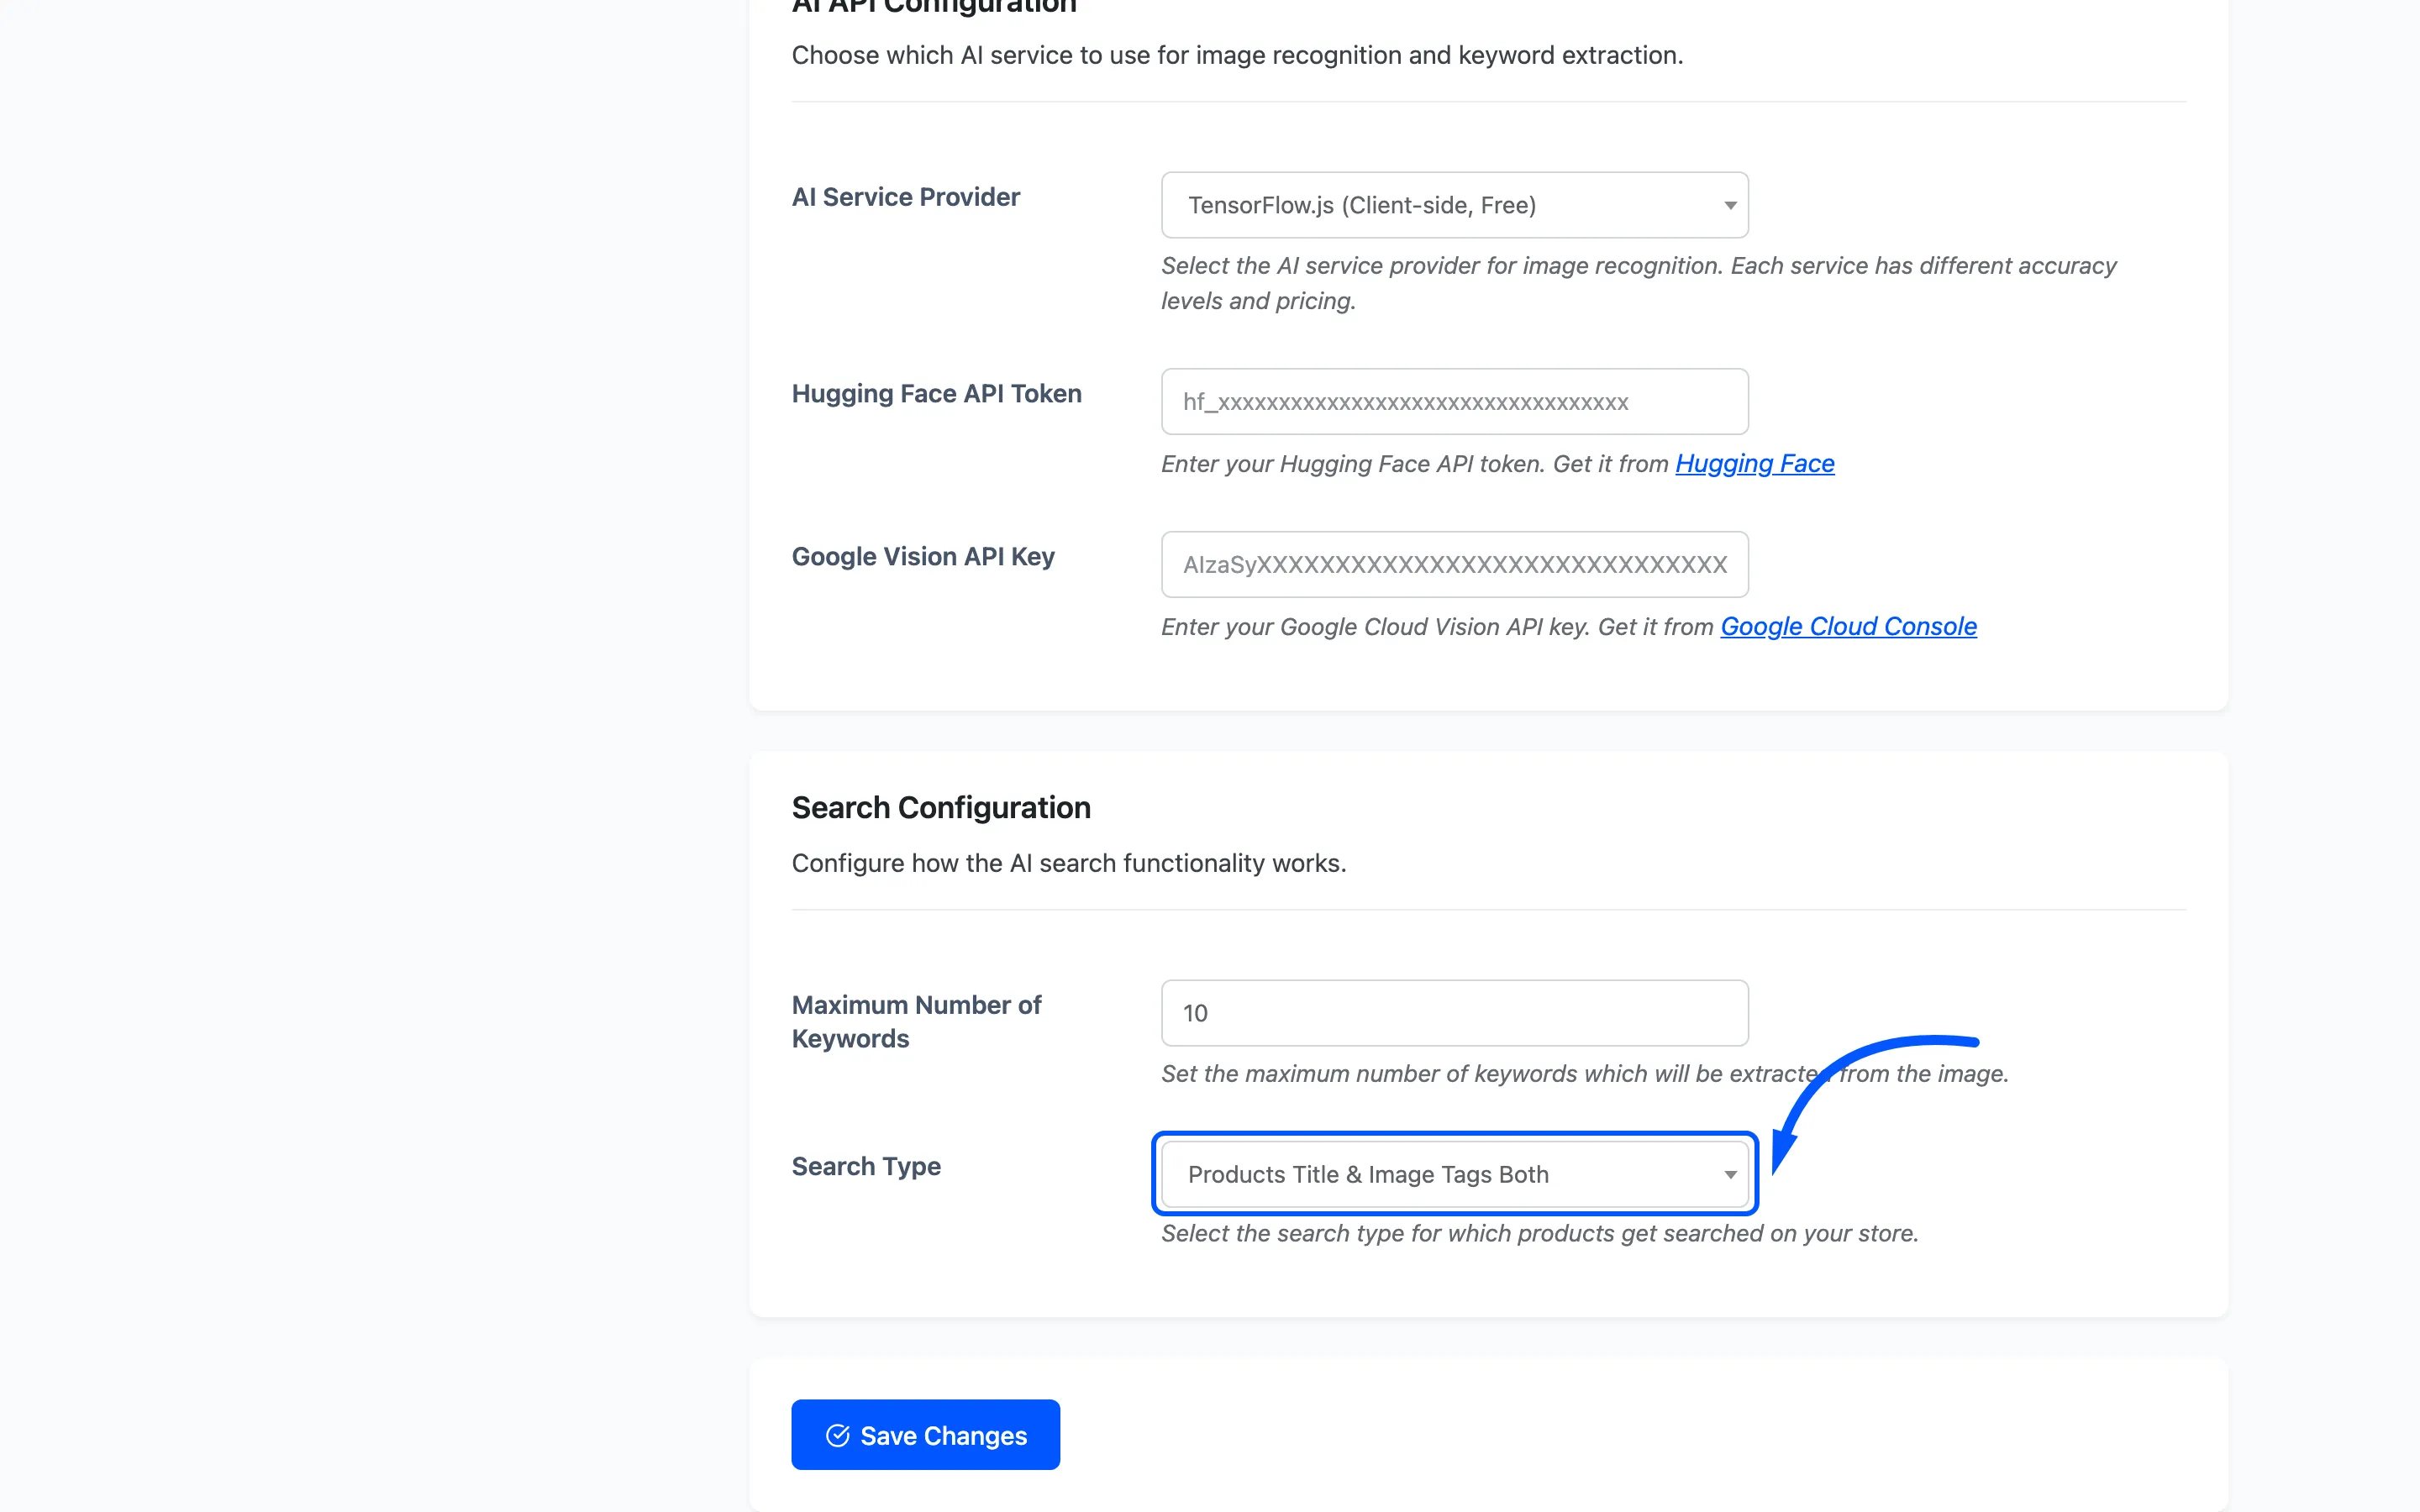
- Products Title runs an ordinary WordPress product search for the whole list of words.
- Products Image Tags matches the words against the Product Image Tags box on each product.
- Products Title & Image Tags Both matches either, and a product qualifies when any one keyword matches.
The shipped default is the one to change. An ordinary WordPress search needs every word to match, and a photo produces up to ten, so Products Title on its own usually returns nothing. The same photo on the demo catalogue returns seven products under Both and zero under Products Title.
Saving
Section titled “Saving”Save Changes at the foot of the tab writes all six fields at once. Changes reach the storefront on the next page load, with nothing to clear or rebuild.