

How Image Search Works
Image search is one chain with five links. Knowing where each link is makes every setting on the General tab obvious, and it makes a search that finds nothing easy to explain.
Step 1: The shopper picks a photo
Section titled “Step 1: The shopper picks a photo”The plugin adds a file input and a camera icon inside every WooCommerce product search form. The shopper presses the icon and picks an image from their device. Nothing is uploaded to your media library and no button has to be pressed after: choosing the file starts everything.
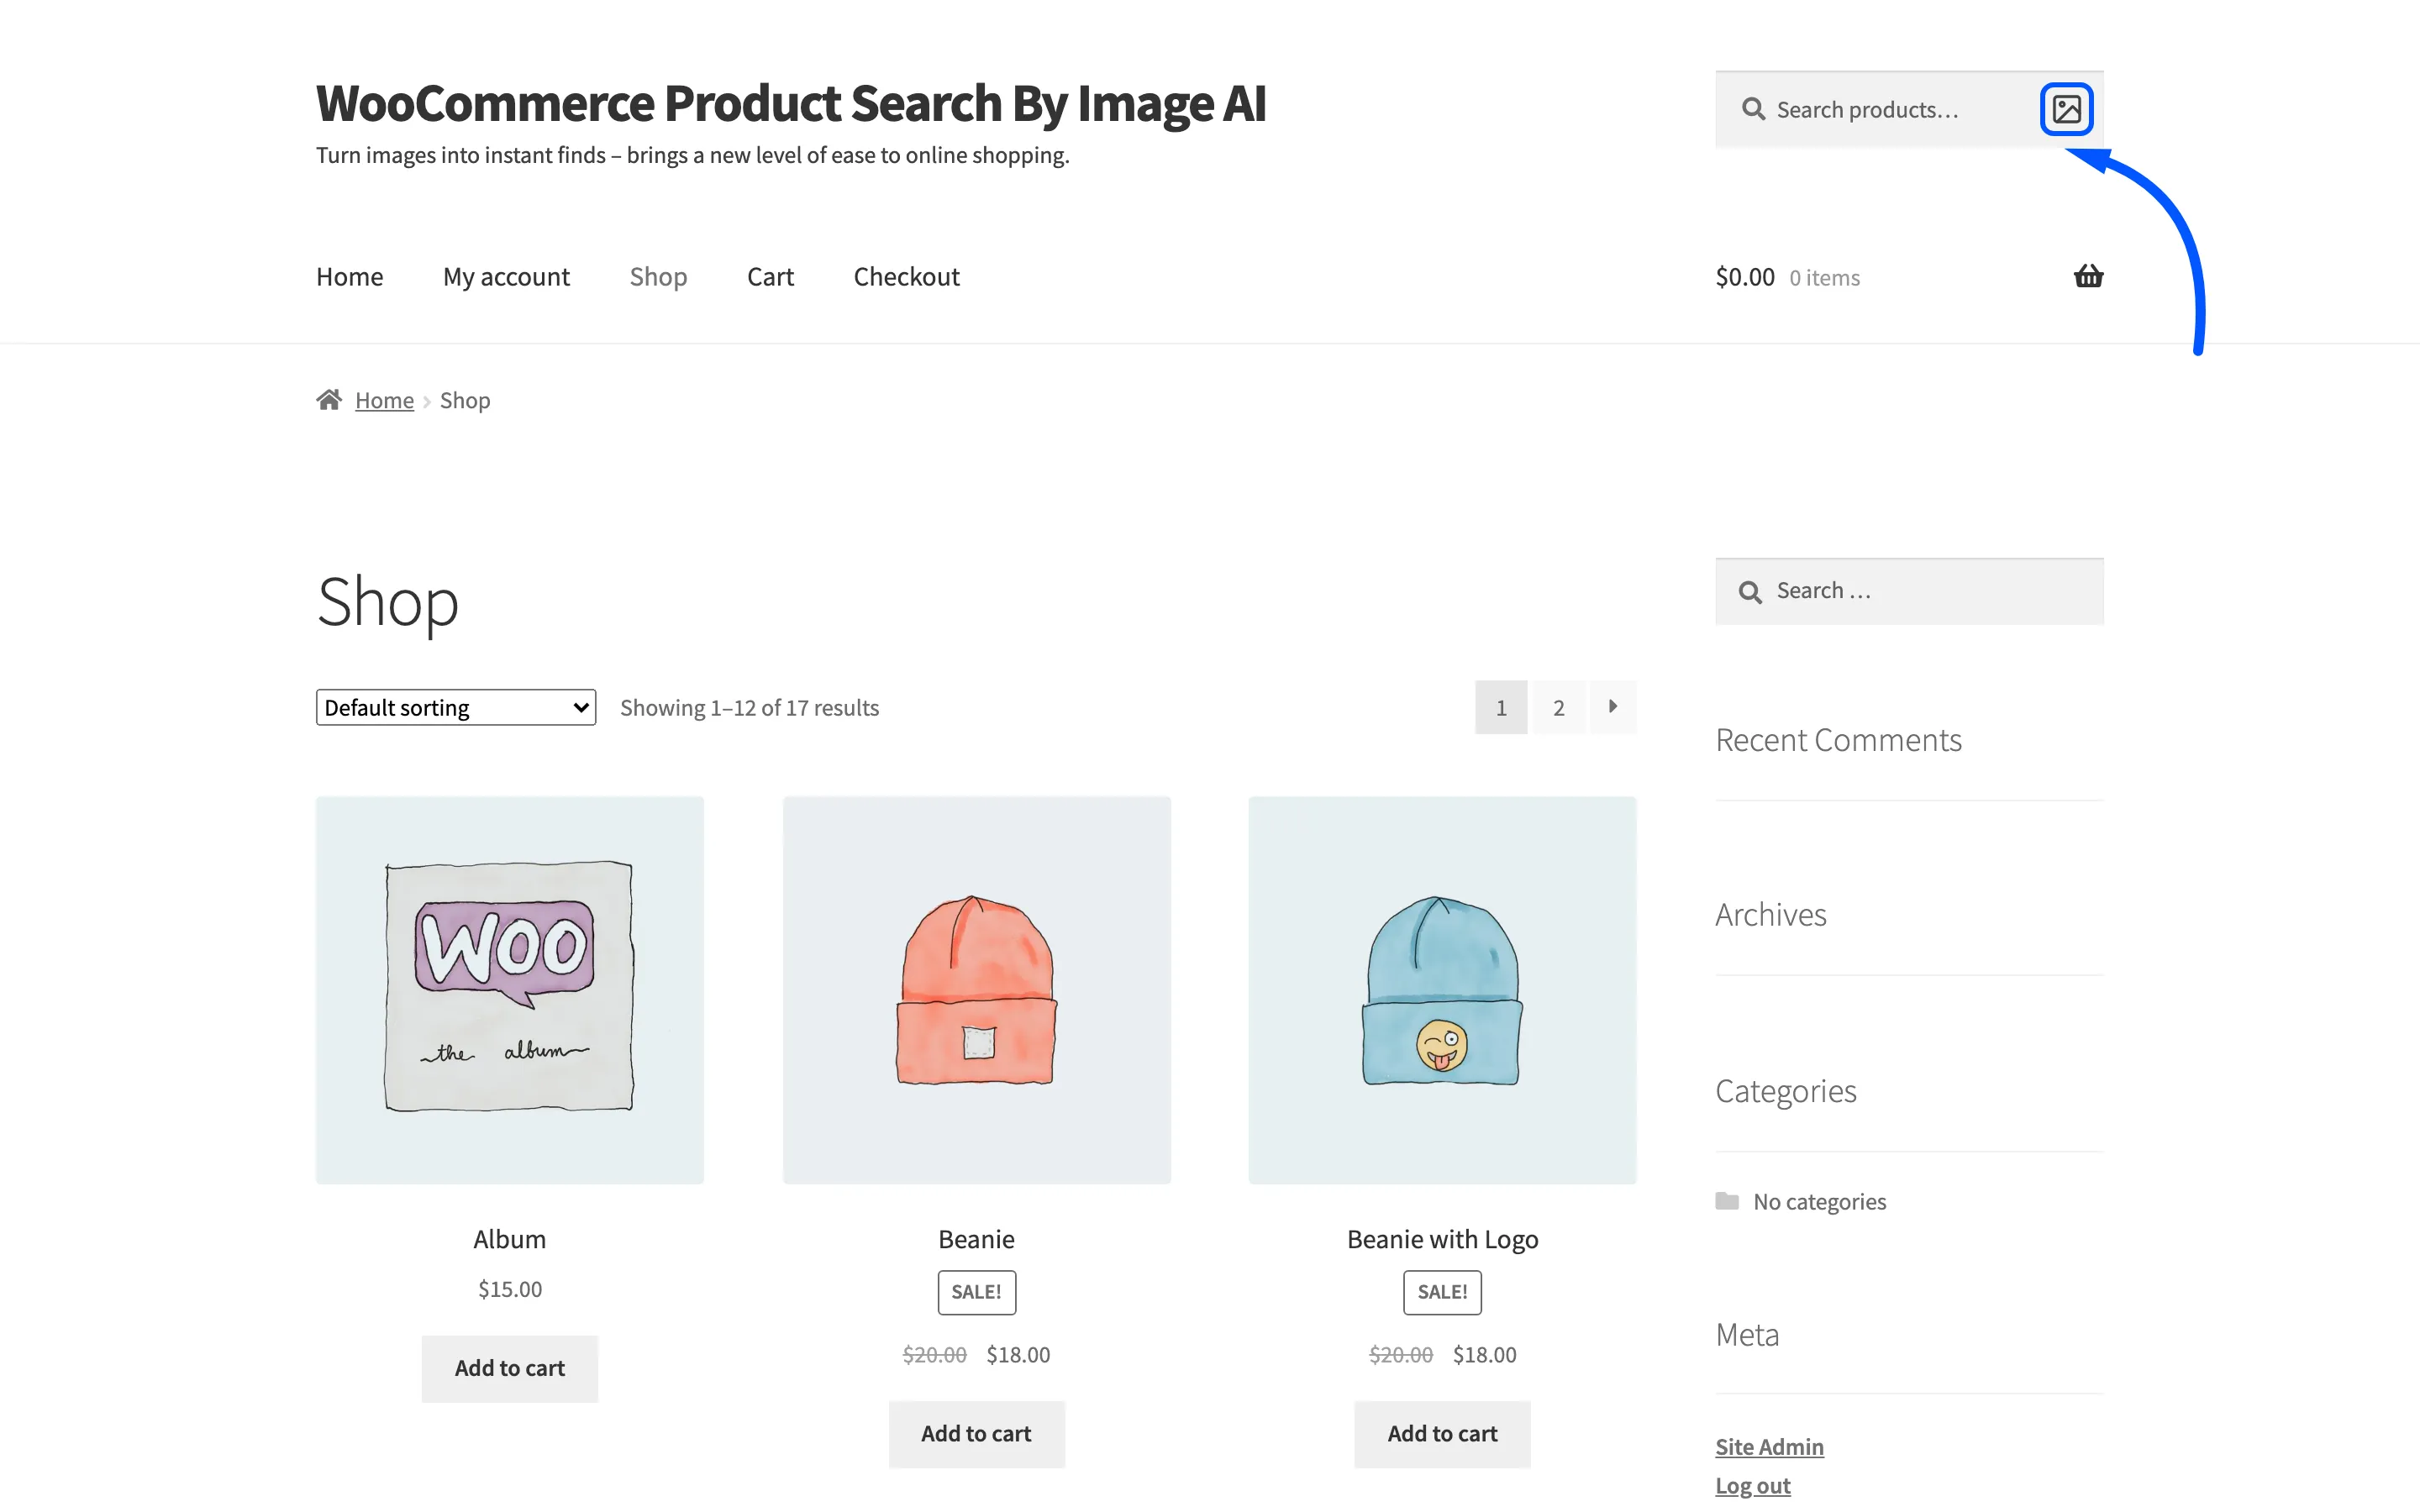
Pick something that is not an image and the browser shows an alert saying Please Upload an image, and the search stops there.
Step 2: The loader covers the page
Section titled “Step 2: The loader covers the page”A full-screen panel appears saying Analyzing Image…. Under it sits the line AI is extracting keywords from your image and a moving progress bar.
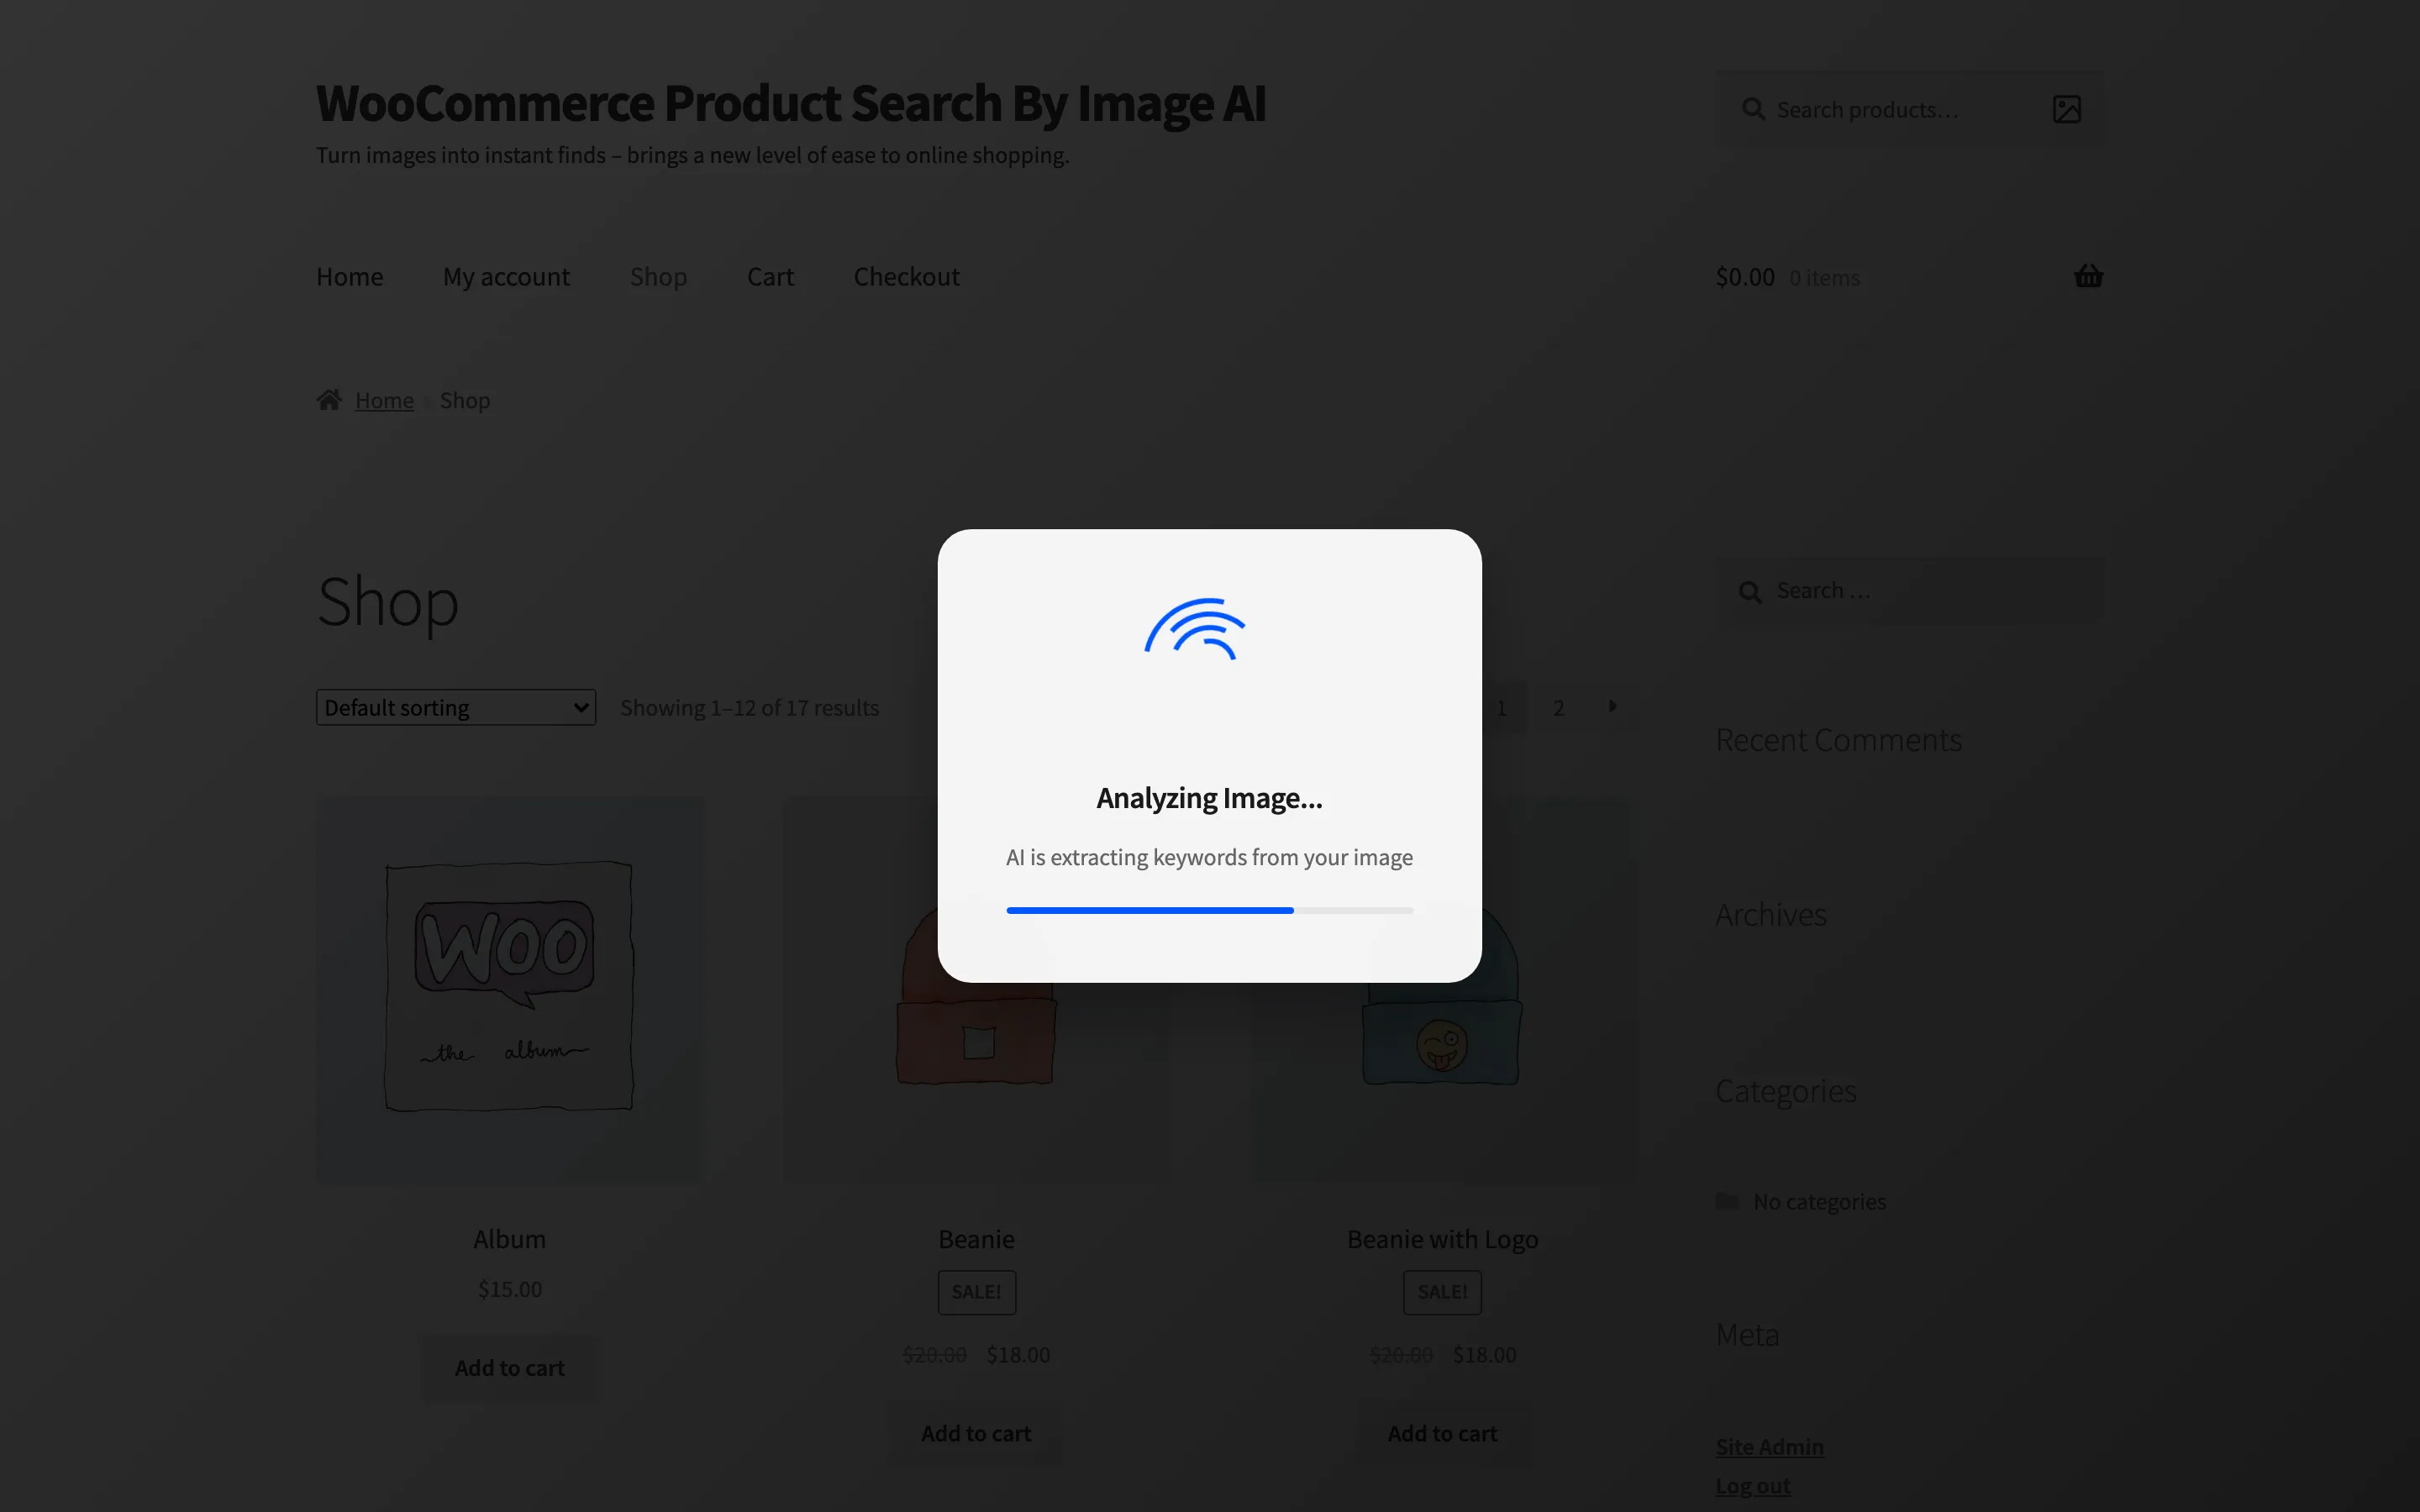
The bar is an animation, not a measure of progress. How long the panel stays depends entirely on the next step. The two colours in it come from the Display tab.
At the same time the photo goes into the shopper’s WooCommerce session. That is how it can be shown again on the results page.
Step 3: The AI service reads the photo
Section titled “Step 3: The AI service reads the photo”This is the only slow link, and which service does the reading is your choice on the General tab.
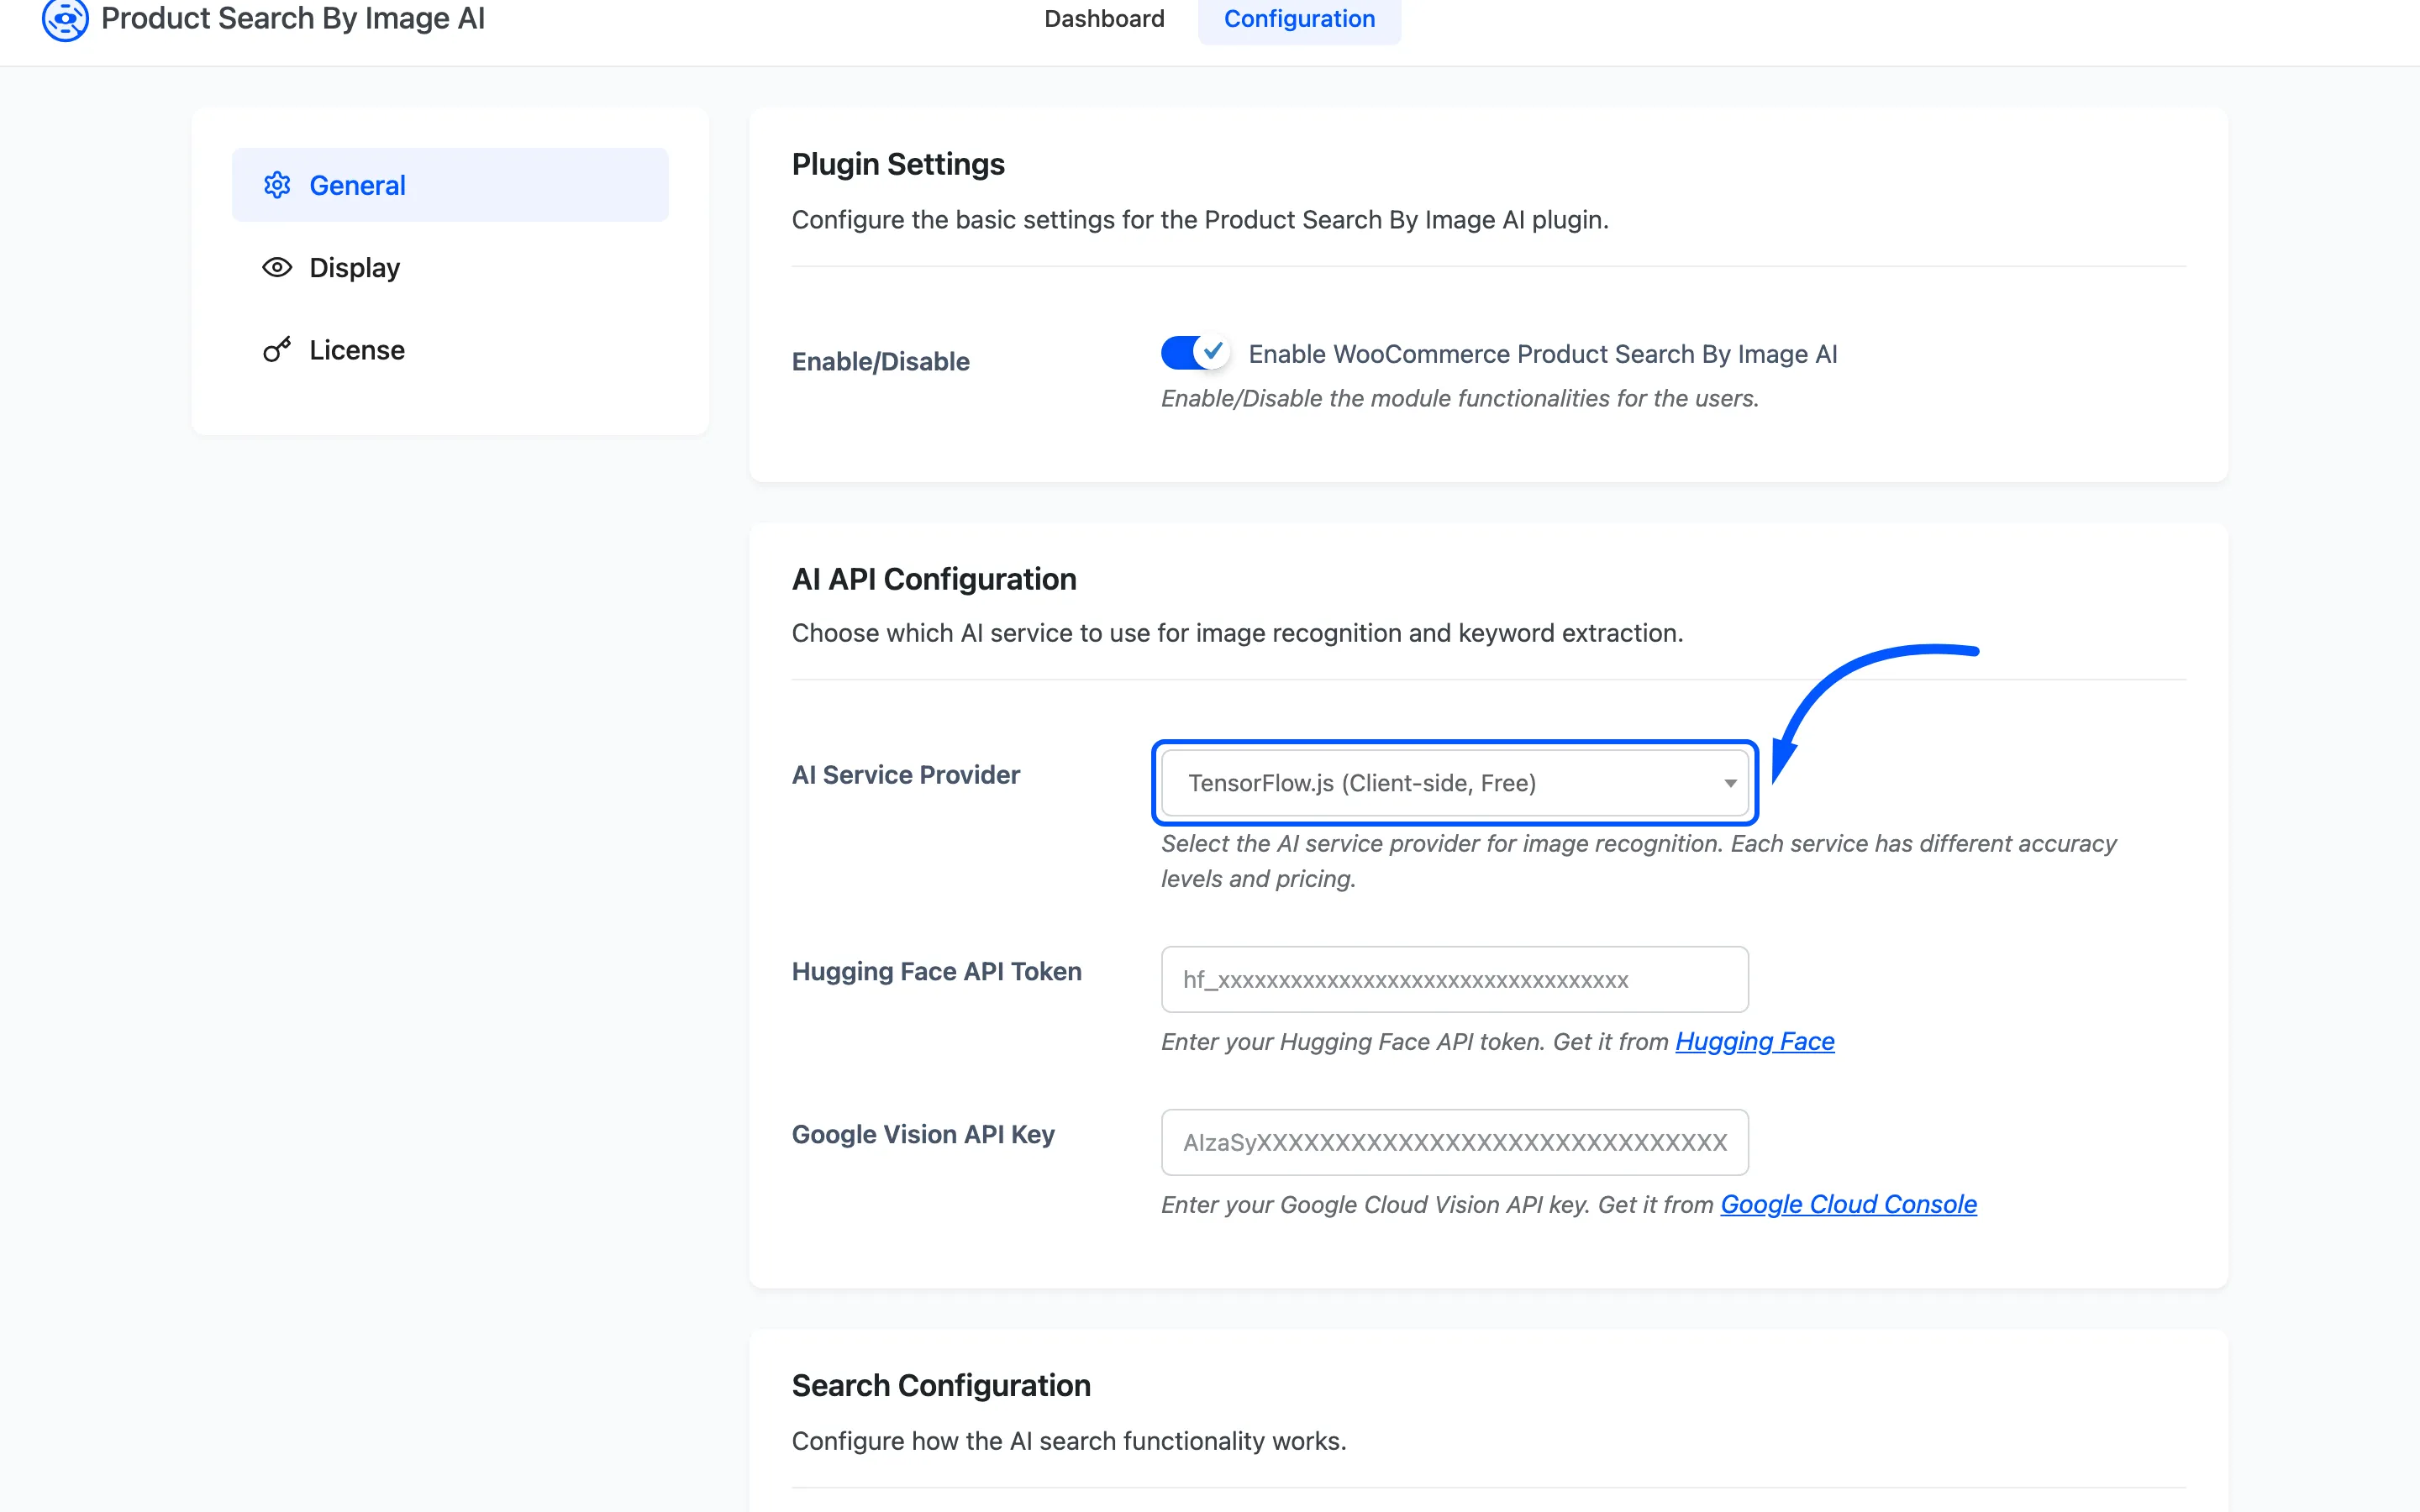
- TensorFlow.js loads a model into the shopper’s browser and classifies the photo there. The photo never leaves the device, and the work is done by the shopper’s phone or laptop, so a slow device means a slow search.
- Hugging Face and Google Vision send the photo to your server, which calls the service and waits for a reply. The work is off the shopper’s device and onto a network round trip.
Each service answers with labels. The plugin keeps at most Maximum Number of Keywords of them. How to Choose an AI Service Provider covers what changes between the three.
TensorFlow.js splits its labels into more words than the other two. Its labels arrive as comma-separated phrases, and the plugin adds each phrase and then each separate word inside it until it hits your maximum. One label of “jersey, T-shirt, tee shirt” becomes six entries. That is why a photo often produces both a phrase and its parts.
Step 4: The store searches for those words
Section titled “Step 4: The store searches for those words”The browser then loads your store’s search results page with the keywords in the query. Search Type decides what they are matched against.
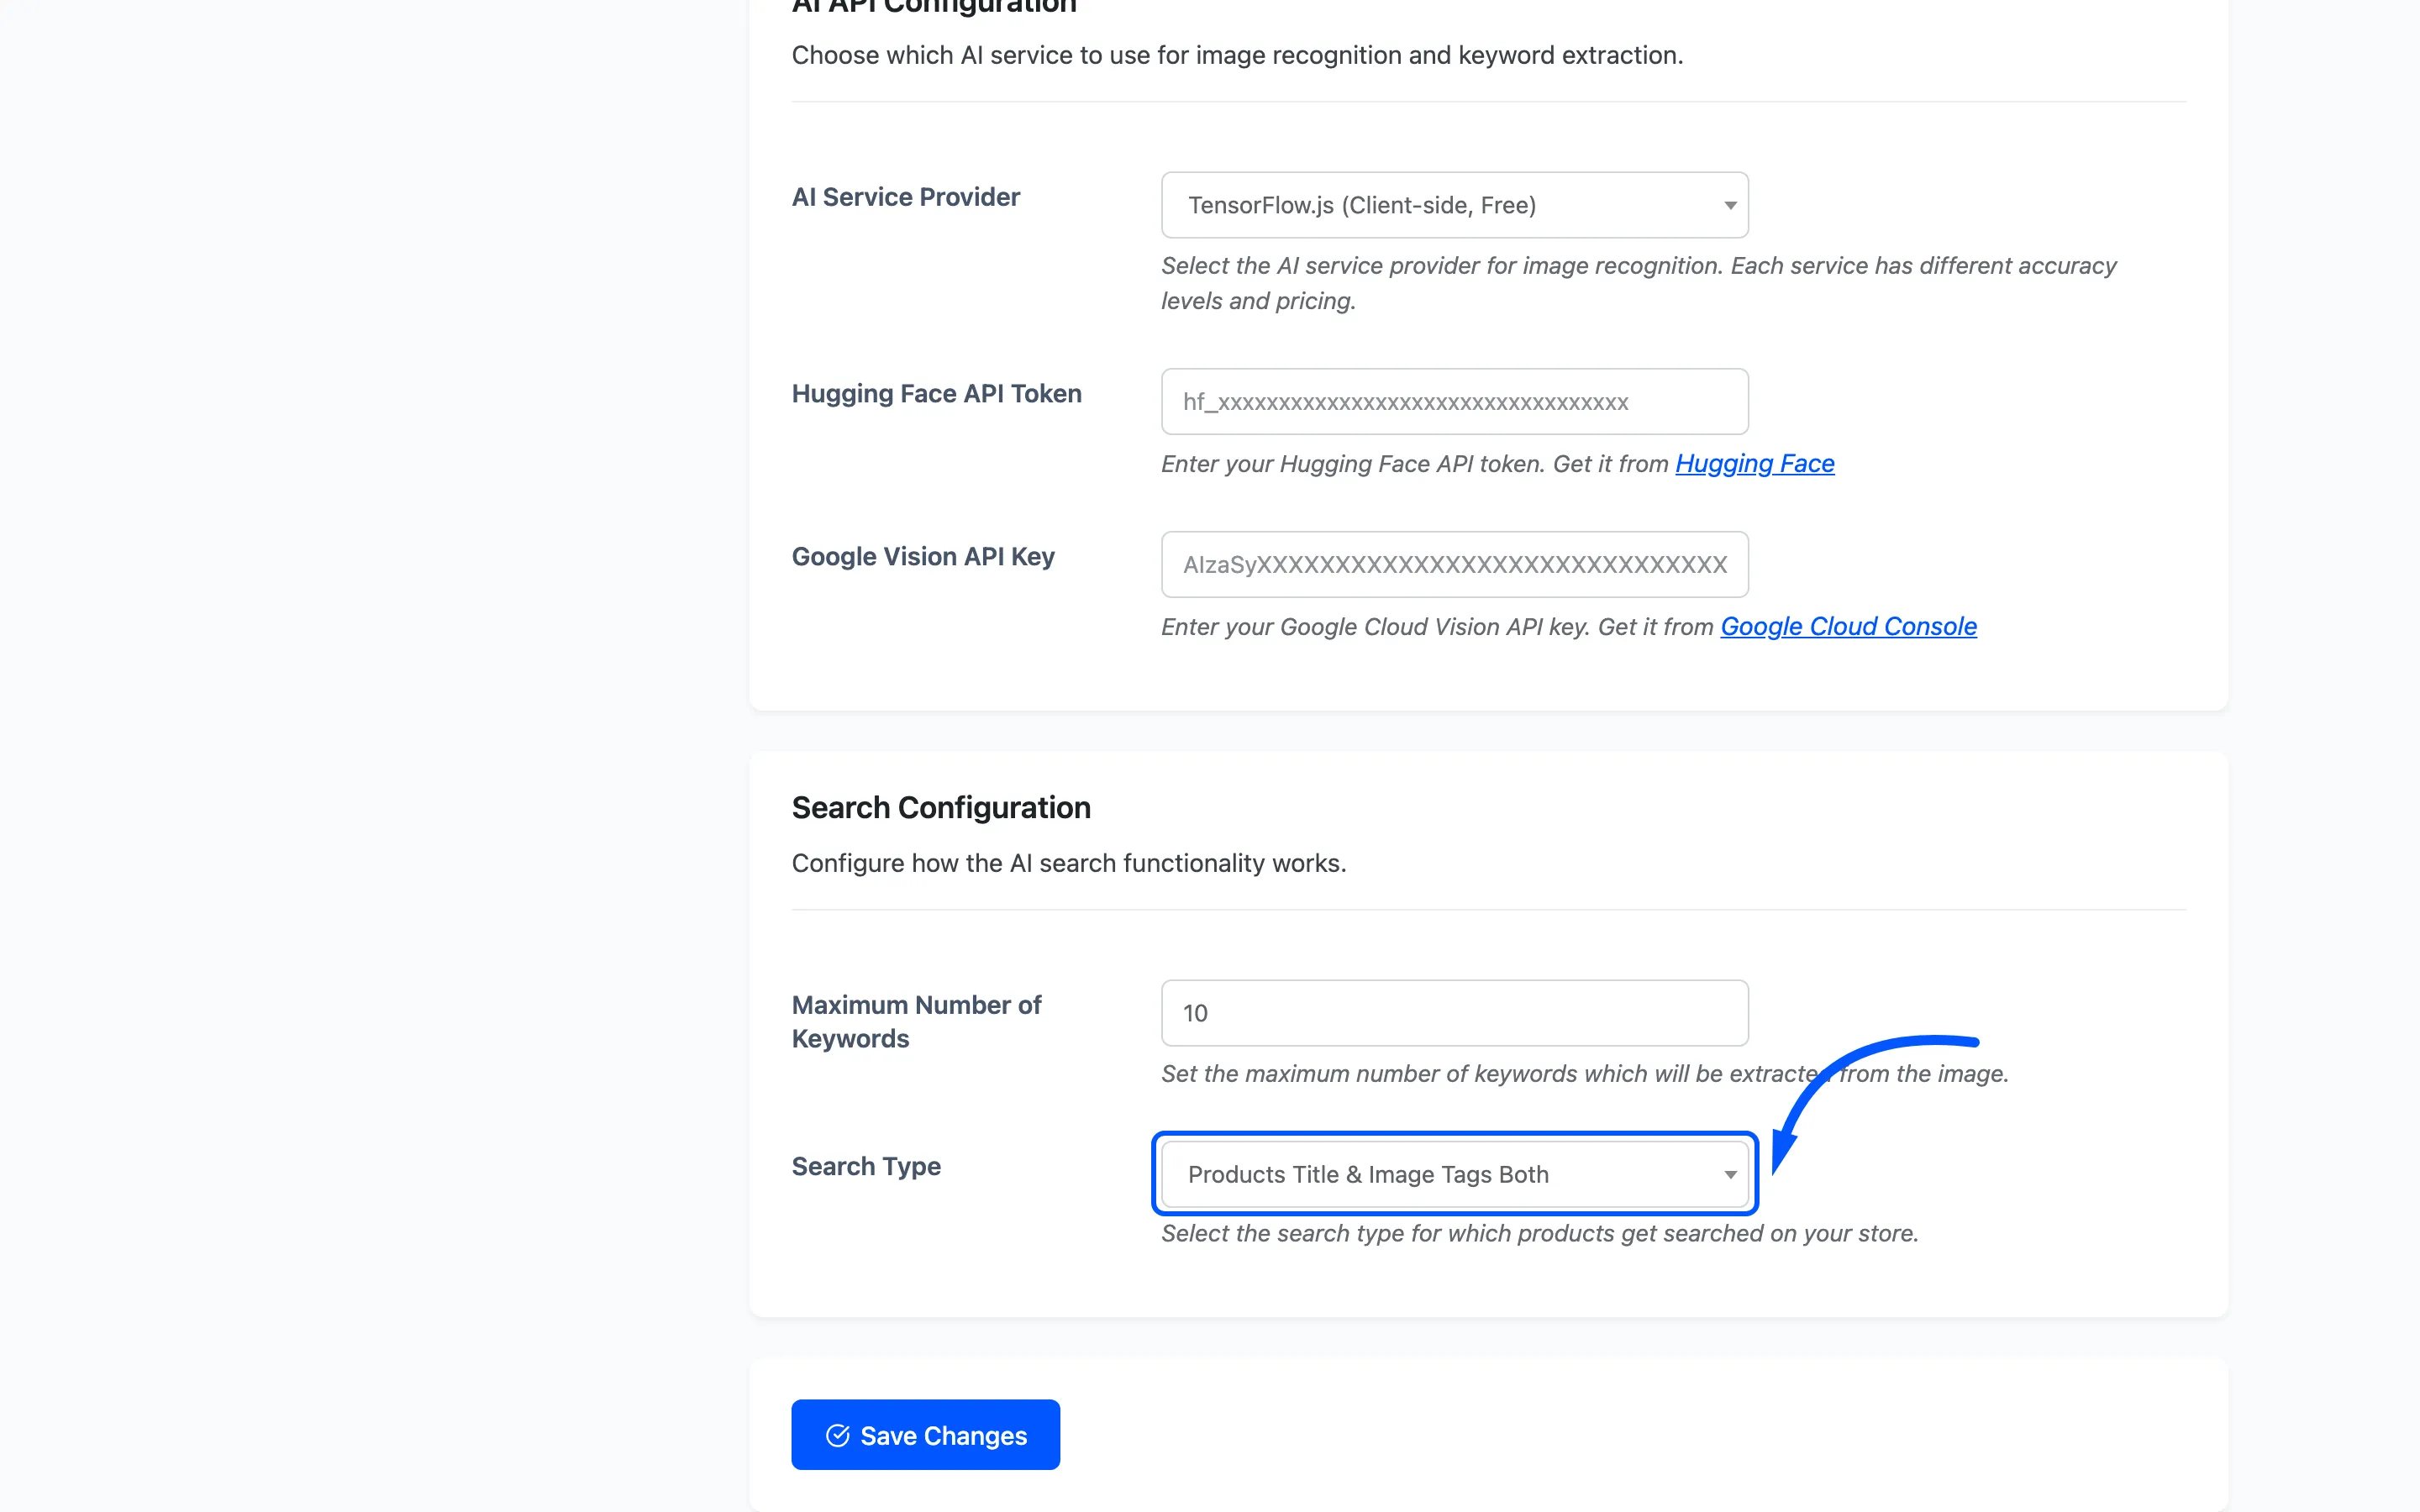
- Products Title & Image Tags Both matches a product when any one keyword appears in its title or in its image tags.
- Products Image Tags matches on image tags only.
- Products Title runs an ordinary WordPress product search for the whole list of words.
That third option behaves very differently from the other two, and it is the shipped default. WordPress requires every word in an ordinary search to match, so a ten-word list from a photo usually matches nothing at all. On the demo catalogue the same photo returns seven products under Both and zero under Products Title. Switch to Both unless you have a reason not to. See How to Control What the Search Matches.
Step 5: The results page shows the keywords
Section titled “Step 5: The results page shows the keywords”Above the products, the plugin replaces the page title with a box of its own. It holds the photo the shopper uploaded, a heading, and one chip per keyword.
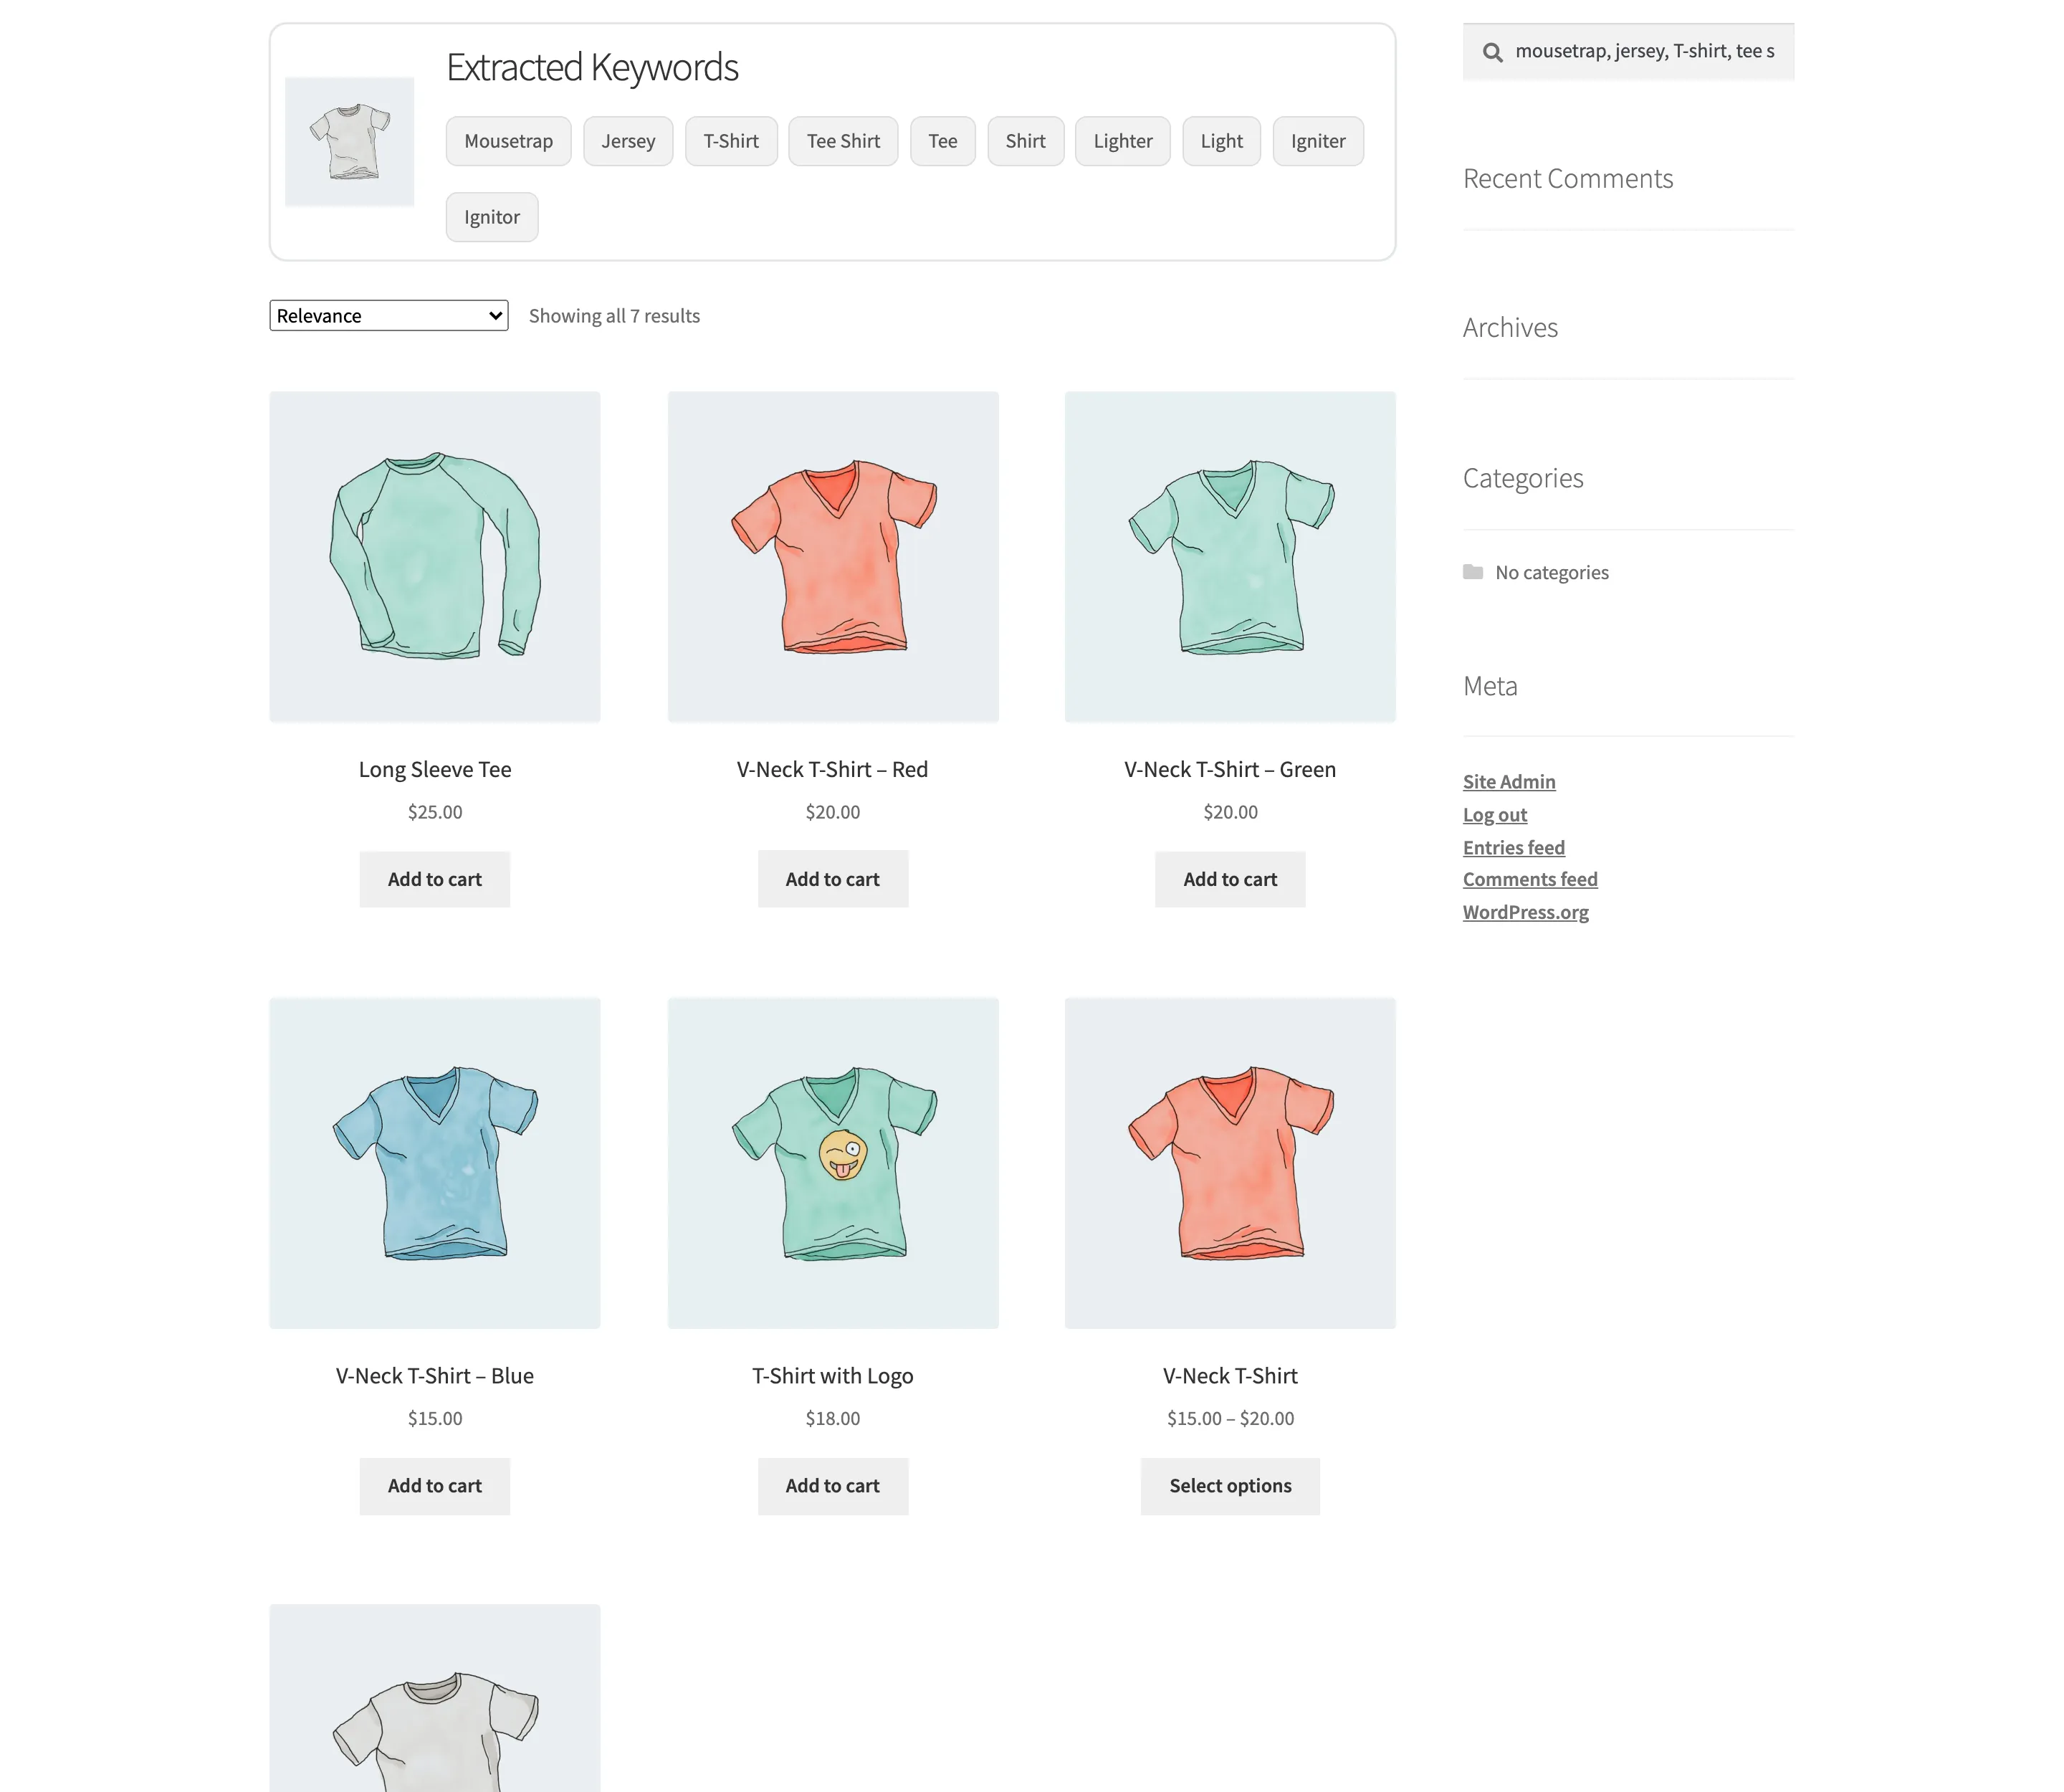
Every chip is a link that searches that single word, which is the shopper’s way out of a bad guess.
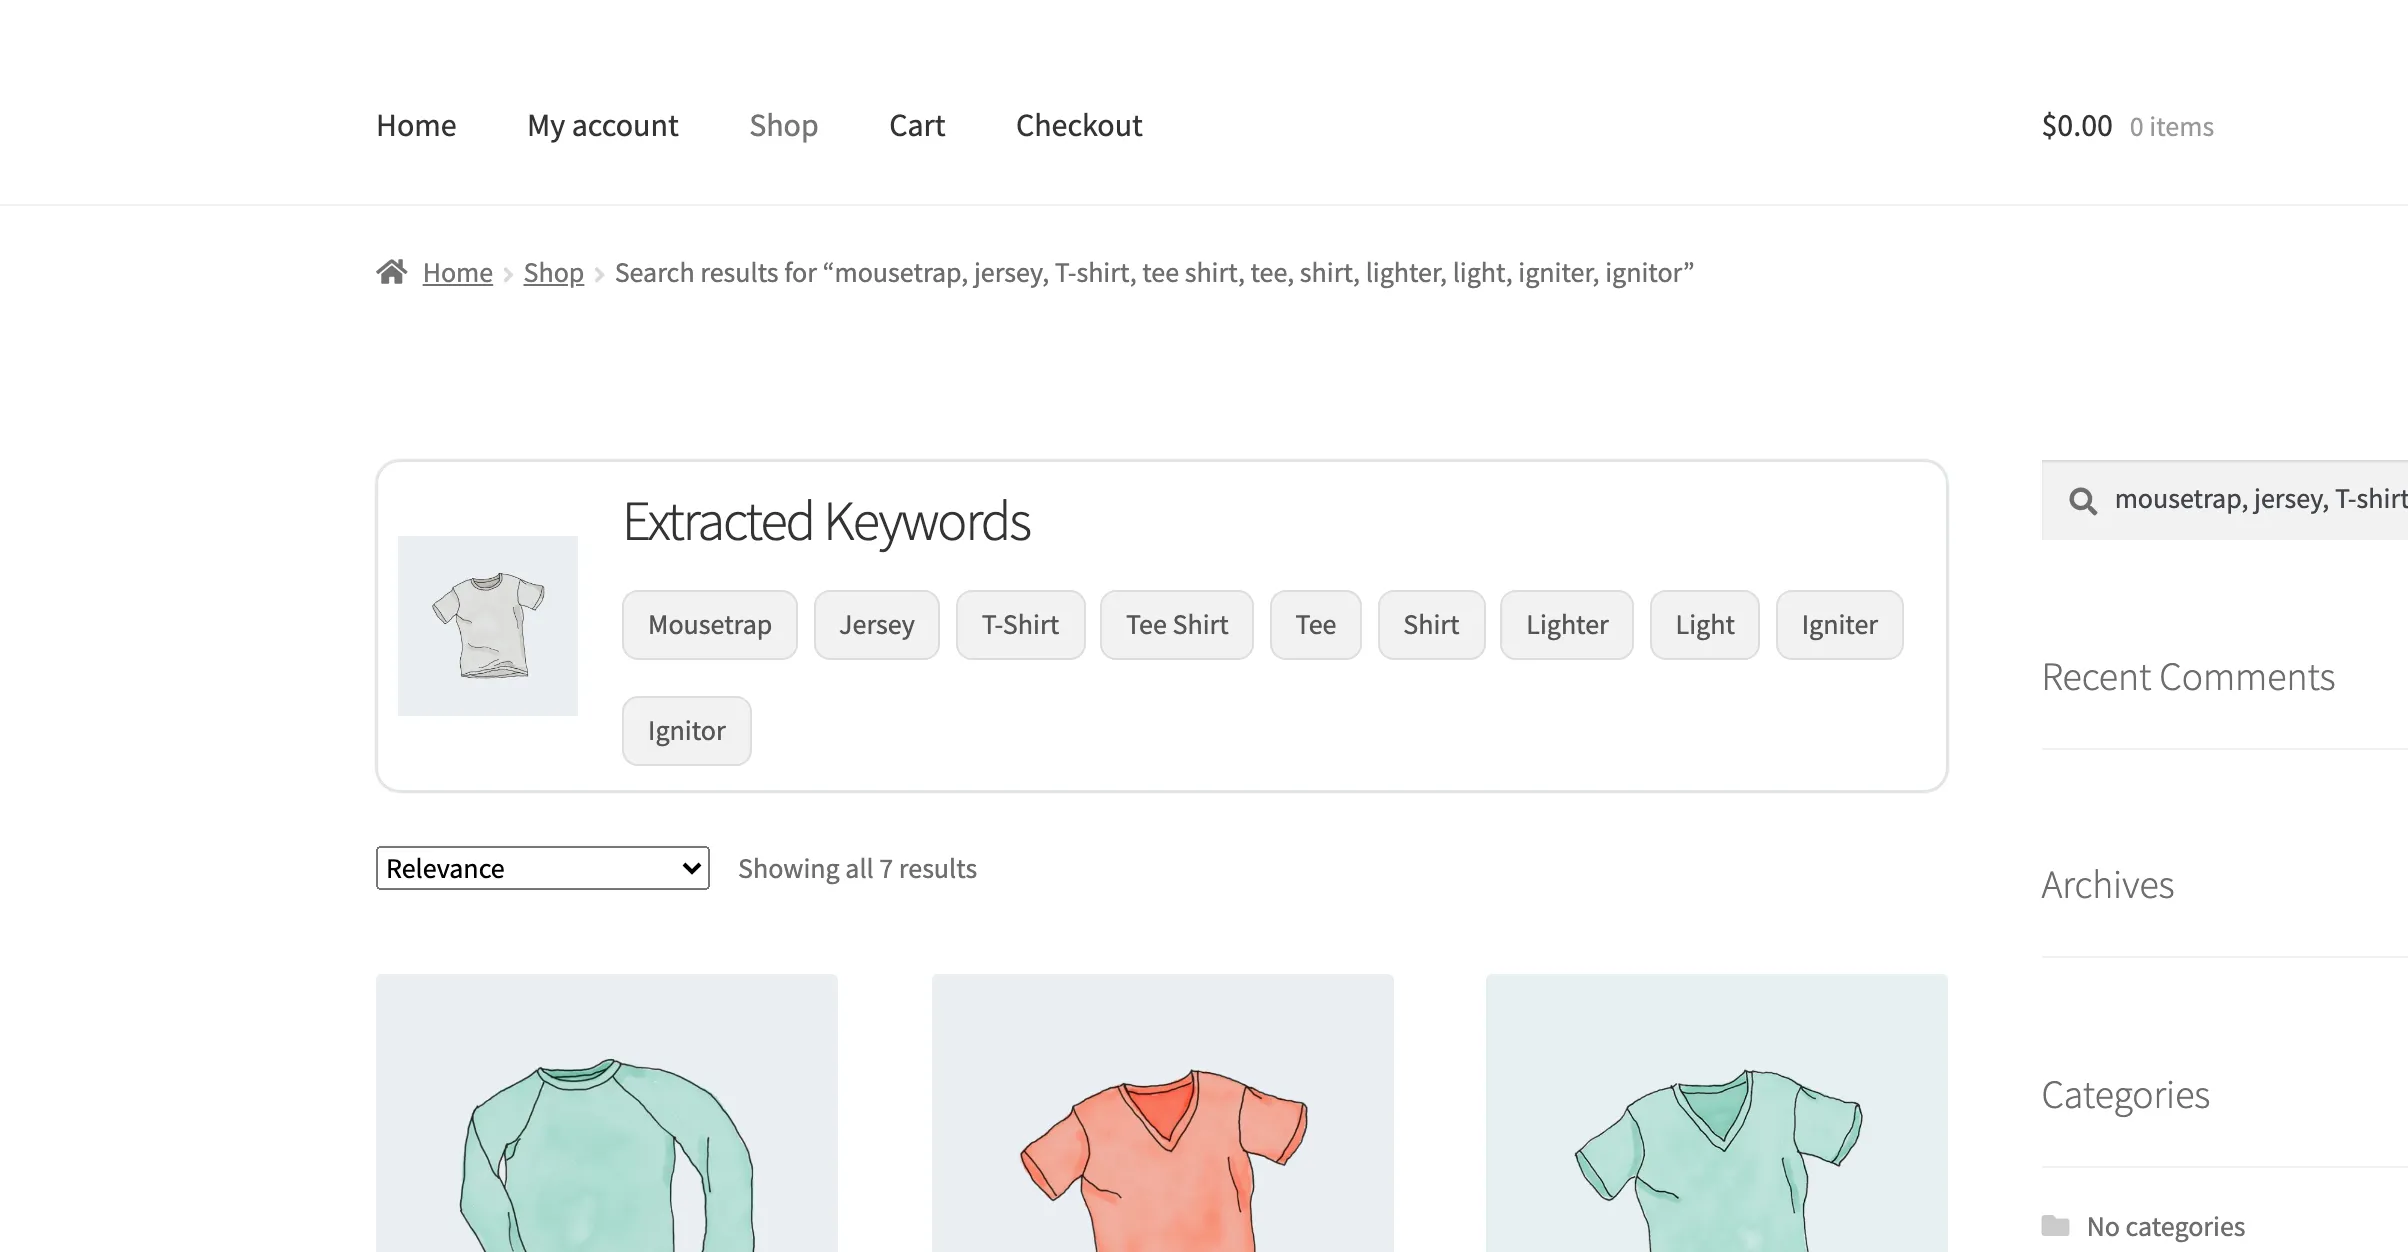
The heading, both chip colours and which side the photo sits on are all on the Display tab.
What gets recorded
Section titled “What gets recorded”After every search the browser reports the outcome back to your site, and that is what the dashboard counts.
A search is successful when the service returned at least one keyword. It is failed when it returned none, or when the service errored. Neither word is about whether products were found: a photo that produces ten keywords and no matching product still counts as successful.
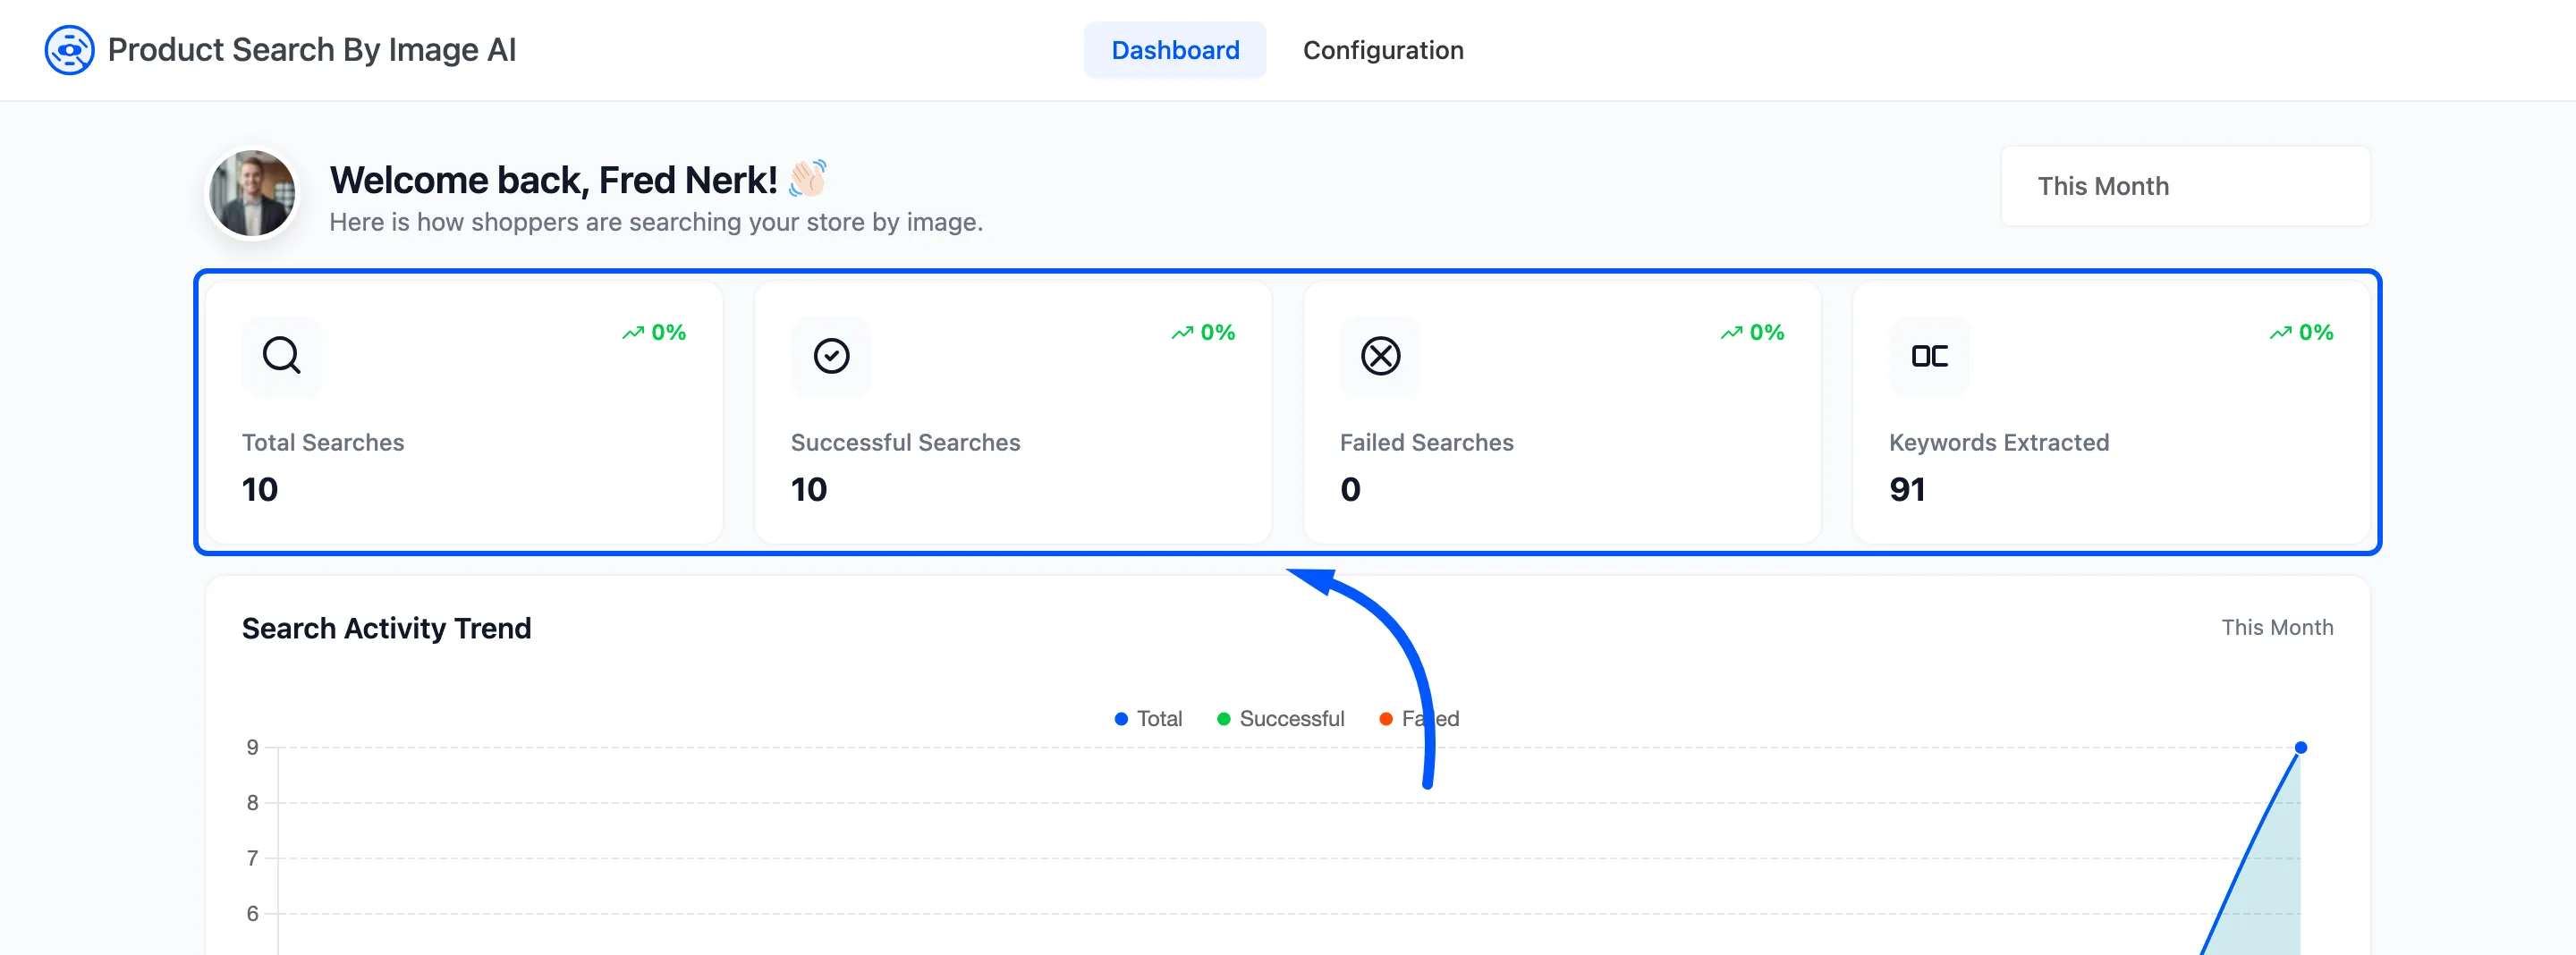
The Dashboard explains each counter and both charts.